The selective recording feature in Streamlabs can be extremely useful in certain situations. If you don't want certain elements from your stream to appear in the recording, this function helps you achieve exactly that. In this guide, you will learn step by step how to set up and use the selective recording feature in Streamlabs.
Main Takeaways
- The selective recording feature allows you to independently control individual sources in your stream and recording.
- You can decide which elements are visible in the stream or recording.
- Audio tracks can be controlled separately to avoid unwanted noise in the recording.
Step-by-Step Guide
To activate the selective recording feature in Streamlabs, follow these steps.
First, you need to open the Layout Editor to set up your stream and recording previews. Click on the Layout Editor at the bottom left of the Streamlabs window. Here, you can customize your layout according to your preferences.
Choose a sample layout and add both the stream preview and the recording preview to your layout. Don't forget to also add the Mixer settings so you can keep an eye on the scenes and sources.
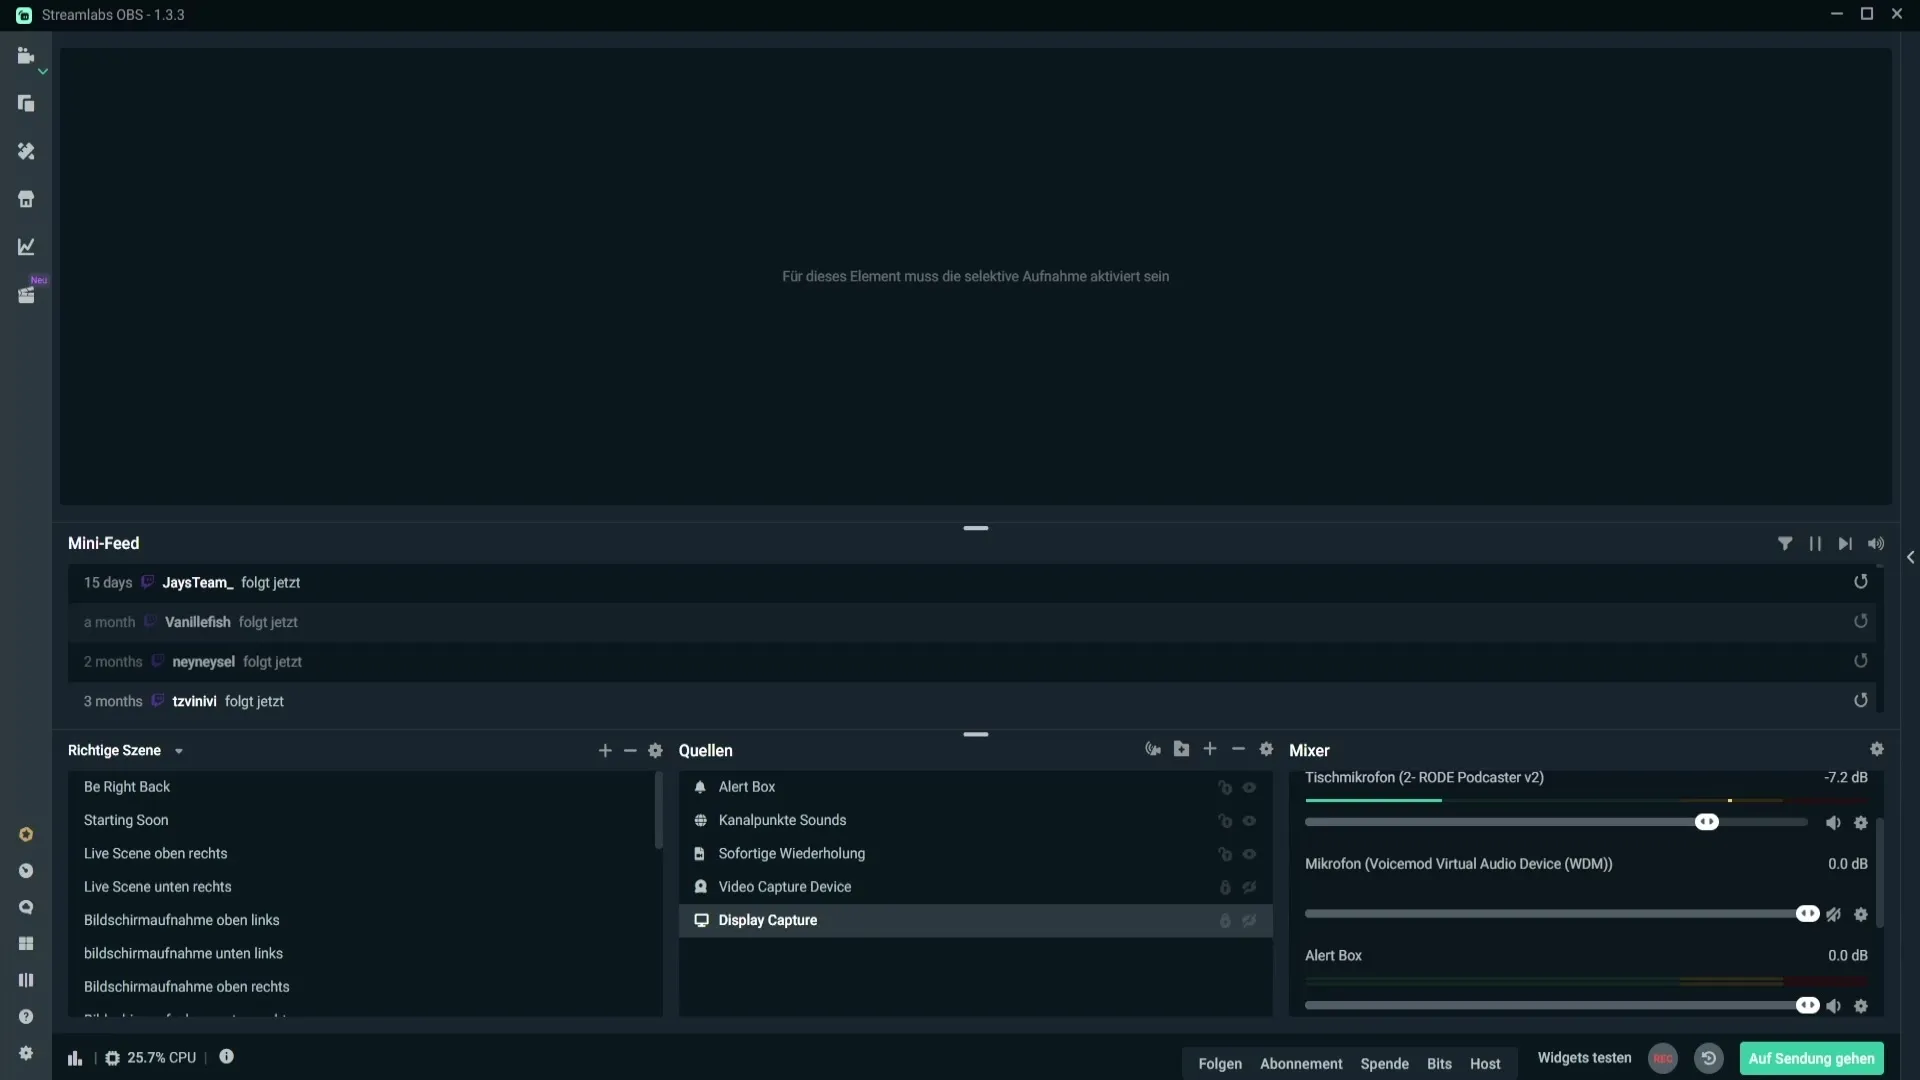
After setting up your preview, you may see a message informing you that the selective recording needs to be enabled. Drag the scenes to the desired position if they are not displayed.
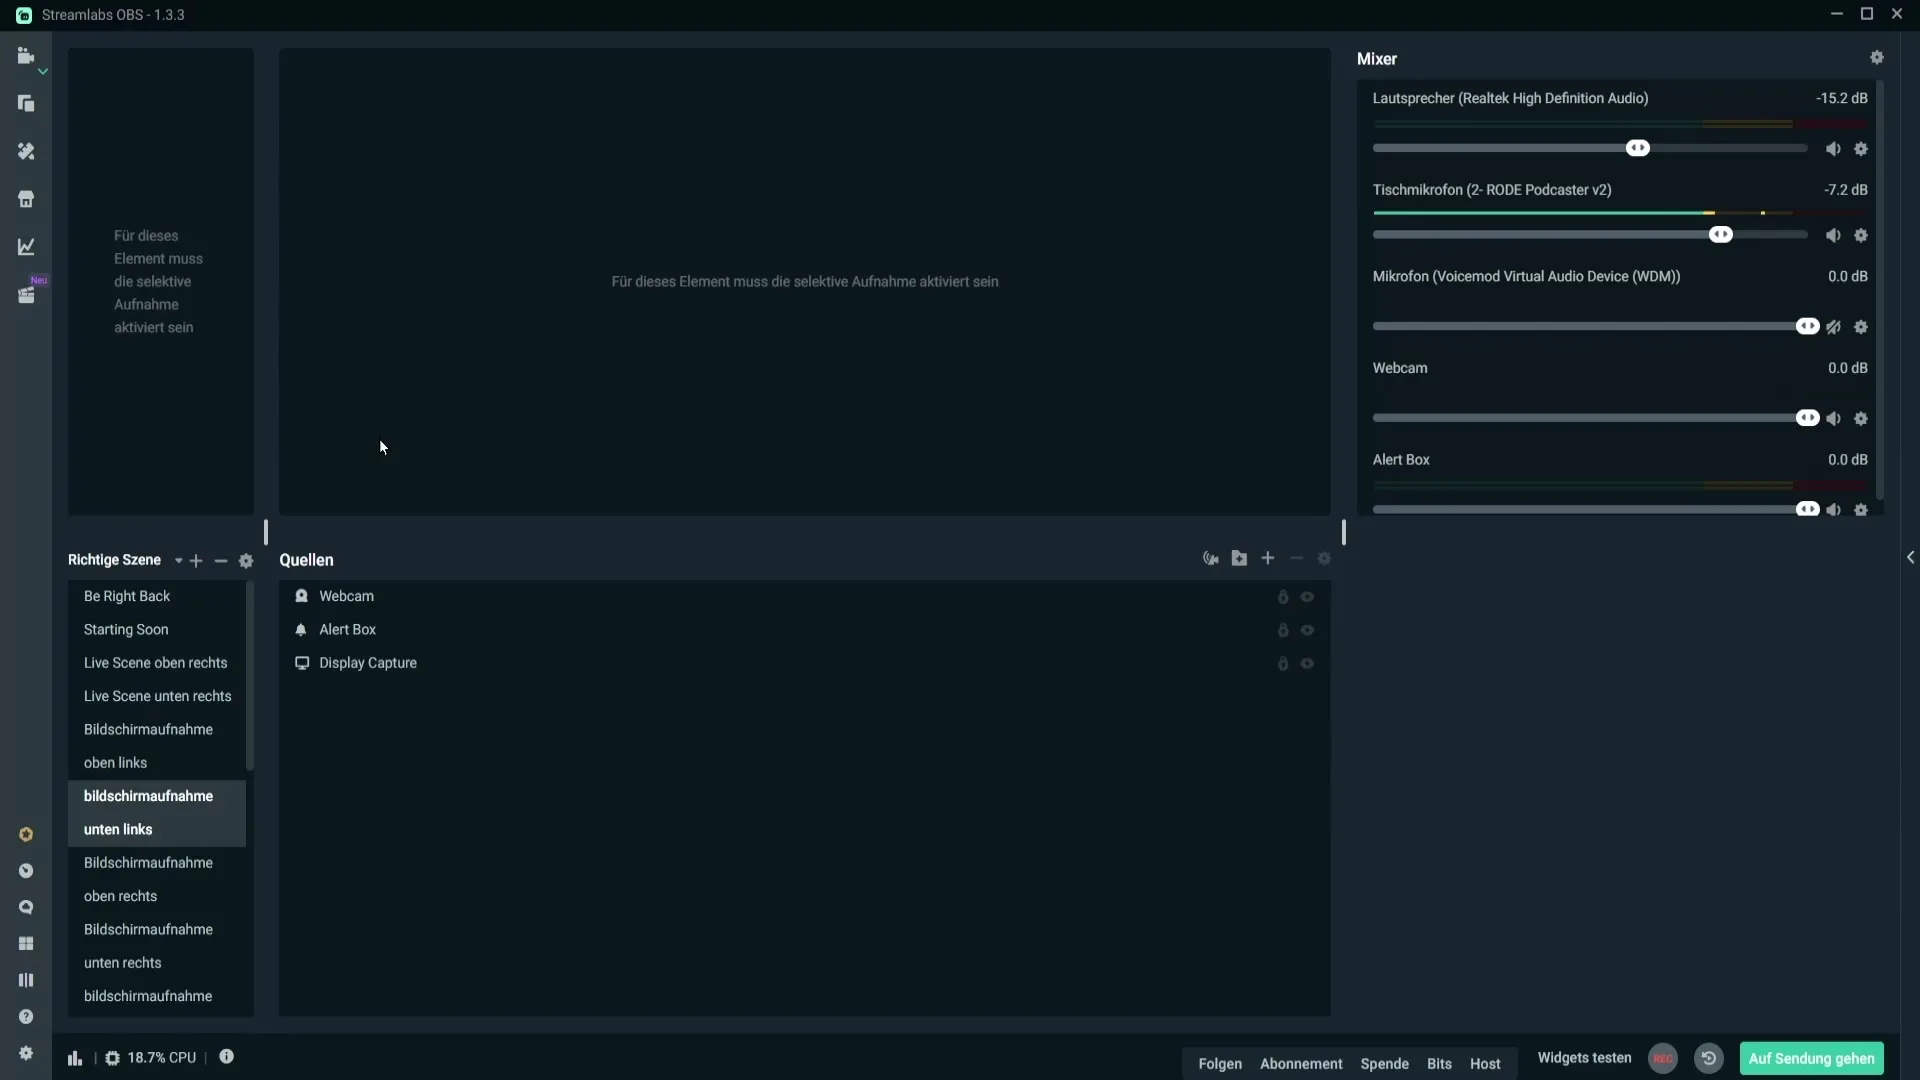
Now you can activate the selective recording feature by clicking on the gear icon next to the sources. There you will find the option "toggle selective recording." Clicking on it will activate this function.
You will now see that the recording and stream previews can display different content. When you activate the selective recording, you have the ability to control sounds and alerts precisely.
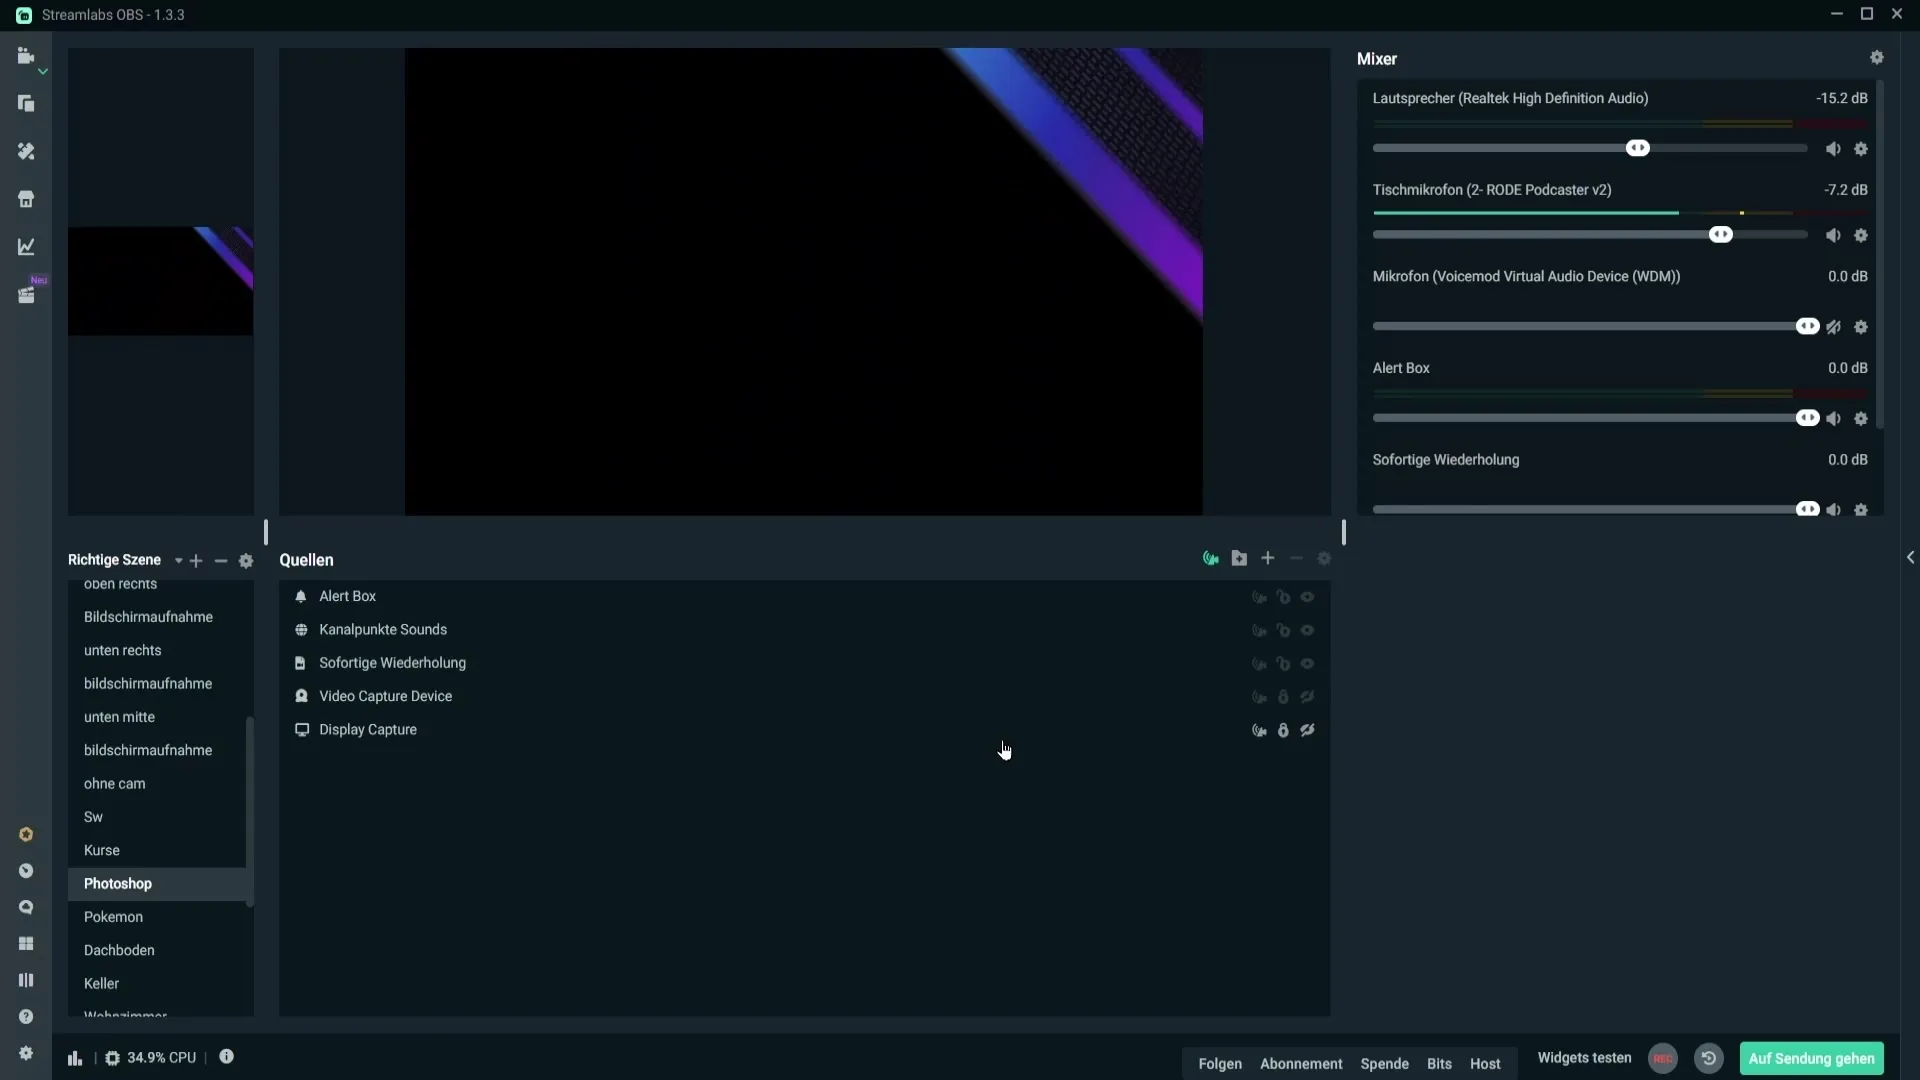
To decide where each source is visible, there are three symbols you can use. The first symbol indicates that a source is visible in both the stream and the recording. The second symbol ensures that the source is only visible in the stream and not in the recording.
By choosing the third symbol, the source will only be displayed in the recording. These options give you the flexibility to differentiate better between your stream and the recording.
A common issue is that you may hear the sound of alerts in your recording even if they are not visible. To avoid this, you need to work with the audio tracks.
To do this, open the Mixer in Streamlabs and click on the gear icon next to the Alert Box. Choose here that the Alert Box should only be audible on audio track 2. You should disable all other tracks.
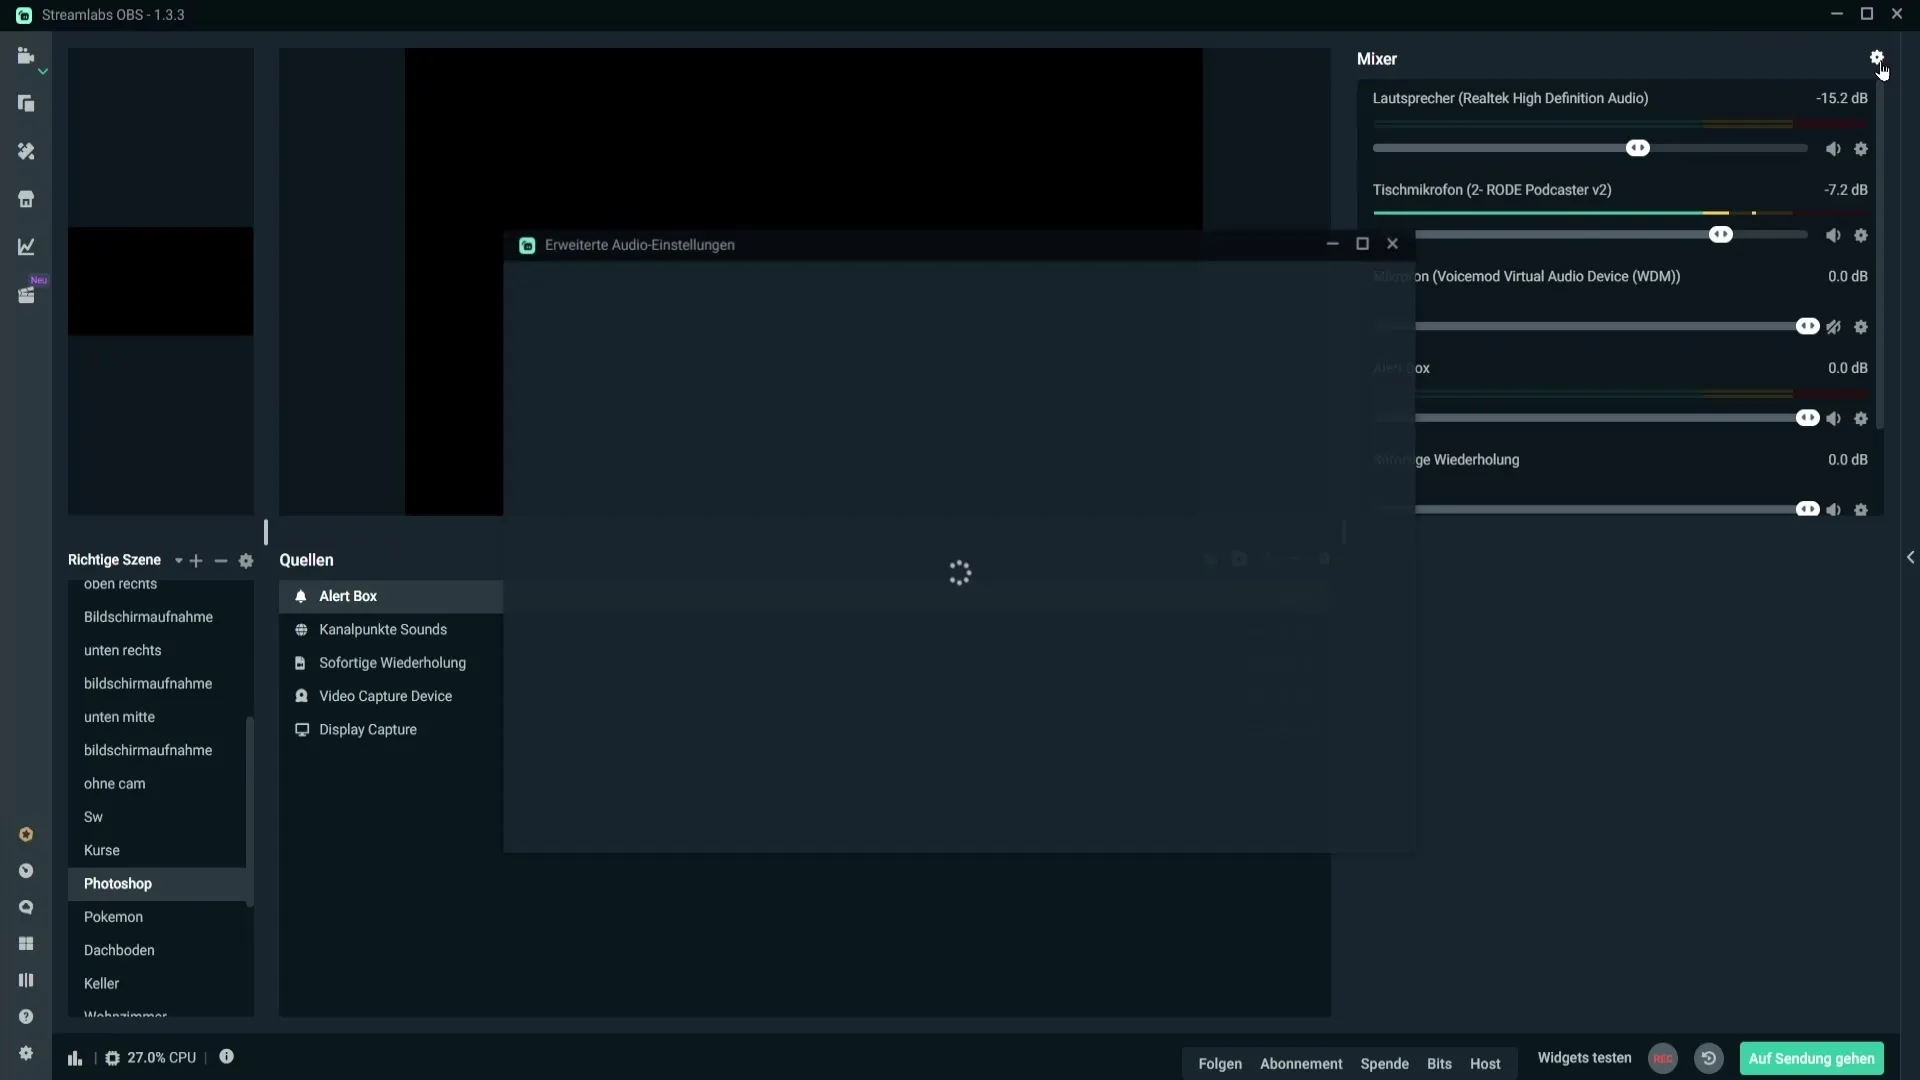
Close the window and then go to the streaming settings. Select audio track 2 for the audio output where your alerts are located.
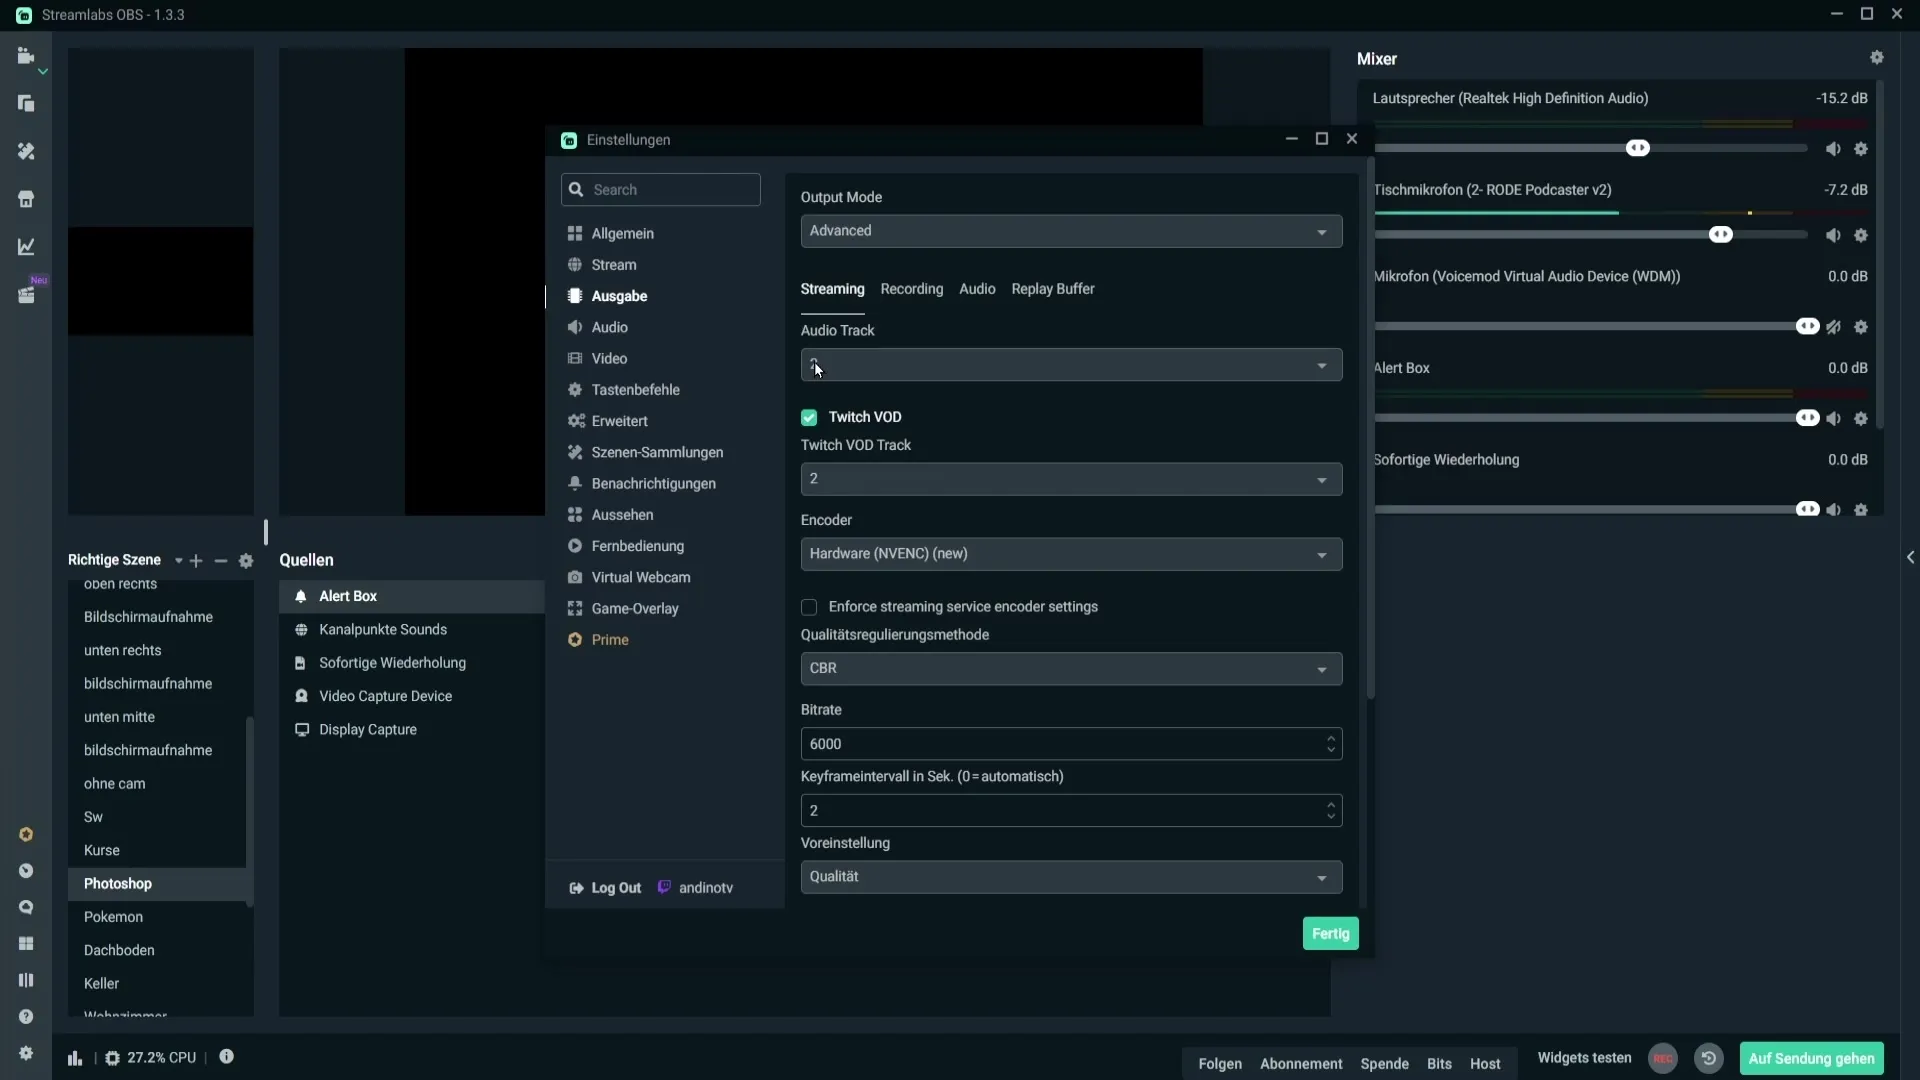
Now, in the recording settings, choose a different audio track, for example, audio track 1. This ensures that only the sounds from tracks relevant to the recording are audible.
If you no longer need the selective recording feature, you can deactivate it at any time by clicking on the corresponding symbol. Remember to unlock the lock before making changes.
Summary
You have now learned how to activate and use the selective recording feature in Streamlabs. This function allows you precise control over what is visible and audible in your stream or recording. With proper handling, you can ensure that your content is tailored exactly to your preferences.
Frequently Asked Questions
How do I activate selective recording in Streamlabs?Click on the selective recording icon in the Layout Editor to activate the feature.
What are the benefits of selective recording?With selective recording, you can control which sources are visible in the stream or recording.
How can I avoid the sound of alerts in the recording?Place the Alert Box on a separate audio track and select it for the stream and another one for the recording.
Can I deactivate selective recording at any time?Yes, you can deactivate the feature at any time by clicking on the corresponding icon after unlocking the lock.
