The donation jar is a central element for many streamers to provide their viewers with visibility of donations or subscriptions. If you want to set up your donation jar in Streamlabs OBS optimally, you'll find a detailed guide here. I will show you how to add, customize, and interact with the donation jar to enhance the streaming experience for you and your viewers.
Key Insights
- You can activate different events for the donation jar.
- Customizing the appearance (font, colors) is easy and allows for individual design.
- There are options to reset your donation jar to the desired state during the stream.
Step-by-step guide
Step 1: Select scene and add donation jar
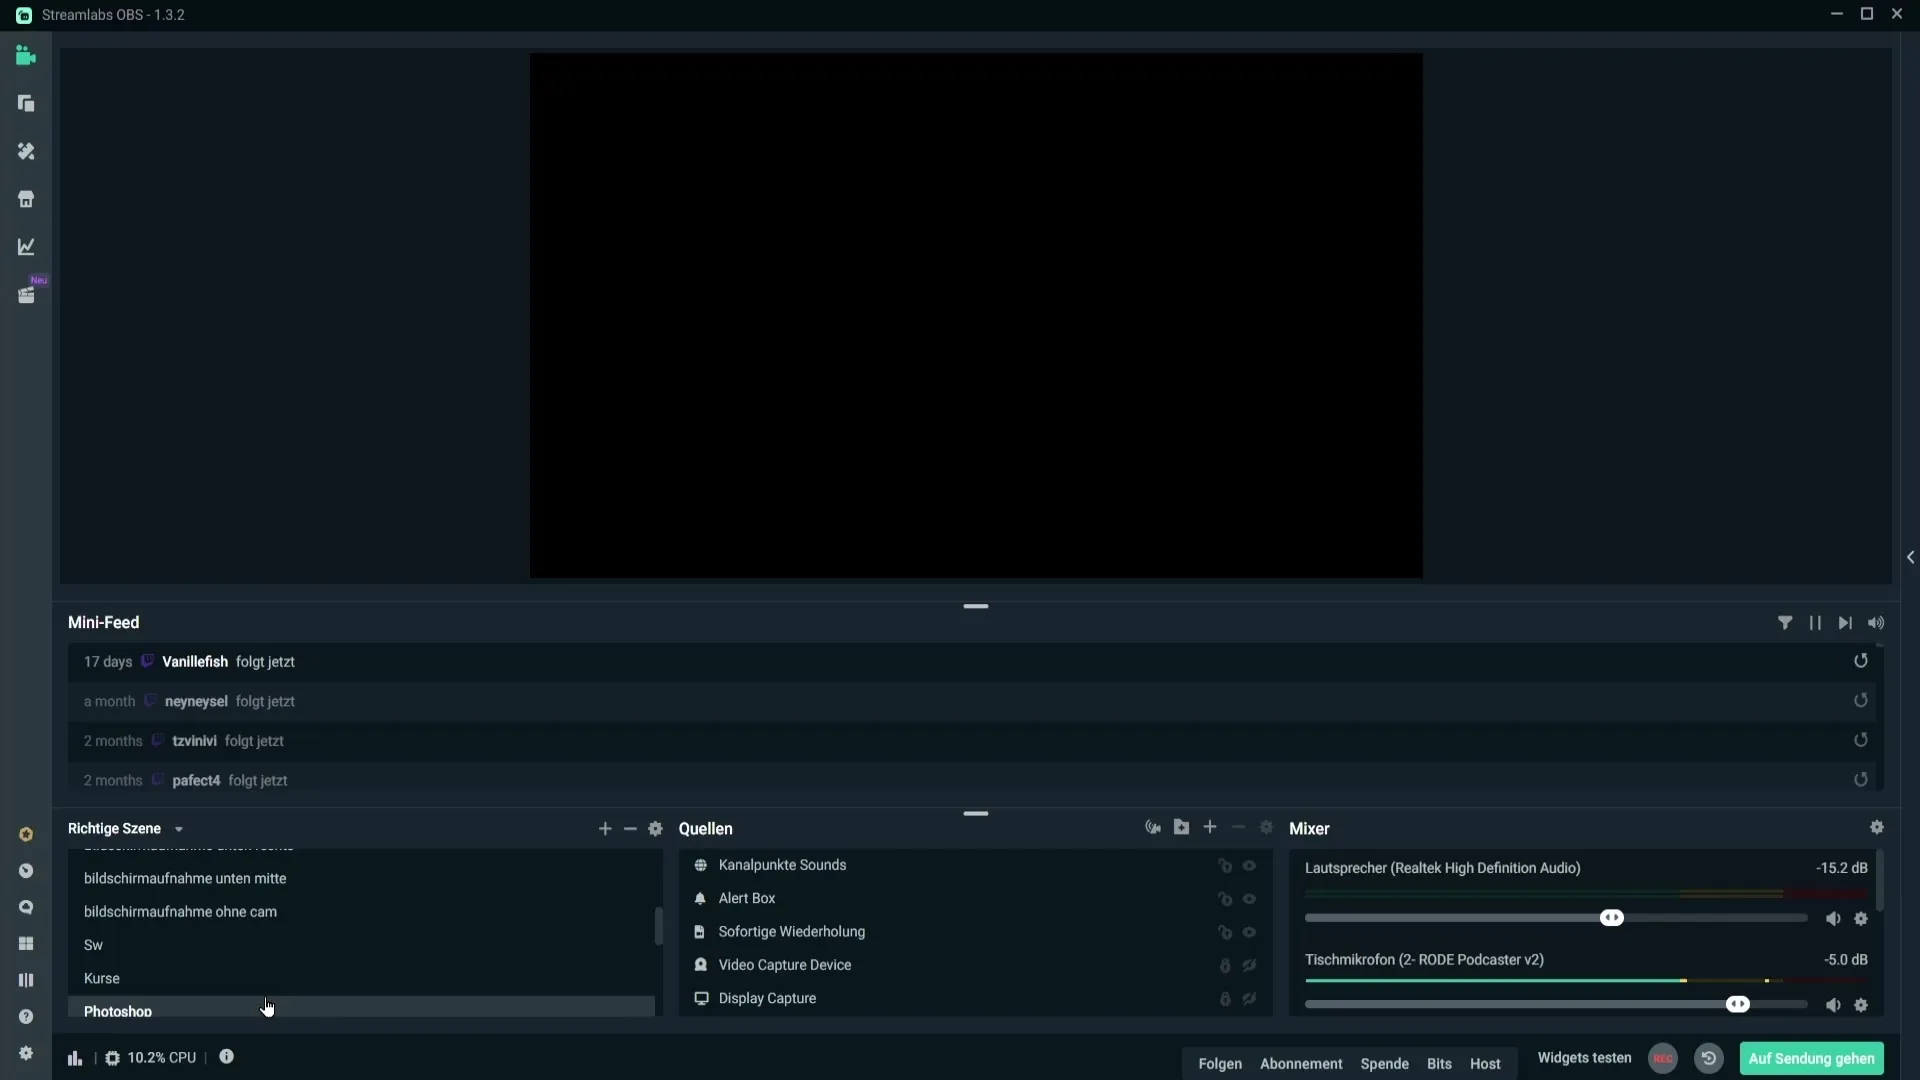
To integrate a donation jar in Streamlabs OBS, start by navigating to the desired scene where the donation jar should be displayed. Then click the plus symbol in the sources to add a new source. Select the donation jar from the list of available sources.
Step 2: Name the source
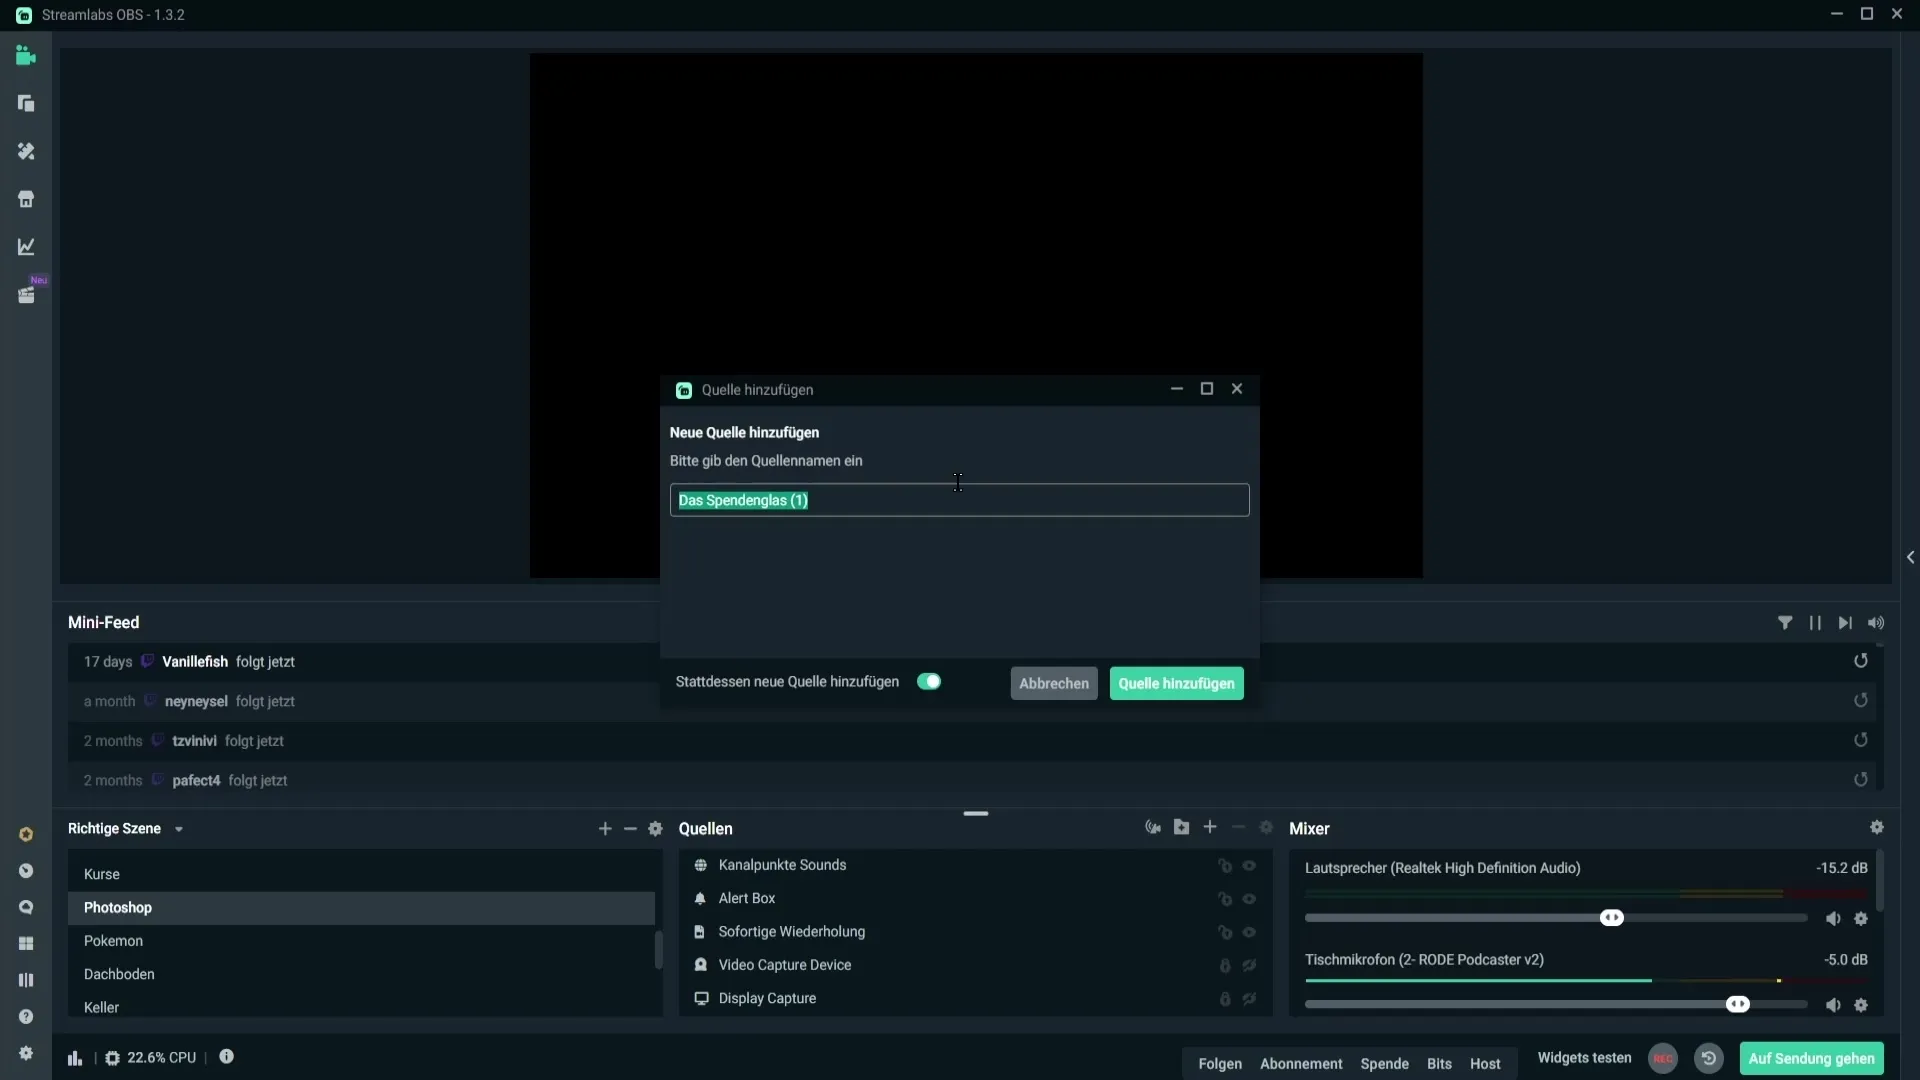
After selecting the donation jar, you will be prompted to enter a name for the input source. You could use "donation jar" as the source name. The next step is to actually add the source.
Step 3: Choose the jar design
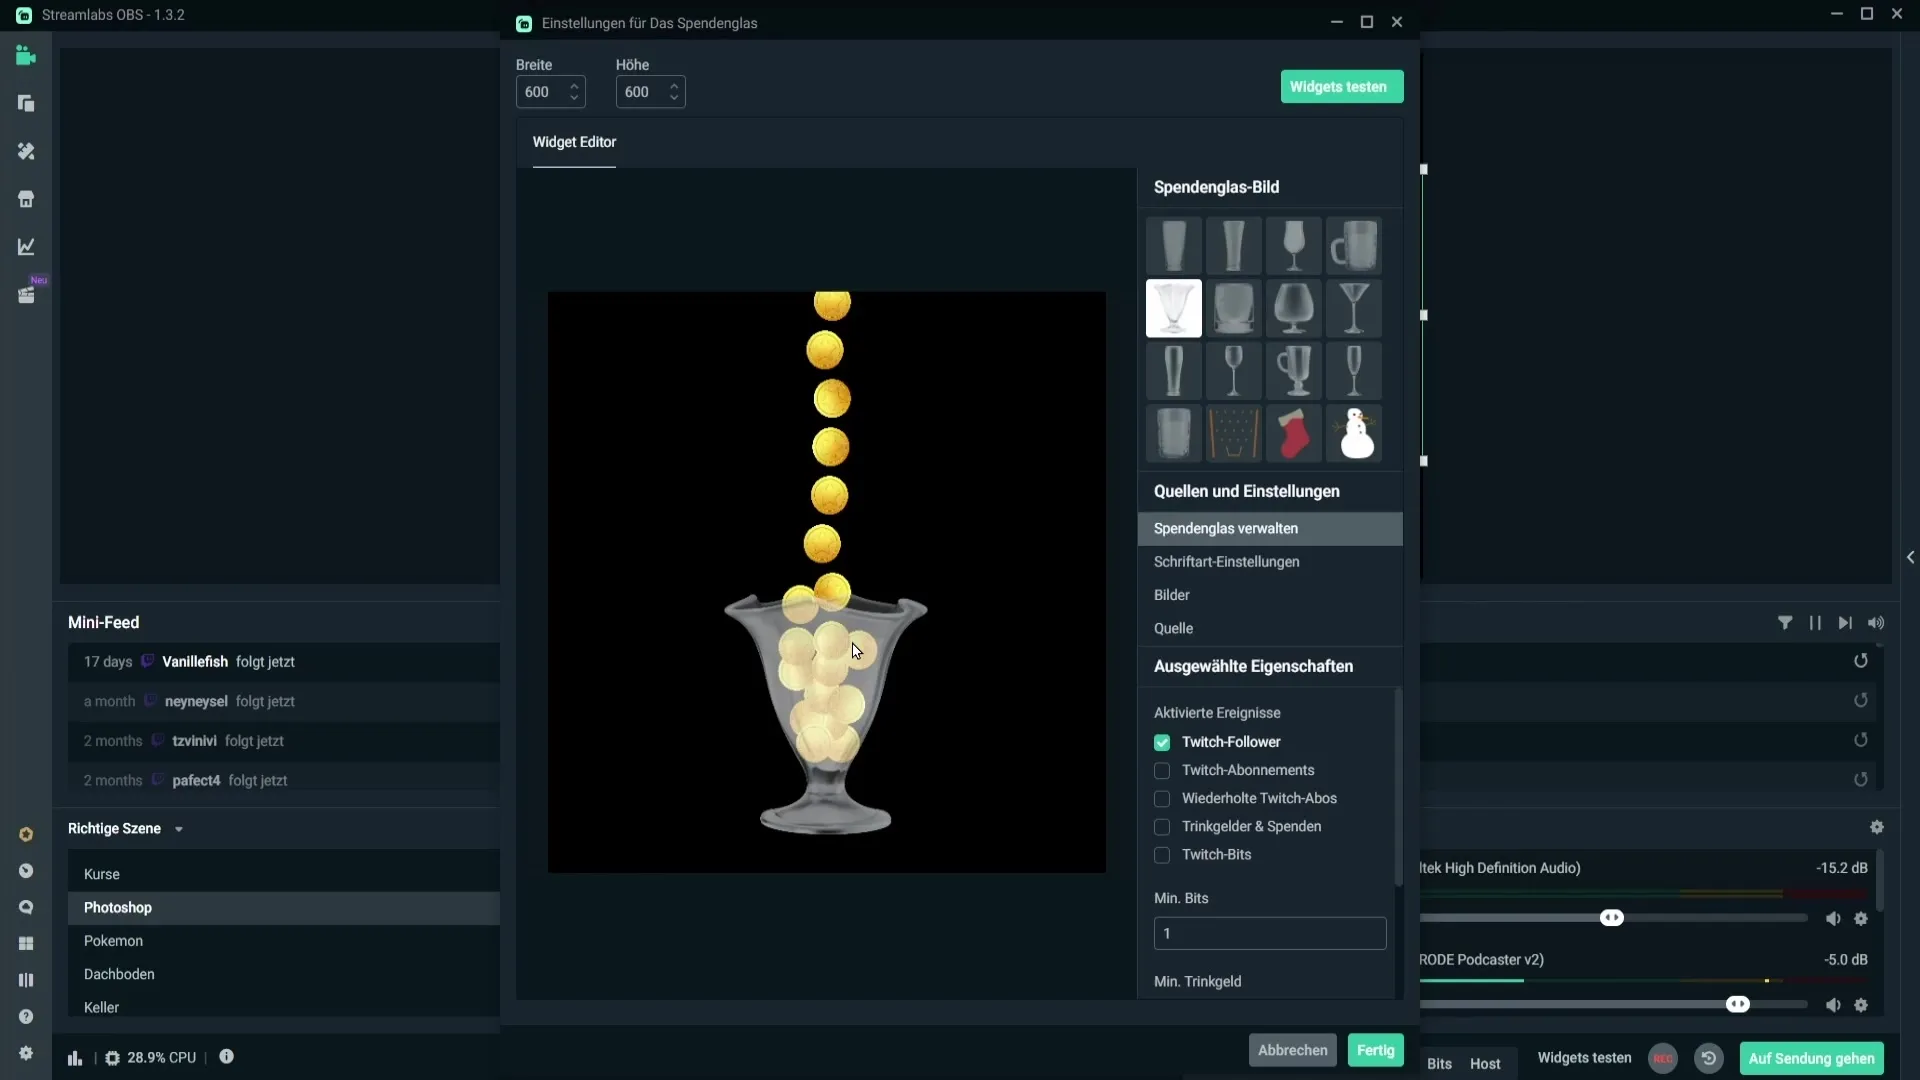
Now you have the option to choose a jar design. Scroll through the available options and select a suitable jar. There are even special designs for holidays like Christmas if you want to add something playful.
Step 4: Activate events
In the donation jar settings, you can specify which events should be displayed in the jar. Check the boxes for the events you want to activate, such as followers, subscriptions, donations, or bits. This gives you control over the presence of these events in the jar.
Step 5: Set minimum amount for donations
You also have the option to set a minimum amount for donations or bits before they appear in the jar. For example, you can specify that only donations of 5 euros and above are shown in the jar.
Step 6: Customize font and text
Here you can decide whether you want to display text in the jar alongside the symbol. You can choose the font and color of the text. Experiment with different font sizes and colors to achieve the perfect look.
Step 7: Customize event images
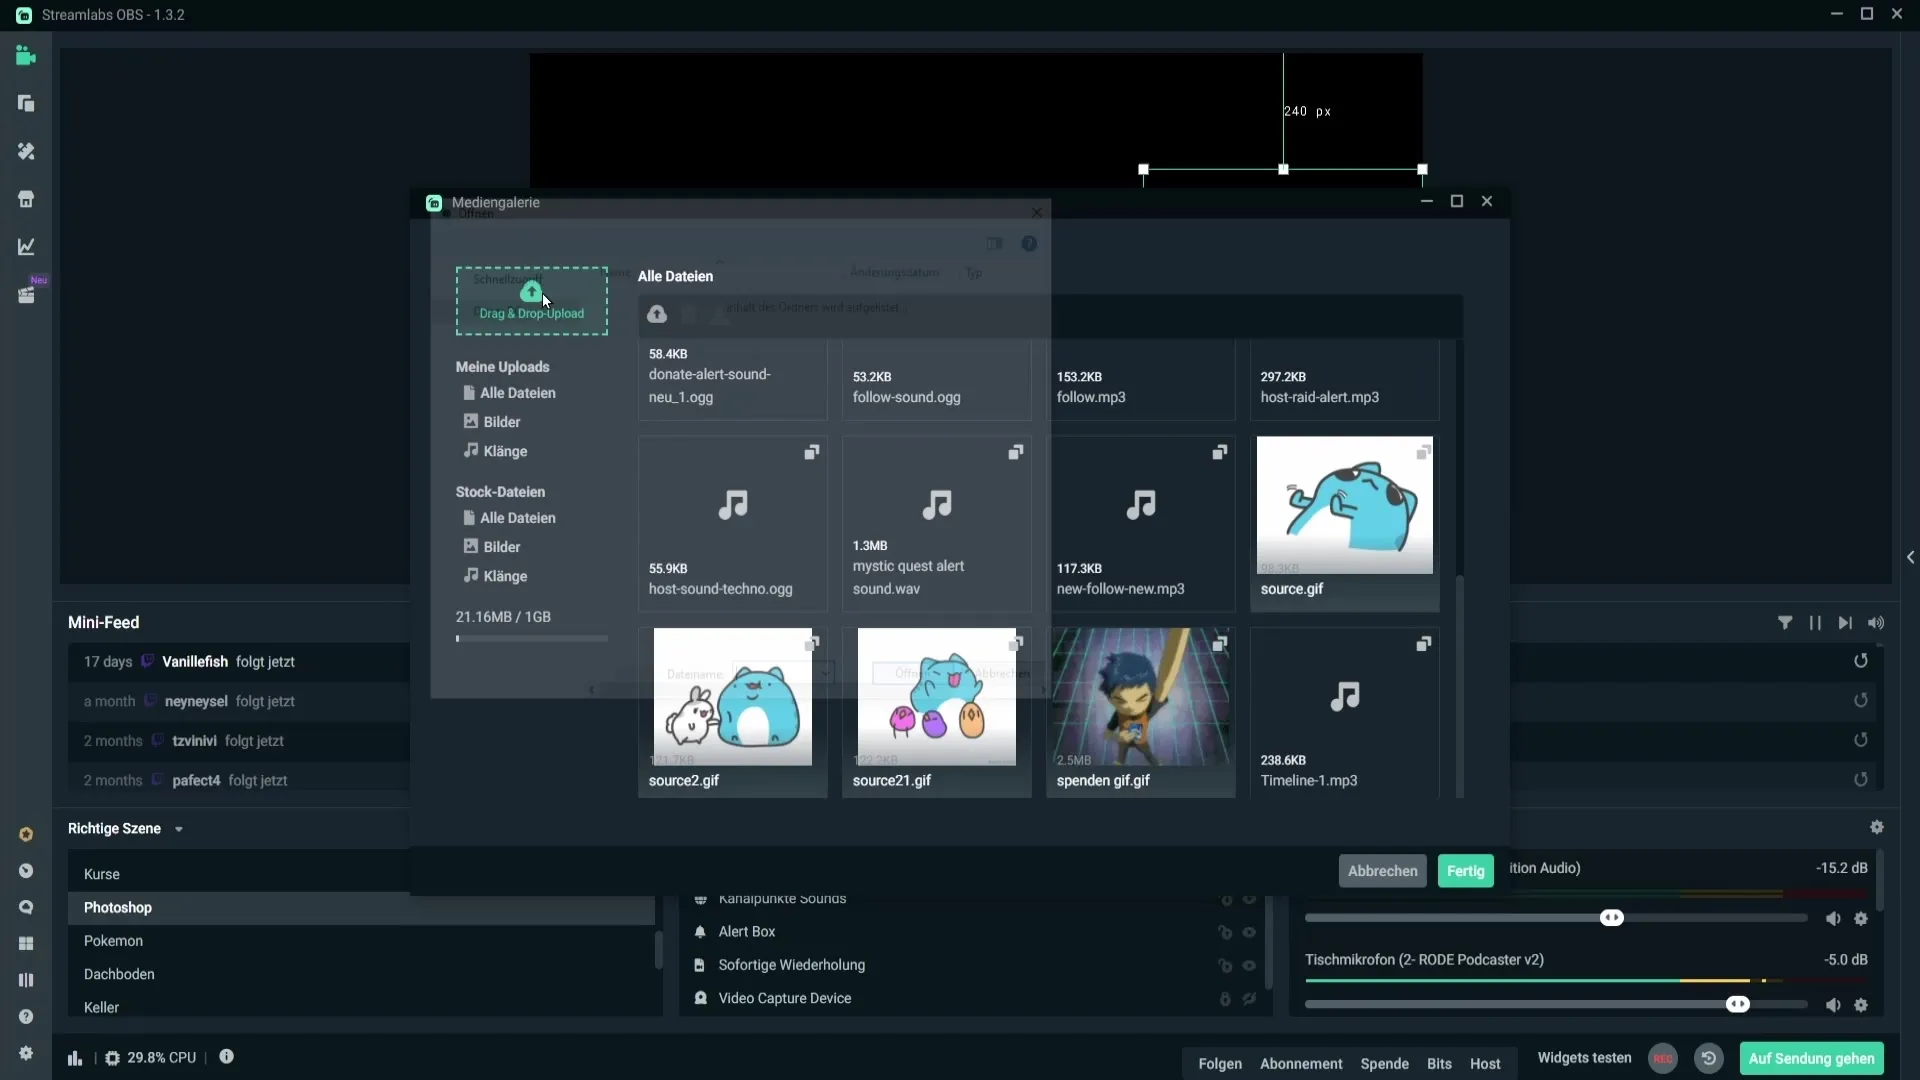
For differentiated donation amounts, you can set images to be displayed in the jar when donations come in. Click on "Media" and upload your own images or choose from existing images.
Step 8: Badges for bits and subscriptions
The images for bits or subscriptions are based on the badges you have uploaded on Twitch. These will automatically be displayed in the donation jar. Make sure you have these badges set up correctly.
Step 9: Source settings
Check the source settings. When it comes to additional customizations, try to change as little as possible if you're unsure, especially with custom CSS, as that can cause issues.
Step 10: Maintain the state of the donation jar
To save the state of your donation jar between scenes, disable the options that might cause a reset upon scene change. This keeps the display consistent even when switching between different scenes.
Step 11: Reset the donation jar
You can reset your donation jar at any time. This is done simply by clicking on the corresponding function. This will clear the donation jar and start it with a fresh state when you begin streaming again.
Step 12: Positioning and fine-tuning
Place your donation jar at the desired location on your stream overlay. Make sure it is large enough to be visible but not overwhelming the screen. After testing the settings, ensure that everything looks good.
Step 13: Empty the jar
If you want to empty the donation jar, there are two methods. You can do this in the Cloudboard by searching for "jar" or through the layout editor in Streamlabs OBS to empty the jar directly.
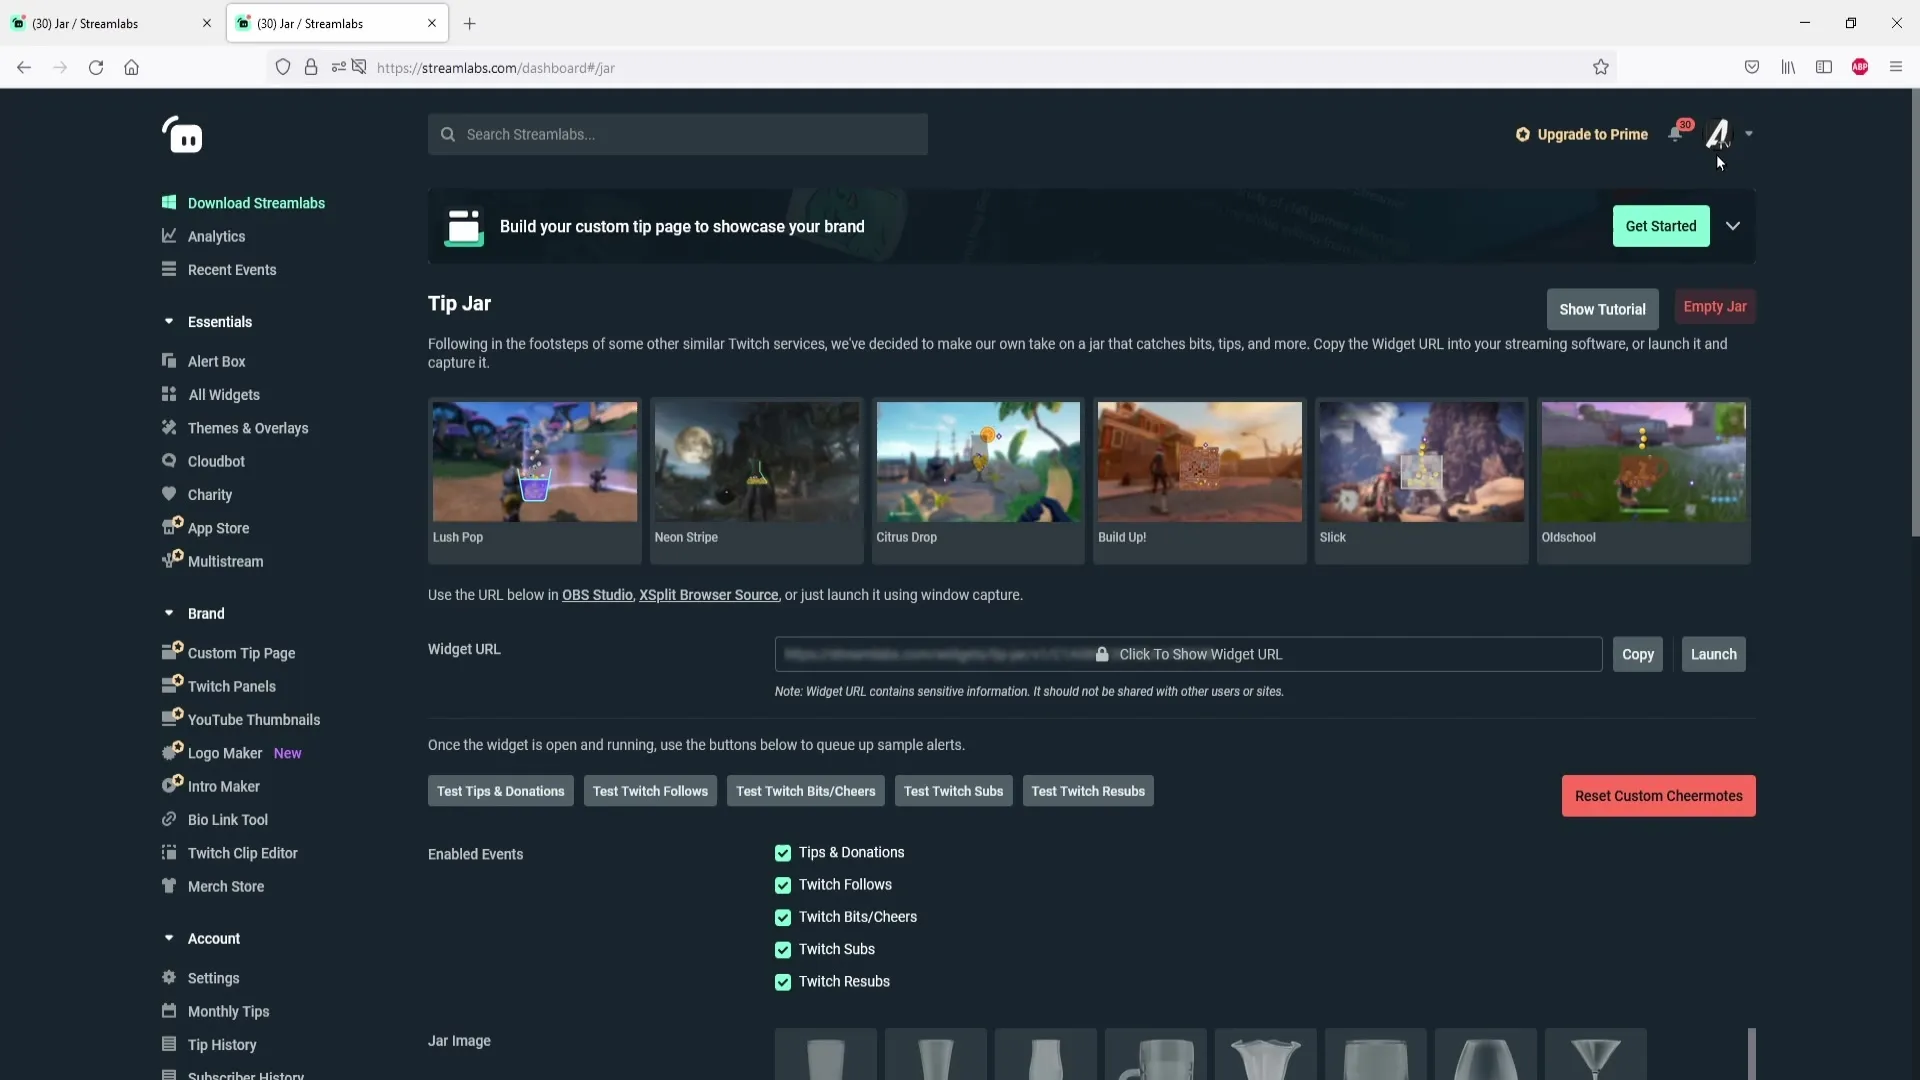
Summary – Setting up a donation jar in Streamlabs OBS
The donation jar in Streamlabs OBS can be customized in various ways to give your stream a personal touch. From choosing the design to setting events and specific text and image customizations, everything is possible.
Frequently Asked Questions
How do I add a donation jar in Streamlabs?You add a donation jar by clicking on "Sources" in a scene and then on the plus symbol.
Can I customize the events in the donation jar?Yes, you can select which events should be displayed in the donation jar, e.g., subscriptions or donations.
How can I reset the donation jar?The donation jar can be reset by clicking on the corresponding function in the settings or in the Cloudboard.
Can I upload my own images for my donation jar?Yes, you can upload your own images for different donation amounts in the donation jar.
What happens to the display of the donation jar when I switch scenes?If you want to maintain the donation jar in the same state, you need to disable the corresponding options.
