In this guide, you will learn how to create your own character-based animator using After Effects CC and Photoshop. With the right tools and a bit of creativity, you can create your own puppet from existing templates and tailor it for your animations. This process is not only simple but also extremely exciting, as you can let your creativity run wild. Let's dive right into the individual steps.
Key Takeaways
- You can use existing puppets as a foundation.
- You will learn how to create and customize characters in Photoshop.
- You will learn how to prepare animations in After Effects.
Step-by-Step Guide
1. Open Photoshop and create a new file
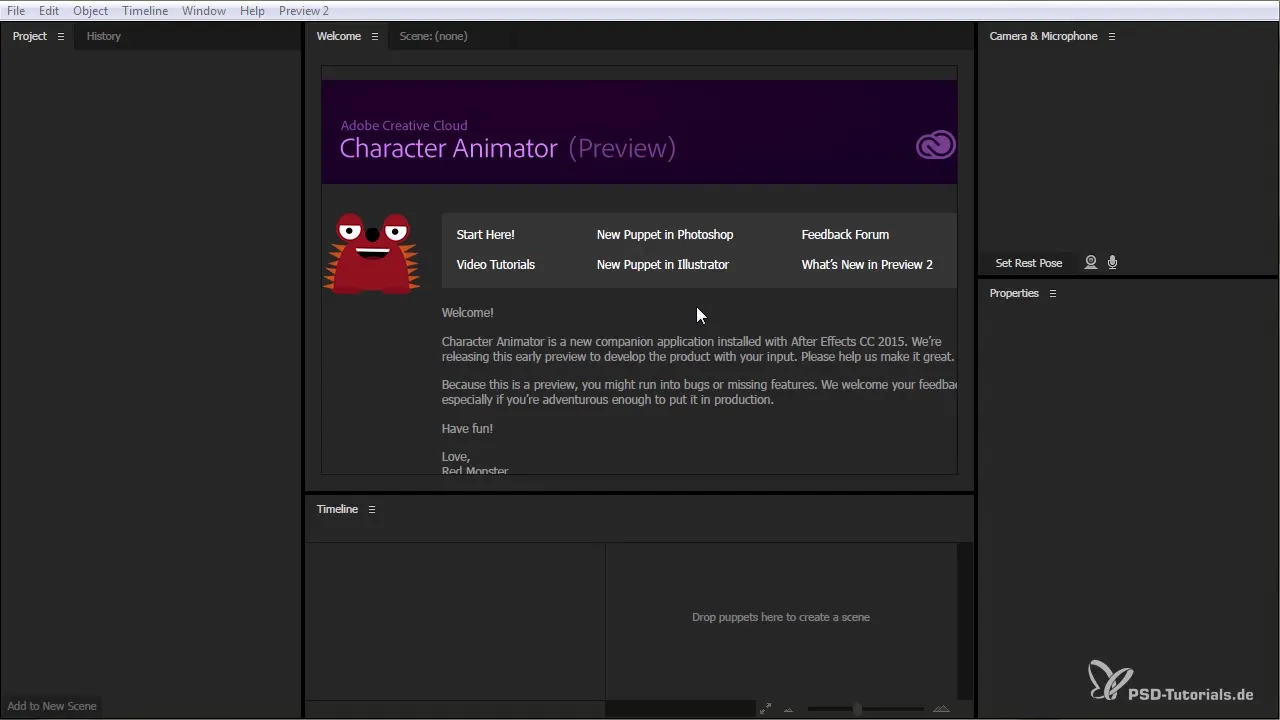
Start by launching Photoshop. Select "New File" and make sure to keep the layers when prompted. This is important so that your character assets are interpreted correctly in the Character Animator.
2. Customize the layers
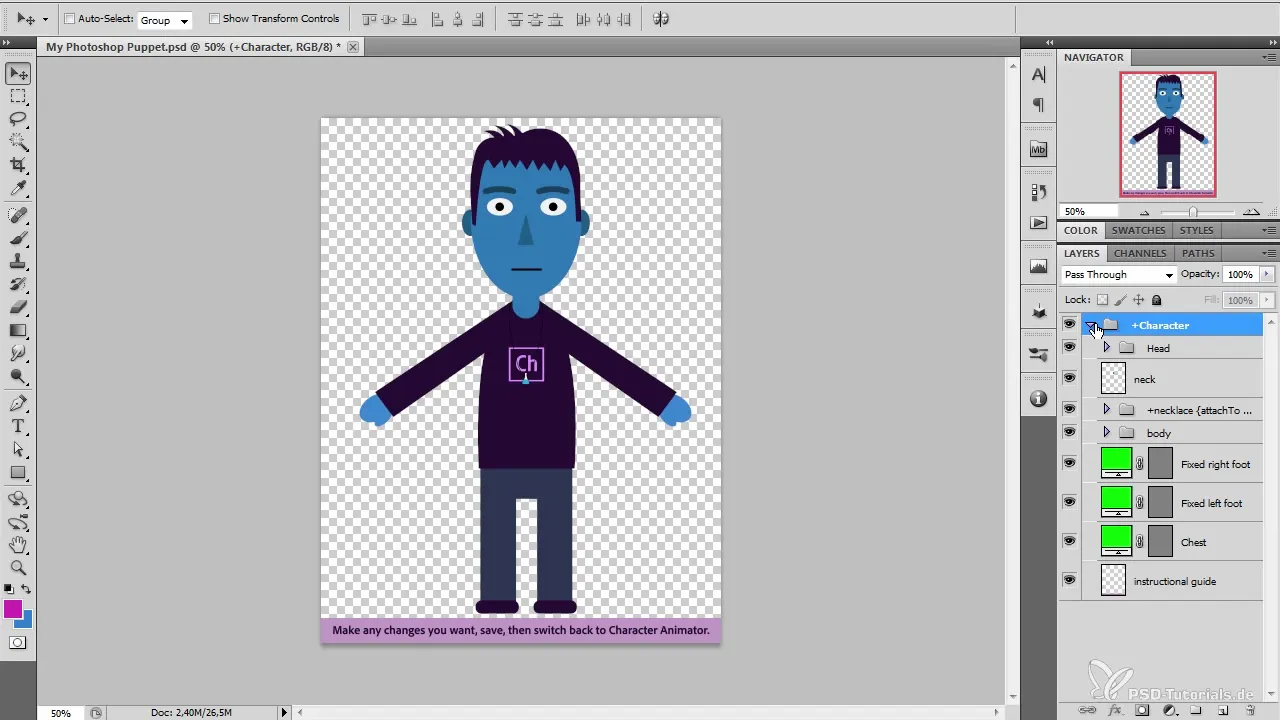
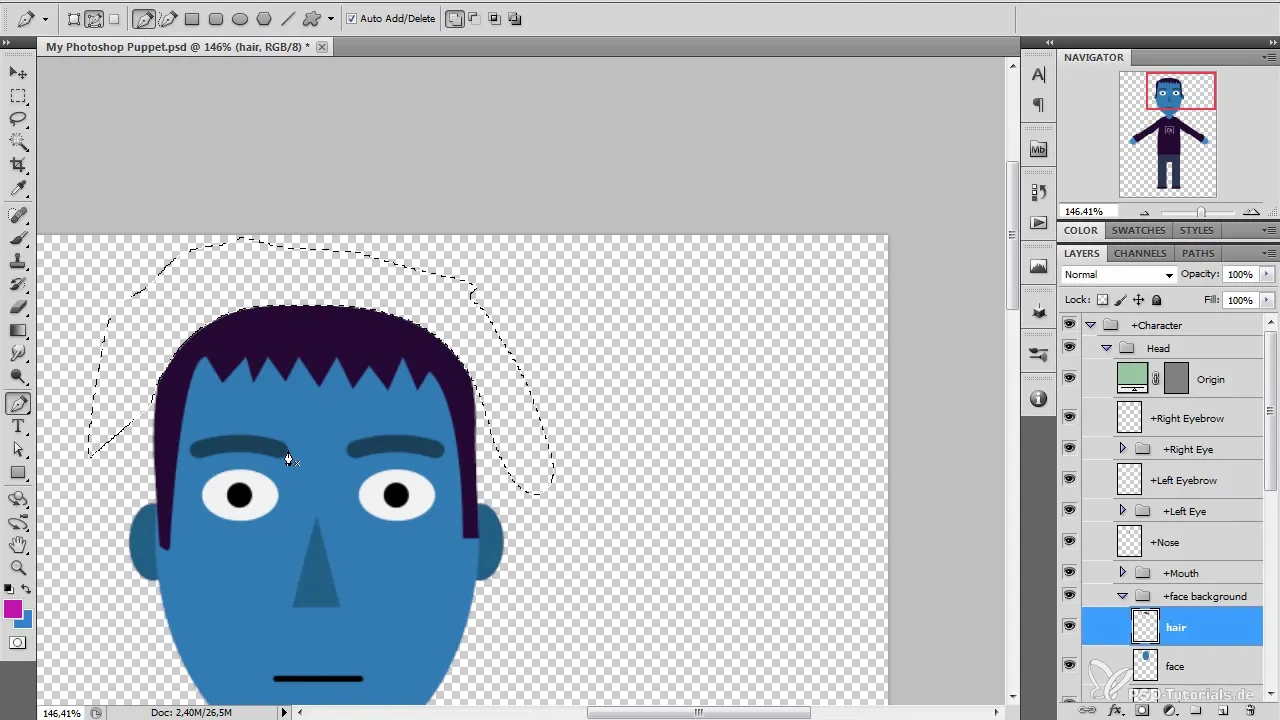
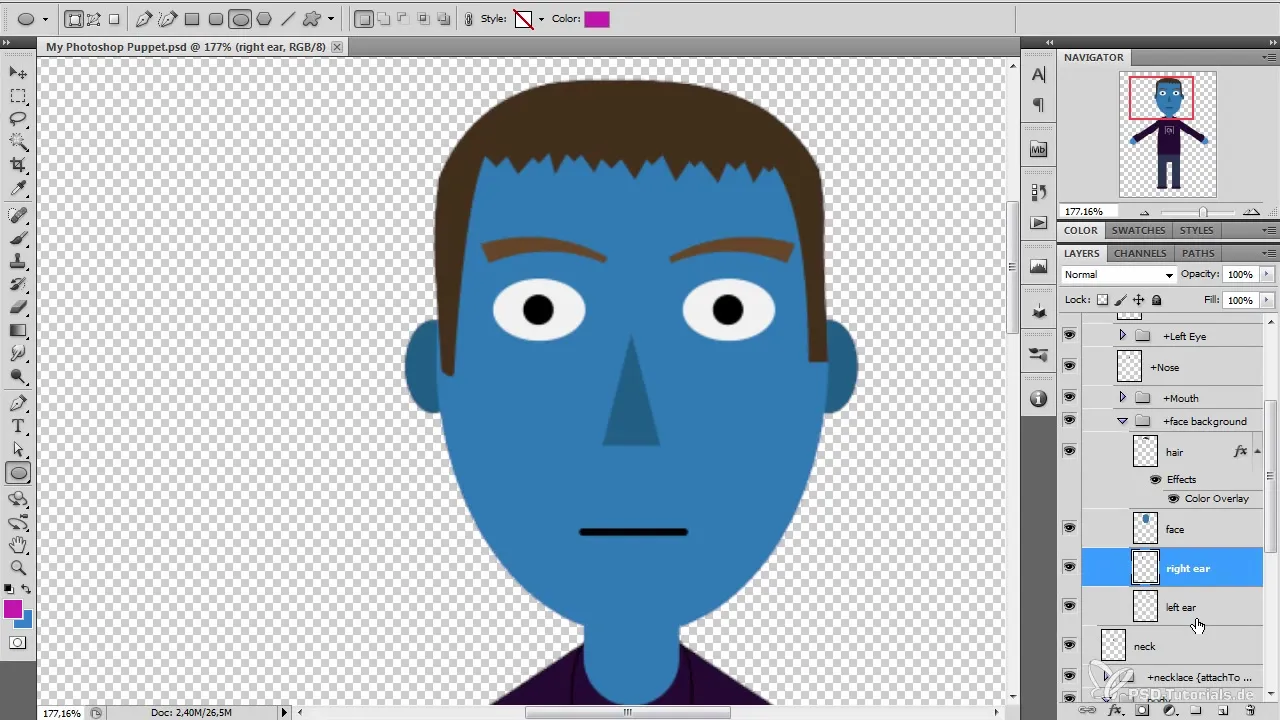
In the Layers panel, you will now see the "Character" folder. Here you have access to various layers of your character. You can customize everything, starting with the head. To animate the head, name the layers so that the Character Animator can recognize them (e.g., "head").
3. Design the eyes and mouth
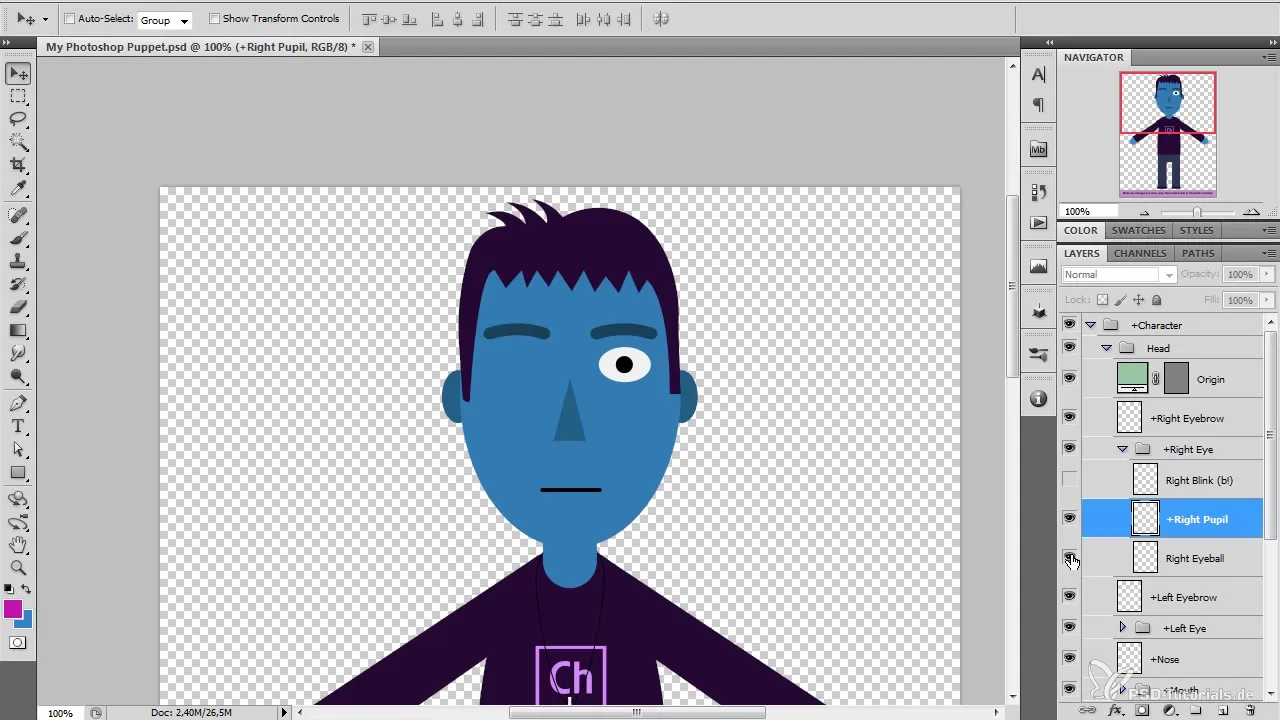
Now let's move on to the eyes. You should create eyebrows, eyes, and the mouth. Each should be on its own layer, as you will control these individually for animation. For example, to animate the mouth, create different layers representing various mouth shapes.
4. Animation with keystrokes
You can assign various gestures to the character. For instance, you can define what happens when you press the keys 1, 2, 3, or 4. This allows you to represent different emotions or actions by naming the layers accordingly.
5. Optimize the figure and add details
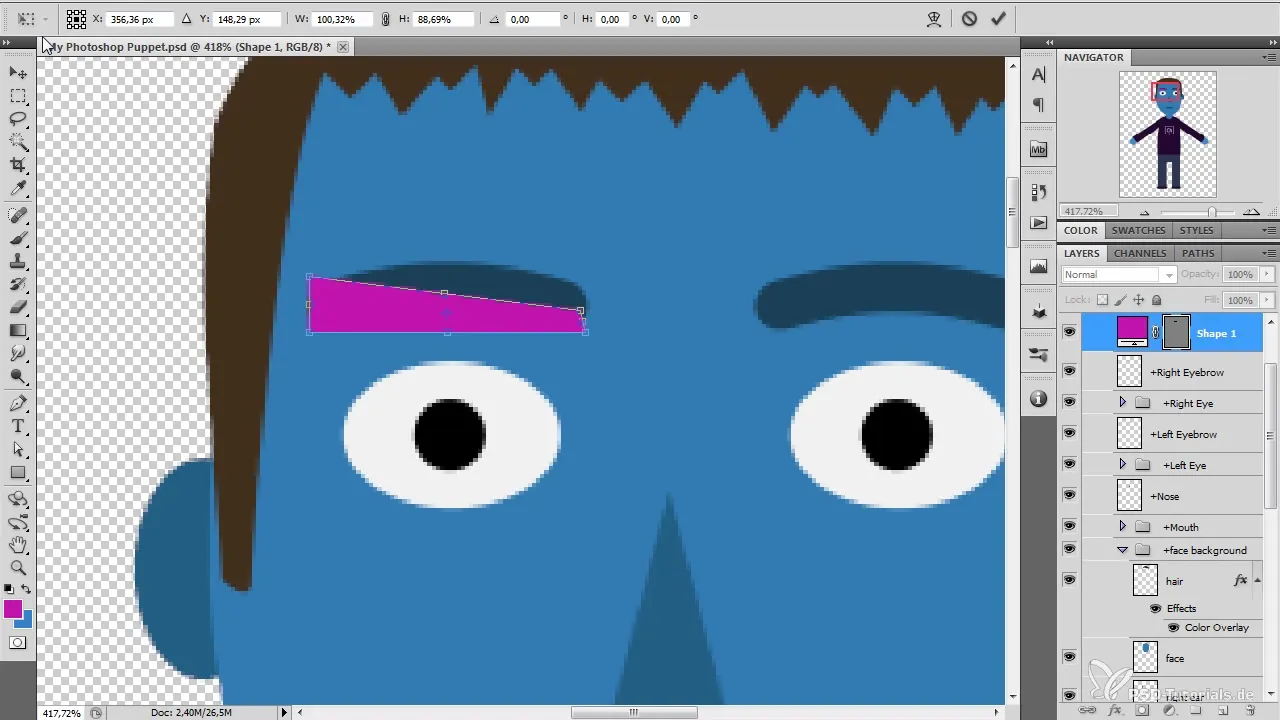
Now it’s time to refine your figure. Change the hair color, facial expression, or clothing. Select the appropriate layers in Photoshop and use the drawing tools to give your figure the finishing touches.
6. Save and switch between Photoshop and Character Animator
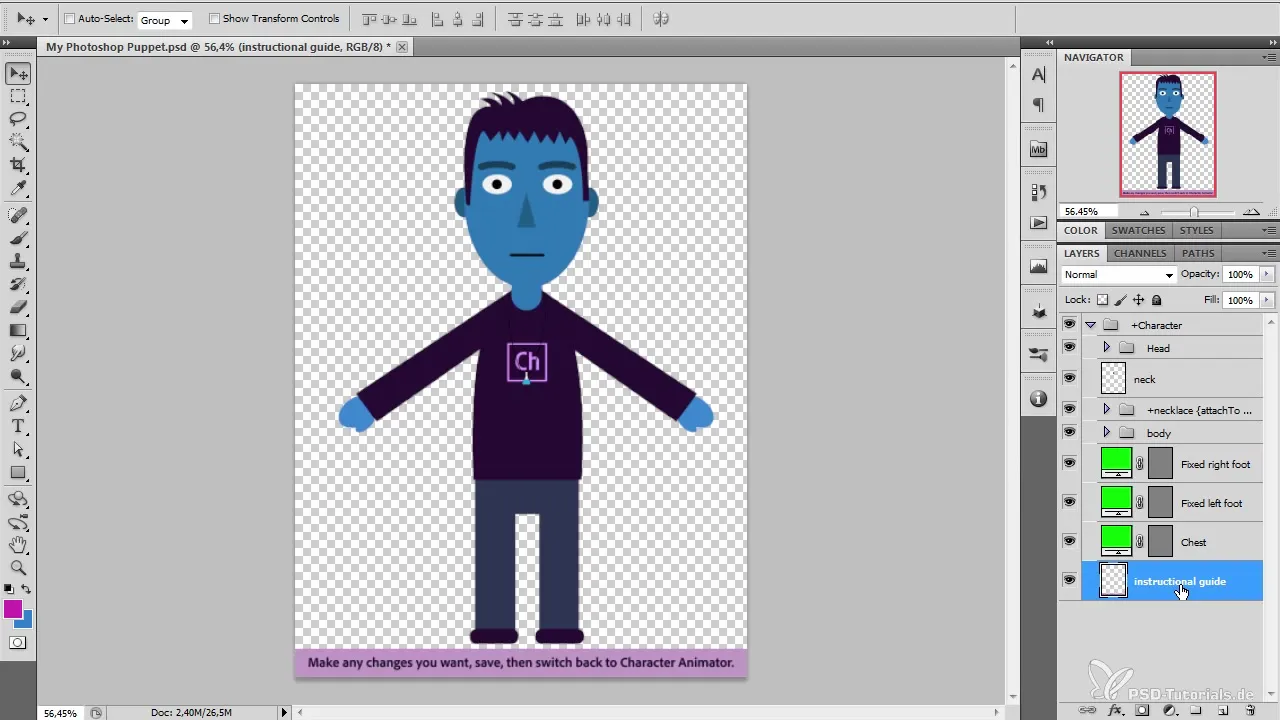
Don’t forget to save your changes. Go back to the Character Animator so that it recognizes the latest adjustments. If you did everything correctly, you should see the updates in the preview immediately.
7. Add basic animation
Now you can start animating. Click on the various parts of your figure in the Character Animator to move them and test their interactions. Pay attention to how the head wobbles and how the different body parts work together.
8. Fine-tuning and tests
Thoroughly test your animation. Check if everything works as desired and that all movements are smooth and coherent.
9. Export your animation
Once you are satisfied with your animation, export it in your desired format for use in your projects. You can further process it in After Effects or insert it directly into videos.
Summary – Character Animation with Photoshop and After Effects – Create and Animate a Character
In this guide, you have learned how to design your own animated figure using Photoshop and After Effects. By following the different steps, you can easily and quickly create a character that comes to life in your projects.
Frequently Asked Questions
How do I use the Character Animator software efficiently?Use defined names for layers and continuously test your animations.
Can I change the colors in Photoshop?Yes, you can adjust the colors of any layer in Photoshop at any time.
How do I save my animation?Save your changes in Photoshop and export your animation in Character Animator.


