Welcome! In this guide, you will learn how to effectively use After Effects CC in conjunction with the Adobe Creative Cloud. You will get insights into installing, managing language settings, as well as the new features offered by the Creative Cloud. Let's get started!
Main Insights
- After Effects CC can be quickly installed and managed thanks to the Creative Cloud.
- You can easily switch between different languages.
- The Cloud allows safe synchronization of projects and files.
- Easy integration of fonts and access to designer communities.
Step-by-Step Guide
1. Installing the Creative Cloud
To install After Effects CC, start by downloading the Adobe Creative Cloud. If you already have an account, you can install the application via the official Adobe website. If you have not activated the Creative Cloud yet, you also have the option to try a 30-day trial version.

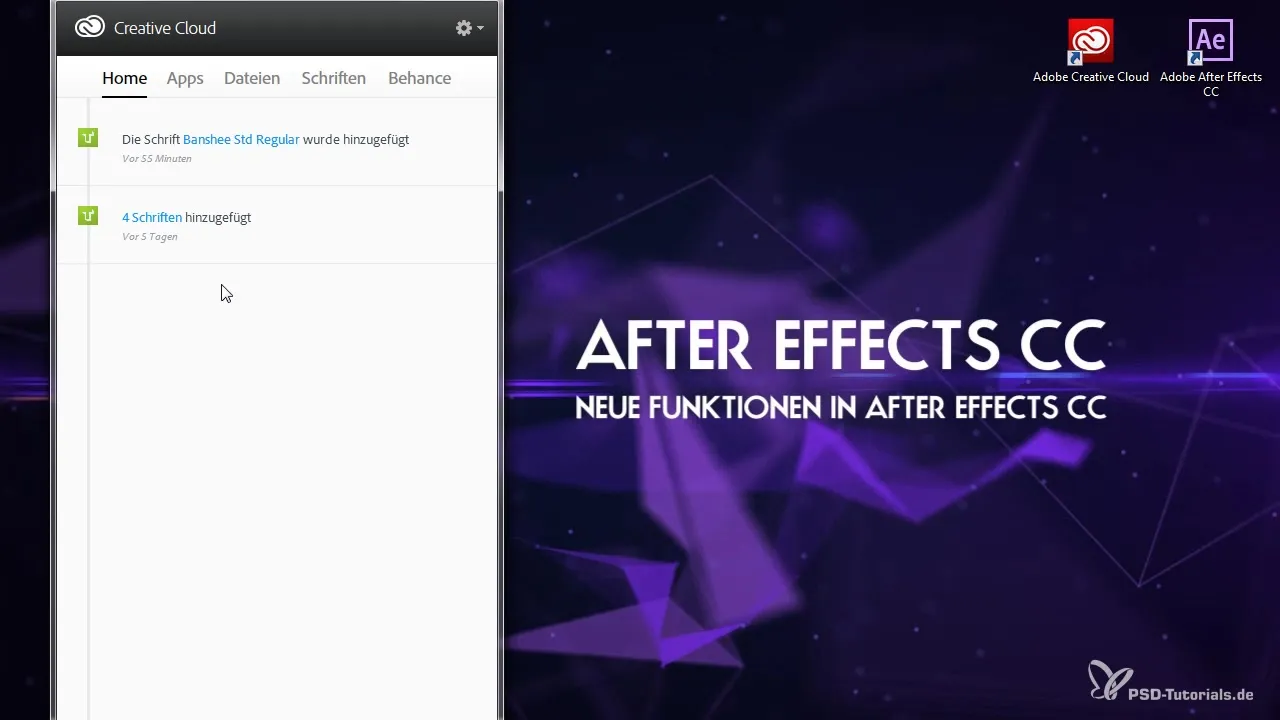
Once the Creative Cloud is installed, the user interface opens, presenting you with all available apps and news.
2. Downloading Apps
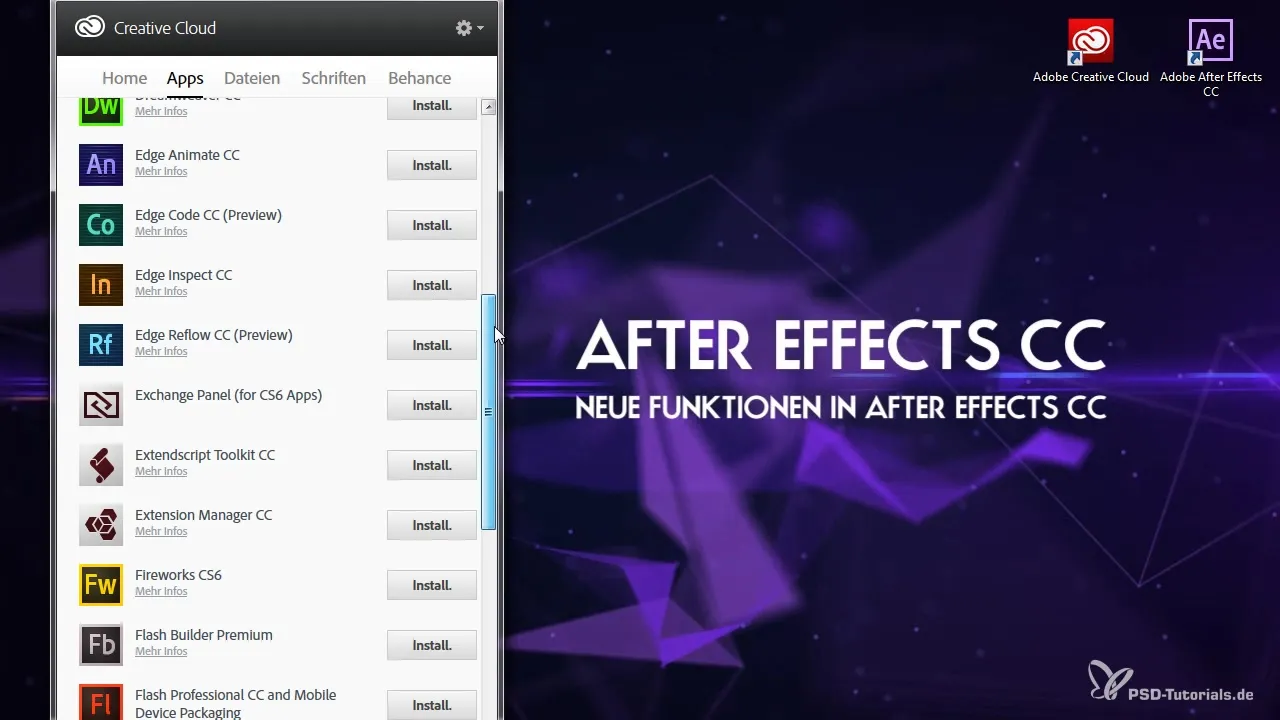
In the Creative Cloud, you can install multiple programs. If you have a subscription for the Master Collection, many apps are available for easy downloading. In the “Apps” section, you can see if an update is available and install it directly.
3. Using Cloud Synchronization
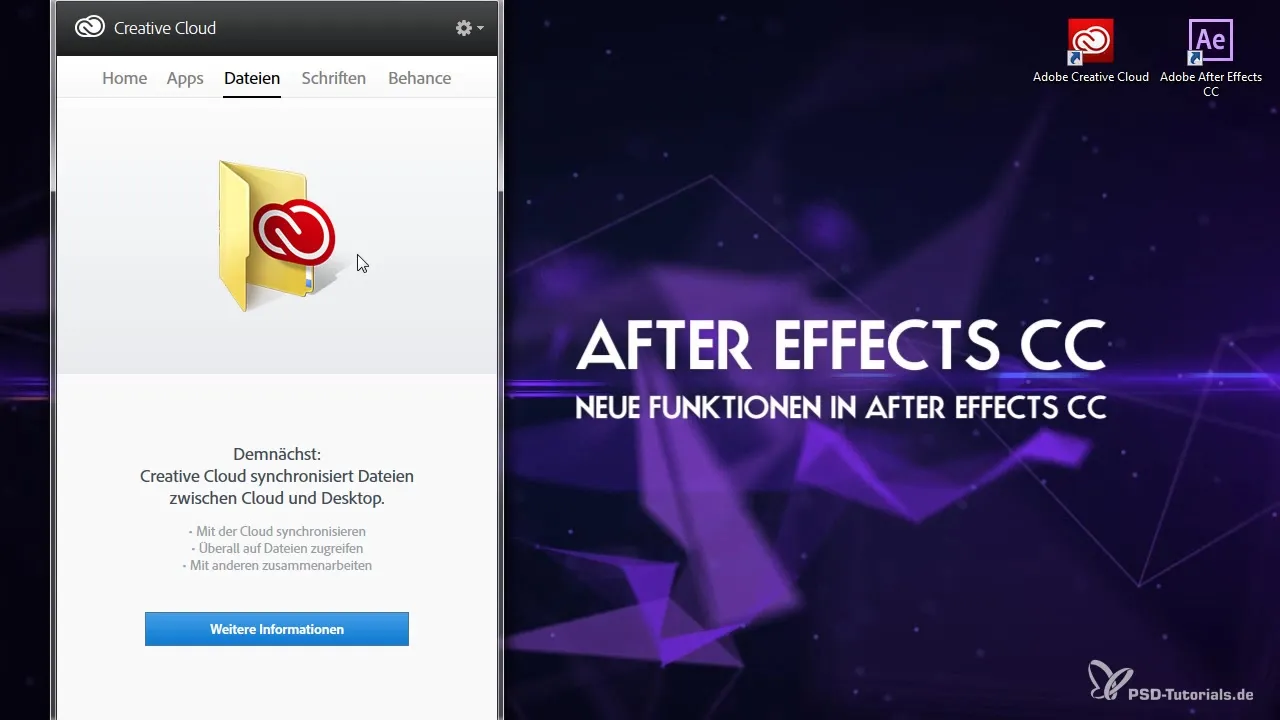
One of the best features of the Creative Cloud is the ability to synchronize your projects. If you are working on a project on your laptop and want to continue later on your desktop PC, you can simply upload the file to the Cloud and access it on your other device.
4. Synchronizing Fonts from Adobe
Take advantage of the numerous fonts available from Adobe. To download a font, go to the fonts section and select the desired fonts. Click on the plus icon to synchronize the fonts for your desktop.
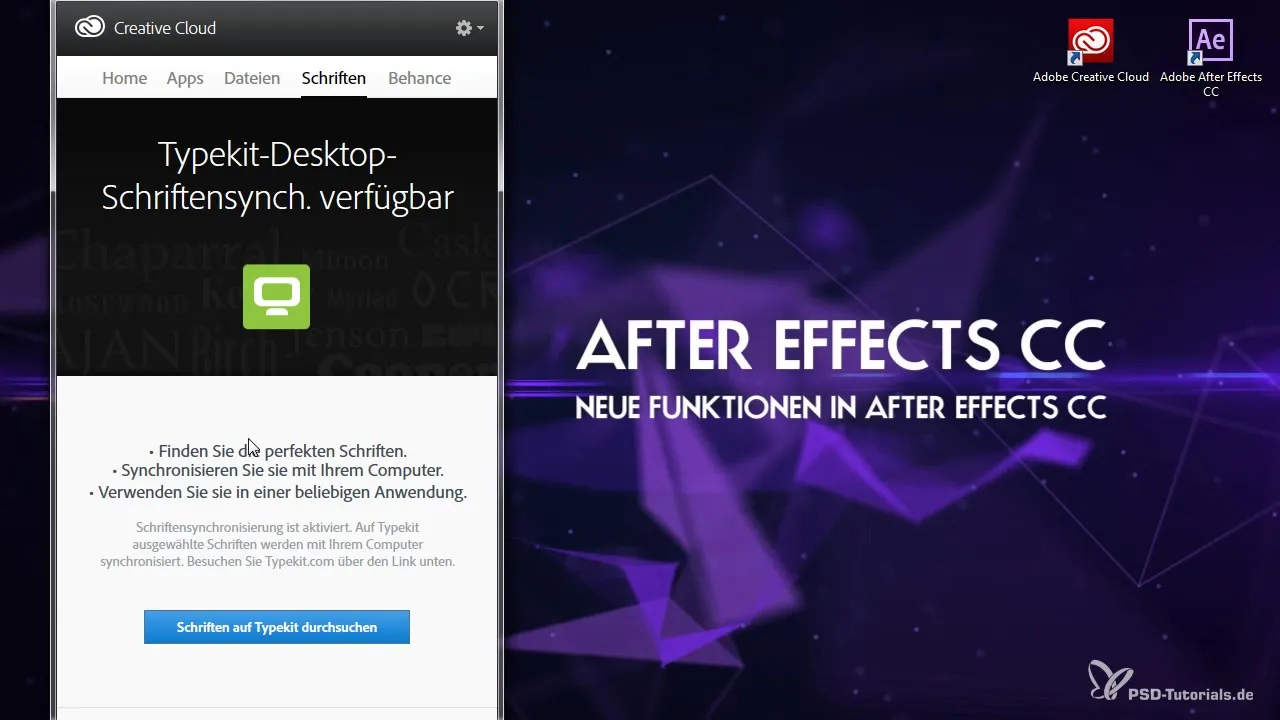
Once you have synchronized the font, it is immediately available in After Effects without needing to restart the program.
5. Presenting Your Creative Portfolio
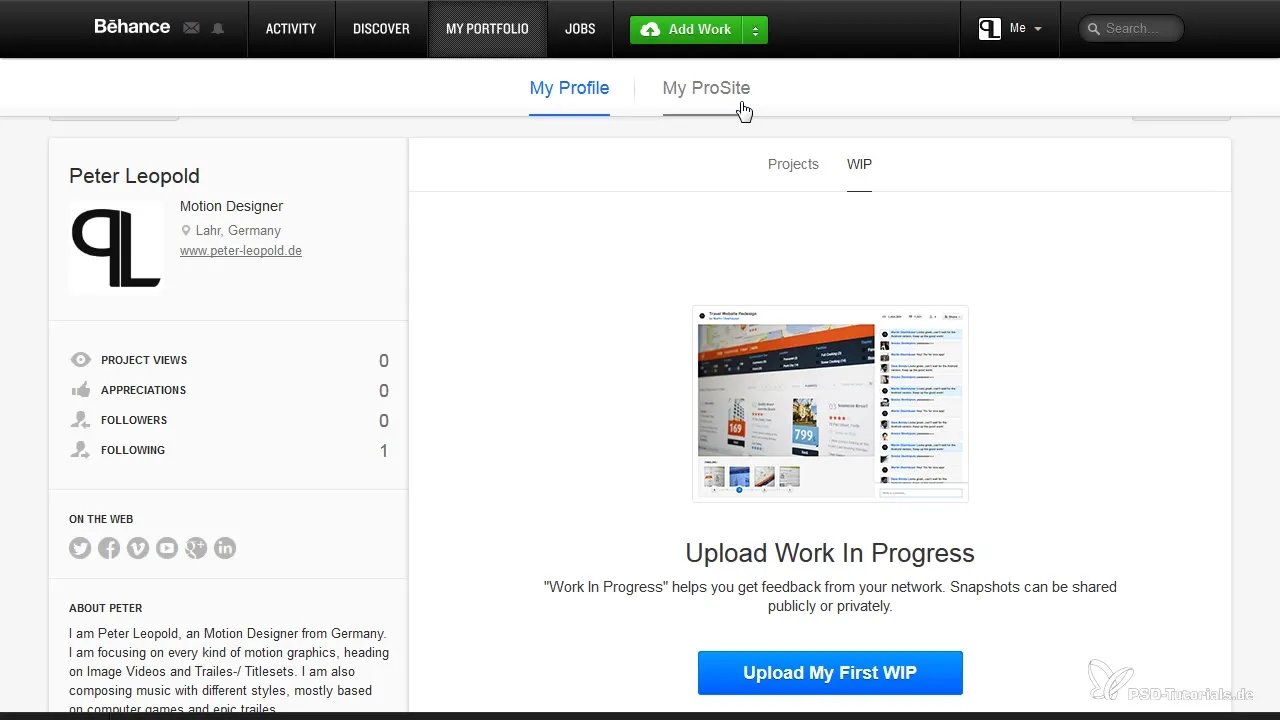
With Adobe Behance, you can showcase your projects and work to a wide audience. Upload your projects and receive feedback from other designers. This is a great way to get inspired and improve your work.
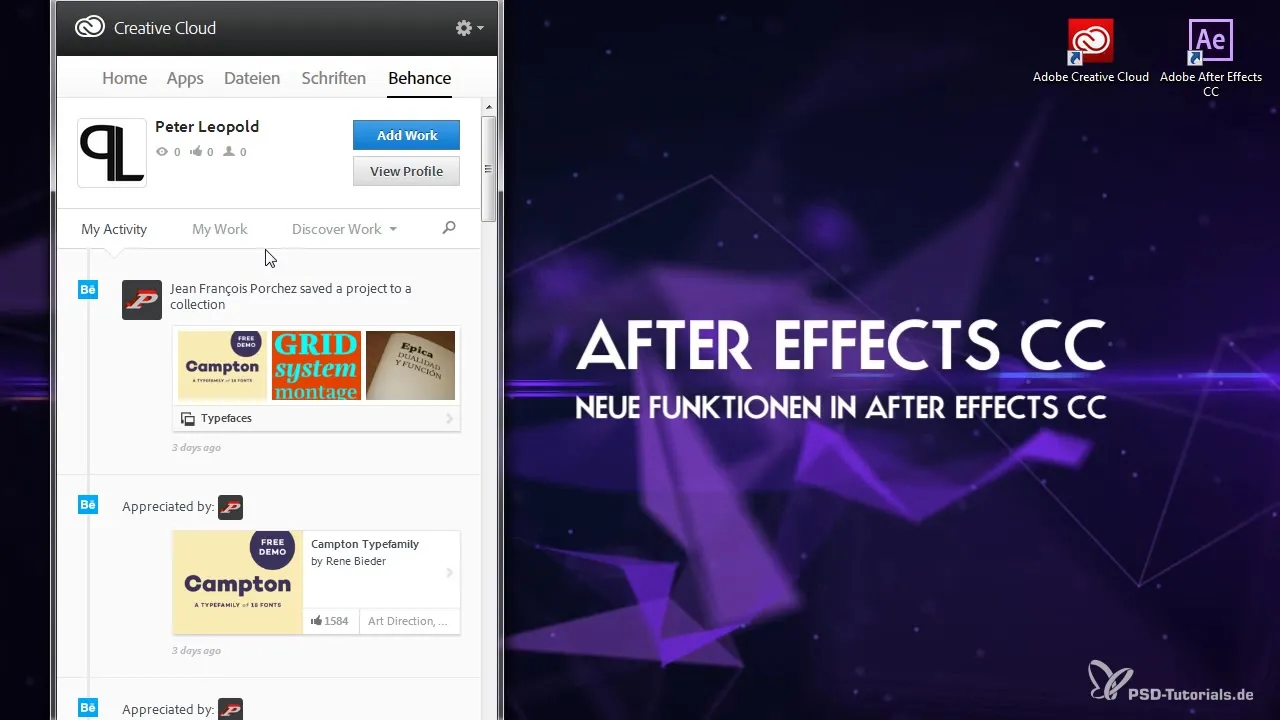
You can create a personal profile to showcase your work and experiences while also making new contacts in the creative community.
6. Changing Language Settings
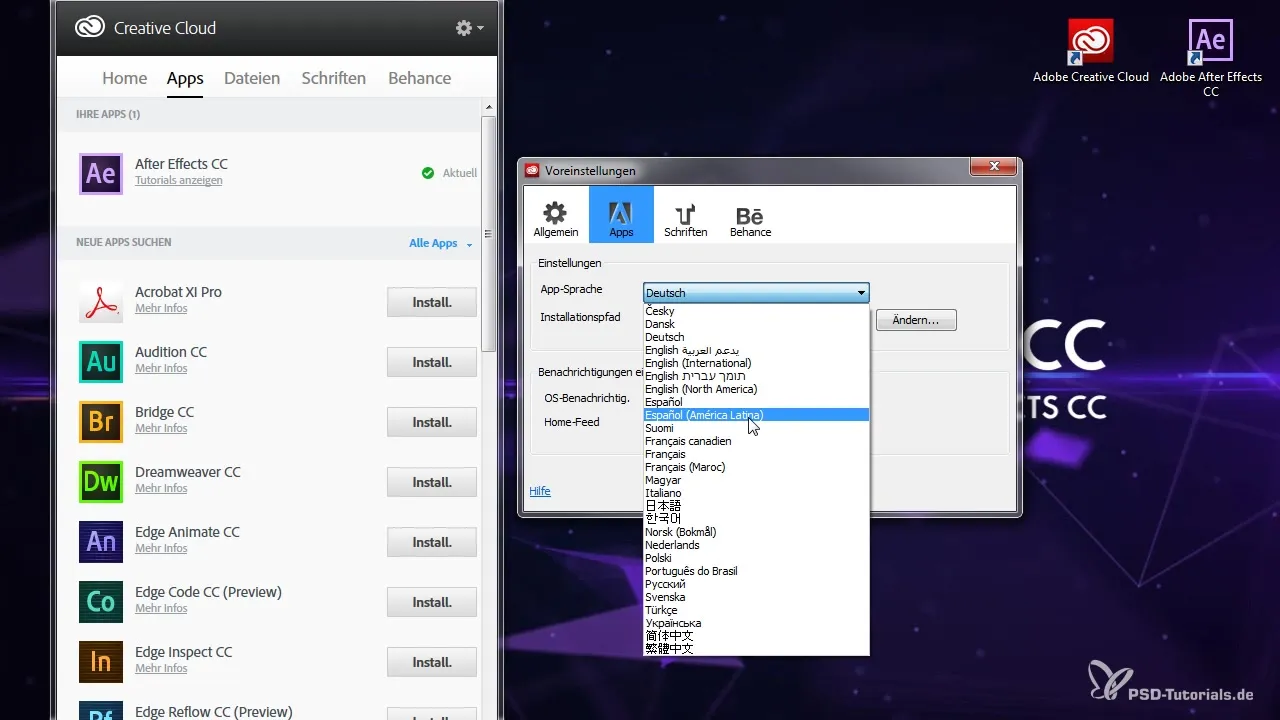
Another useful feature is multilingual support. You can easily switch the language of the apps. To do this, go to the settings in the Creative Cloud and select the desired language.
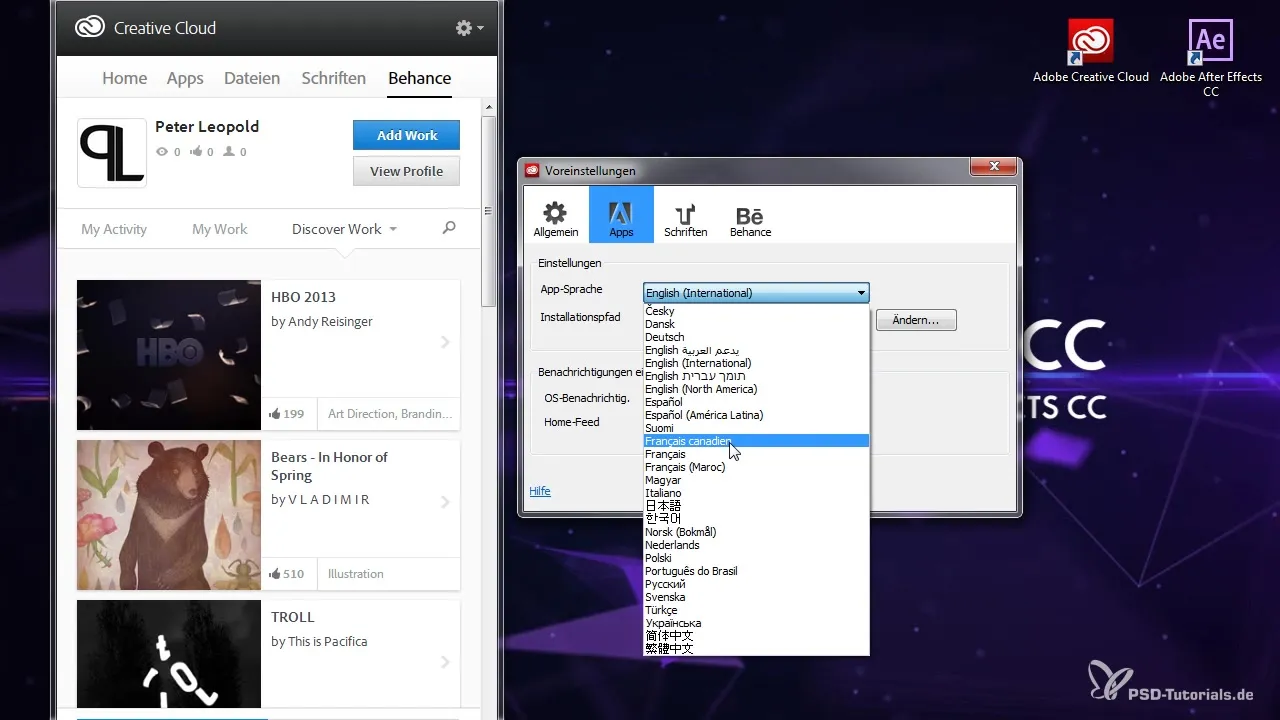
For example, if you want to switch from English to German, the application will simply update, and you won’t need to reinstall everything.
7. Log Out and Manage Your Account
Take care of your account and make it flexible. You can log out at any time or activate the Creative Cloud on another computer without data loss. This makes it very convenient to use if you work at different locations.

Now you can start After Effects with the new language pack and navigate the user interface.
Summary – Guide to Using Creative Cloud with After Effects CC
In this guide, you learned how to install After Effects CC in combination with the Creative Cloud, change language settings, synchronize fonts, and present your creative projects. All these features enable you to work more effectively and creatively.
Frequently Asked Questions
How do I install the Creative Cloud?Download the Creative Cloud from the Adobe website and follow the installation instructions.
How can I change the language in After Effects?Go to the settings of the Creative Cloud and select the desired language.
What is Adobe Behance?Adobe Behance is a platform to showcase your creative works and receive feedback from other designers.
How do I synchronize fonts?Select the desired fonts in the fonts section of the Creative Cloud and click on the plus icon to synchronize.
Can I continue my work on different devices?Yes, by uploading your files to the Cloud, you can access them on any device.

