Your video is created, and now you want to make it accessible to the public? Before you begin, there are some essential things you should know about different video formats. In this guide, I will introduce you to the various video formats, explain their uses, and discuss the relevant settings. Whether you're creating a YouTube tutorial, a movie, or a personal project—the choice of the right format can be crucial for the quality and performance of your video.
Key Insights
- There are different container formats like MP4, AVI, MKV, and MOV.
- Choosing the right codec is crucial for the quality of audio and video.
- The file size and the required hardware for playback play an important role.
- Understanding bitrates can optimize the quality and storage requirements of your video.
- Compression methods can significantly reduce file size.
Step-by-Step Guide
1. Export Video
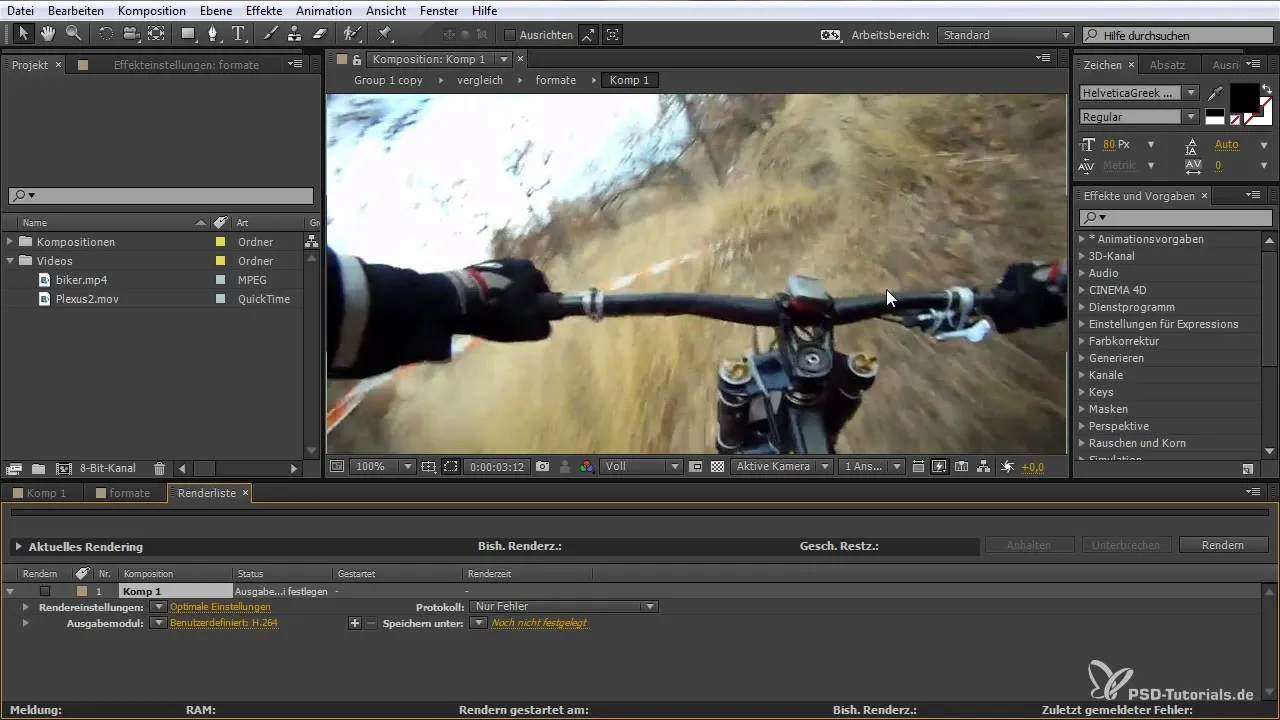
To start exporting your video, open the output module in After Effects. Here, you have the option to export your video in different formats. To select the desired formats, go to the export options. Now you are ready to choose your video formats.
2. Select Container
An important step is selecting the right container. Containers like MP4, AVI, MKV, or MOV have different properties and are suitable for various applications. For example, MP4 is commonly used on the internet, while AVI is preferred for high-quality videos.

3. Select Codec
After selecting a container, the next step is to choose the codec. The x264 codec is often used for the MP4 format. This codec provides high video quality while keeping the file size low. Make sure to select the appropriate codec for the audio track, such as AAC.
4. Compress Video and Audio
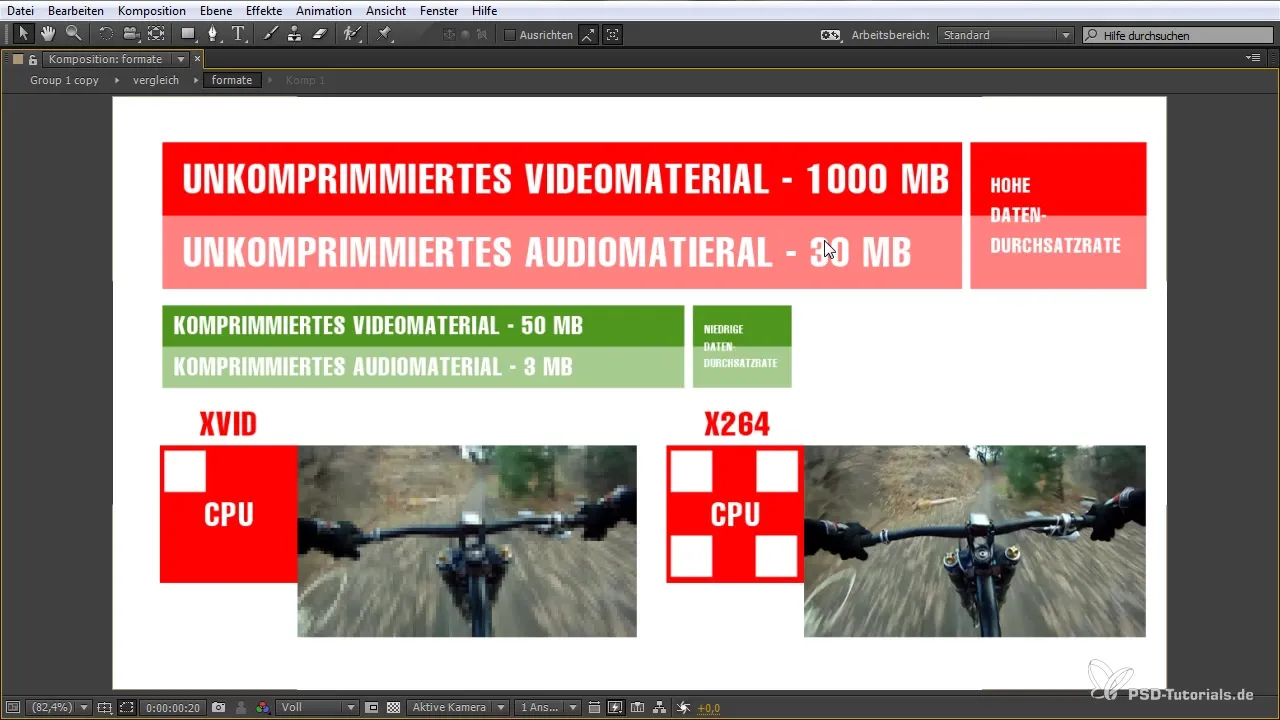
Another important aspect is the compression of video and audio. Uncompressed files can become very large, while compressed files reduce the data rate and make the file easier to handle. When compressing, it's important to find a good compromise between quality and file size.
5. Set Bitrates
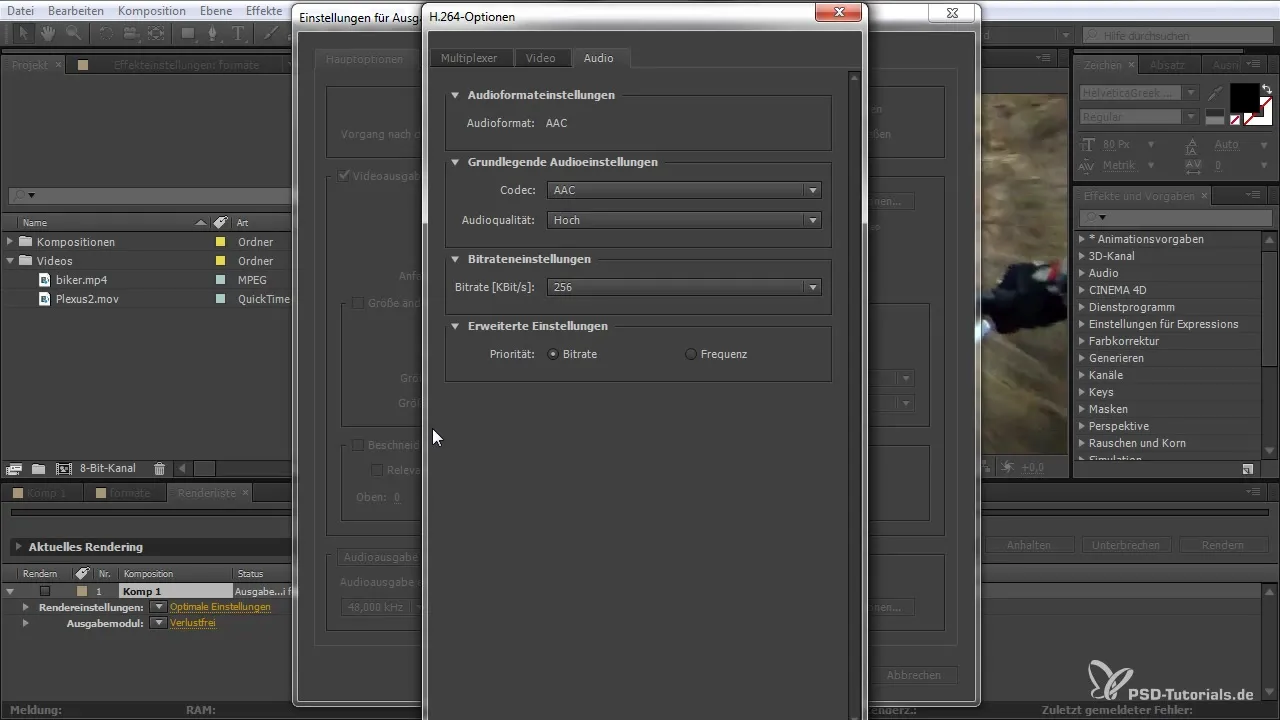
The bitrate is crucial for audio and video quality. A bitrate of 160 to 192 kbps is recommended for web videos. This optimizes the file size without significantly affecting quality. Use this parameter to achieve a balance between quality and performance.
6. Choose Video Output Options
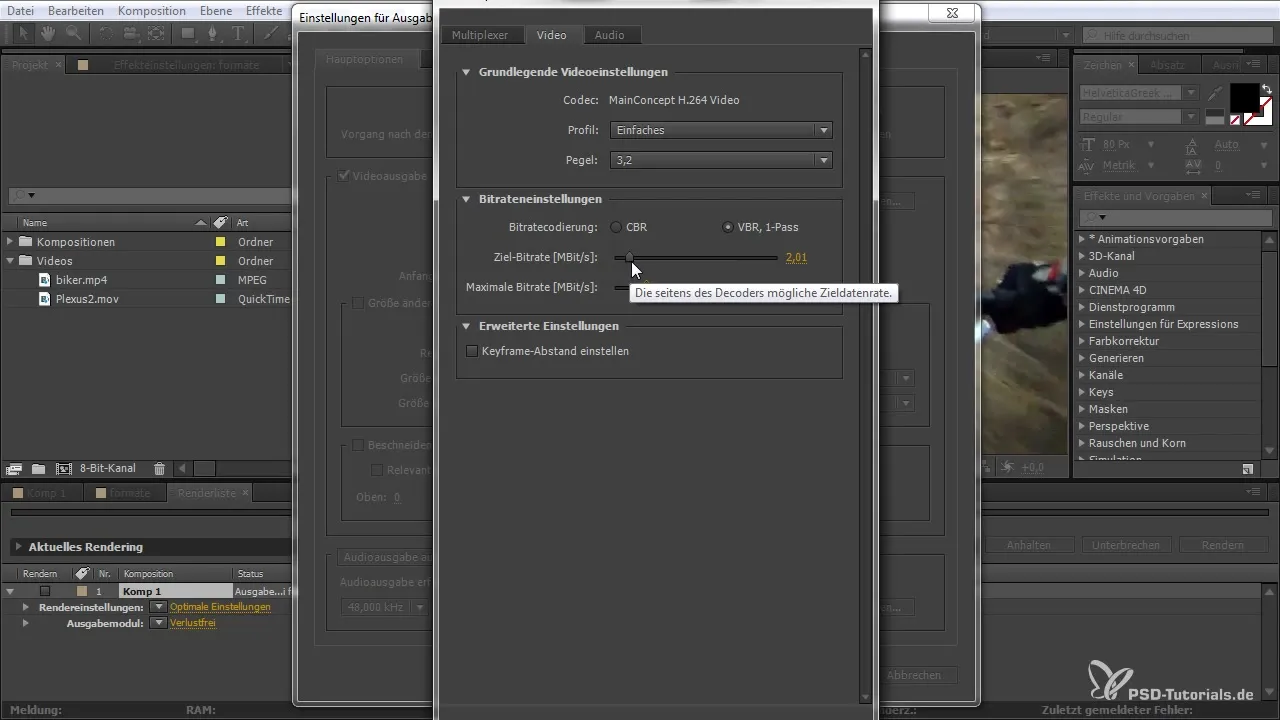
You can also customize the various video output options. Here, you have the opportunity to set profiles and levels that can influence the quality of your video. Consider whether you want to optimize specific areas of your recording, such as fast movements in the video.
7. Save and Render
Once you have made all the settings, it's time to render your video. Specify the save location and make sure your video is converted into the desired format. Click "OK" to complete the process.
Summary – Video Formats for Beginners: Understanding the Basics and Applying Them Correctly
In this guide, you have learned how to select the right video formats and which settings are important to achieve the best possible quality. You can now specifically choose the container and codec options that suit you to optimally prepare your video for publication.
Frequently Asked Questions
What are the most important video formats?The most common video formats are MP4, AVI, MKV, and MOV. Each has its own advantages and disadvantages.
Which format is best for the web?MP4 is generally the best format for web applications, as it combines good quality with relatively low file size.
How do I choose the right bitrate?For web videos, the recommended bitrate is between 160 and 192 kbps. Higher bitrates lead to better quality, but also larger files.
What is a codec?A codec is software or an algorithm used to encode or decode audio and video files.
How can I compress my file?By selecting the right settings in your export dialog in After Effects, you can reduce the file size and optimize quality.


