If you work in the world of animation and video production, handling a flexible and effective camera is a crucial factor for impressive results. In this guide, I will show you how to set up a camera rig in Adobe After Effects and move it safely through 3D space. With a well-structured camera rig, you not only gain creative freedom but also the ability to create stunning camera moves that significantly enhance your projects.
Key Insights
A camera rig allows you to simultaneously control various camera parameters and offers you the ability to easily control complex movements. With a rigged setup, you can achieve smooth and dynamic movements that would be difficult to realize without such a system.
Step-by-Step Guide
1. Creating a new composition
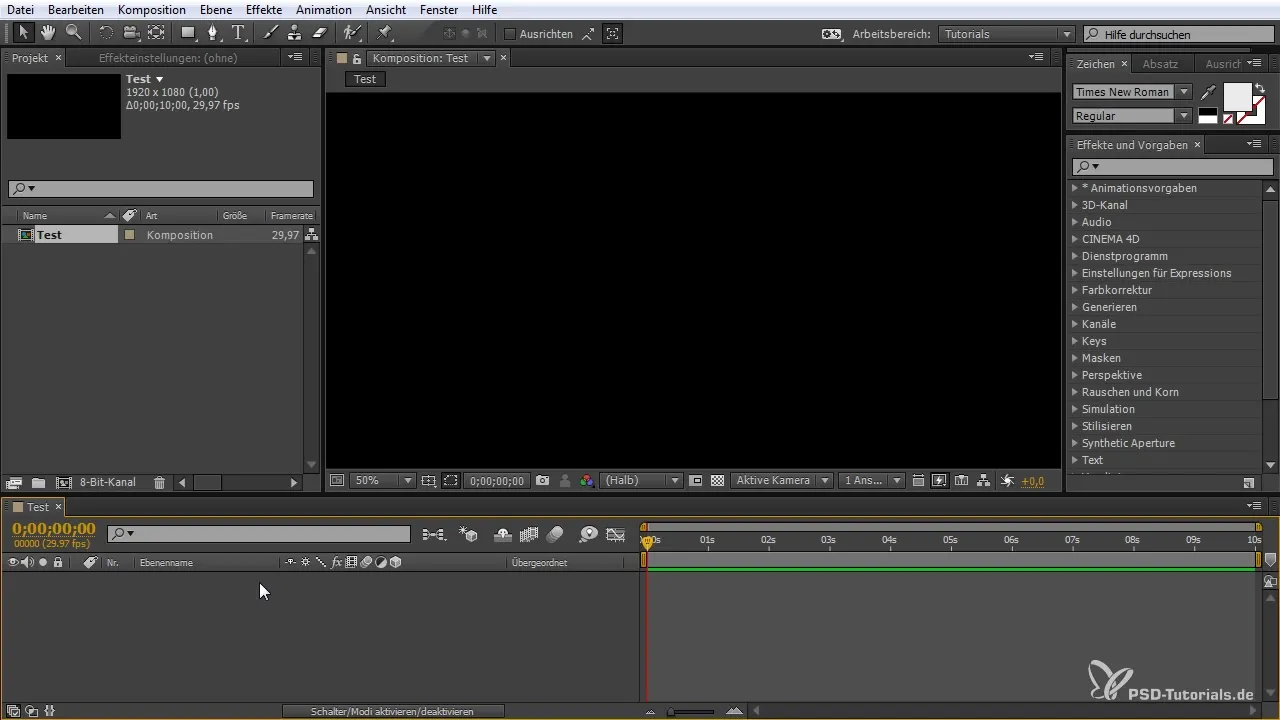
Start After Effects and create a new composition. Right-click and select "New Composition". Name it and set the resolution as well as the frame rate. In this example, I will simply name the composition “Test”. You can choose a duration of 10 seconds.
2. Adding a camera
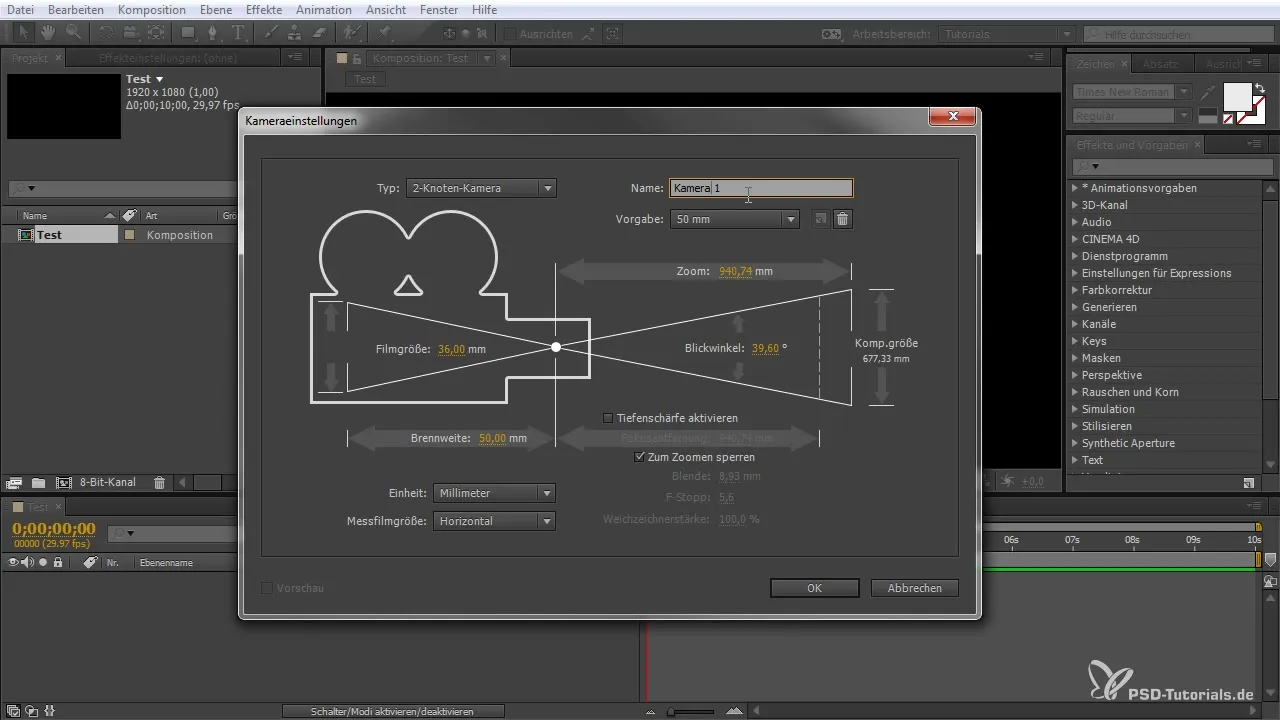
Add a camera to your composition by right-clicking again and selecting “New” > “Camera”. Choose a focal length of 55 mm. This is a common setting for many cases.
3. Creating null objects
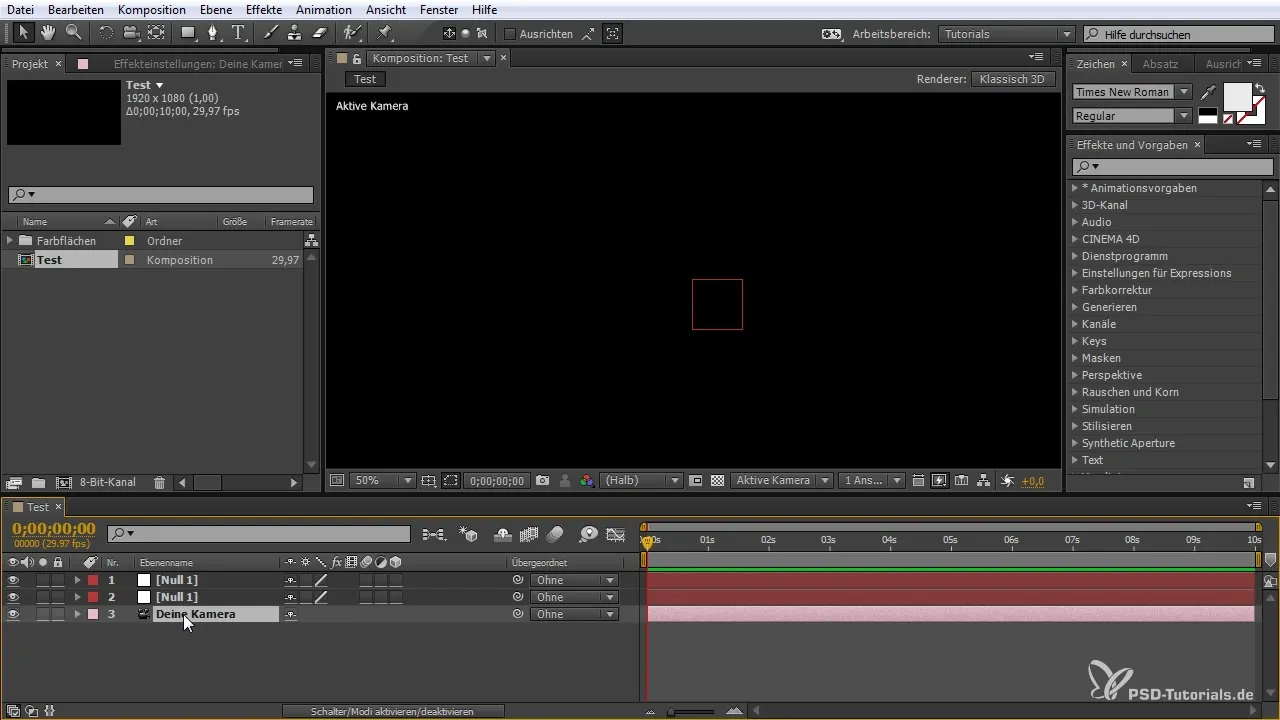
Now you need two null objects for camera control and the dolly. Right-click again in the composition and select "New" > "Null Object". Duplicate the null object by pressing CTRL and D, so you have two - one for camera control and one for the dolly. Name them accordingly.
4. Arranging the parameters
Set the arrangement of the objects. The dolly should be positioned under the camera control. This is important for functionality. You can easily adjust the position of the null objects, but the arrangement described here is the one that many users prefer.
5. Linking the parameters
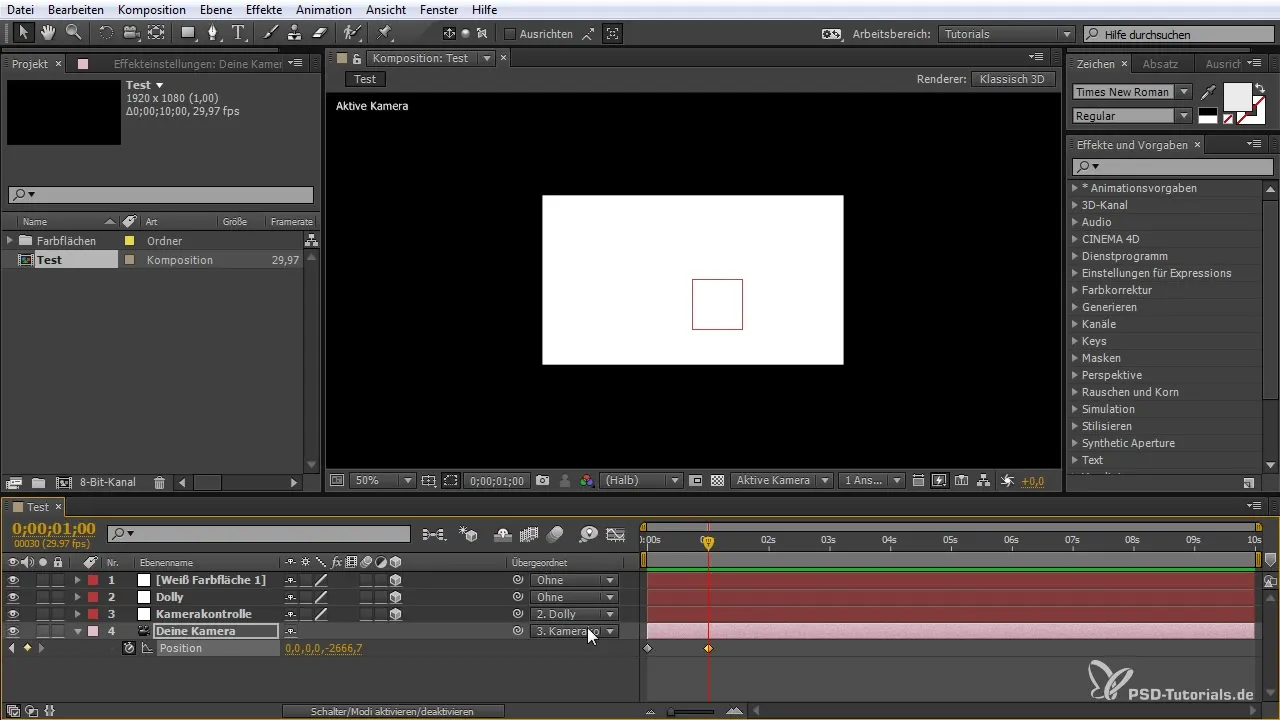
To link the movements together, you need to connect the camera parameters with the null objects. To do this, enable the 3D function for the null objects. Select the camera, hold down the ALT key, and drag the "snail symbol" to the null objects. This connects them all, allowing for easier control.
6. Creating an animation curve
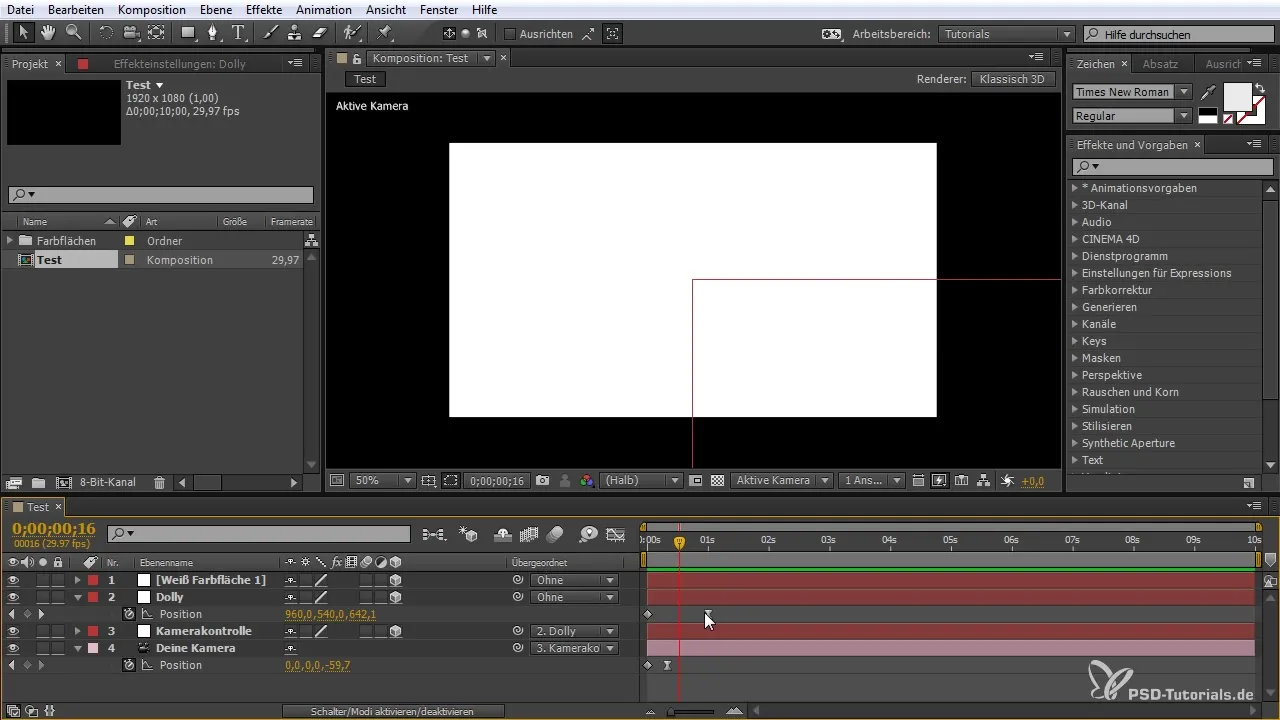
To make the camera movements fluid, use keyframes. Press P to display the camera's position. Set a keyframe at the beginning of your animation. Move the timeline a few frames forward and set another keyframe to create a quick zoom. You can do this with the SHIFT key and the arrow keys.
7. Adding a dolly effect
Activate the null object for the dolly and set a keyframe for its position. Again, move the keyframes to the desired points to create different speed changes or movements. The goal is to create a dynamic and interesting camera move.
8. Fine-tuning and enabling motion blur
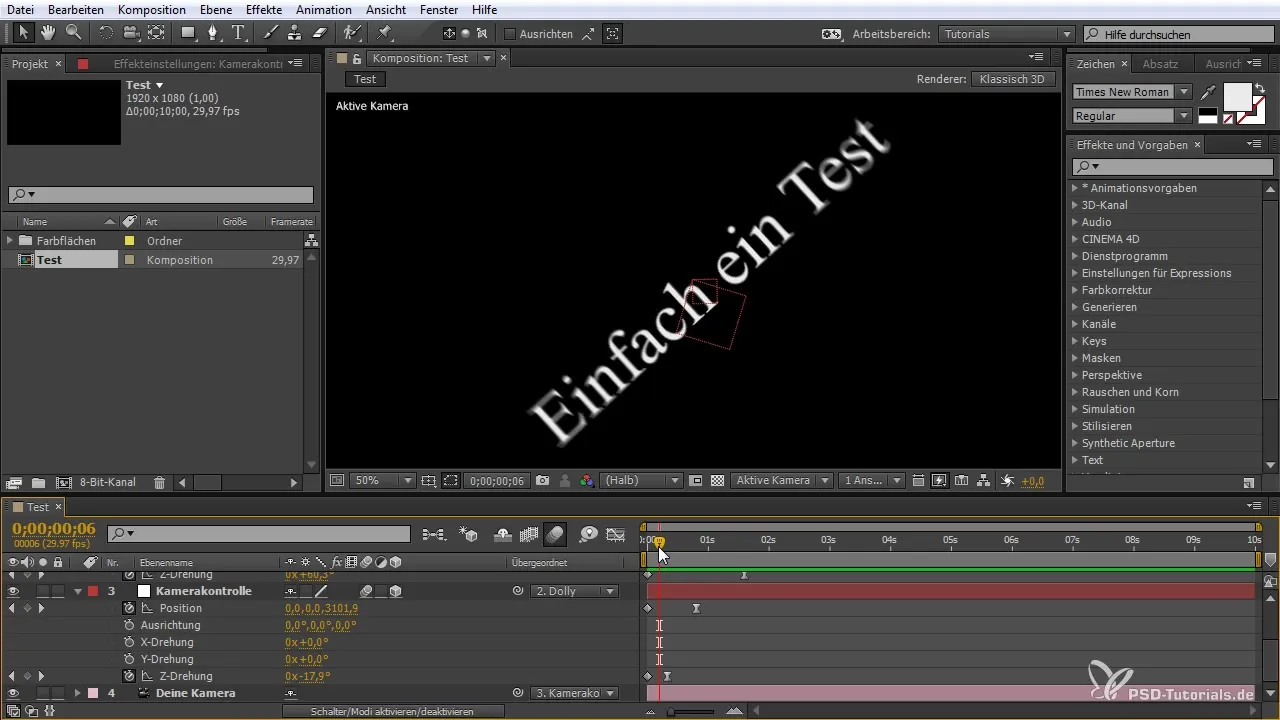
Activate motion blur for more realistic movements. You can adjust the speed of your keyframes and set other parameters such as the pan motion of your dolly in the effects. This will give you a smooth and elegant transition in your shots.
Summary – Building a camera rig in After Effects
In this guide, you have learned how to create and control a camera rig in After Effects. You have gone through the steps from creating the composition to linking the movements through the dolly system and camera control. With these techniques, you are now able to achieve impressive camera moves in your projects.
Frequently Asked Questions
How do I create a new composition?Right-click in After Effects and select “New Composition”.
How do I add a camera?Right-click in the composition and select “New” > “Camera”.
How do I link the null objects to the camera?Enable the 3D function for the null objects and drag the "snail symbol" of the camera to the null objects.
How do I create a flowing movement?Use keyframes for the position and adjust the speed of the movements using the graph editor.
How do I activate motion blur?Enable motion blur in the timeline area of After Effects.


