With the new Curvature Stabilization VFX plugin in After Effects, you can easily perform stabilization in moving images. This tool offers you practical functions to reduce unwanted movements and effectively edit video content. In this guide, I’ll walk you through the application process so you can get the most out of the new stabilization technology.
Main Insights
- The Curvature Stabilization VFX plugin helps stabilize movements in videos.
- The plugin analyzes your scene and offers various adjustment options.
- You can stabilize or retouch specific areas in the image without affecting the entire scene.
Step-by-Step Guide
1. Select and Initialize the Plugin
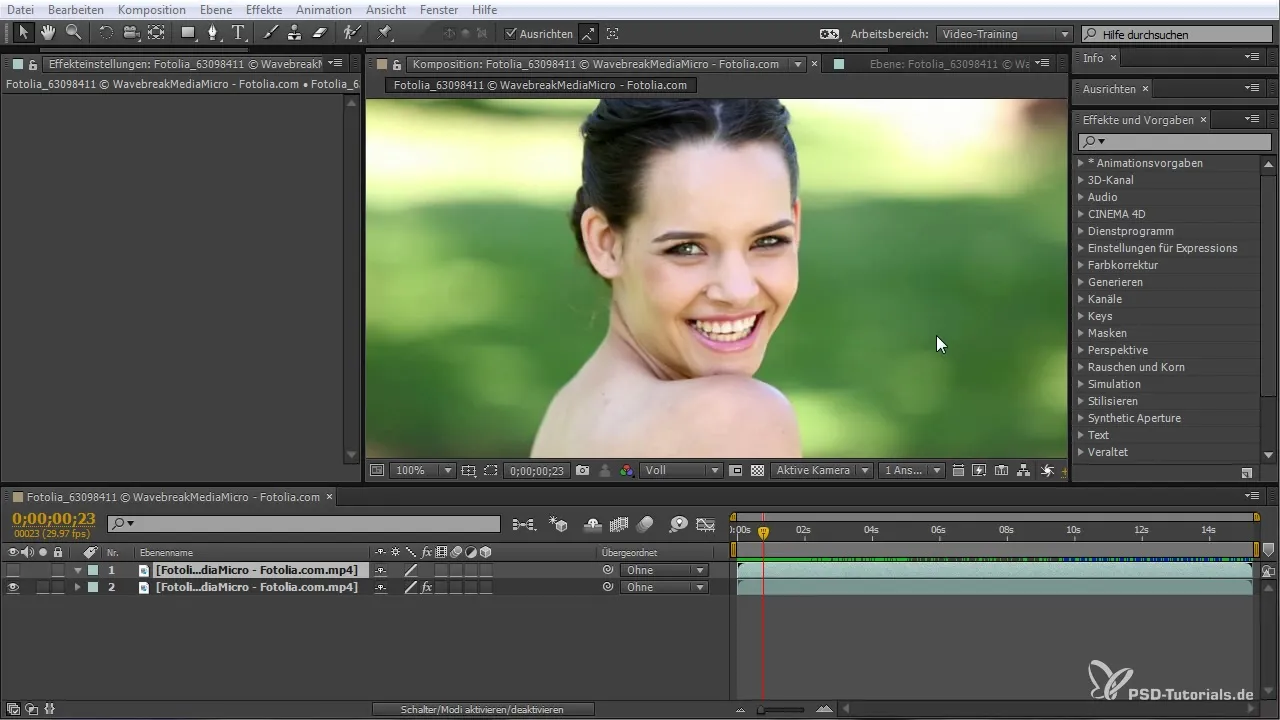
To use the Curvature Stabilization VFX plugin, you must first ensure that the plugin is selected. Go to the search bar in After Effects and type "stabilization". Select the new plugin and activate it. This is done with a simple click. Once you have selected the plugin, initialization and analysis of your scene will begin.
2. Analyze the Scene
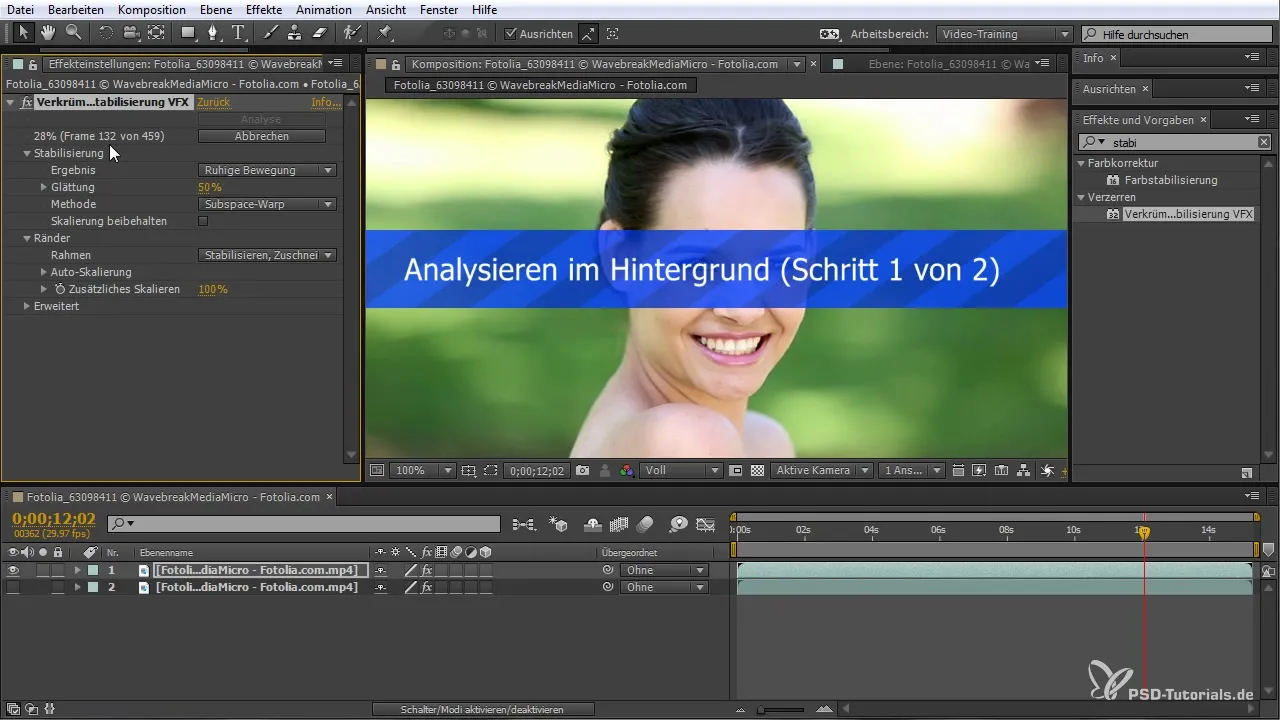
Once the plugin is active, it automatically begins to analyze the footage. During this phase, After Effects searches for tracking points on the basis of which stabilization can occur. Make sure the analysis is thorough, as it forms the basis for the stability of your video.
3. Apply Initial Stabilization
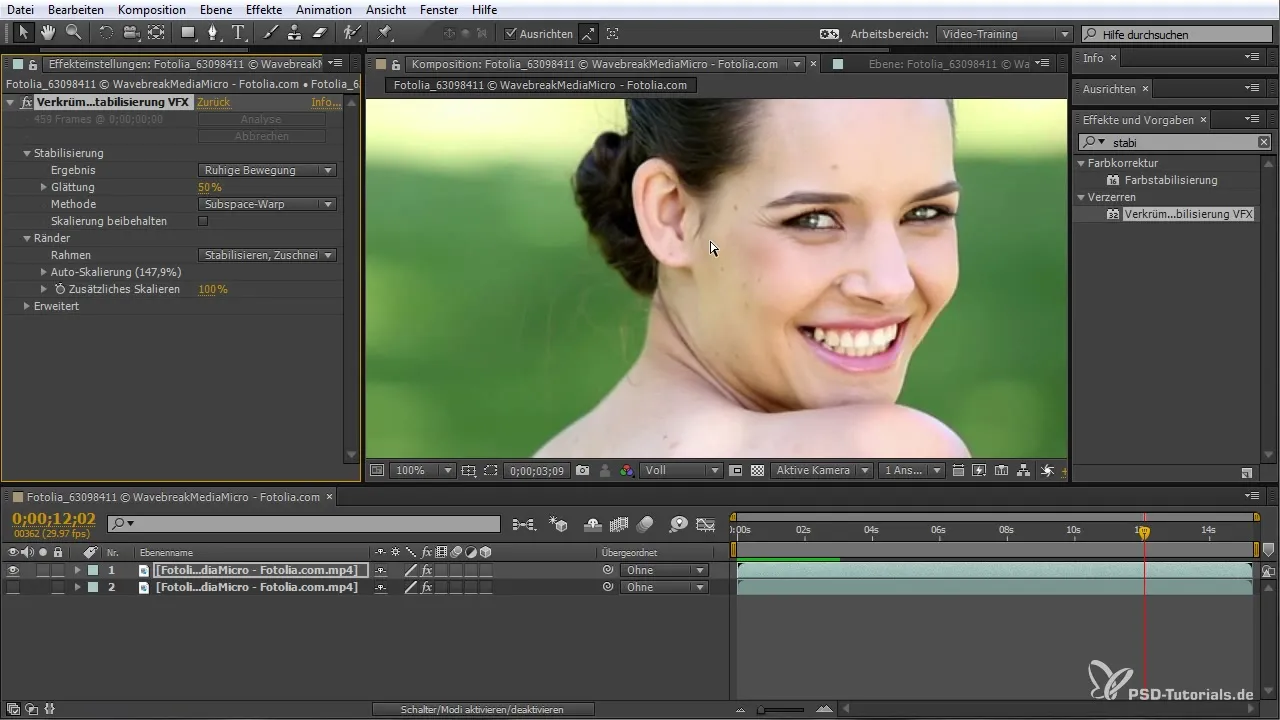
After the analysis, the stabilization is applied. Observe whether the image shows strange movement resulting from the stabilization. Often, the image still shakes during the process as it needs time to adjust. Take a close look at the scene to determine if the desired result has been achieved.
4. Adjust Stabilization
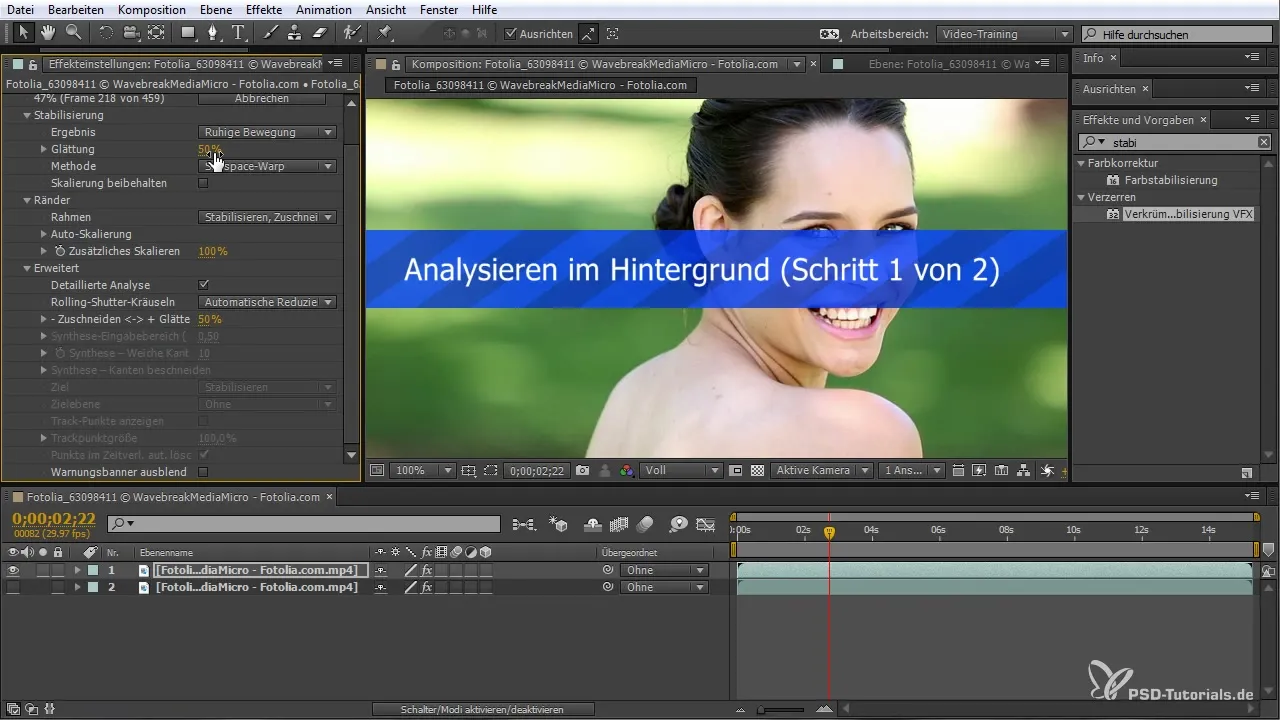
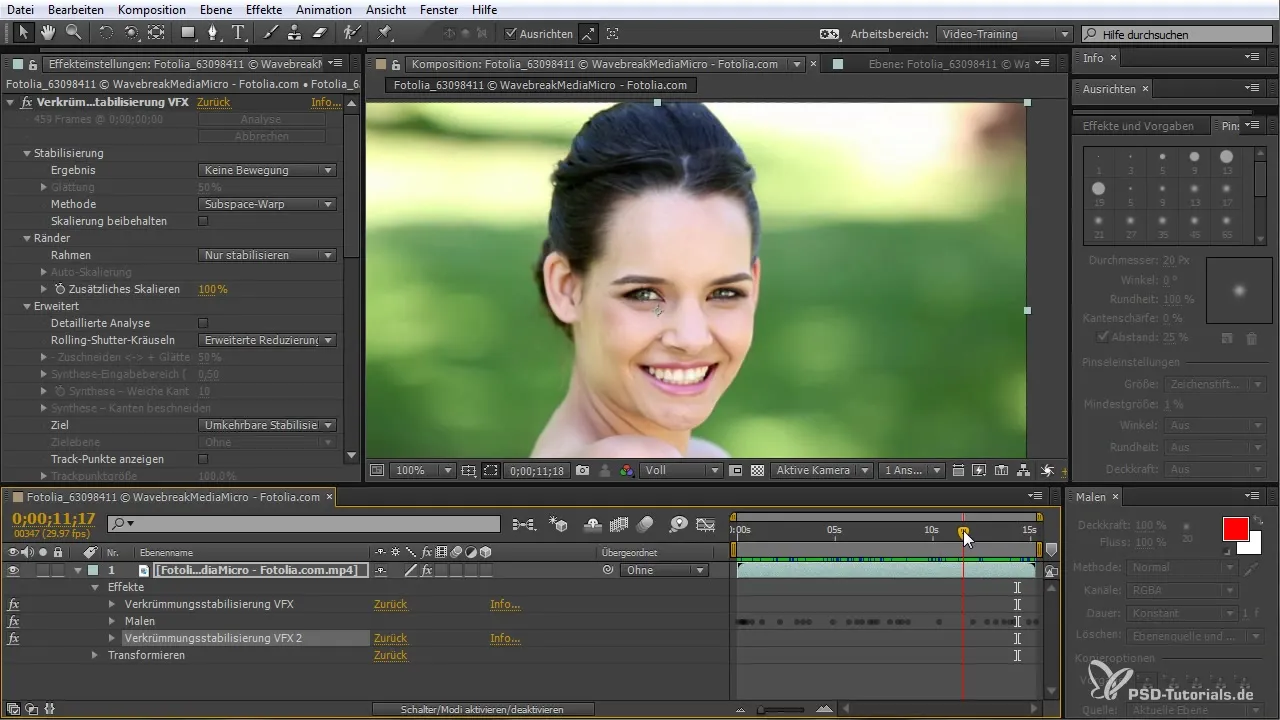
If you are unsatisfied with the initial result, you have the option to further adjust the stabilization. In the plugin, choose the options for "Results," "Method," and "Frame" to test and optimize different stabilization effects. These options give you greater control over the stabilized areas of your image.
5. Adjust Tracking Points
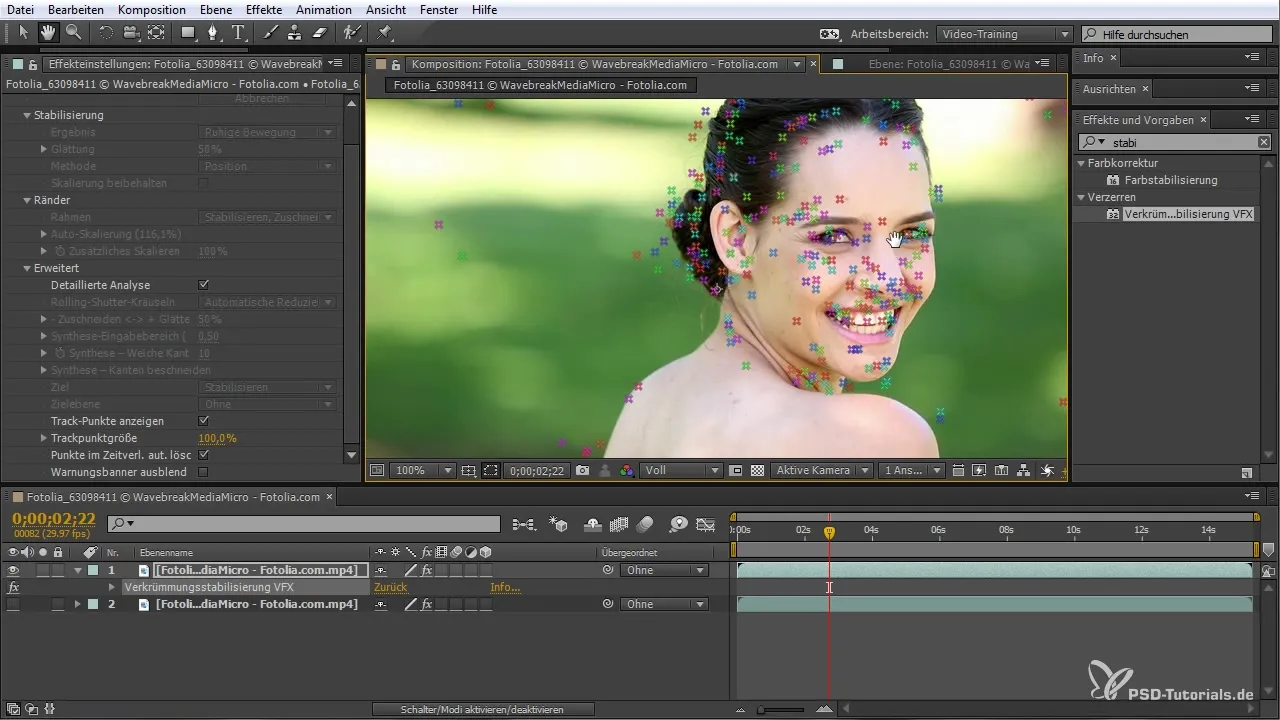
To stabilize specific areas even more effectively, you can adjust the tracking points. Click on "Show Tracking Points" to make them visible. Now you have the option to make a selection and activate only certain points for stabilization. This allows you to precisely determine which movements in the image should be stabilized.
6. Make Fine Adjustments
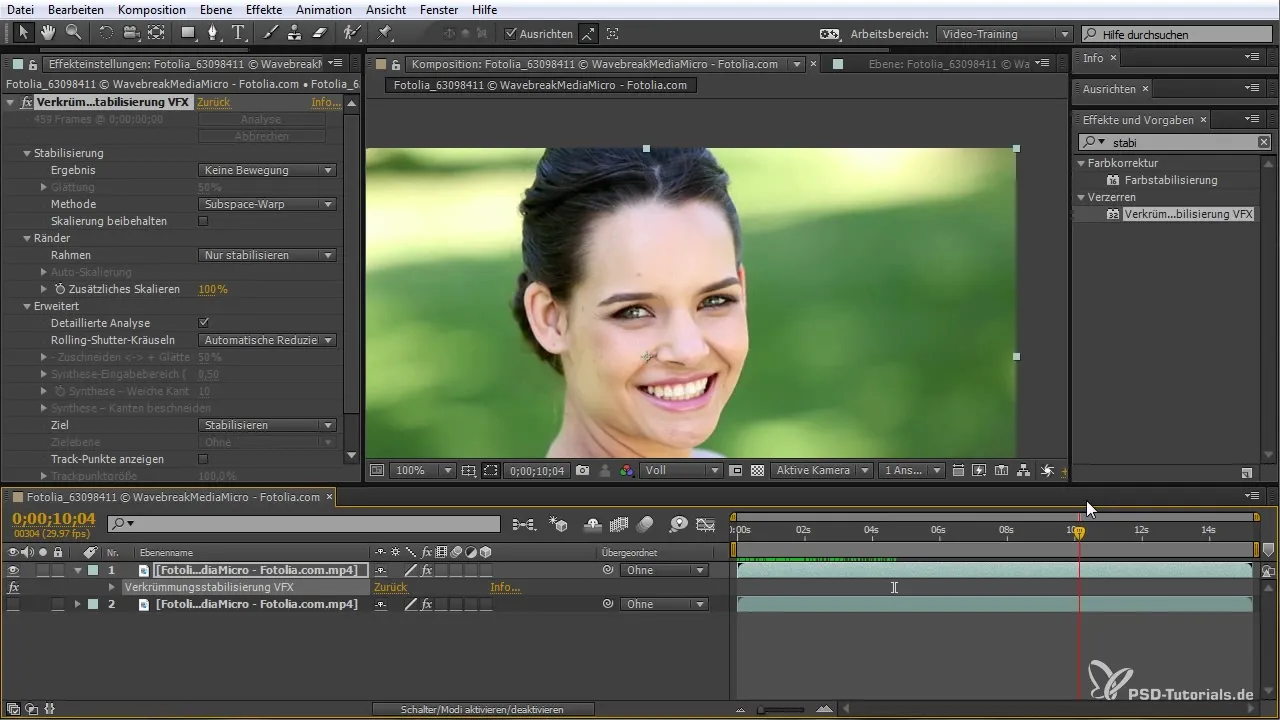
Once you have marked the desired tracking points, you can run the stabilization again. Check if the result meets your requirements and further adjust the parameters if necessary. Pay attention to whether the lady's face in the image remains stabilized while the rest of the background still shows movement.
7. Retouching with the Clone Tool
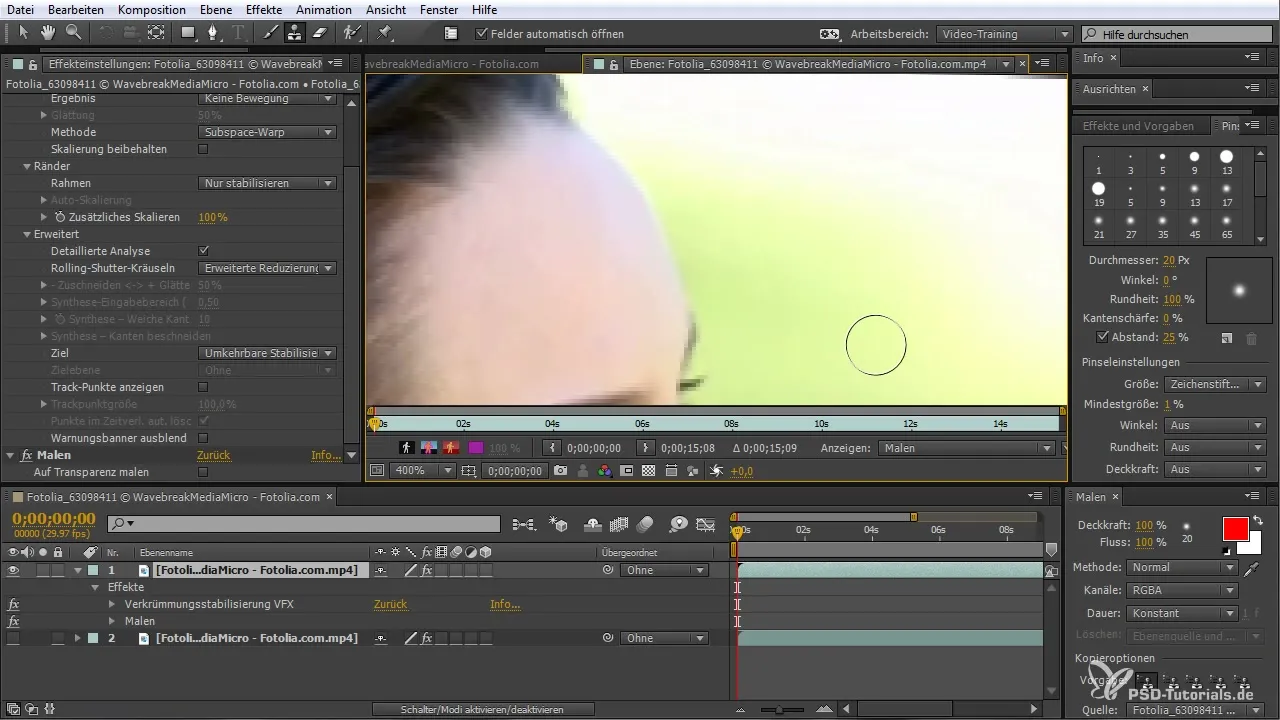
To perfect the result further, you can use the Clone Tool. Click on "Clone Tool" in the menu and hold down the Ctrl or Command key while selecting an area that is similar to the subject's skin tones. This will help you effectively retouch unwanted elements while stabilization continues.
8. Duplicate and Reverse Stabilization
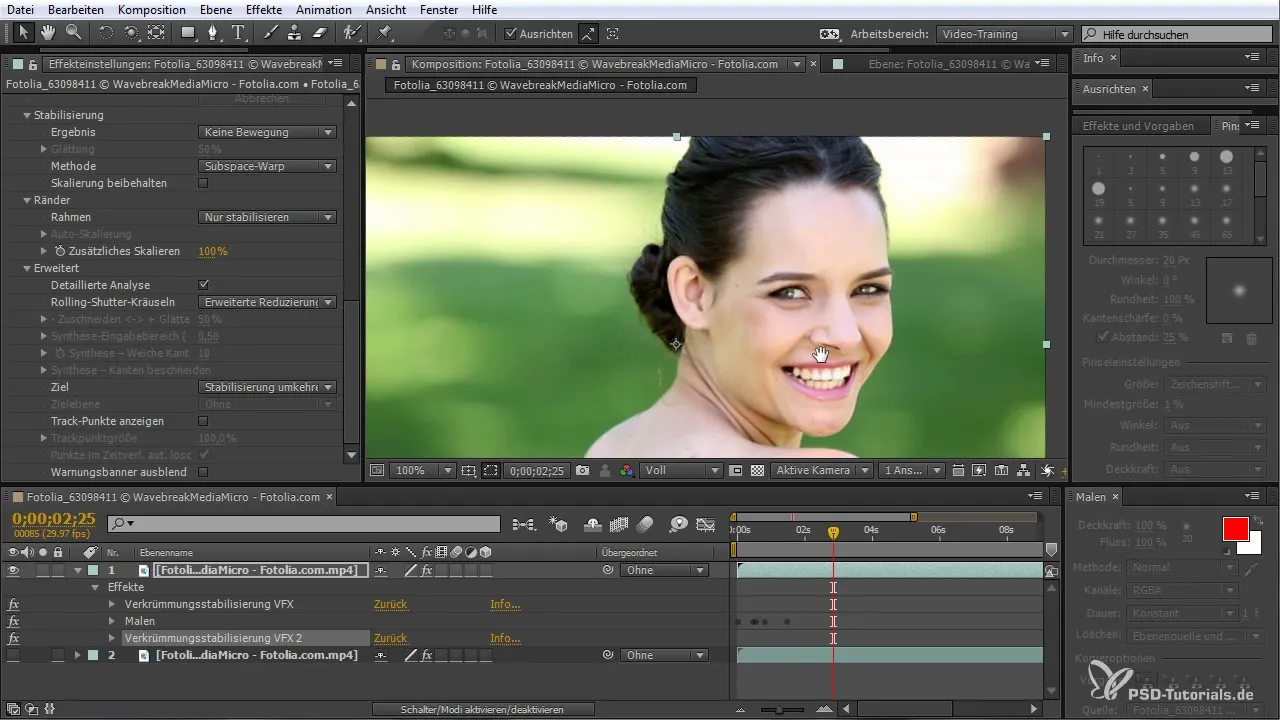
Once all changes have been made, duplicate the stabilization effect (Ctrl + D) and make sure to invert the stabilization. This is important to return to your original material while keeping the desired retouches.
9. Final Visualization
Once everything is set, review the final video in the main composition area. Make sure that the stabilization is smooth and that the mole has been effectively removed. Well-implemented tracking will make the movements appear harmonious while allowing you to take advantage of creative freedoms in your video.
Summary
In this guide, you learned how to efficiently use the Curvature Stabilization VFX plugin in After Effects CC to maintain stability in moving images and retouch unwanted elements. With the steps described, you will gain the skills you need to achieve professional results.
Frequently Asked Questions
How does the Curvature Stabilization VFX plugin work?The plugin analyzes the footage and searches for tracking points to carry out the stabilization.
Can I stabilize only specific areas in the video?Yes, you can adjust the tracking points to stabilize only specific areas.
What happens if the stabilization doesn’t look good?You can adjust the stabilization parameters and carry out a more detailed analysis.
Can I undo the stabilization result?Yes, by inverting the stabilization, you can return to the original material while keeping the retouches.
Are there any special tips for using the Clone Tool?Ensure that the skin tones match to achieve a more natural result.


