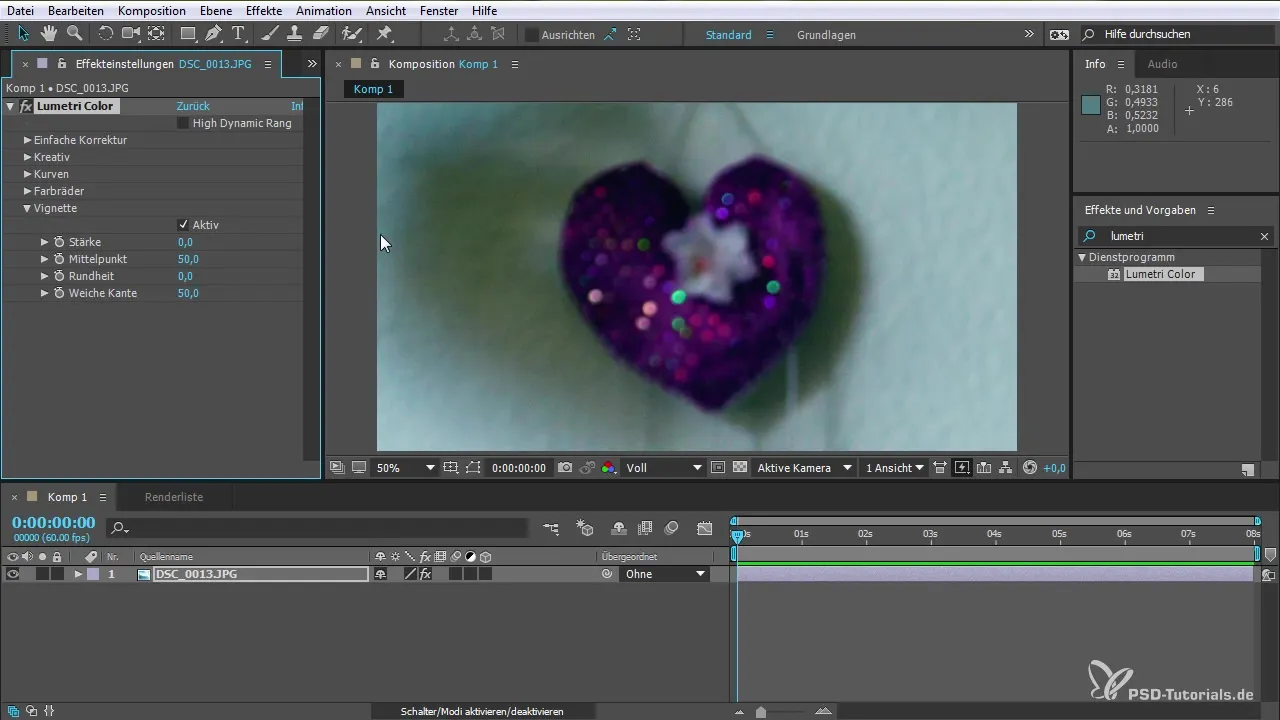
Don't fall behind on the opportunities that modern video editing offers you! In this guide, I will take a look at the impressive capabilities of the Lumetri Color plugin in After Effects CC 2015.1. You will learn how to apply color corrections and creative effects to your videos to make them more vibrant and engaging. Whether you are a beginner or an experienced user, this guide provides valuable tips on how to effectively integrate Lumetri Color into your workflow.
Main Insights
- Lumetri Color offers comprehensive options for color correction and creative color design.
- The plugin can be seamlessly integrated between Premiere Pro and After Effects.
- The various features like HDR, RGB curves, and vignetting significantly expand your creative options.
Step-by-Step Guide
First, load your project in After Effects and open the effects panel at the top right. You can view the Lumetri Color plugin as an effective tool for color design.

1. Integrate the Plugin
To work with Lumetri Color, simply drag and drop the plugin onto your desired clip or layer. This is done by just dragging and dropping it into your timeline.

2. Enable High Dynamic Range
Once you have added the plugin, enable the High Dynamic Range (HDR) option. This allows you to configure the bit depth and choose between 8, 16, and 32 bits. This setting enables you to adjust your colors and contrasts more accurately.
3. Make Color Corrections
Now you are ready to make simple color corrections. You can adjust the values for white, black, and the brightness of the image. Note that enabling HDR is only effective if you also adjust the appropriate values.
4. Use Presets for Color Profiles
In the plugin, you can use various color profiles. Choose a profile based on your camera – e.g., GoPro or Canon. These profiles provide you with immediate adjustments to the specific color representations of your footage.

5. Adjust Color Temperature
You can quickly adjust the color temperature of your image to influence the mood. With the temperature slider, you can lean towards warmer or cooler hues and thus style the image precisely.
6. Control Saturation
Change the saturation of your colors to highlight specific hues. You can also adjust specific channels to achieve a harmonious color image.

7. Create Effects with RGB Curves
By using RGB curves, you can adjust specific areas of your image. Emphasize colors that you want to highlight and thus optimize the overall color palette of your clip.
8. Insert Vignette Effects
Use the vignette function to direct focus to specific elements in your image. This not only helps to improve the composition, but also adds an artistic depth to the image.

9. Effective Preview of Your Adjustments
Once you are satisfied with your adjustments, you can take a look at the preview of your edited clip at any time. Through the built-in comparison functions, you can see how your video has evolved compared to the original.
Summary – Color Design with Lumetri Color in After Effects CC 2015.1
Using the Lumetri Color plugin in After Effects CC 2015.1 opens up exciting new dimensions in color design for you. You can not only easily adjust the colors of your videos but also creatively shape them to achieve a professional result. These steps will help you develop an effective color scheme and significantly enhance the visual impact of your projects.
Frequently Asked Questions
How do I import my clips into After Effects?You can simply drag and drop clips into the After Effects timeline.
What does the High Dynamic Range function do?The HDR function allows you to work with higher bit depths, resulting in better contrast and more vibrant colors.
Can I use presets for specific cameras?Yes, Lumetri Color offers presets for various camera profiles such as GoPro or Canon.
How can I save my color corrections?By creating presets, you can save your color corrections and reuse them later.
Can I also work creatively with Lumetri Color?Yes, the plugin offers a variety of creative possibilities, including quick pre-configured looks.


