Creating animation presets in After Effects opens up a variety of creative possibilities for you. Whether for futuristic interfaces, animated graphics, or interactive elements – you can optimize the functionality and design of your animations according to your preferences. In this tutorial, you will learn how to design an innovative, futuristic panel, render it, and save the result as a preset. Let’s get started!
Key insights
- You will learn how to create a shape and customize it.
- You will discover how to use masks to create complex designs.
- Using expressions allows you to create dynamic animations.
Step-by-step guide
Start by opening a new project in After Effects and follow these steps.
Creating the base shape
First, open the ellipse tool. If you haven't activated it yet, go to the tool window and select the ellipse tool. To create a perfect circle, hold down the Shift key while dragging with the mouse. Place the circle in the center of your composition and ensure that the color is transparent by adjusting the fill options.
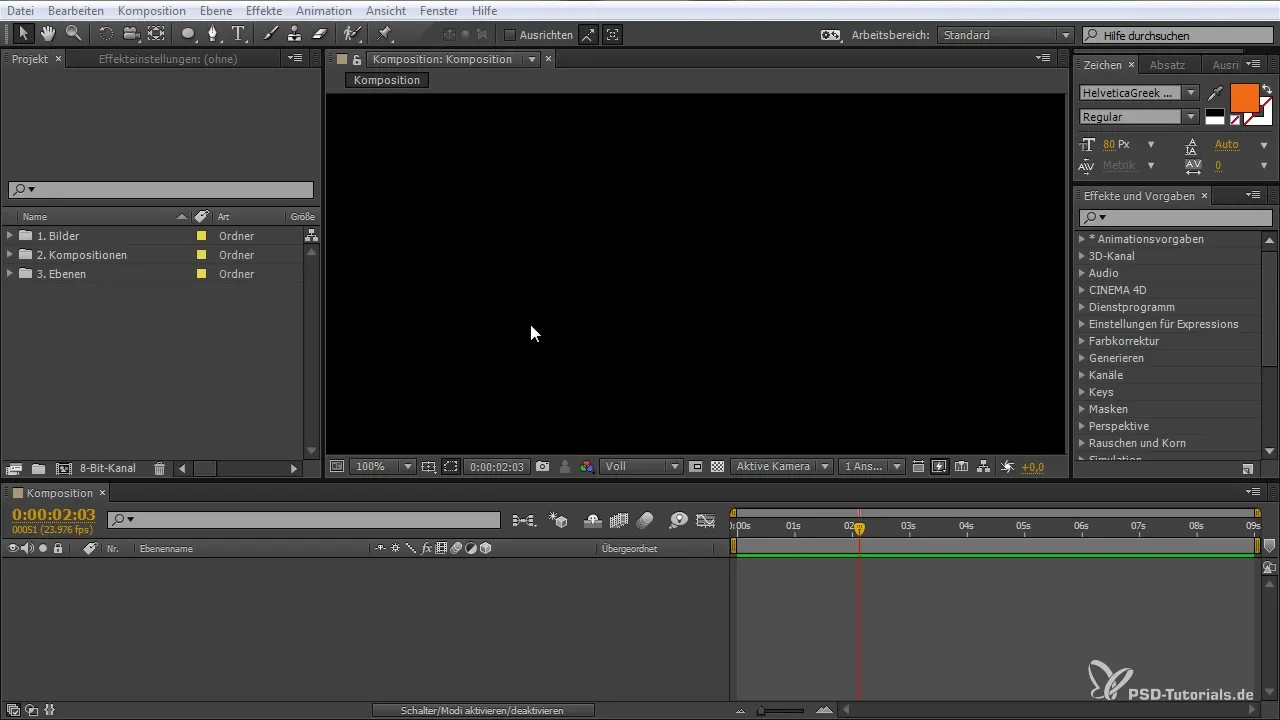
To position the anchor point of the circle in the center, enable the align function. Click on it to ensure that everything stays in the right position.
Creating the mask
Once the circle is placed, you need to create a mask. Select the layer and press Shift + Ctrl + N (or Command + N on Mac) to create a new mask. You can further adjust the mask by editing the control points. Hold down the Alt key and click on one of the points to activate it. This way, you can shape the mask to meet your vision.
Select “Subtract” from the mask options to cut out the inner area. Duplicate the mask to achieve various effects.
Adding animation
To bring your composition to life, let’s add a rotation. Select the layer and press the R key to open the rotation settings. Hold down the Alt key while clicking on the stopwatch to create an expression. Write the expression wiggle(2,40) to create dynamic movement.
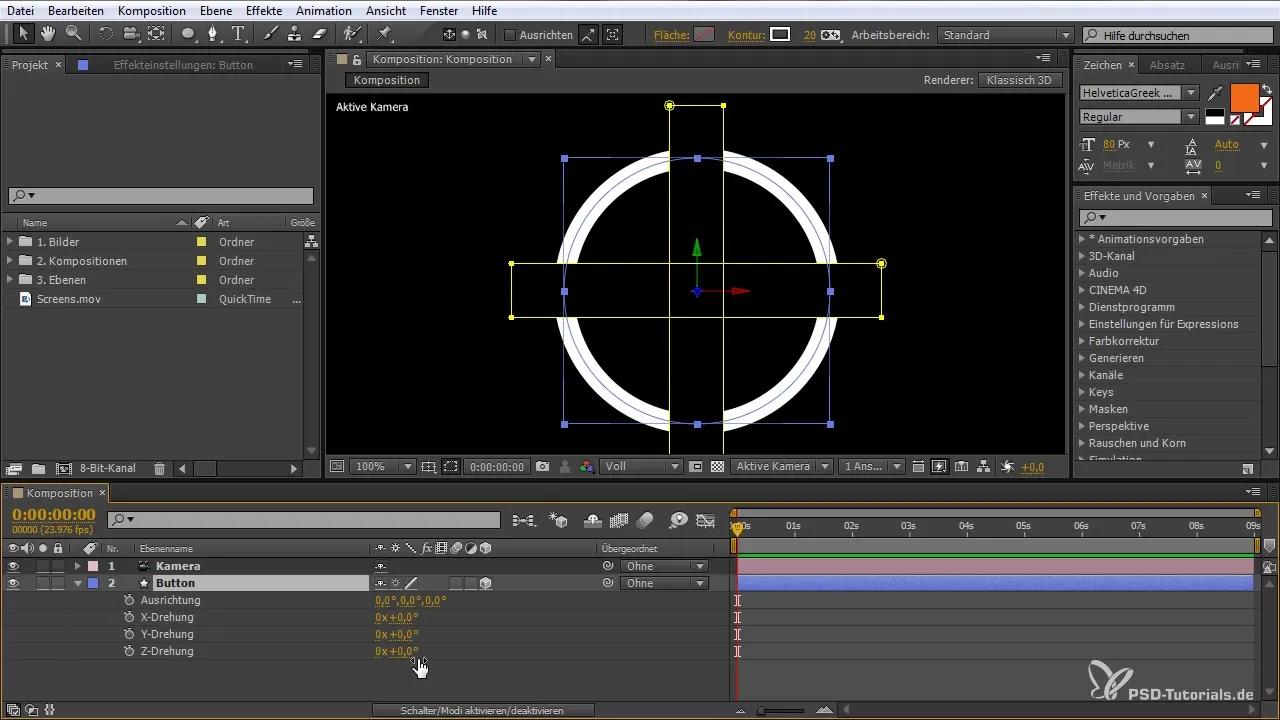
If you want to tighten the animation, you can adjust the values for both frequency and amplitude. Higher values create a livelier animation.
Refining the animation
To refine the animation, play with different values for the rotation to achieve your desired visualization. You can adjust the speed of the rotation based on how subtle or dramatic you want the effect to be.
Creating the button
Now let’s create a button. Duplicate the ellipse and scale it using the S key. Position the button so that it fits well within the design.
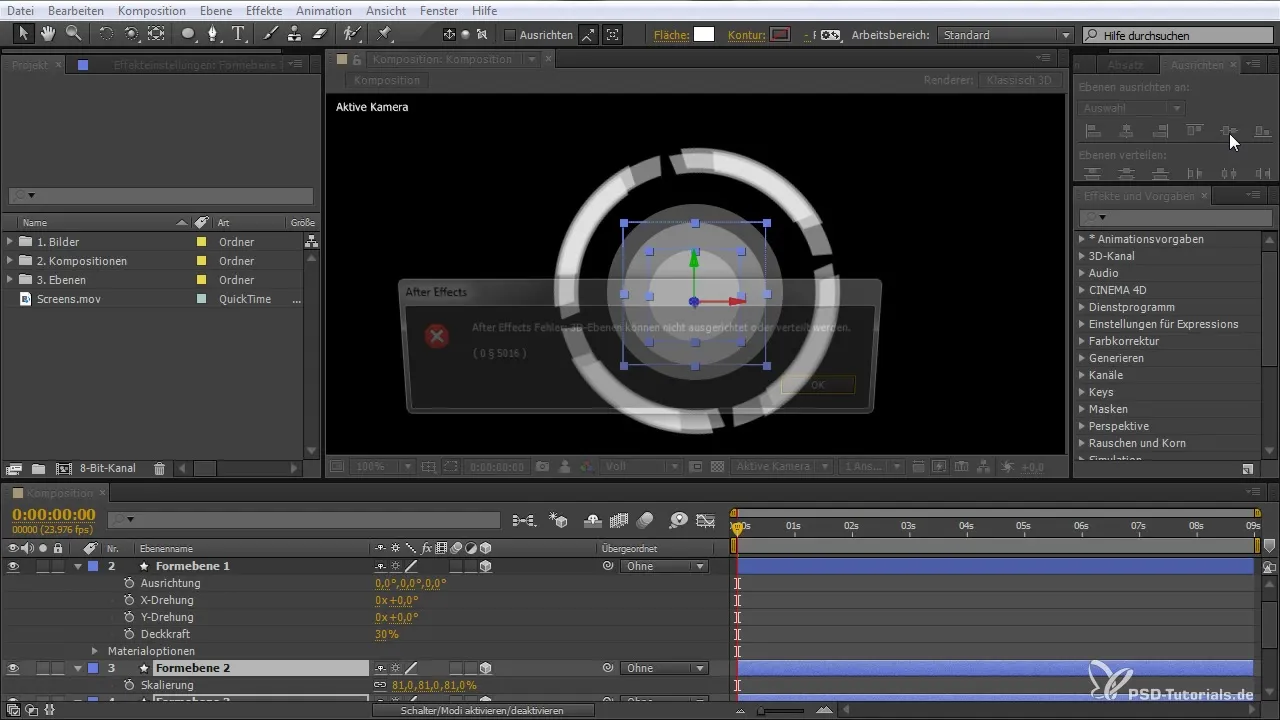
Make sure the button leaves an appealing visual impression. You can do this by adjusting the colors and adding any shading.
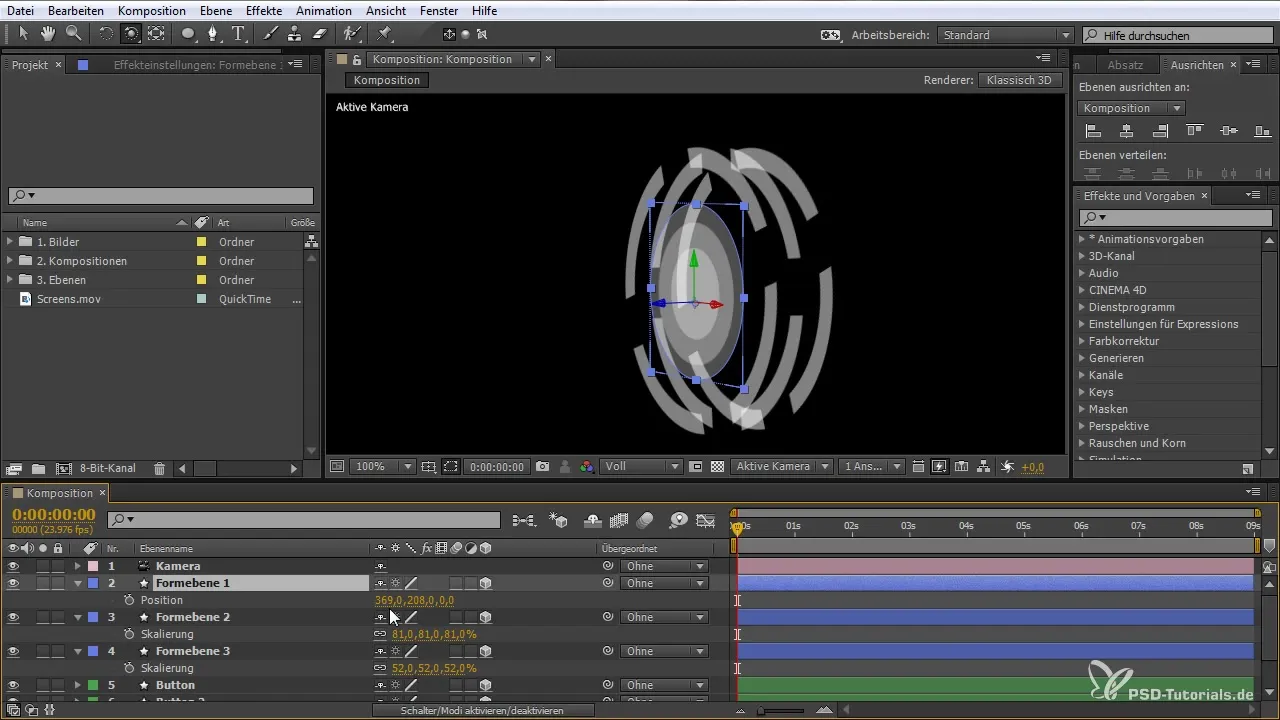
Interactive animation
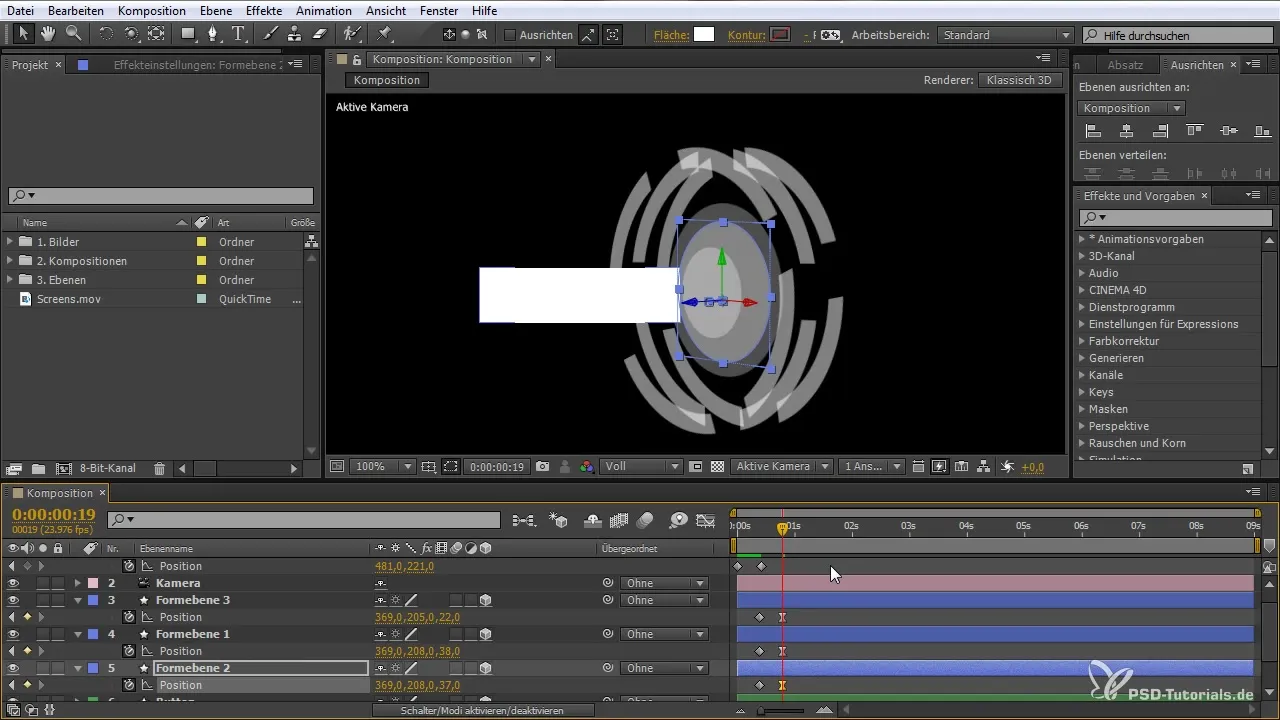
Now we integrate interactivity. Draw a simple rectangle that represents a finger and animate this finger to press the button. Create keyframes for the position of the rectangle that represent a natural pressure on the button.
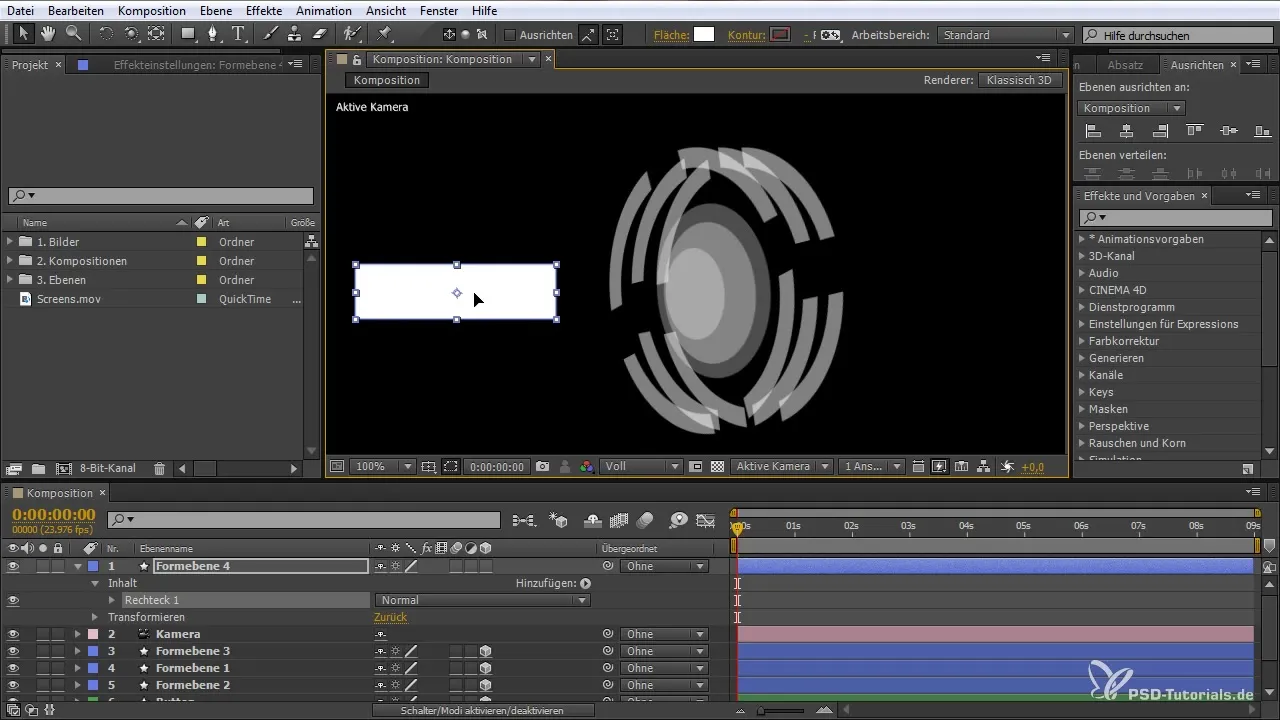
Change the position of the button so that it slightly bounces back when pressed. This provides feedback to the user that an action has taken place.
Creating the composition
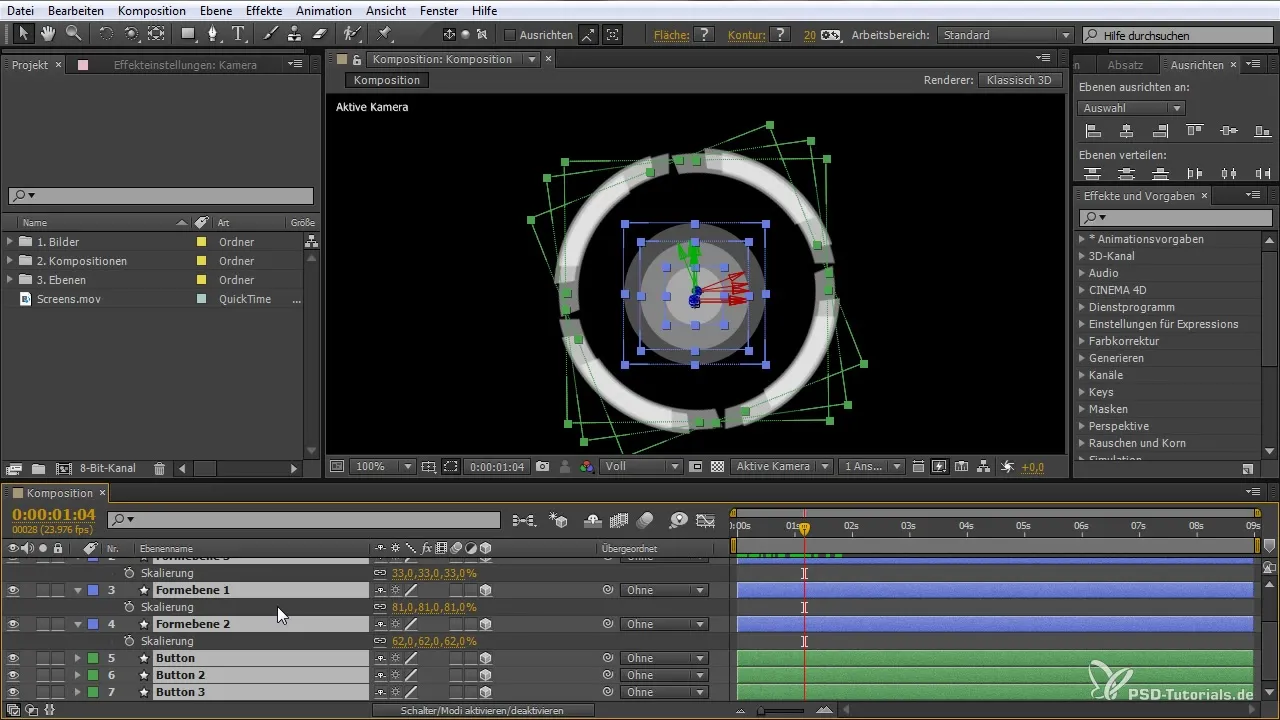
Select all the elements and press Shift + Ctrl + C to create a composition. Name the composition and ensure that all elements are neatly arranged. This is important for the later steps, as it will simplify the export process.
Rendering
If everything is to your satisfaction, it’s time to render the project. Go to the export settings and select RGB + Alpha. Set the render options to QuickTime and the quality to 100%.
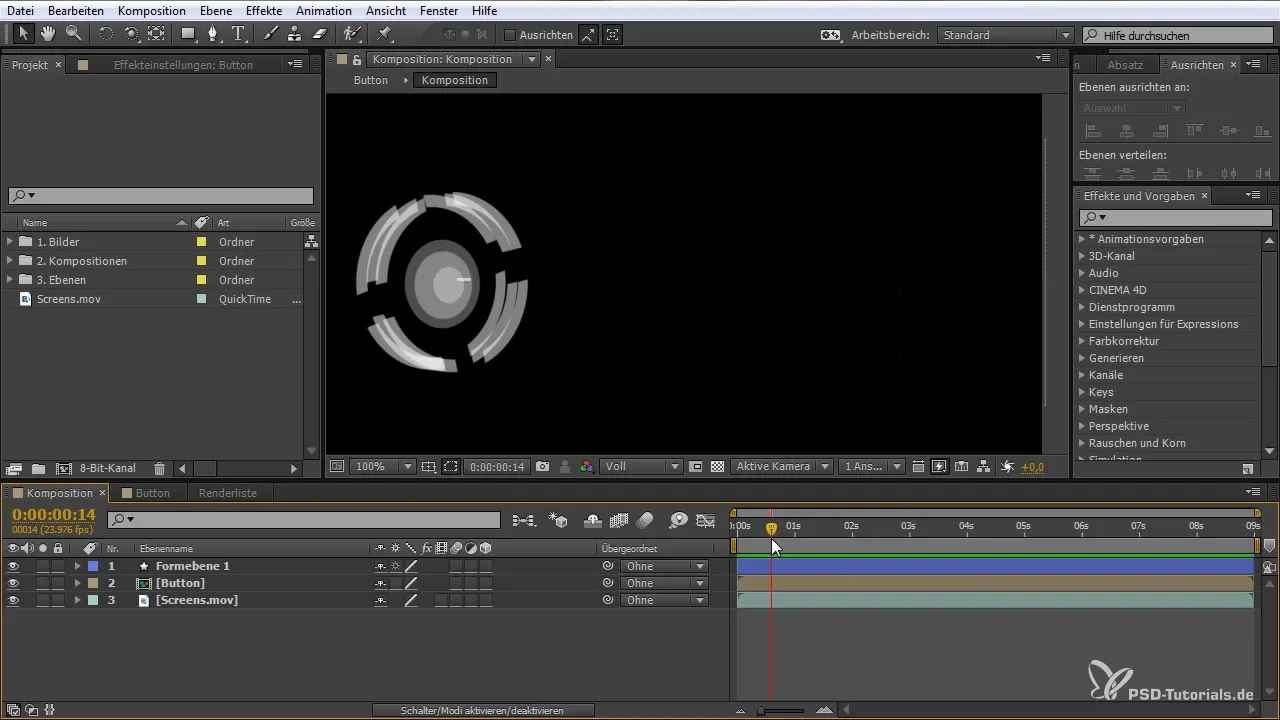
Your animation preset is now created! You can save it and reuse it whenever you need it. It makes sense to create such handy presets because they save you time and optimize your workflows.
Summary - Creating and applying animation presets in After Effects
In this tutorial, you created a futuristic panel using After Effects, animated it, and saved it as a preset. This technique allows you to design and reuse your animations effectively.
Frequently asked questions
How do I create a shape in After Effects?Use the ellipse tool and drag while holding the Shift key to create a perfect circle.
What are masks and how do I use them?Masks allow you to cut out specific areas of a shape. You can edit control points and utilize various mask features like “Subtract”.
How do I implement animations in After Effects?You can create animations by adding keyframes or using expressions, such as the wiggle function to create dynamic effects.
What does RGB + Alpha mean when rendering?RGB + Alpha means that you want to render both the color information (RGB) and the transparency (Alpha) of your project.


