Plugins are an indispensable part of working with After Effects. They significantly expand the program's capabilities and allow you to create impressive effects with minimal effort. In this guide, you'll learn not only why plugins are useful, but also how to install and effectively use them.
Main Insights
- Plugins provide a time-saving method for creating complex effects.
- You can use both paid and free plugins.
- Installing plugins takes just a few simple steps.
- Plugins are primarily displayed in the effects bar but can also be found in specific menus.
Step-by-Step Guide
Step 1: Understand What Plugins Are
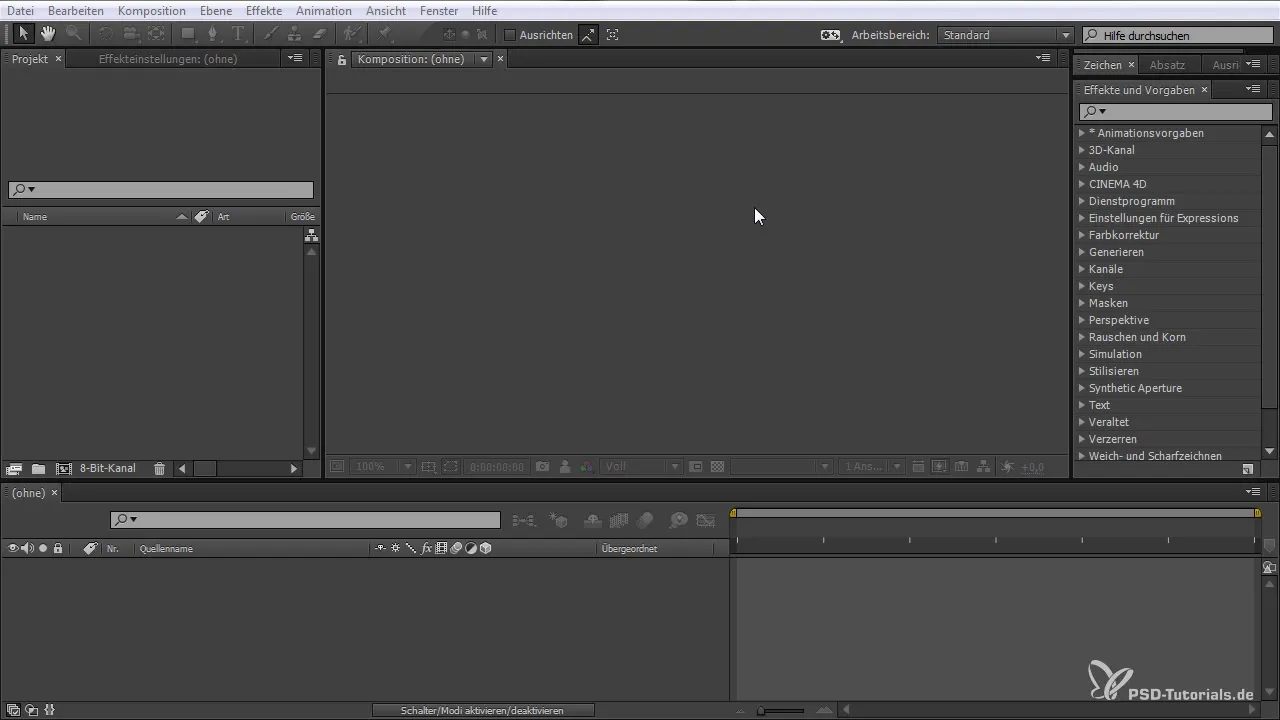
Before you begin installation, it's important to understand what plugins are for. Plugins extend After Effects with new functions and effects that are not included in the base program. They can enable simple adjustments or even complete layout changes, such as the “Optical Flare” plugin from Video Copilot, which adds its own menu within After Effects.
Step 2: Find and Download Plugins
To install a plugin, you first need to find one that meets your needs. There are numerous resources, such as websites of plugin providers, where both free and commercial plugins are offered. A good example is Video Copilot. Simply search for “free plugin” on their website and download the desired plugin.

Step 3: Find the Correct Plugin Folder
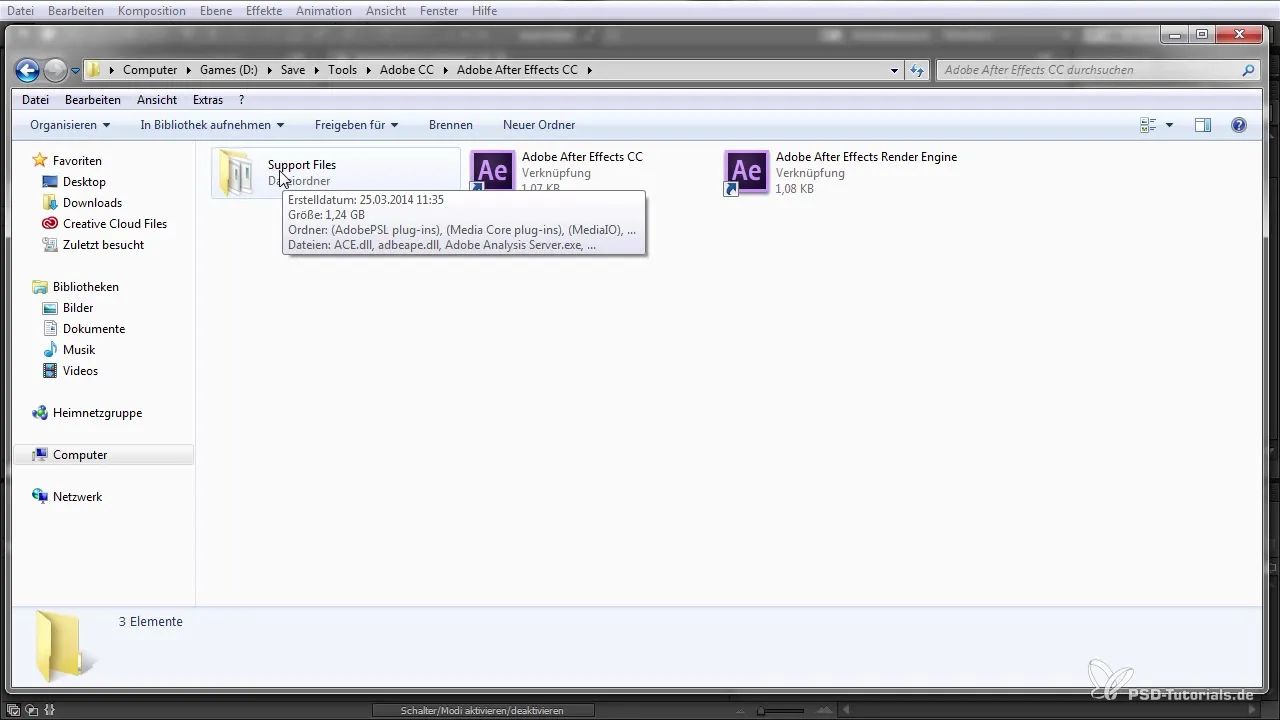
Once you have downloaded the plugin, you need to know where to install it. You can find the plugins in your After Effects installation folder, which is usually located under “Adobe\Adobe After Effects\Support Files\Plugins”. Just navigate to this folder and open it.
Step 4: Install the Plugin
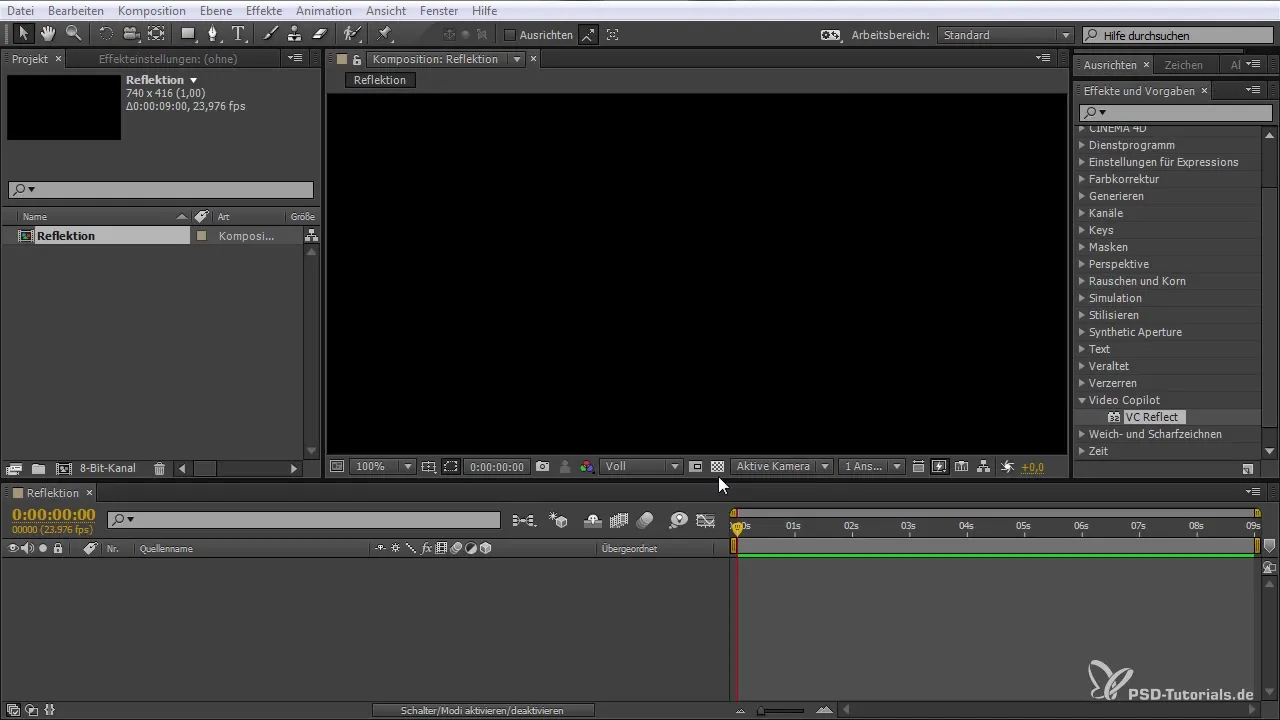
To install the plugin, drag the downloaded file into the plugins folder. In our example, we are using the “VC Reflect” plugin from Video Copilot. Copy the plugin to the folder, and it should now be part of the list of installed plugins.

Step 5: Restart After Effects
It is necessary to restart After Effects to ensure that the new plugin is displayed correctly. After restarting, you should find the plugin in the menu bar.
Step 6: Create a Project with the Plugin
Now it's time to work with the program. Create a new composition and add a text element, such as “Reflection”. Afterwards, you can use the plugin to achieve the desired effect.
Step 7: Make Manual Adjustments
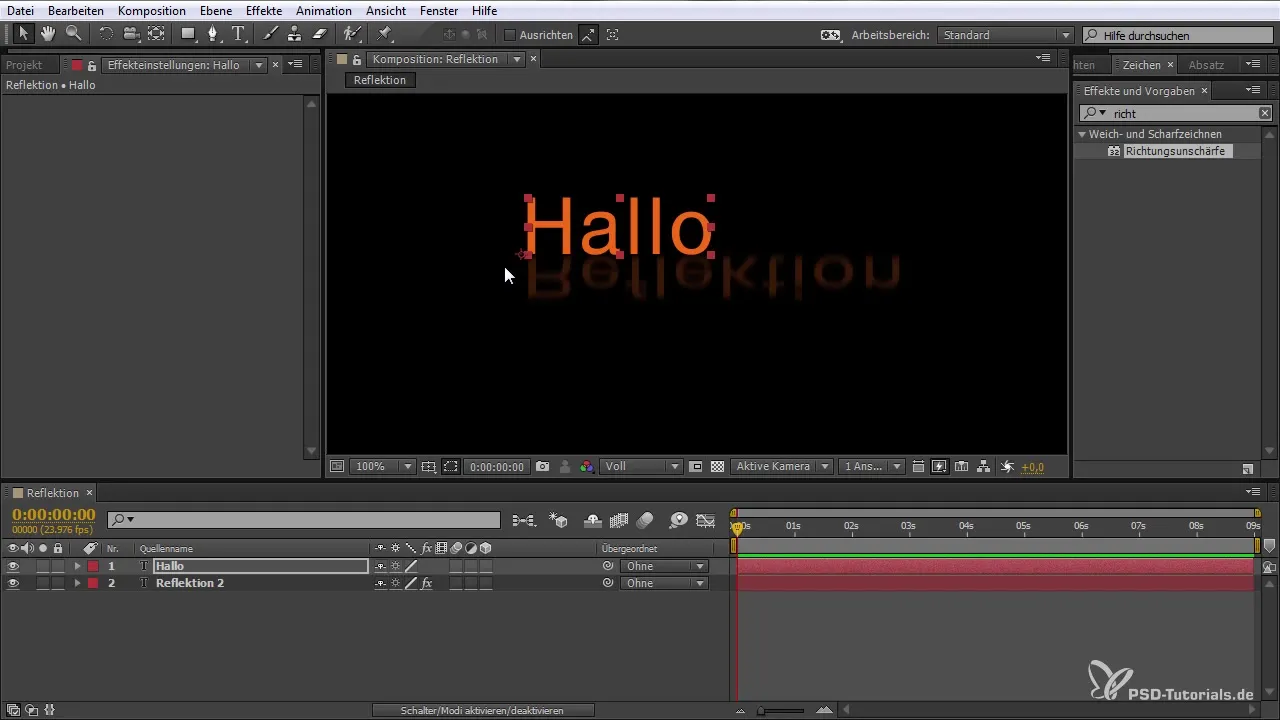
First, you can create a manual effect by adjusting the values under “Scale” and “Opacity”. However, this process can be quite tedious, especially if you want to change the text multiple times.
Step 8: Automation Through Subcompositions
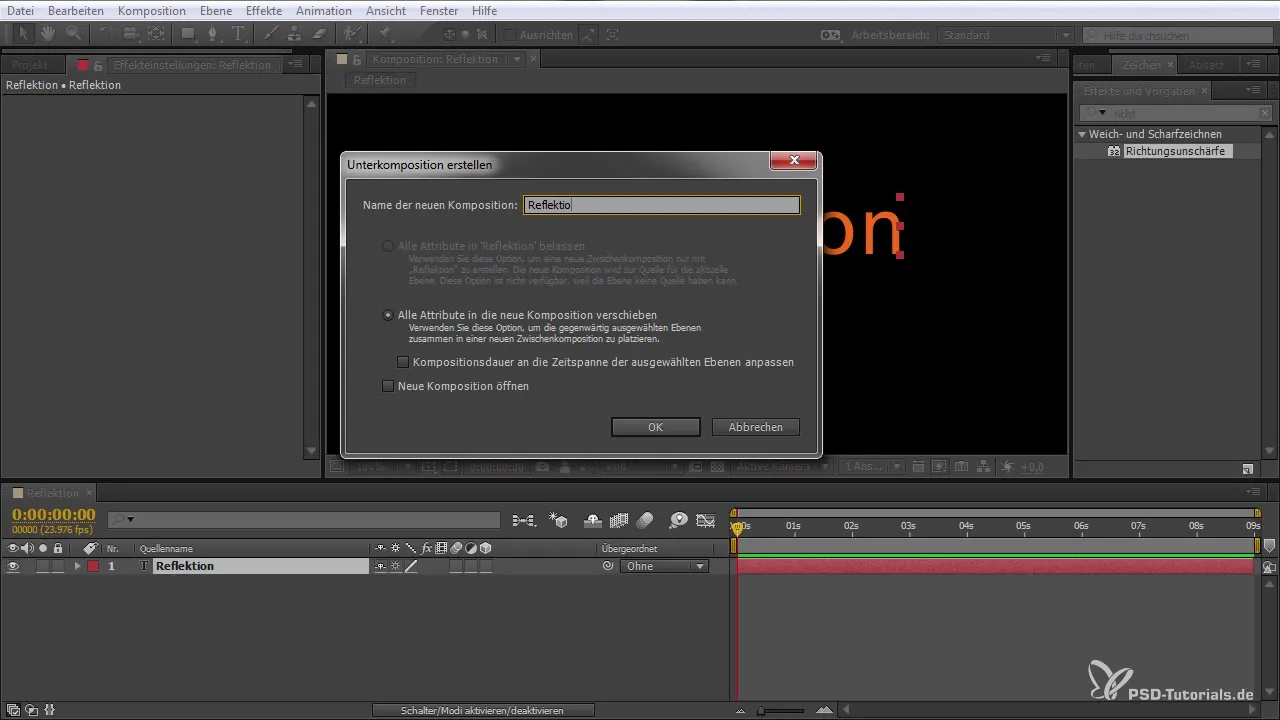
To automate the process, I recommend using subcompositions. Create a subcomposition for the reflective text so that any changes are immediately applied to both text variations.
Step 9: Using the Plugin
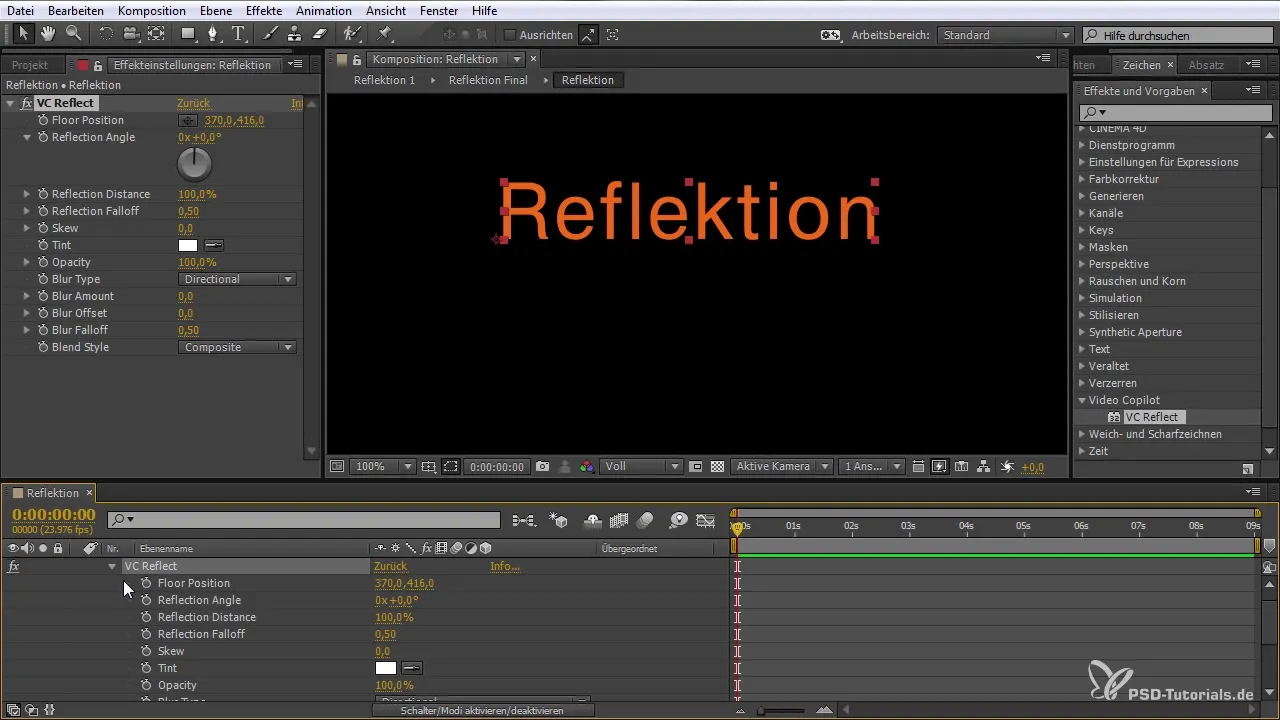
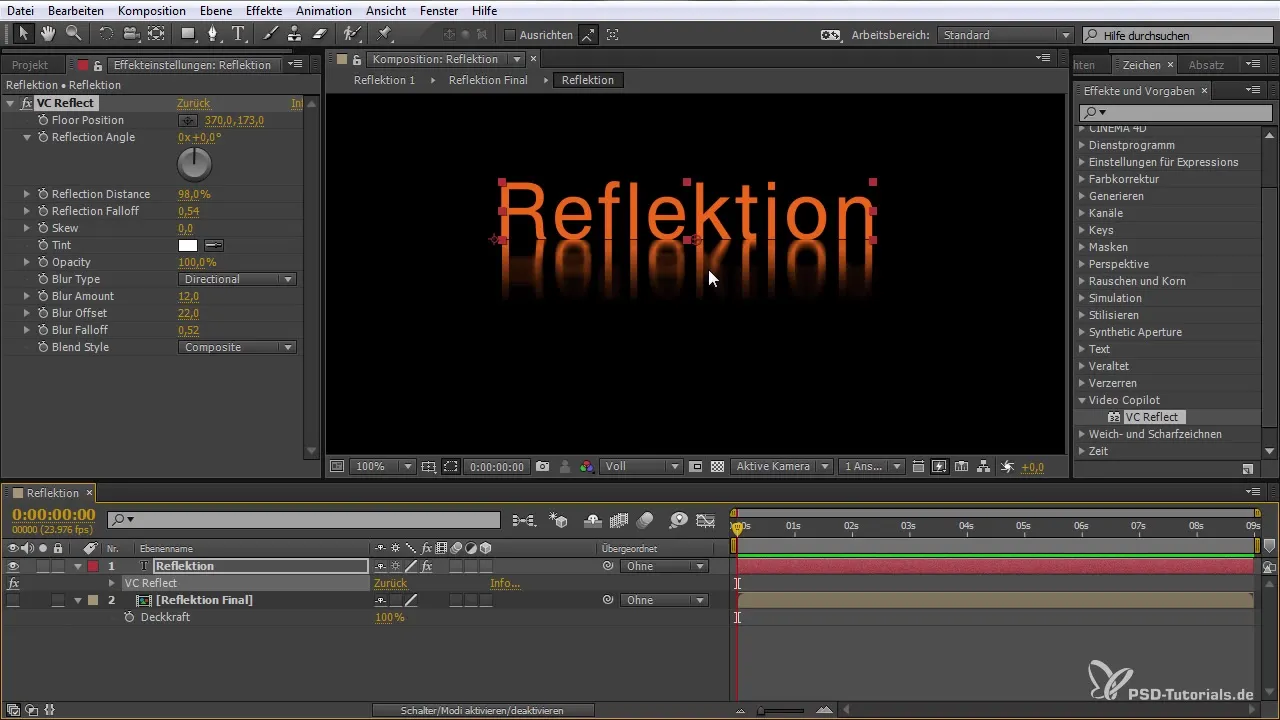
Now comes the exciting part: Use the “VC Reflect” plugin. Simply select the desired layer and apply the plugin directly to it. A user interface with various adjustment options should appear, allowing you to customize the reflection to your liking.
Step 10: Save Effects
If you are satisfied with your result, save the effect for future use. This way, you can quickly apply it to other elements, saving you a lot of time and effort.
Summary – After Effects for Beginners: Effectively Using Plugins
You have now learned how to find, install, and use plugins in After Effects to create complex effects with ease. Plugins are a crucial part of your After Effects toolkit and can help you realize your creative ideas.
Frequently Asked Questions
How do I install a plugin in After Effects?Download the plugin, drag the file into the After Effects plugins folder, and restart the software.
Can I find free plugins?Yes, many providers offer free plugins that you can download and install.
Where can I find the plugins in After Effects?Most plugins are visible in the effects bar or in specific menus within After Effects.


