With the right combination of Adobe Photoshop and After Effects, you can create impressive animated GIF banners. In this guide, I will show you how to design and animate a banner with an impulsive text effect that is perfect for events or competitions. Let’s dive into the process together!
Key Insights
- Creating an animated GIF banner requires good collaboration between Adobe Photoshop and After Effects.
- The animation should be simple and clear to make an effective visual impact.
- Exporting as GIF is straightforward and allows for easy distribution of your animation.
Step-by-Step Guide
Step 1: Preparing the Photoshop File
Before we start working in After Effects, it's important to prepare the graphics in Photoshop. Create a new PSD file and structure the layers clearly. I recommend sorting each text and image layer into separate folders to keep the animation organized later. For example, you can create one folder for text and another for the background.
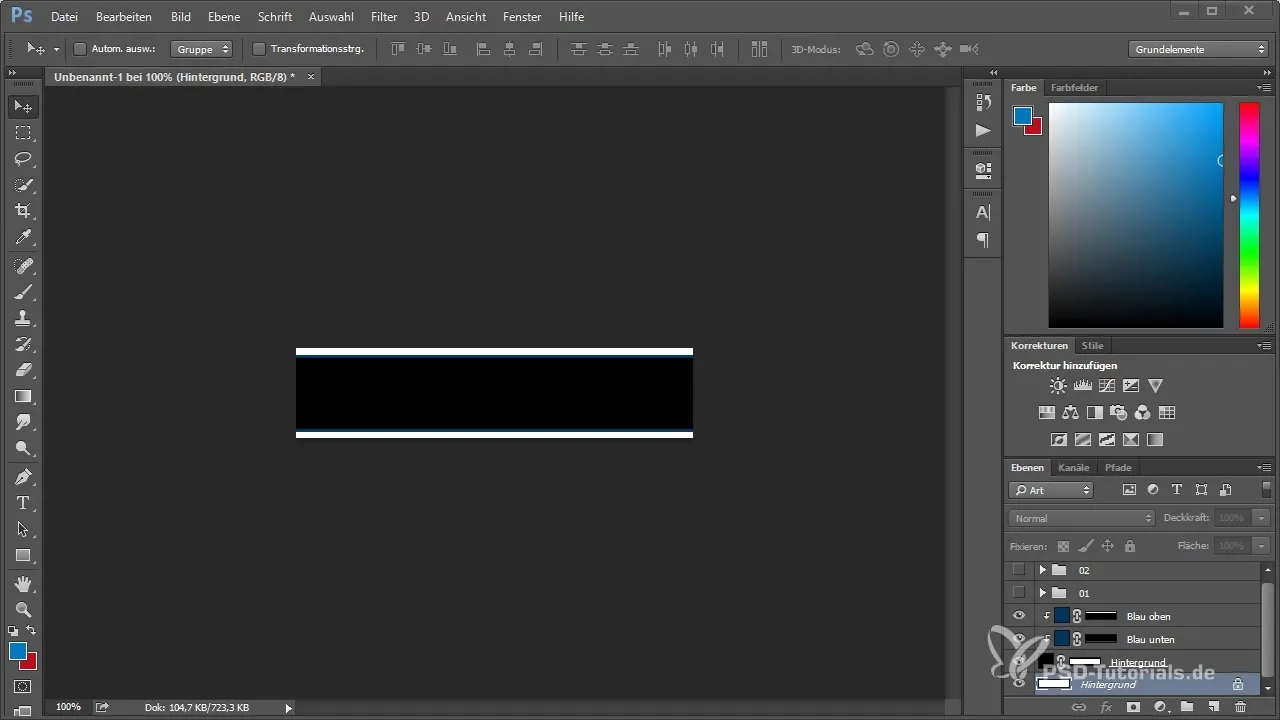
Step 2: Import the PSD File into After Effects
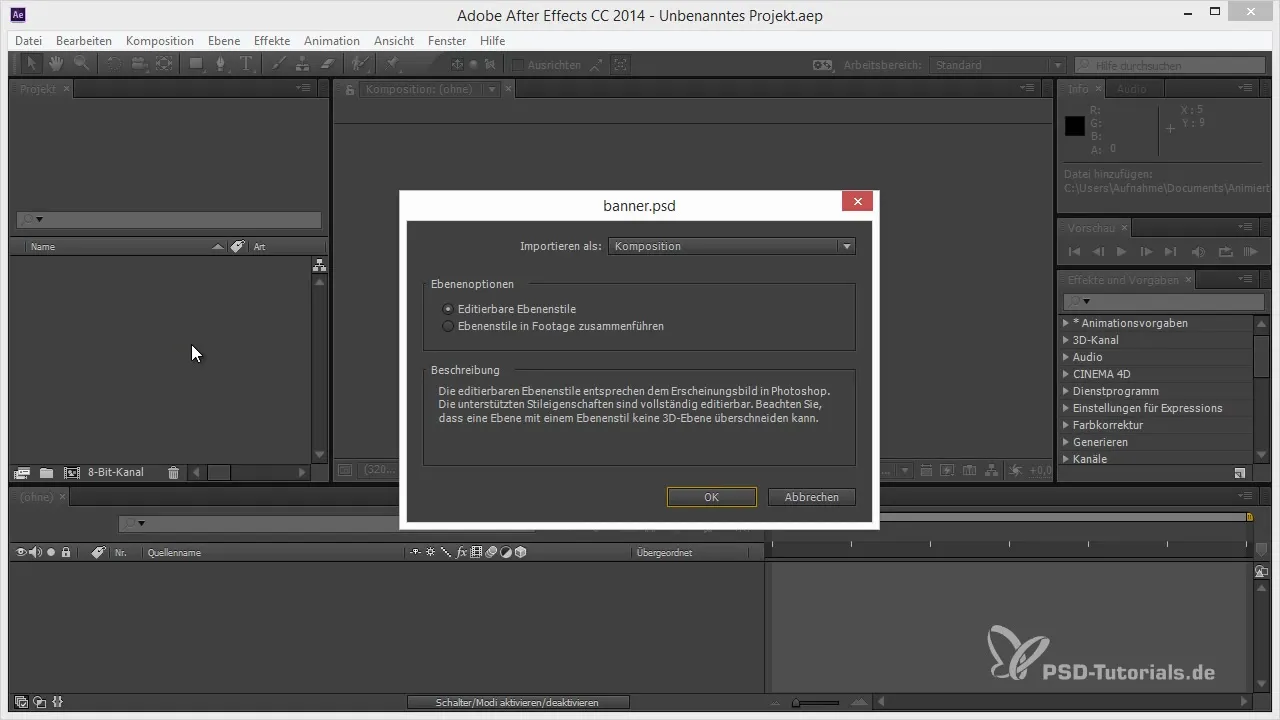
After saving your PSD file, open After Effects and import the file as a composition. Make sure to enable the “Maintain Layer Sizes” option to ensure proper display of the elements. This ensures that each layer in the composition is the same size as in the Photoshop document.
Step 3: Working with Sub-Compositions
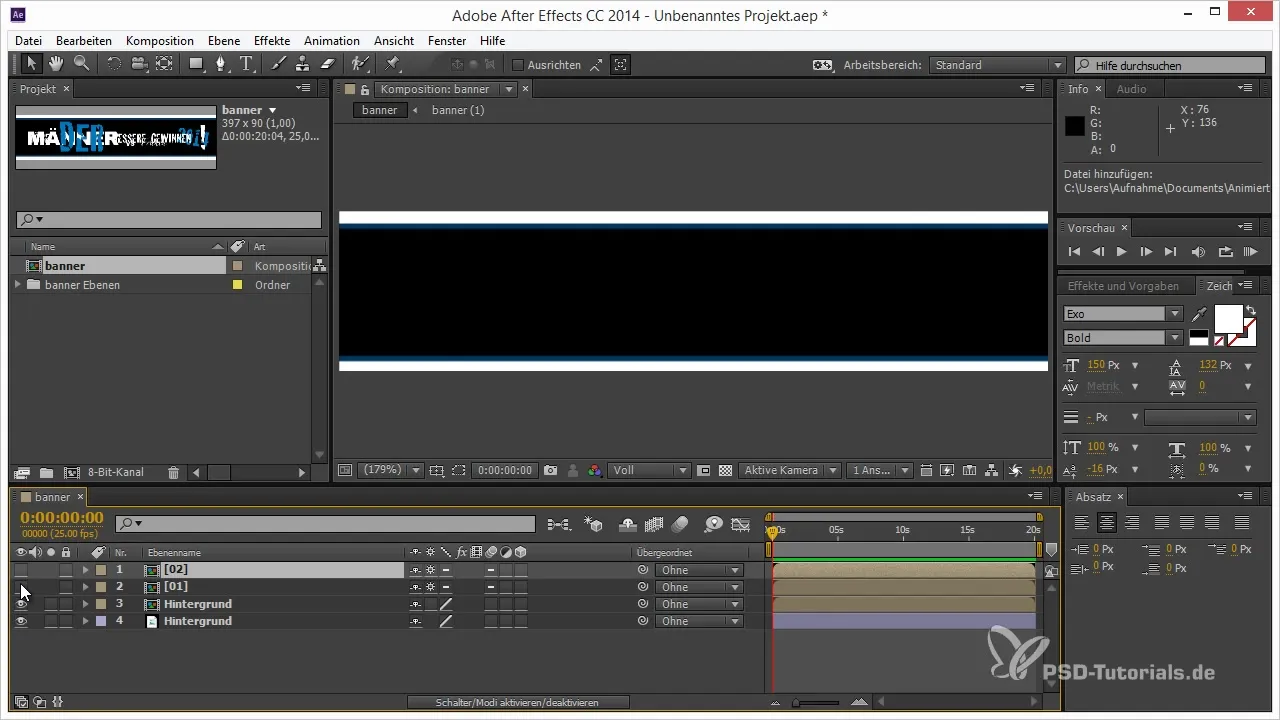
In After Effects, you will see your PSD file as a composition with the various folders. These folders are represented as sub-compositions, allowing you to animate the contents easily. Select the individual elements and start planning the animation by setting the first keyframes.
Step 4: Create Simple Animation
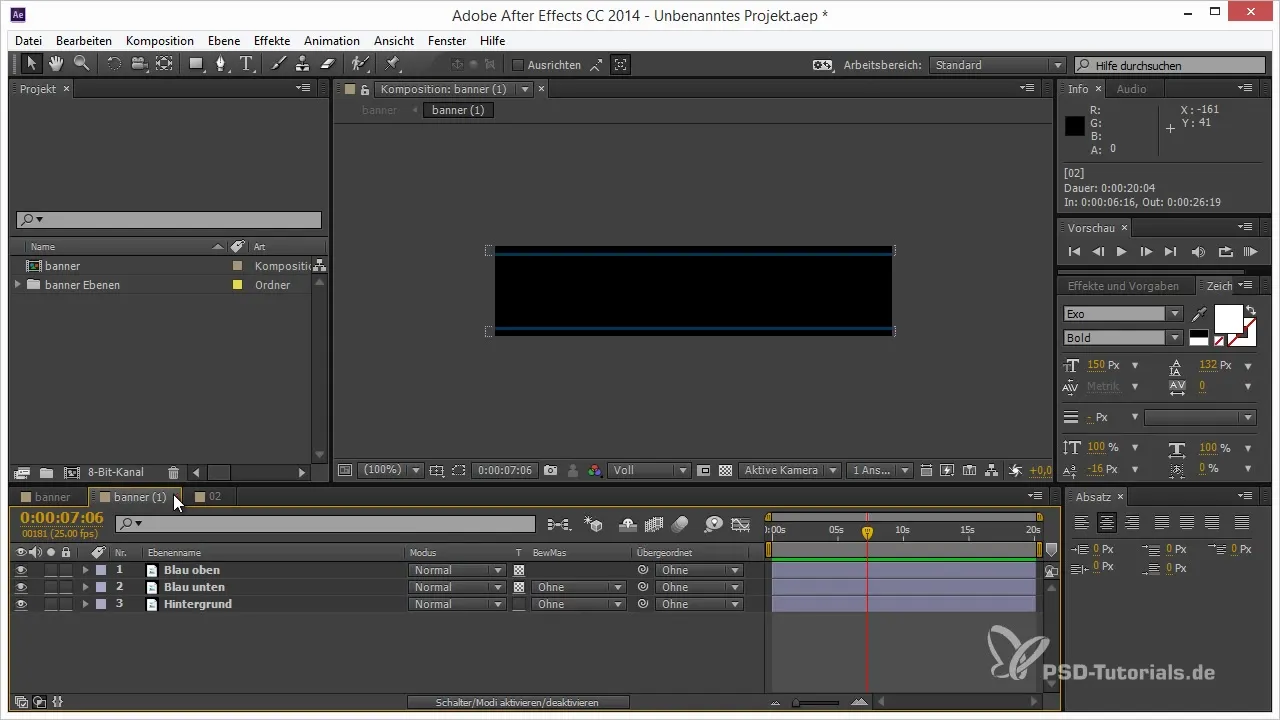
For animating a GIF banner, it’s often best to keep the animation simple. Start by animating the text “Men VSS Women”. Set keyframes for the text fading in and adjust the timing so that the elements appear one after the other. Suggestions for experimenting with timing can greatly enhance the overall experience.
Step 5: Add Impulsive Effect
Now comes the central effect that gives the banner its “punch”. Select the text “2014” and animate the scale and opacity. Set keyframes for the scaling so that the text enlarges while simultaneously becoming transparent. Make sure to refine the animation in the curves to achieve a sudden and dynamic effect.
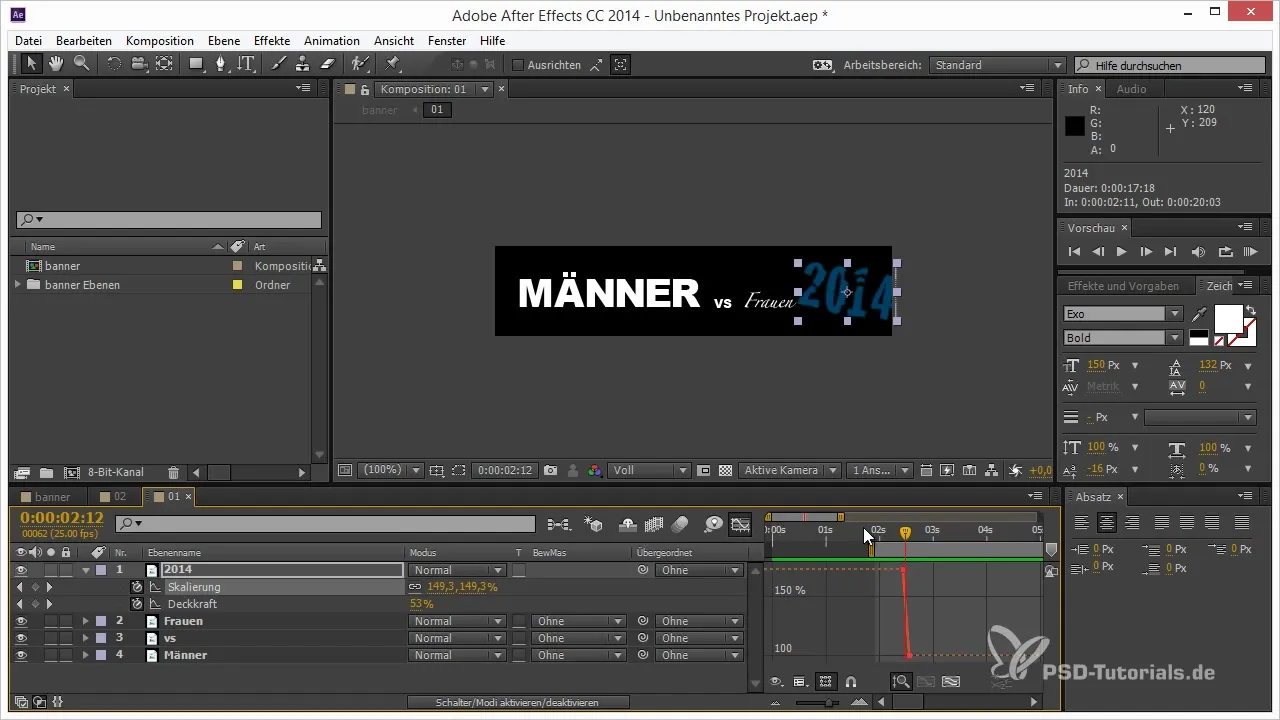
Step 6: Enable Motion Blur
To enhance the feeling of dynamism, enable motion blur for the animation layers. This will make the movements appear smoother and more lively as the elements slide in or out of the scene.
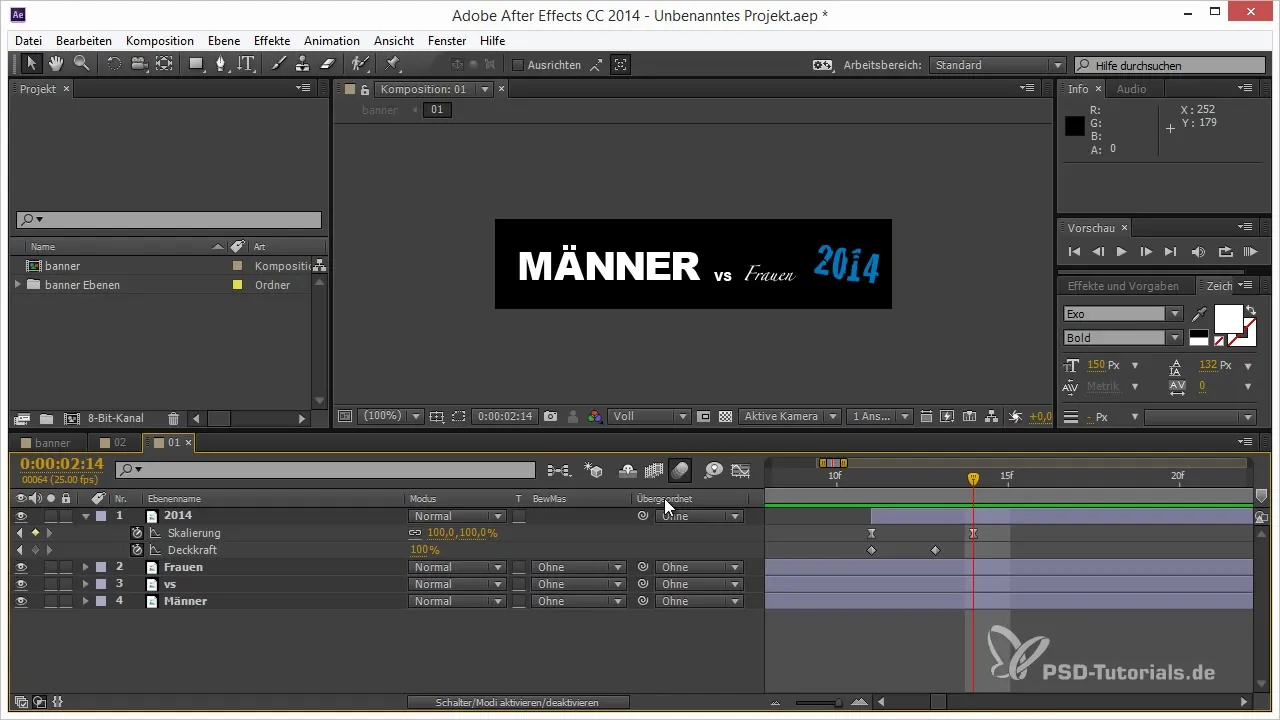
Step 7: Add Shake Effect
To give the banner even more liveliness, create a null object and parent all animated elements to this object. With a special expression, you can add a shake that makes the banner slightly wobble when the 2014 text appears. This will create a powerful visual effect.
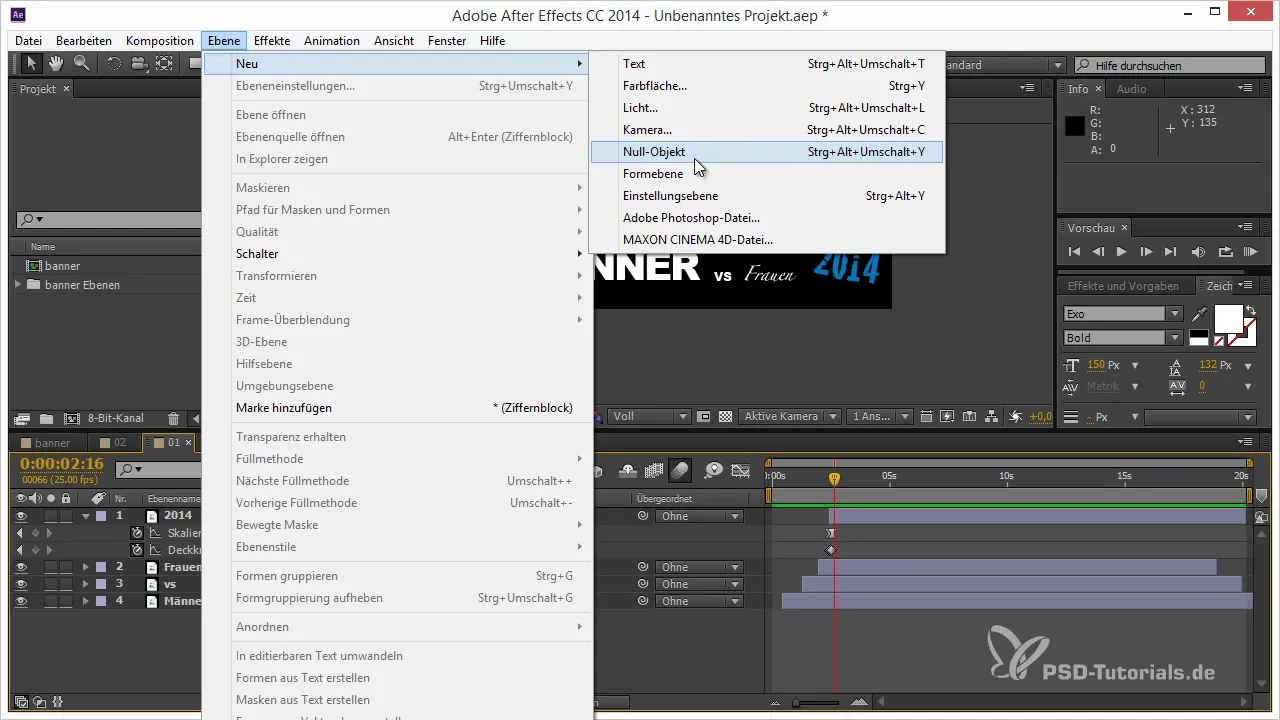
Step 8: Fine-Tune the Animation
Play with the keyframes and the intensity of the shake to ensure that the motion flow looks smooth and appealing. Experiment with different values to find the perfect look until you are satisfied with the result.
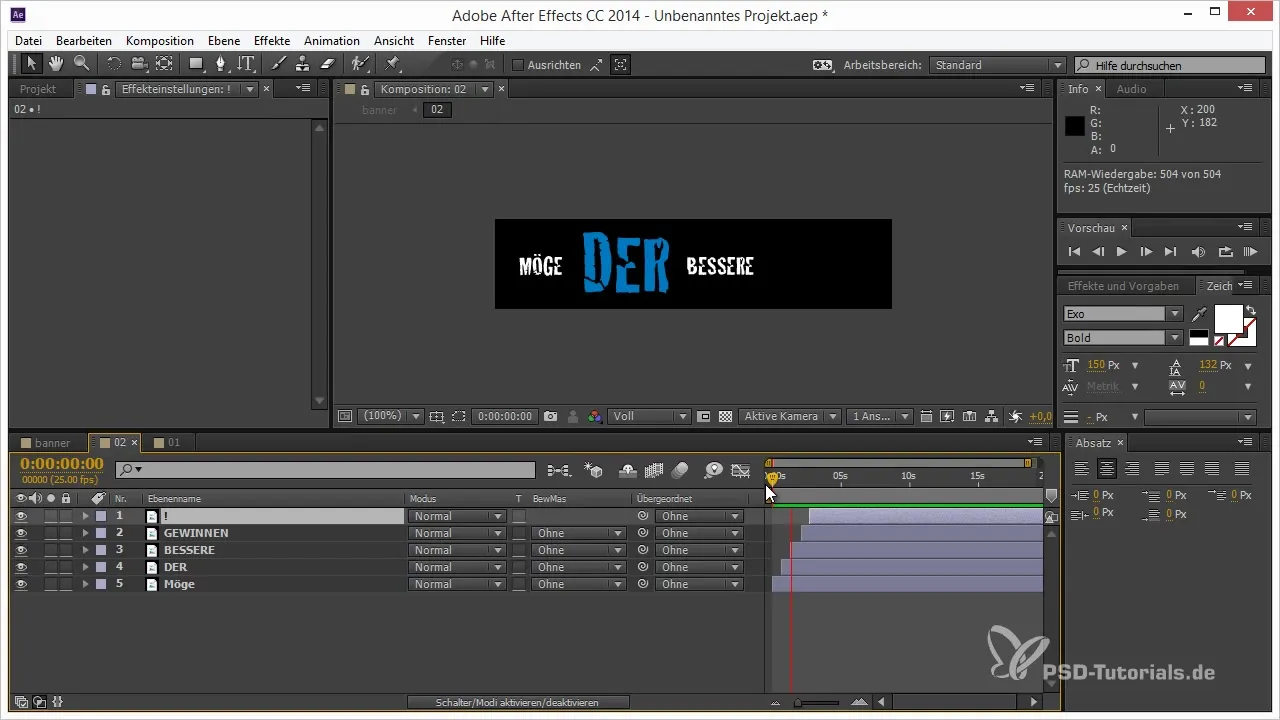
Step 9: Export to Video Format
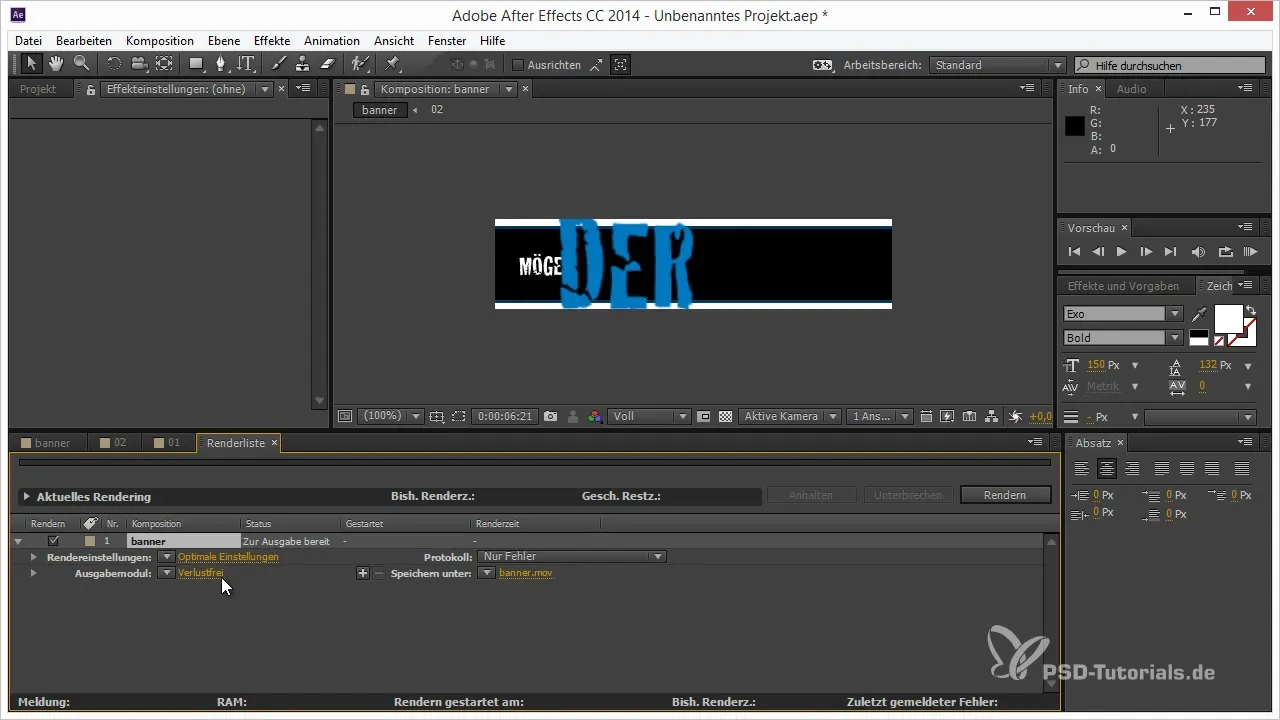
Once the animation is finished, export the result via the render queue. Choose a suitable format, such as QuickTime, to prepare the animation for the next step. Make sure you render all effects correctly.
Step 10: GIF Export in Photoshop
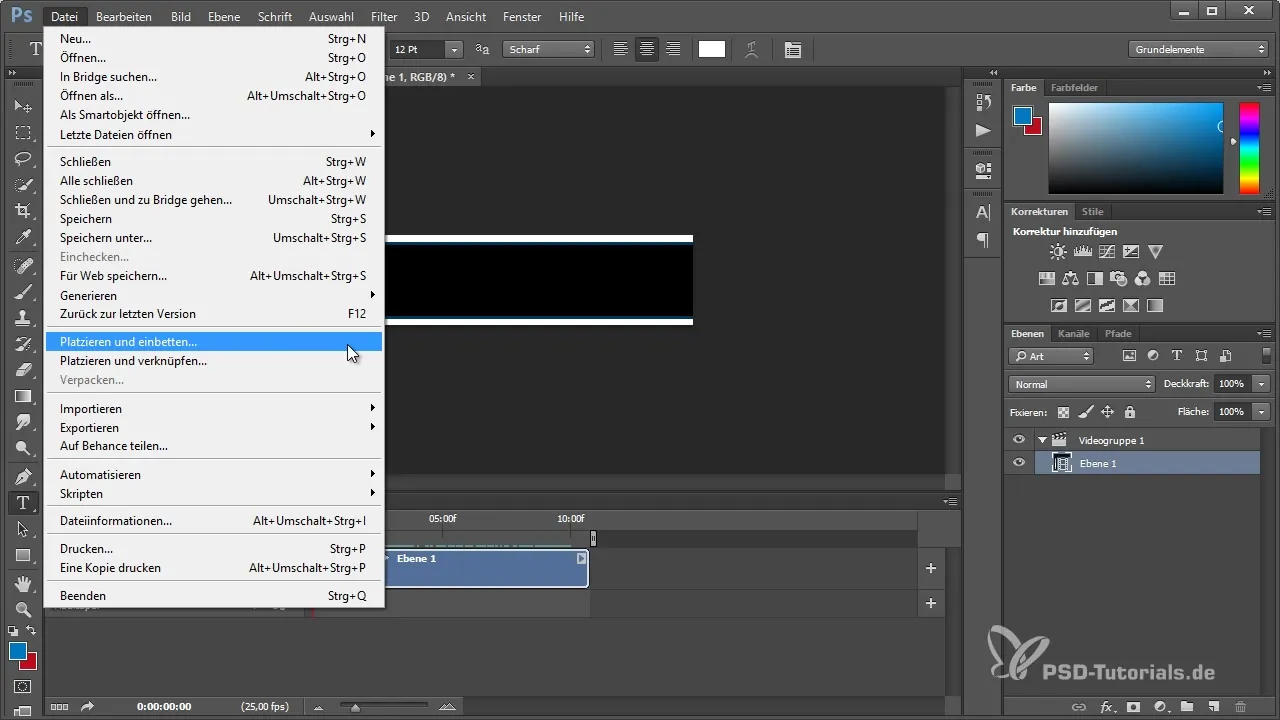
Now import the rendered video into Photoshop to convert it into a GIF. Open the timeline in Photoshop and select “Save for Web”. Make sure the format is set to GIF and adjust the options for the animation to ensure it plays in a loop.
Step 11: Review and Save
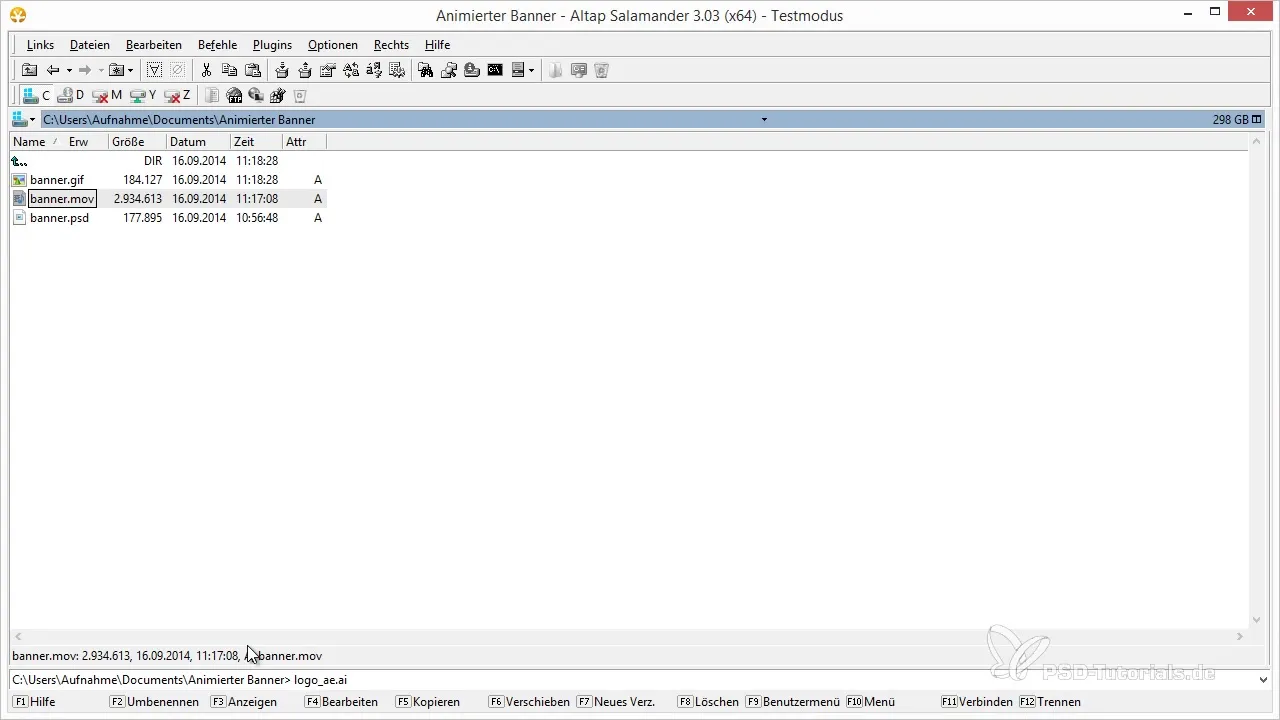
Before you save the GIF, check the color palette and ensure the animation runs smoothly. Reduce the number of colors to ensure that the GIF file remains small and fast-loading. Finally, save the GIF under an appropriate name in a desired folder.
Summary - Creating Animated GIF Banners with After Effects and Photoshop
You have now learned how to create an animated GIF banner using Adobe Photoshop and After Effects. From designing in Photoshop to exporting in Photoshop for the GIF format, you have gone through all the necessary steps to create impressive animations.
Frequently Asked Questions
How long does it take to create an animated GIF banner?The duration depends on your experience and the complexity of the design, but it typically ranges from 1 to 3 hours.
Can I use the GIF file on social media?Yes, you can use the GIF file on social media or websites to grab attention.
What software versions do I need?This guide requires Adobe Photoshop and After Effects. Make sure you have an up-to-date version to utilize all functions.
