The introduction to After Effects can be a challenging experience, especially when it comes to optimizing the workflow. However, the right setup and effective techniques can make a crucial difference and help you save time and reduce render times. In this guide, you will learn step by step how to properly structure your project, adjust your preferences, and apply various tips and tricks to increase your efficiency.
Key Insights
- An intelligent folder structure helps organize your project.
- Color coding layers allows for quicker identification of editing statuses.
- Trimming layers significantly reduces render times.
- Disabling effects and unnecessary preferences saves time.
- Customized preview quality can increase working speed.
Step-by-Step Guide
To begin with an effective structure for your After Effects project, you should first set up a folder structure. Therefore, it is advisable to right-click in the project view and choose "New Folder." This is the first step toward an organized workflow. You can create different folders for compositions, media, effects, and other elements.
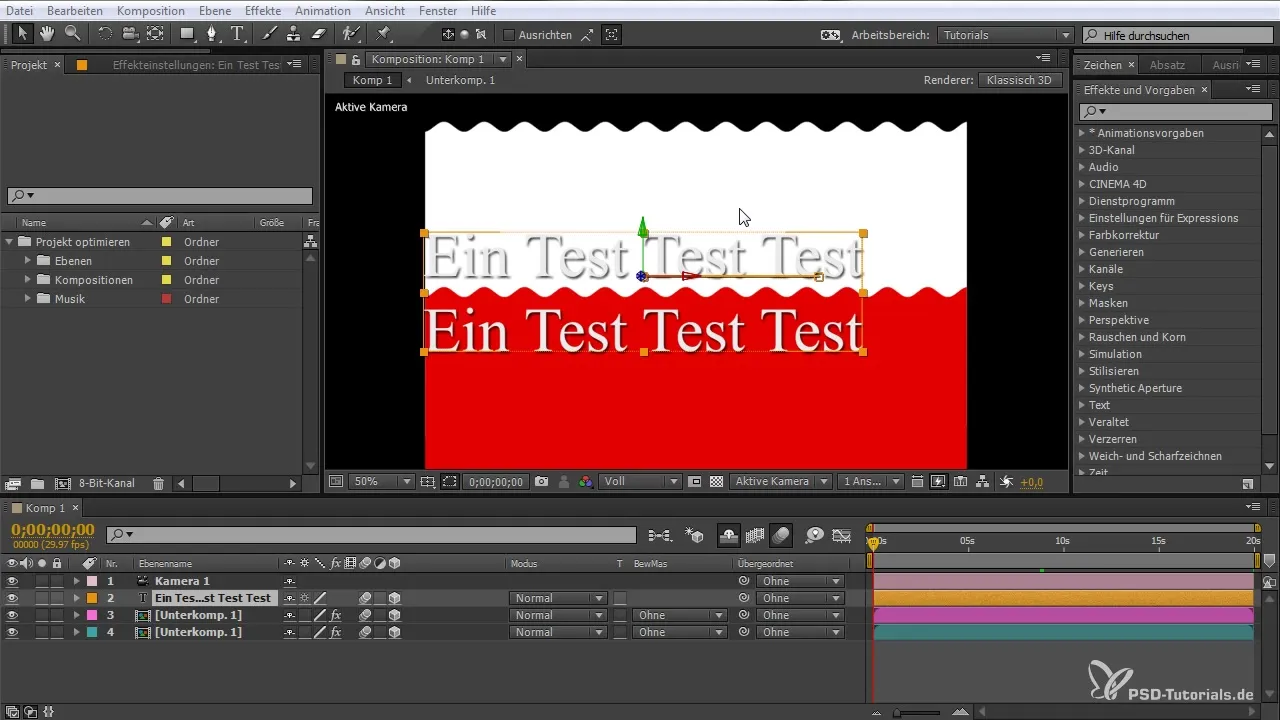
An example of this would be to use a general term like "Optimize Project." Within this folder, you can create your specific subfolders. This not only helps you maintain a clear overview but also helps others—if you are collaborating—to quickly understand your structure.
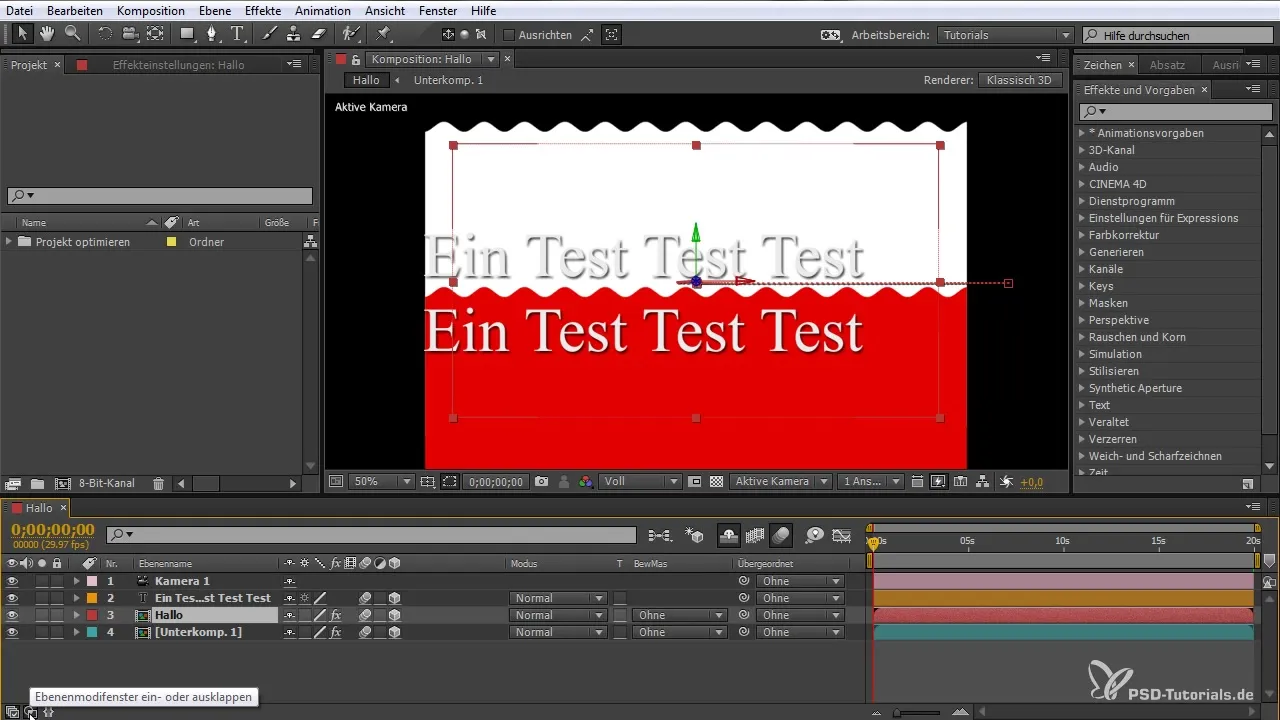
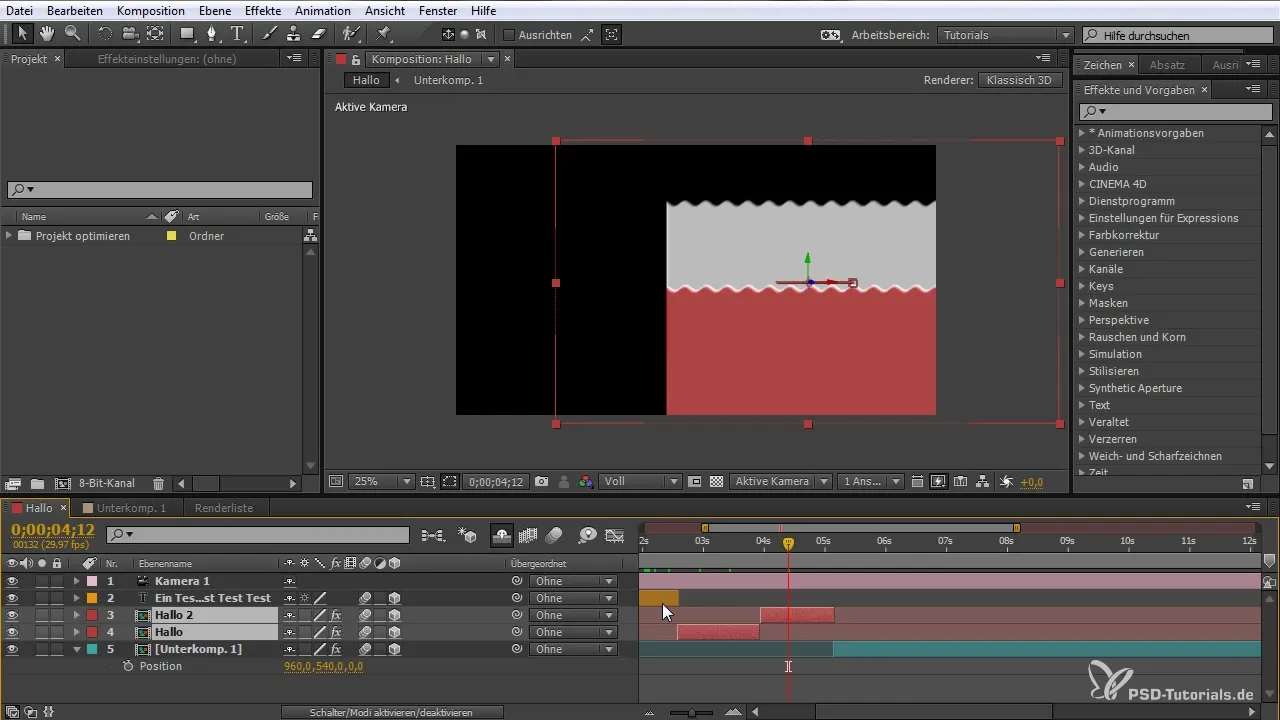
Once the folders are created, you should color-code the various layers in your project. Click on the square icon next to each layer and select a color. For example, you can use red for completed tasks, green for tasks in progress, and orange for upcoming tasks. These colors allow you to quickly identify the status of your layers and reduce the search for specific content.
To avoid losing track in a larger project, you should also ensure that unused layers or compositions are disabled. Use the hide icon (person icon) on the right side of the timeline to indicate which layers are currently being edited. This reduces distractions and helps you focus on the current work.
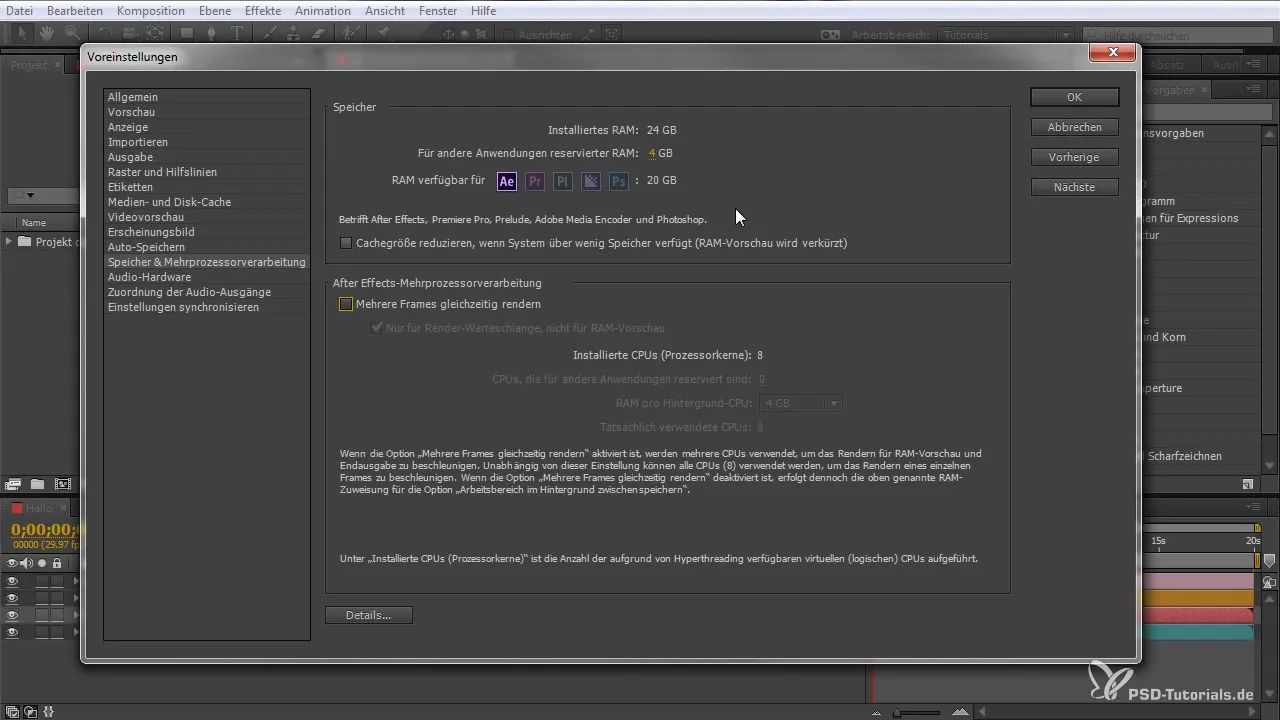
Another important setting before you start working is the preferences. Go to "Edit" > "Preferences" and ensure that you maximize your RAM size under "Memory." This increases preview time and gives you a speed boost when editing your clips.
After setting this up, be sure to reduce the blend modes if space in the view is limited. Disabling blend modes gives you a less cluttered view, making it easier to navigate your project.
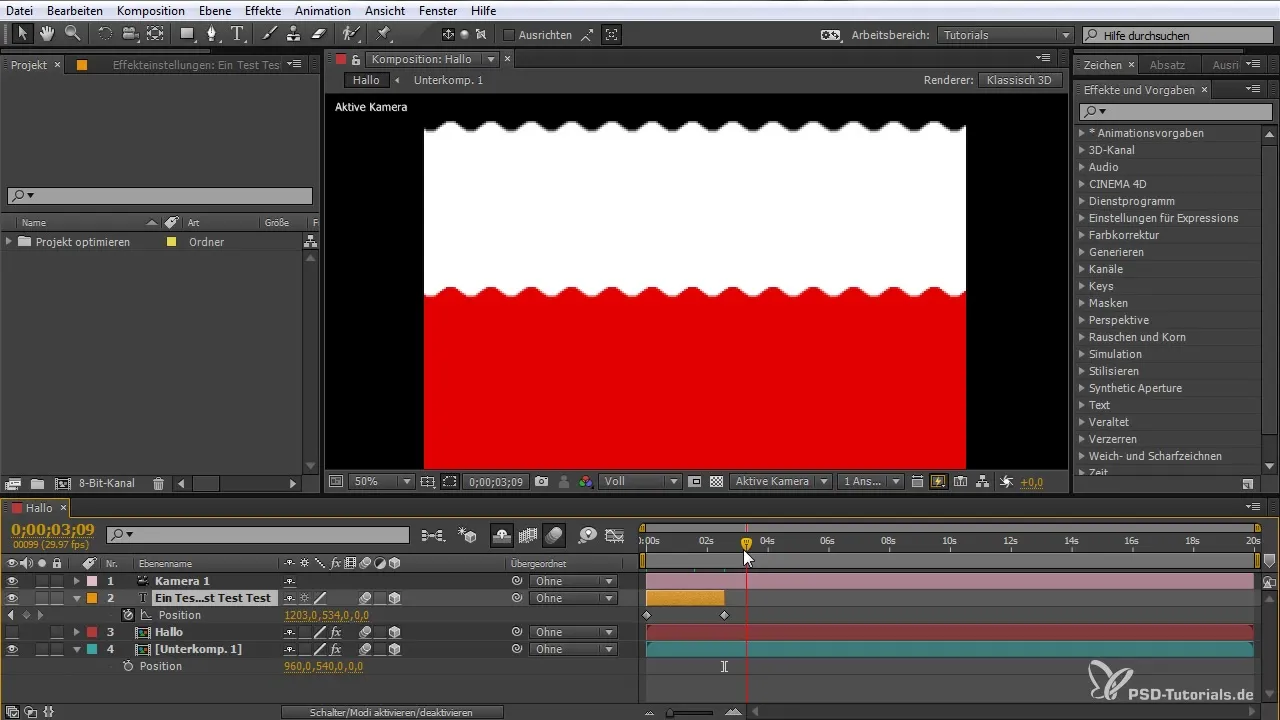
A very practical tip is to trim your layers. If you have layers that do not cover the entire duration or that you do not fully need, you can simply trim them. Hold down the ALT key and press "A" to trim the layer. This not only saves time when rendering but also makes editing much smoother.
Remember to set the preview quality to not be too high while performing steps that do not require full-quality rendering. You can adjust the preview quality by lowering the quality settings and speeding up the preview rendering process.
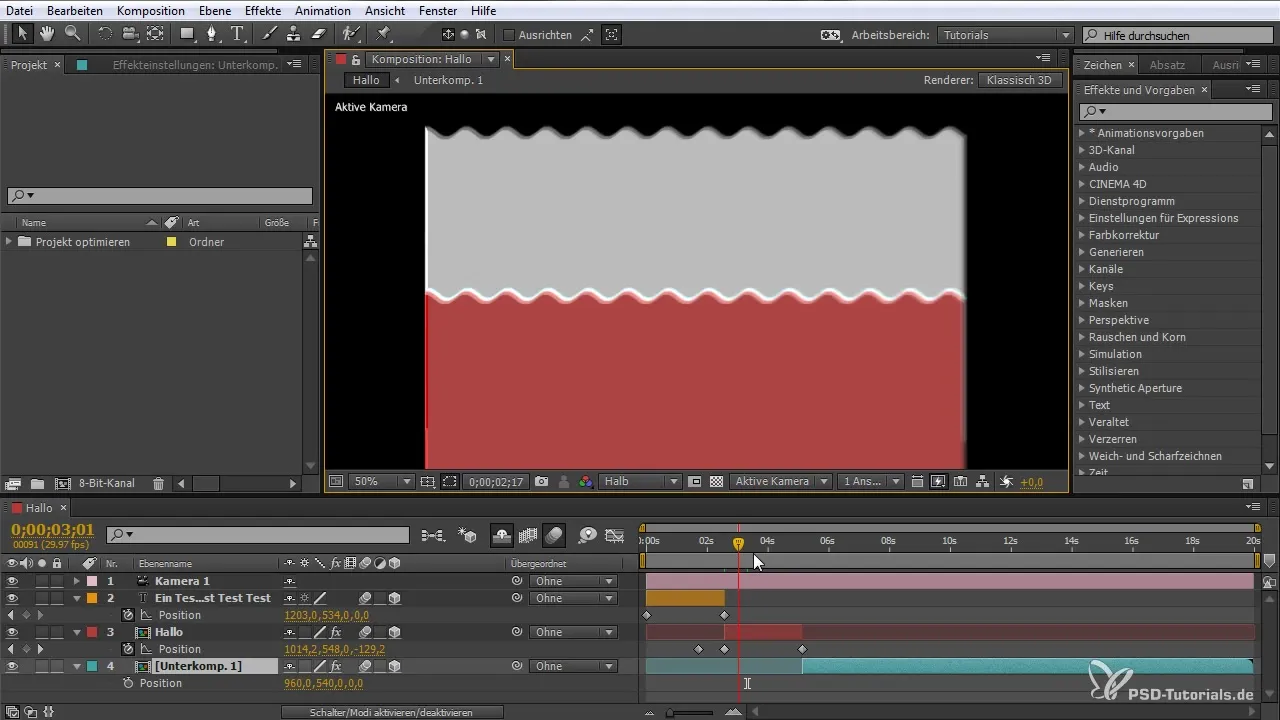
When working with effects, it is advisable to temporarily disable them when you are not working on them. This also significantly reduces render times. Later, when you reactivate the effects, you can make the final edits for export. This is particularly true when working with motion blur, as this also has a considerable impact on render times.
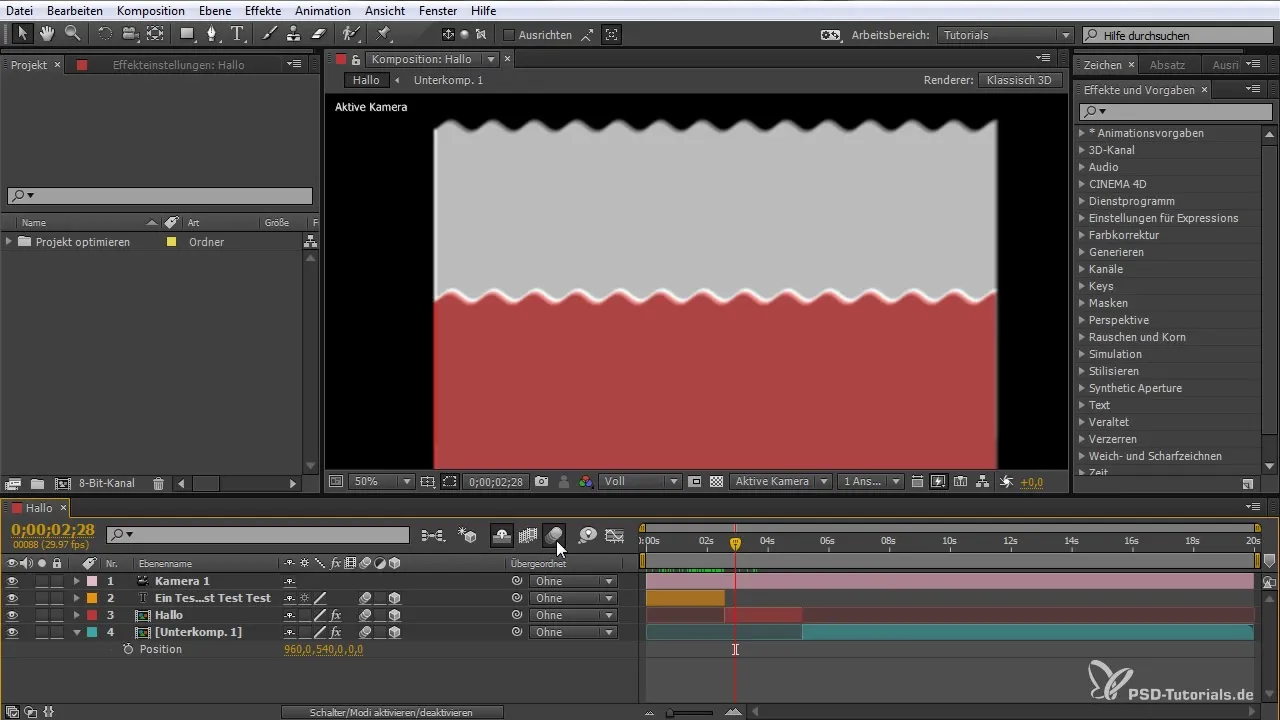
In the settings area, you will also find the option to reduce samples per frame for motion blur, which also shortens render times. Go to "Composition Settings" and adjust the relevant parameters.
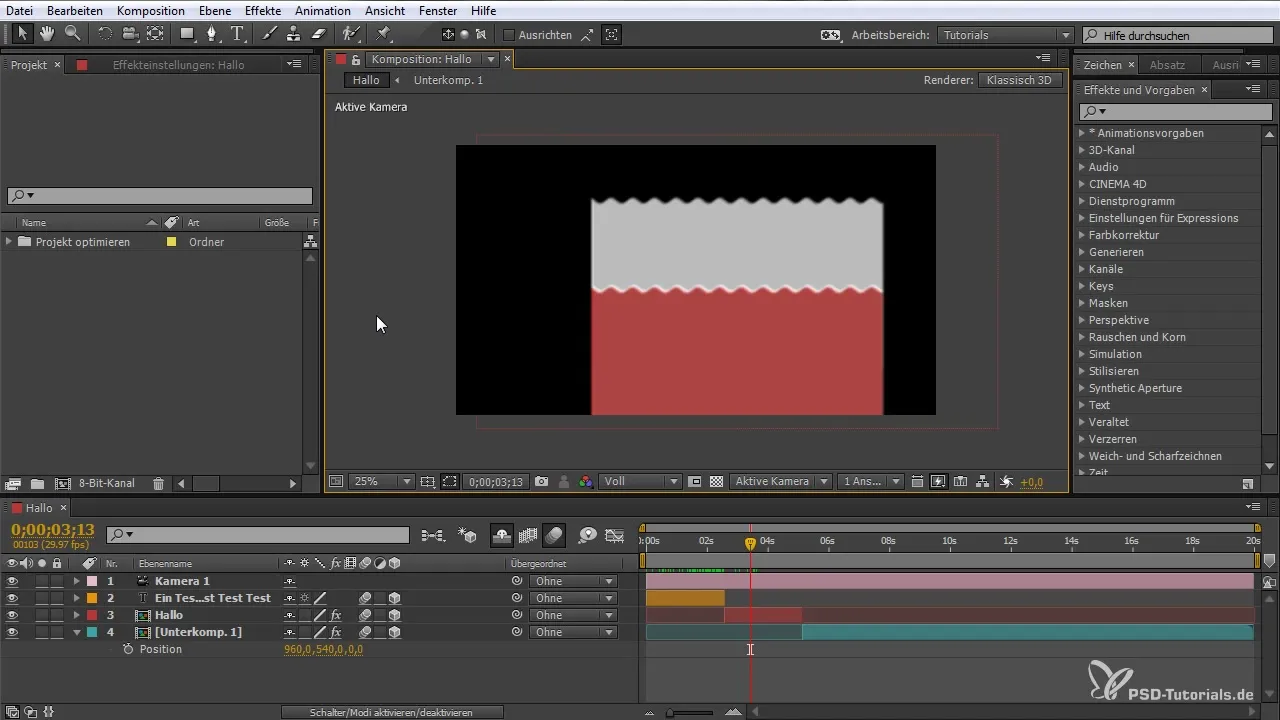
If you are applying multiple effects on a track and want to edit them simultaneously, you can cut the track by pressing SHIFT and D while a track is selected. This function is essential to maintain control over your effects and their application.
Your render settings are the last step to ensure everything is optimally configured. Go to the render settings and set both the quality and the resolution to optimize the required render time. You can set the quality to draft to get faster previews.
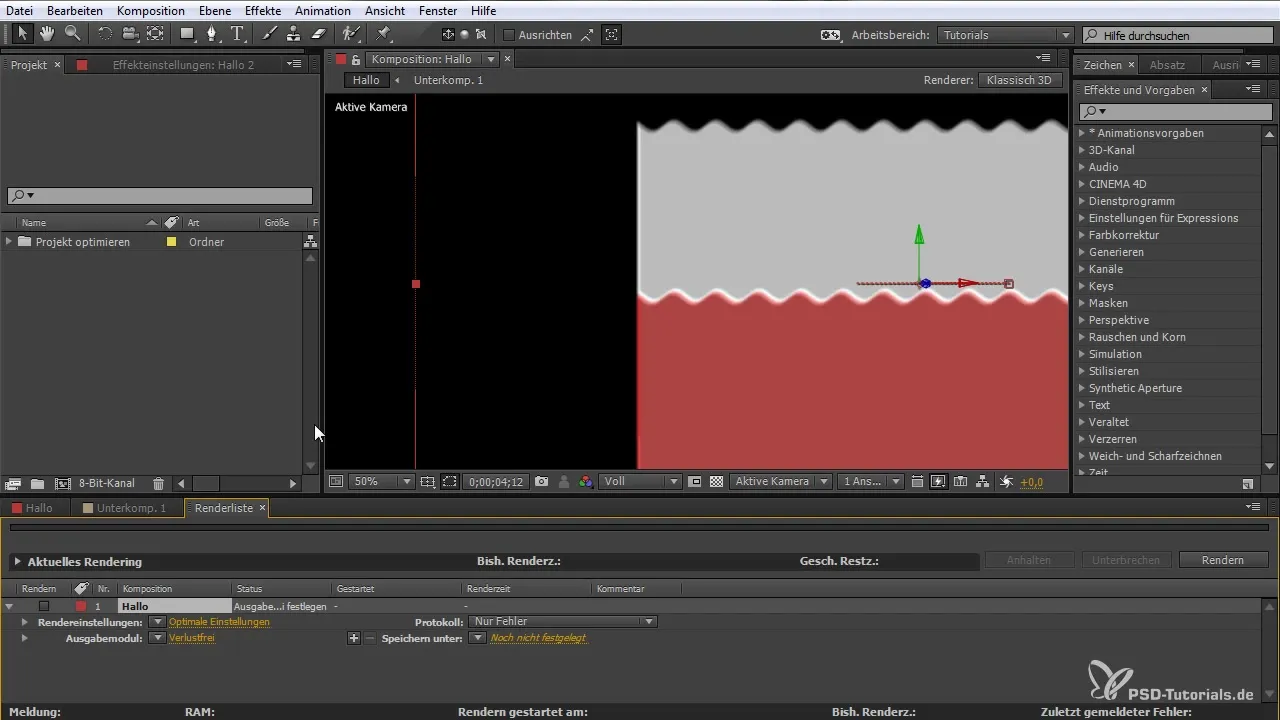
Finally, a quick draft allows you to keep the overall picture in mind, despite a low preview quality. This is particularly important when working for clients who need quick results.
Summary – After Effects Workflow Tips for an Efficient Start
In this guide, you have learned the essential tips for an effective workflow in After Effects. From creating a clear folder structure to color coding layers and trimming layers to effective render settings—these strategies help you save time and optimize your workflows. By applying these techniques, you will be able to work more productively and efficiently on your projects.
Frequently Asked Questions
How do I create a folder structure in After Effects?Right-click in the project view and select "New Folder."
How can I color code layers?Click on the square icon next to the layer and choose a color.
How do I trim layers to optimize render times?Hold down the ALT key and press "A" to trim the layer.
How can I adjust the preview quality?Go to the preview options and lower the quality settings.
How can I temporarily disable effects to save time?Select the layer and manually disable the effects in the properties panel.


