The new Pixel-Motion Blur feature in After Effects CC (up to 2015) is a groundbreaking tool that allows you to create dynamic and realistic motion blur in your projects. This guide will show you how to effectively utilize this feature to achieve impressive results.
Key Insights
- The Pixel Motion Blur improves the visual quality of animations by providing realistic motion blur.
- With the new feature, you no longer need to make manual adjustments to create a clean motion blur.
- Incorrect application of motion blur can cause unsightly jumps and edges, which are undesirable in the final product.
- With the right application, you can achieve appealing results even with shots that lack motion blur.
Step-by-step Guide
1. Preparing the Scene
Before you start applying the Pixel Motion Blur, it's important to have a suitable scene. In some cases, a scene without motion blur may be difficult to edit. Optimize your scene to ensure smooth playback.
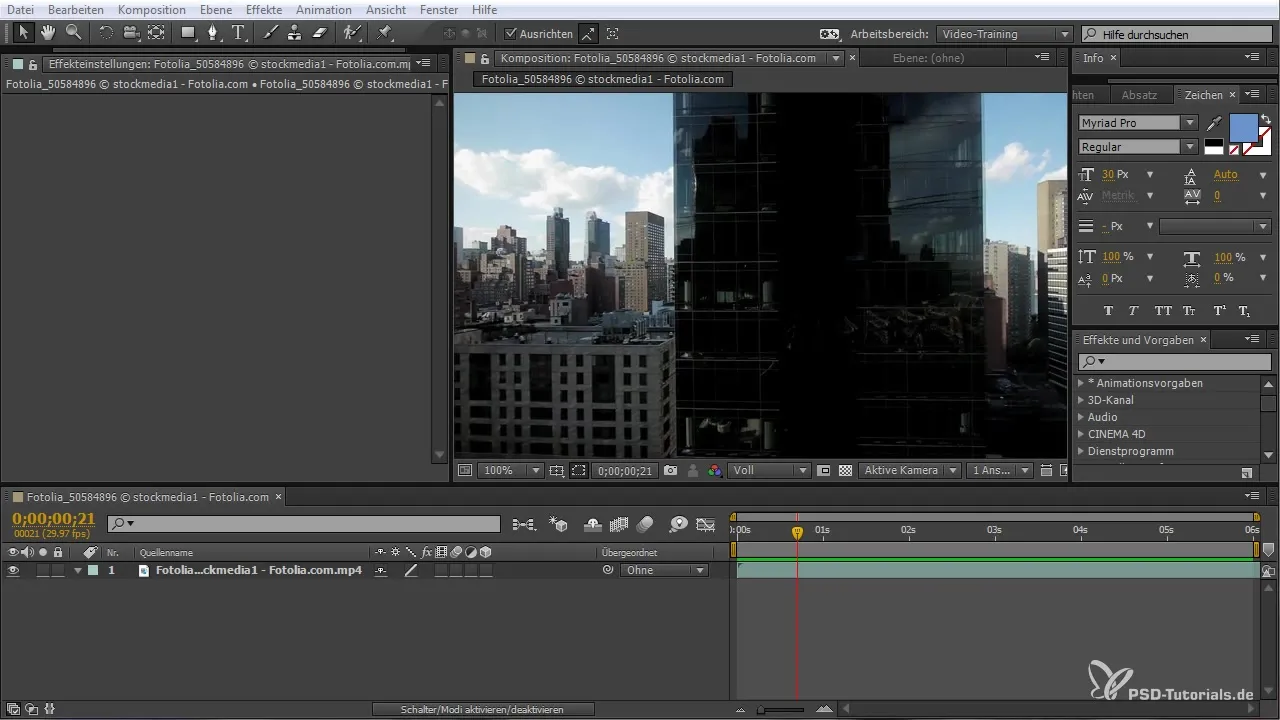
When you play back the scene, pay attention to how movements are represented. Note: Scenes that lack motion blur may appear unnatural, e.g., when elements are displayed abruptly without smooth transitions.
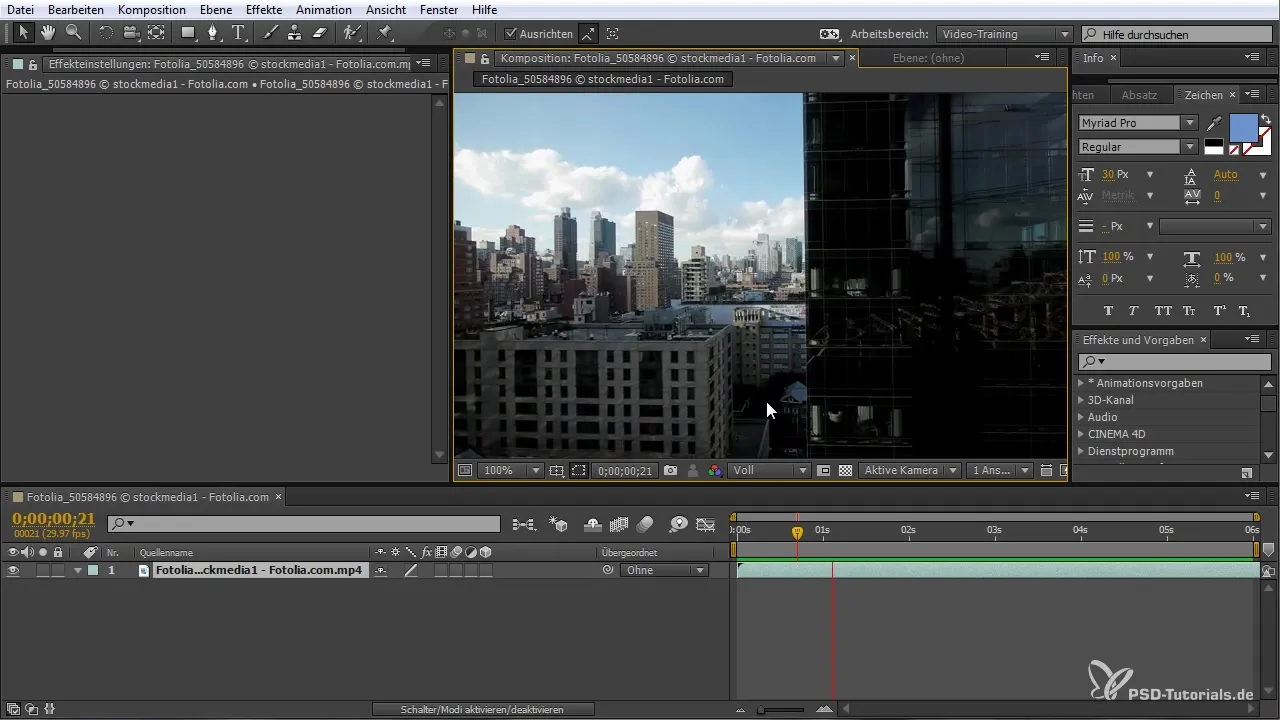
2. Activating the Old Method
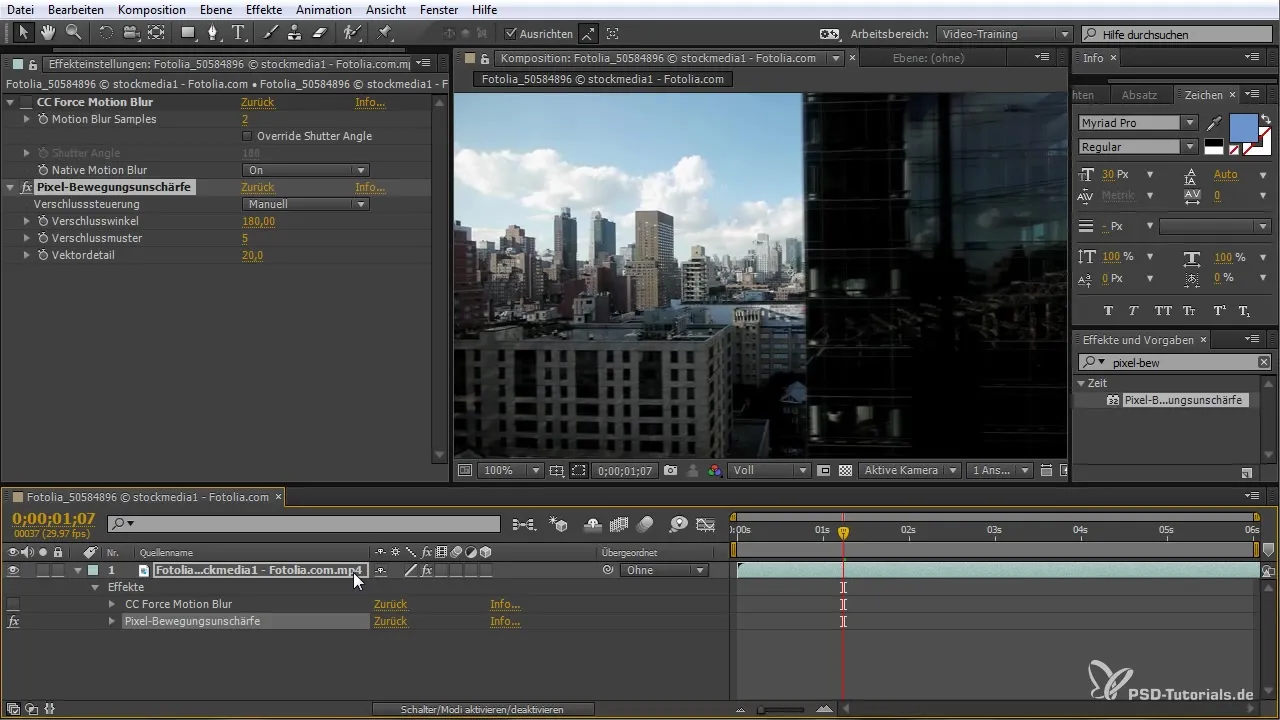
In the past, you may have used CC Force Motion Blur to add motion blur. This required you to make several adjustments, such as activating the shutter and setting the samples.
However, this method often resulted in unsightly edges and jumps that could degrade the quality of your animations.
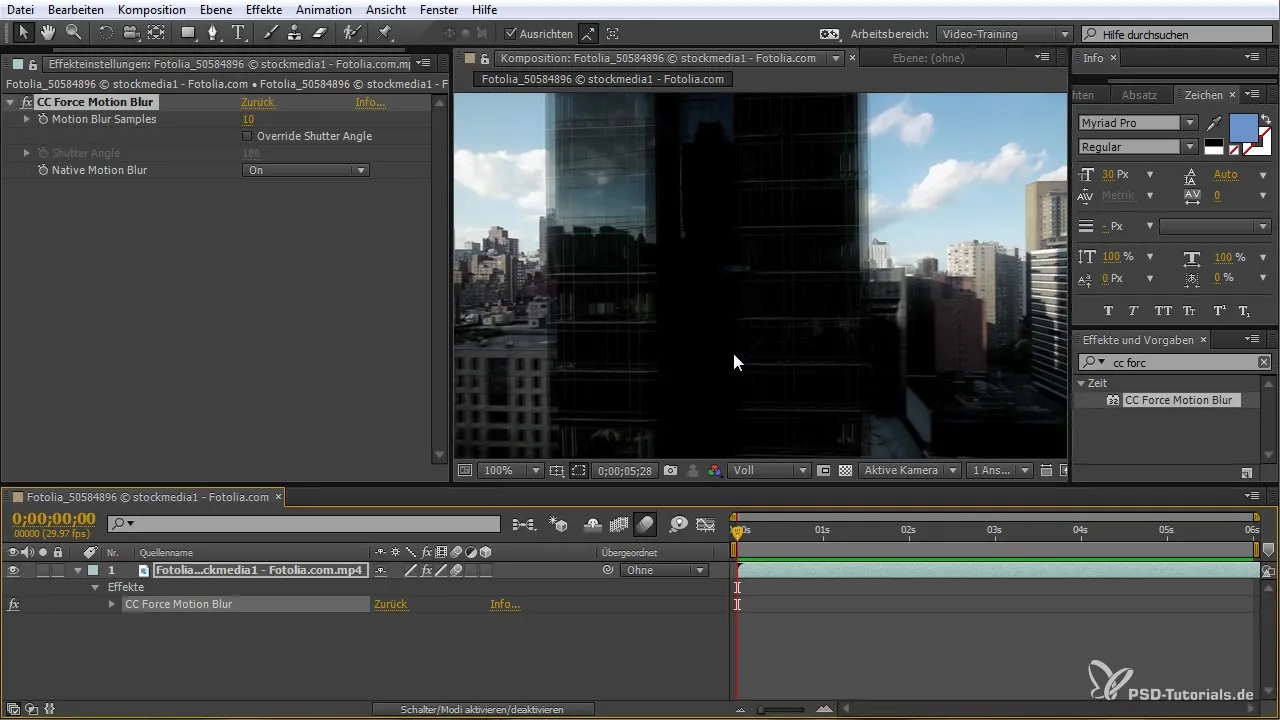
3. Introducing Pixel Motion Blur
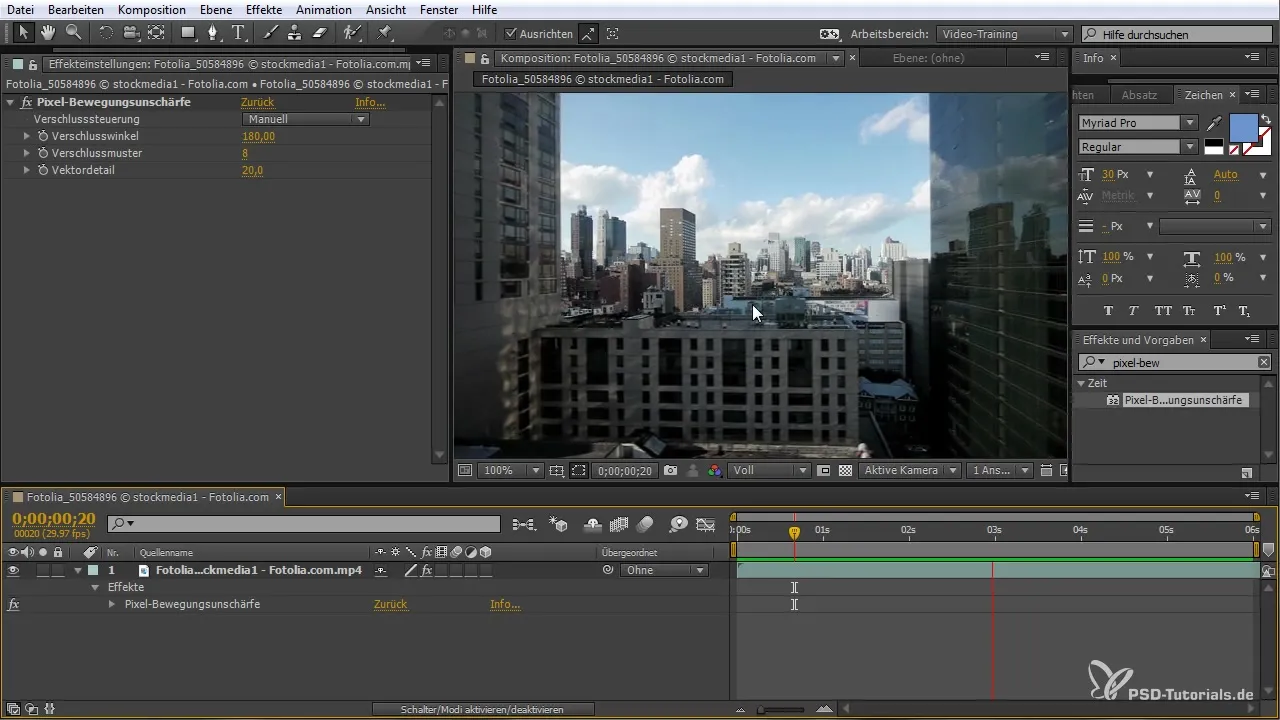
With the new Pixel Motion Blur plugin, you can optimize your animations much more easily. Simply search for the Pixel Motion Blur in the plugin area and apply it without needing extensive adjustments.
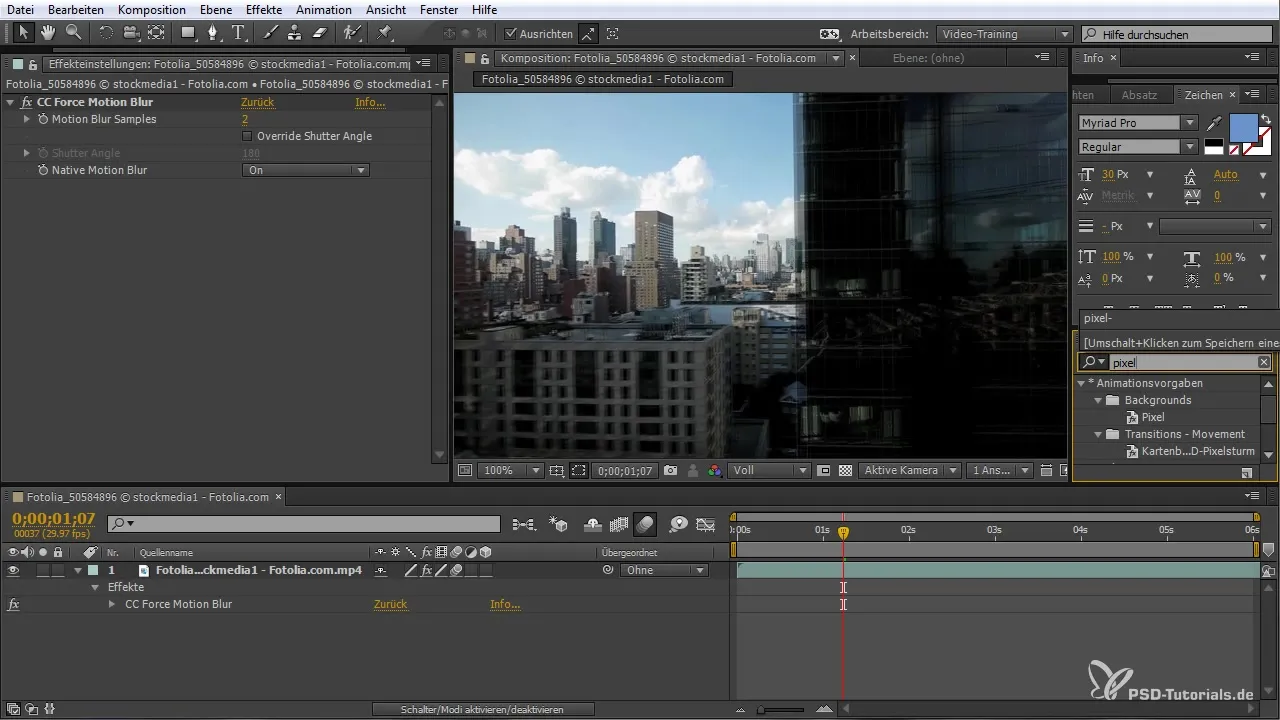
The plugin automatically detects the movements in your scene and adjusts the motion blur accordingly, so it works independently of other settings.
4. Adjusting the Settings
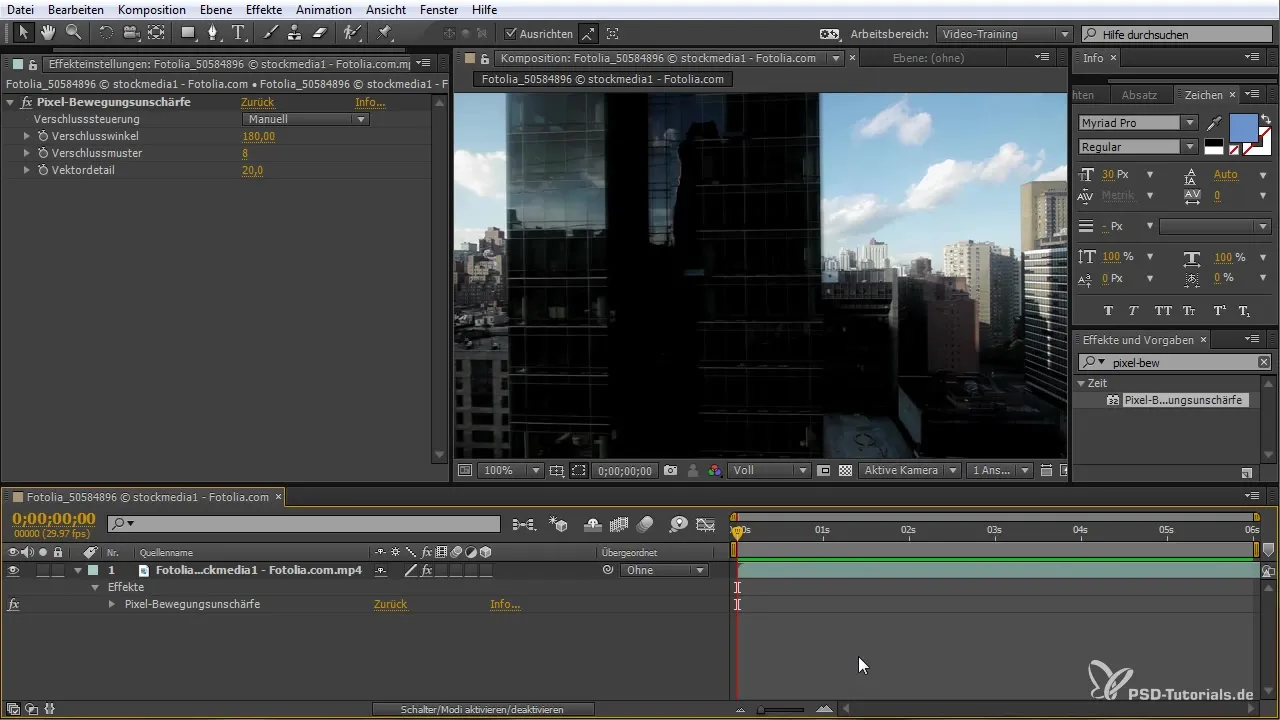
Once the plugin is applied, you can disable the global settings to make it simpler. Ensure that you no longer need to make manual adjustments to achieve the desired effect.
With the automatic adjustment feature, the motion trajectories of the pixels are intelligently measured, giving you a cohesive image.
You can optionally make further adjustments, such as increasing the number of samples to achieve even more detailed results.
5. Final Preparation and Review
Before rendering your final animation, review the result. With proper application, you will find that the gradients are now much more homogeneous.
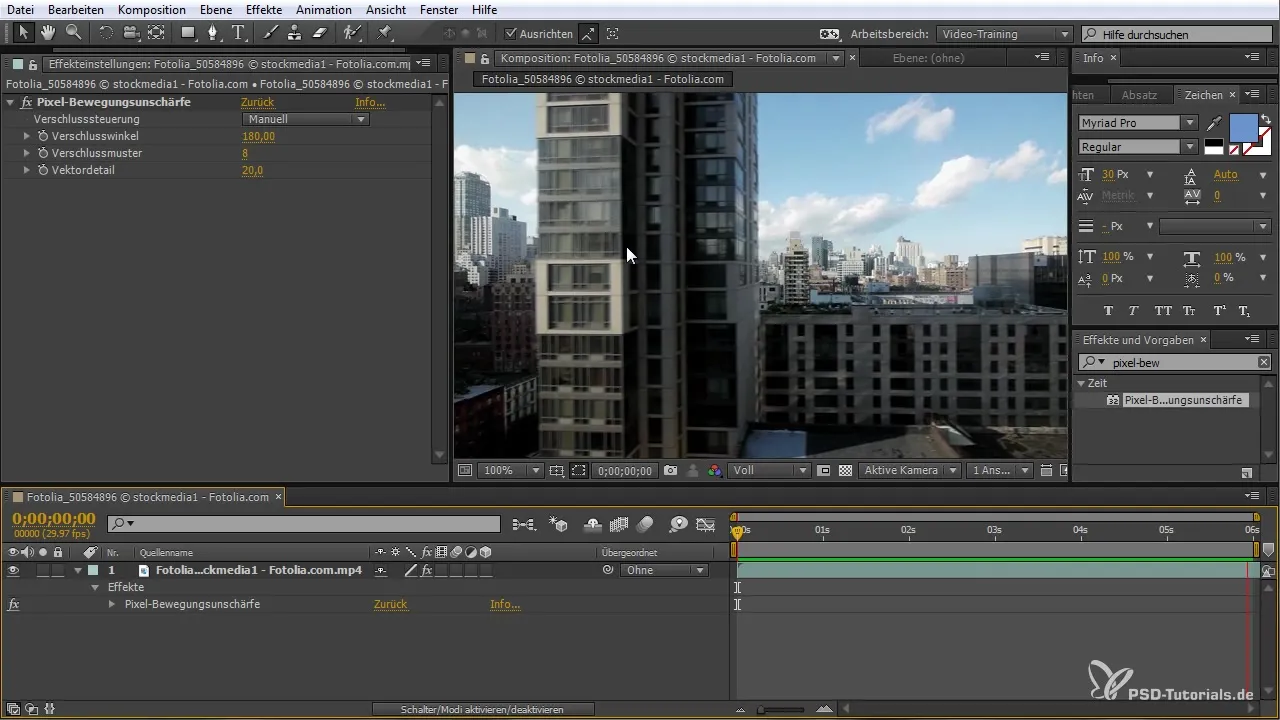
This technique is particularly beneficial if you want to have tracking points in a scene that you can adjust later.
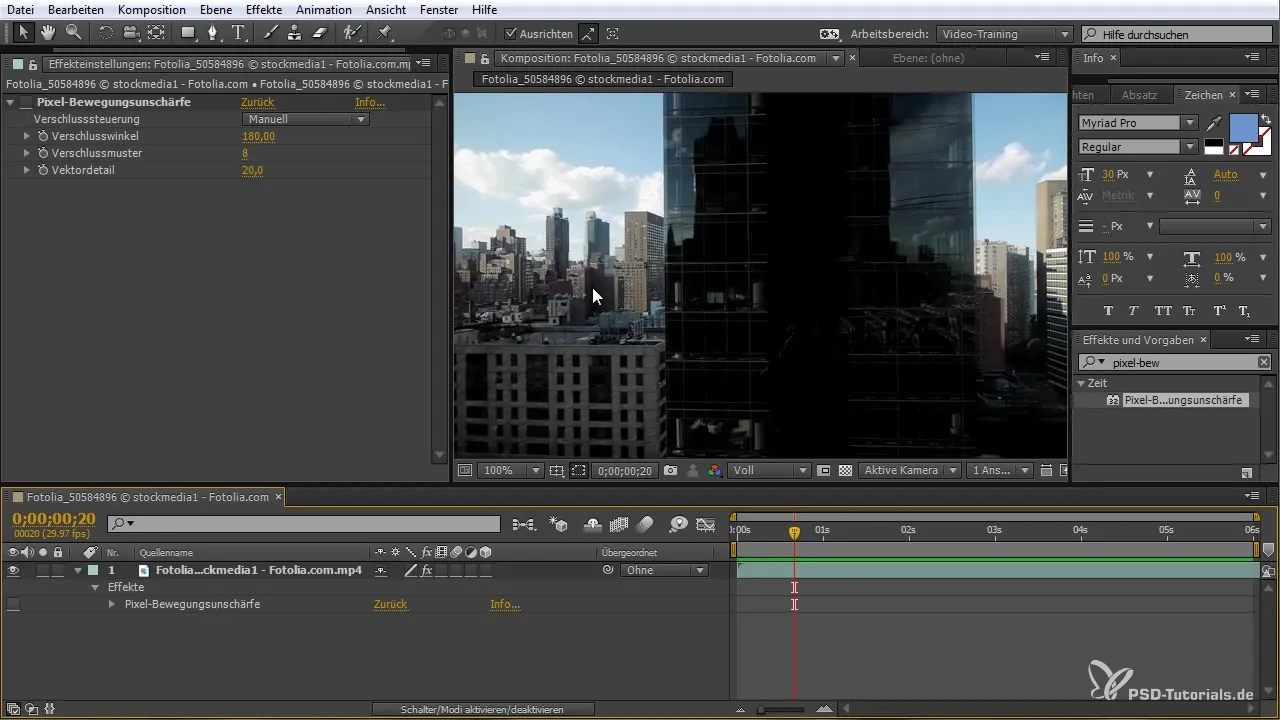
The Pixel Motion Blur can help you achieve a higher quality in your animations, which is especially crucial for slideshows or similar projects.
Summary – Pixel Motion Blur in After Effects: How to Create Lively Animations
The Pixel Motion Blur feature in After Effects CC (up to 2015) provides you with a powerful way to create vibrant and fluid animations. With the simpler handling and the ability for automatic adjustment, you can save time while significantly improving the quality of your work. Feel free to experiment with different scenes and settings to achieve the best results.
Frequently Asked Questions
How do I activate the Pixel Motion Blur in After Effects?Go to the plugin area and apply Pixel Motion Blur.
Do I need to make extensive adjustments to use Pixel Motion Blur?No, the plugin automatically detects movements and adjusts accordingly.
Can I apply Pixel Motion Blur to existing projects?Yes, you can also apply the plugin to existing works to enhance them.
What advantage does Pixel Motion Blur have over traditional motion blur?It provides a more realistic representation without the need for additional manual adjustments.
Is it sensible to record animations without motion blur?Yes, in certain cases, such as tracking, it can be advantageous to work without motion blur.


