Did you know that Adobe Bridge is an essential tool in the world of creative software? It serves as a central hub between the various applications of the Adobe Creative Cloud. This guide will help you utilize the versatile features of Adobe Bridge and benefit from its diverse possibilities in your creative workflows. You will learn how to work effectively with Bridge to organize, browse, and perform preliminary edits on your media before using them in other Adobe applications.
Main insights
- Adobe Bridge is a central platform that serves as a connection between various Adobe applications.
- You can easily organize, browse, and use media elements directly within other Adobe programs.
- Features such as creating collections, editing metadata, and using Camera Raw significantly optimize your workflow.
Step-by-Step Guide
Navigation in Adobe Bridge is intuitive. Here are the steps to help you make the most of the software:
1. Understanding the User Interface
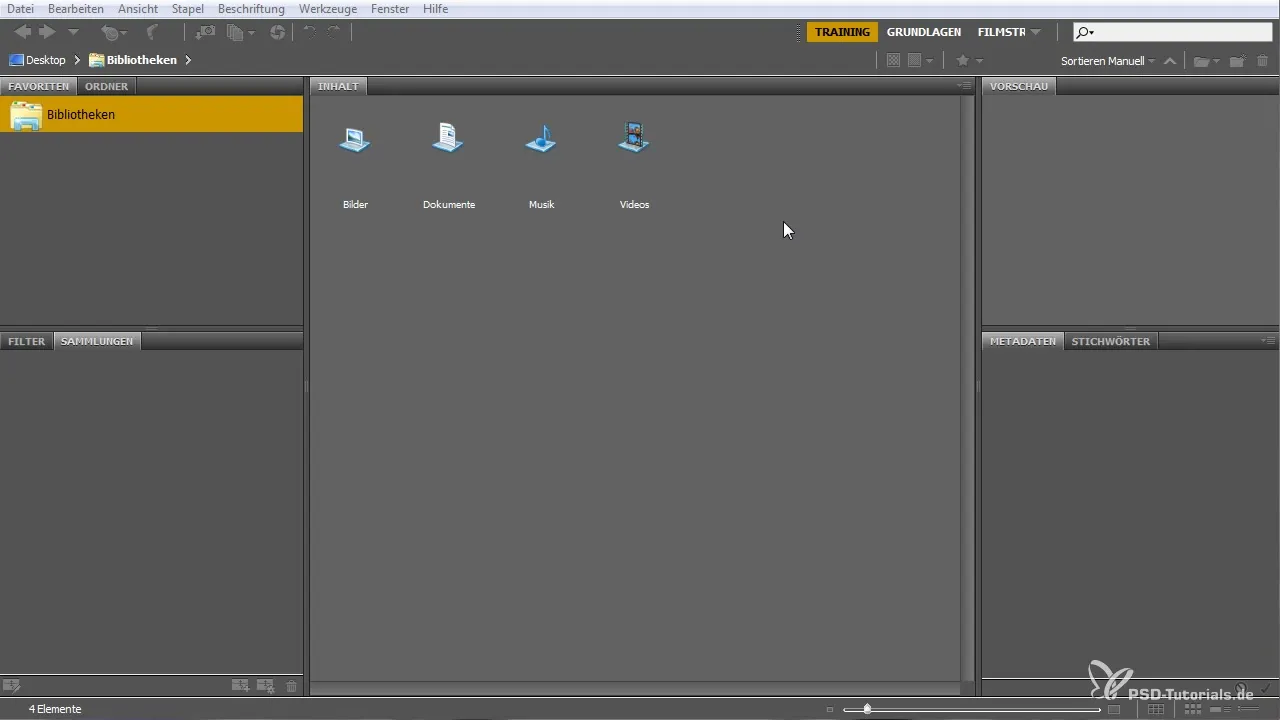
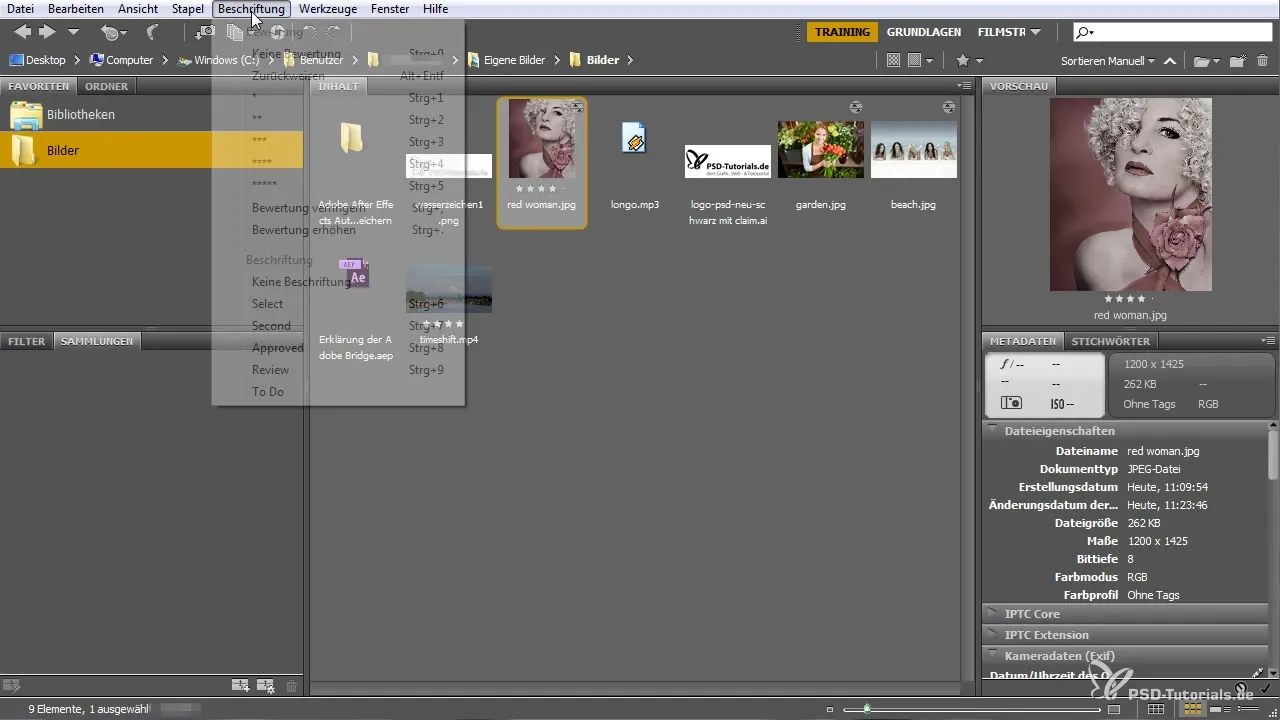
Upon first opening Adobe Bridge, you will immediately notice the clear user interface. On the left, you see a navigation bar that gives you access to your folder structures. Here you can switch between different categories such as images, videos, or other media files.

2. Importing Media
To import your media into Adobe Bridge, you can use the drag-and-drop method. Simply drag the desired files from your workspace into Bridge. Once imported, they will be displayed in the media view, where you can preview the files.
3. Creating Favorites
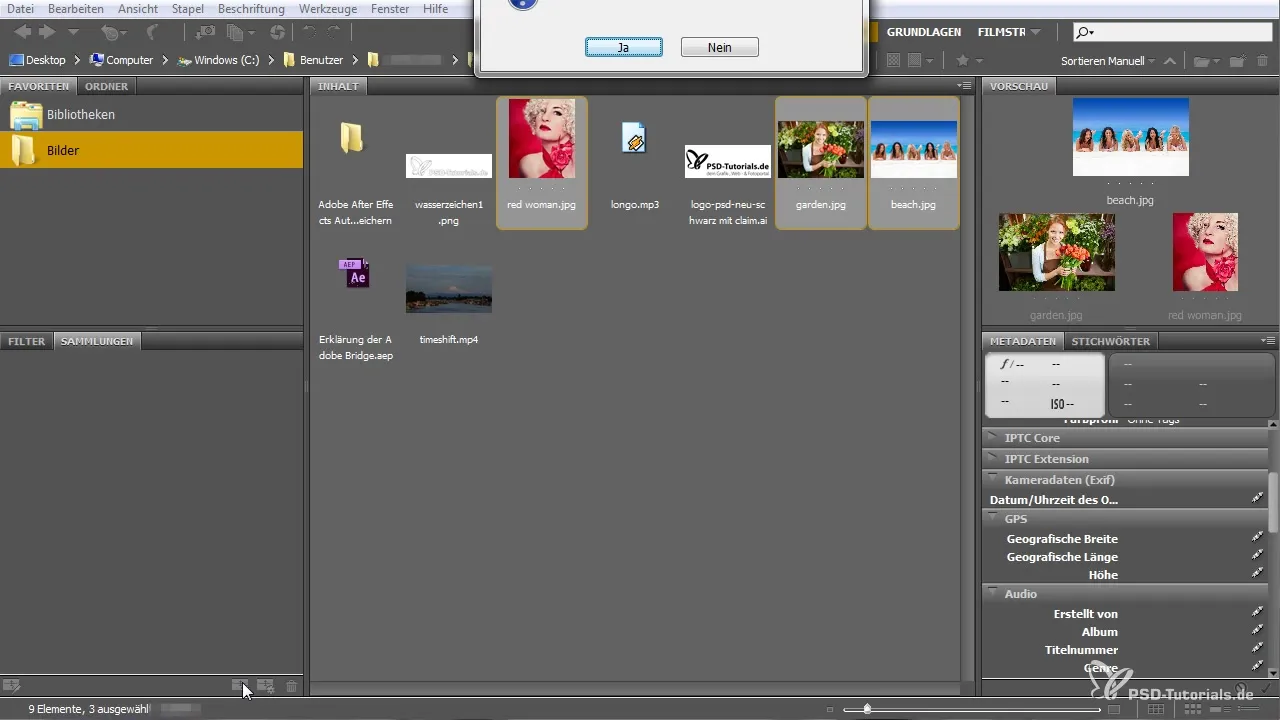
To quickly access frequently used folders, you can add them to your favorites. Simply right-click on the folder and select "Add to Favorites". This way, you will always have quick access to important projects.
4. Creating Collections
If you want to create a temporary collection of items, simply select the desired files and then click on "New Collection". This allows you to form a collection within Bridge without physically moving the files.
5. Editing Metadata
Bridge also allows you to edit metadata for your media. Click on the desired image and navigate to the metadata section on the right. There, you can adjust information such as title, copyright, and descriptions, which improves the later findability of your items.
6. Using Smart Collections
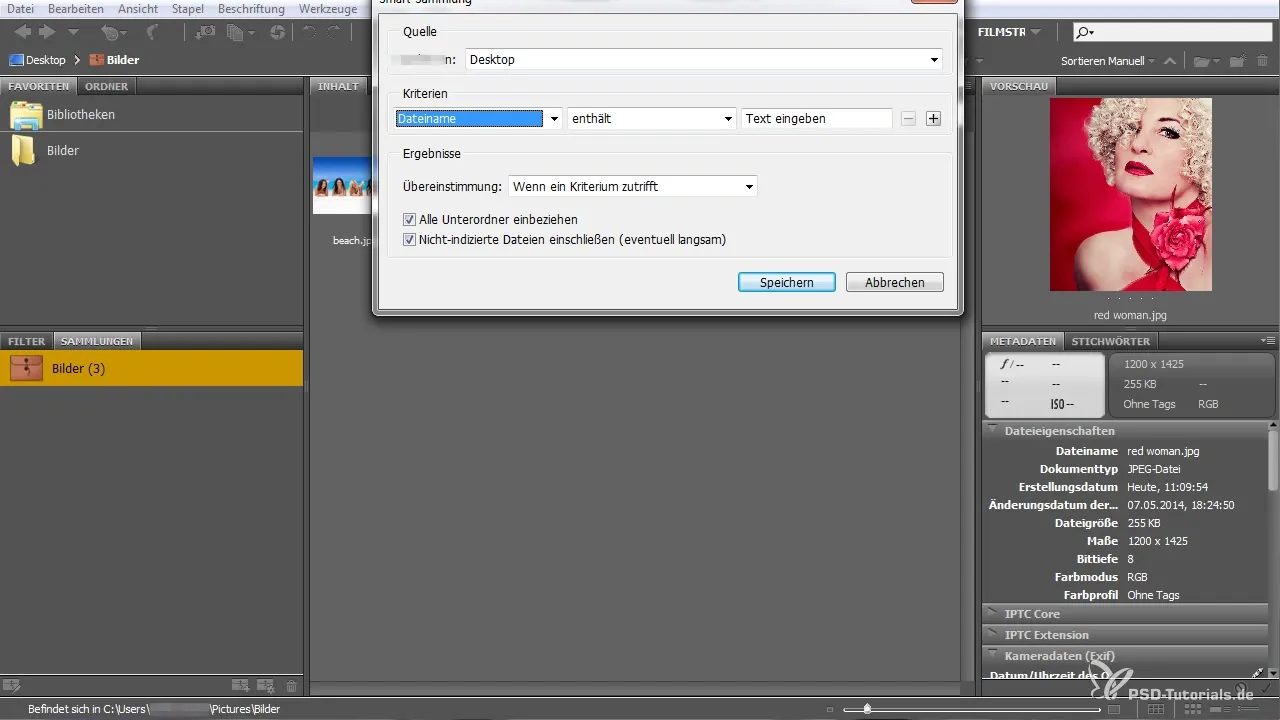
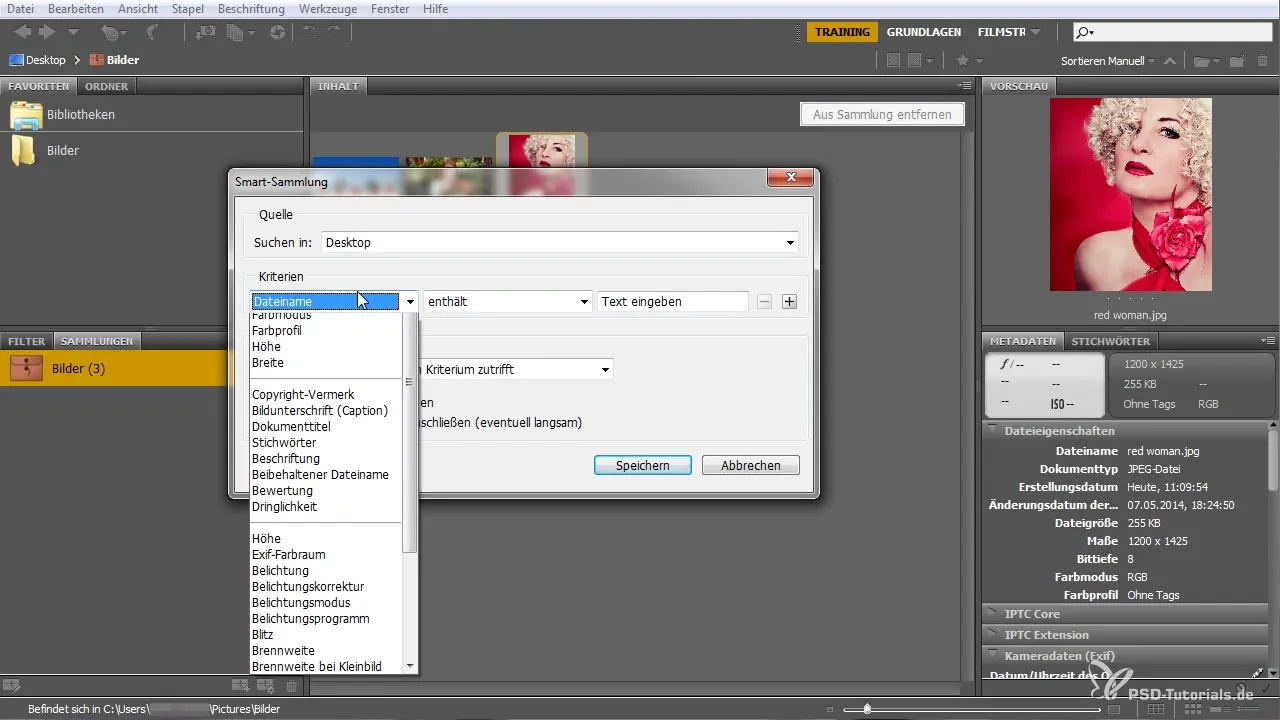
With Smart Collections, you can automatically use specific criteria to sort your files. You can set the collection to include, for example, only images that have a certain rating or were retrieved within a specified time frame. This saves you a lot of time.
7. Analyzing Imported Images
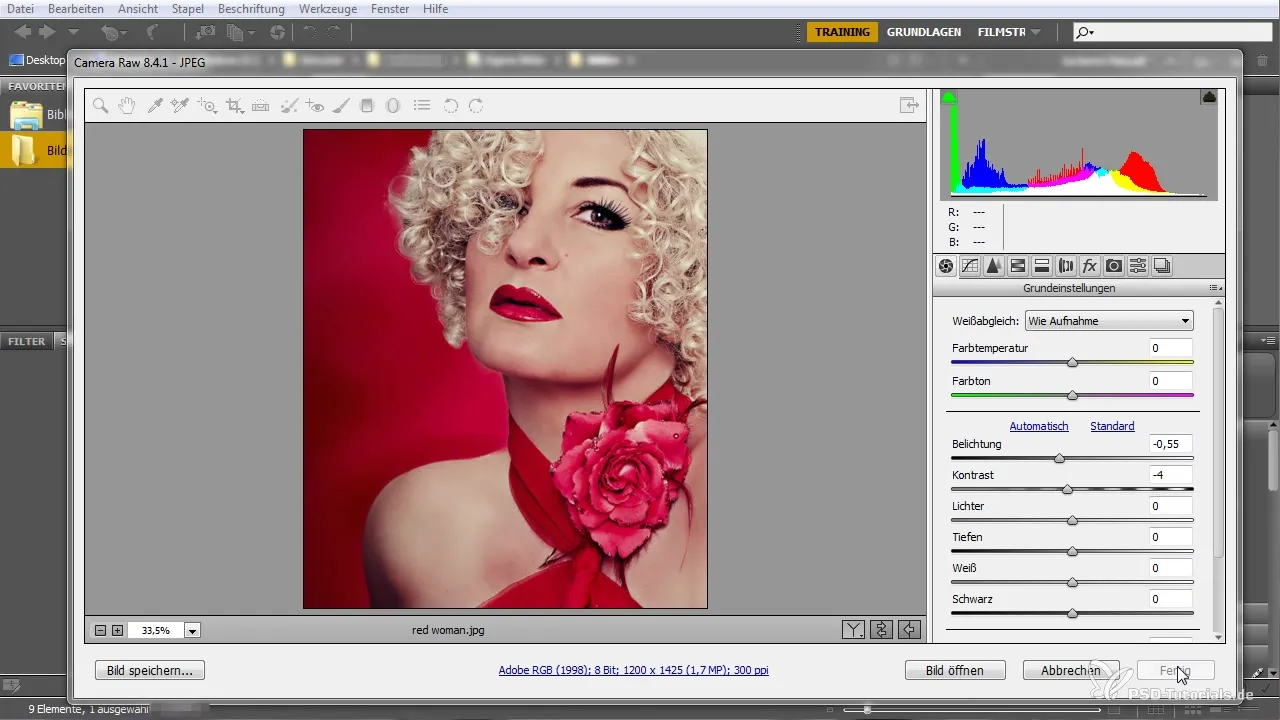
With Adobe Bridge, you can examine images in detail, for example, by opening them in Camera Raw. This is especially useful when you want to make specific settings or adjustments. Select an image and click on the Camera Raw icon to start editing right away.
8. Using Camera Raw
When you are in Camera Raw, you can not only make basic adjustments but also apply filters and presets. These tools help you quickly find the desired look, and you can make changes or reset them at any time.
9. Downloading and Installing Presets
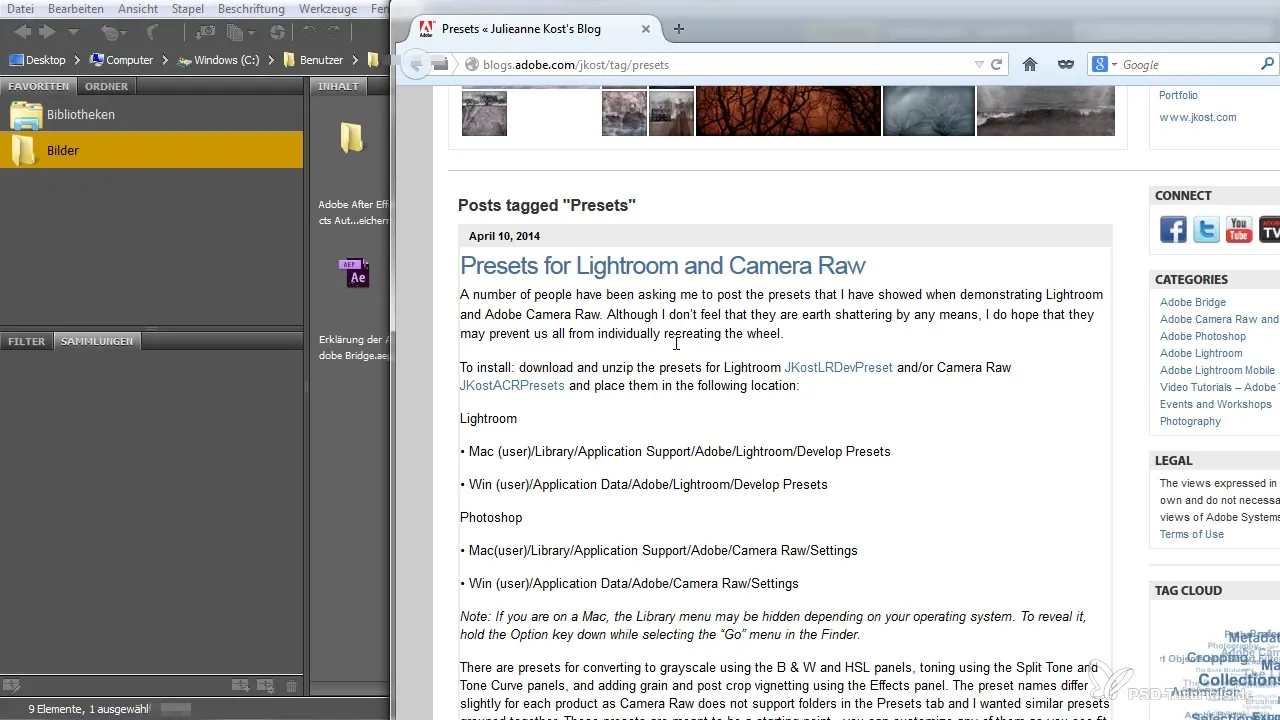
To further optimize your editing, you can download presets. Navigate to an online archive such as the Adobe blog and download the desired presets. Then install them in your Camera Raw directory to save time and expand creative possibilities.
10. Adjusting Settings
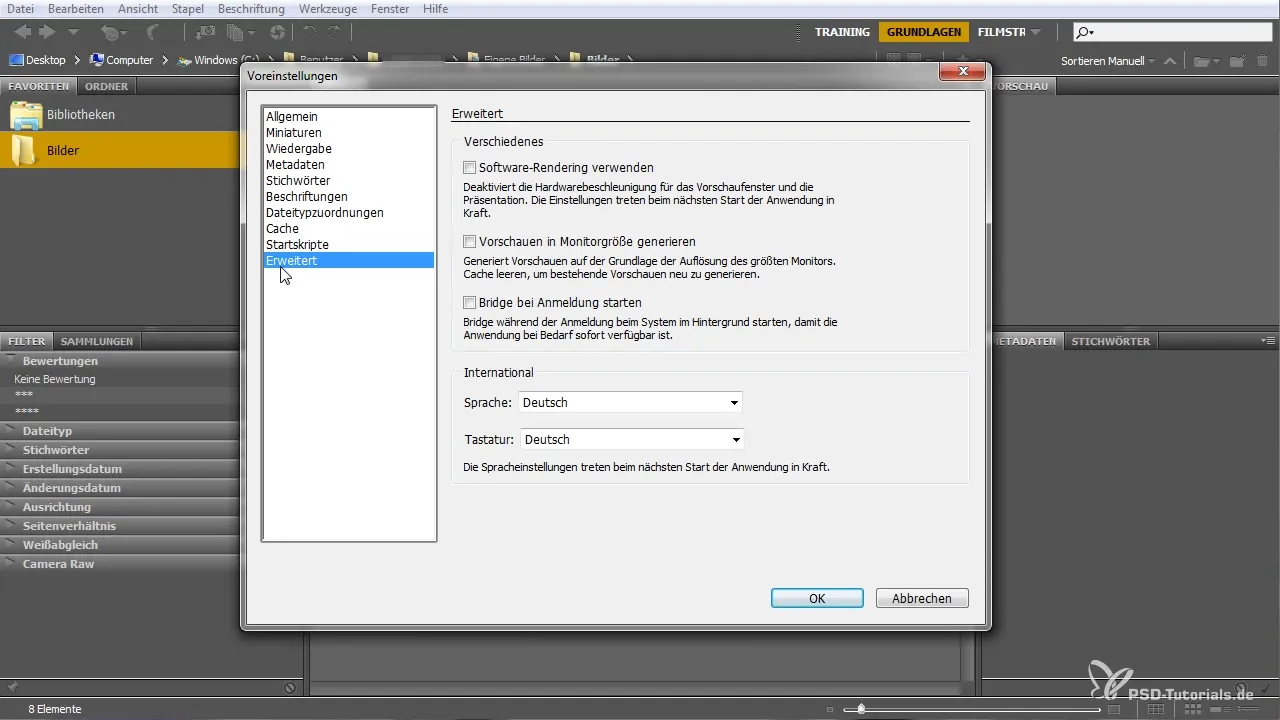
Adobe Bridge can be extensively customized. Go to the settings to change language options or layouts, so you can use Bridge in the optimal format for you. Clear readability and user guidance are essential for an effective workflow.
11. Using Filter Functions
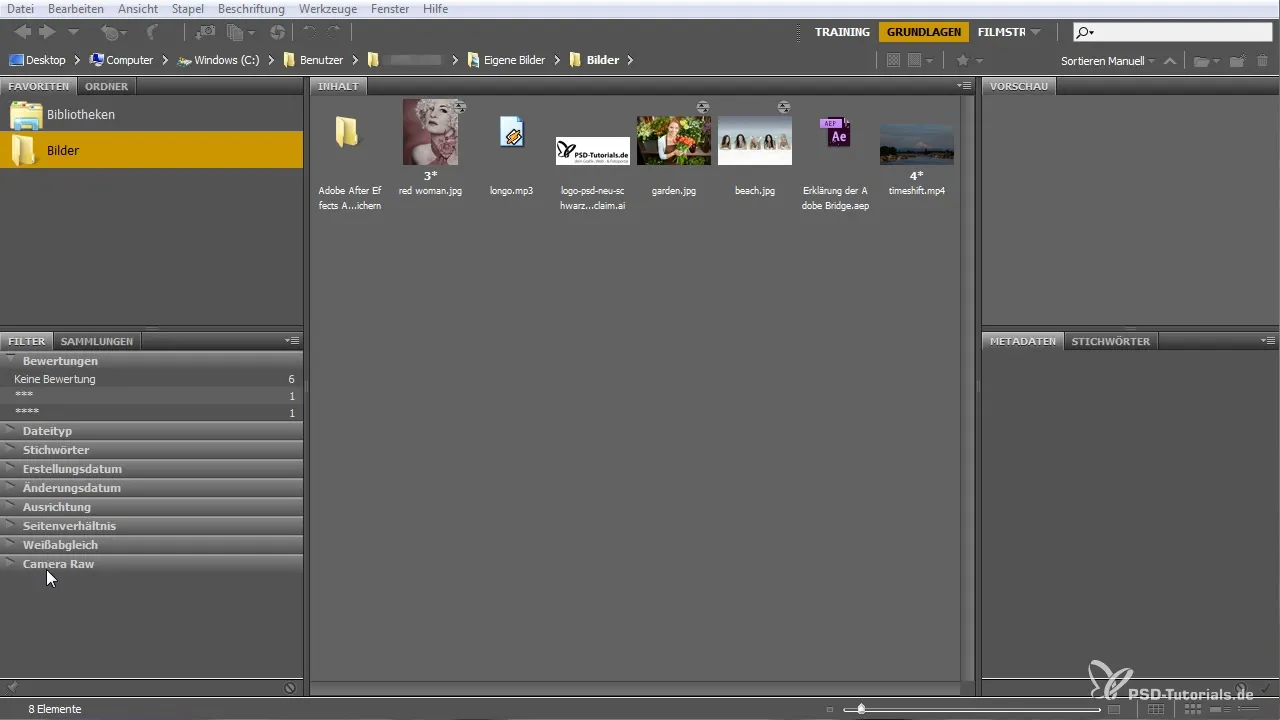
Another useful feature is the filter options. For example, you can display only certain edited files or newly imported images. This helps you maintain an overview in a large media pool and search specifically for what you need.
12. Sorting Files
You can sort your files by various criteria such as date, rating, or name. This is helpful for quickly finding the most relevant files for your current project.
Summary – Guide to Using Adobe Bridge for Beginners
Adobe Bridge is a powerful software that allows you to significantly improve your workflows when using the Adobe Creative Cloud. With the steps described above, you can work more efficiently, organize your projects, and benefit from the extensive search and filter functions.
Frequently Asked Questions
What is Adobe Bridge?Adobe Bridge is a management tool that serves as a central interface between various Adobe applications.
How do I import media into Bridge?Media can be easily imported into Adobe Bridge via drag-and-drop.
Can I add my own folders to favorites?Yes, you can add frequently used folders to your favorites for quick access.
What are Smart Collections?Smart Collections are dynamic collections based on specific criteria that are automatically updated.
How do I edit metadata?Click on an image and navigate to the metadata section to change information such as title and copyright.
How do I use Camera Raw in Bridge?You can open image elements in Camera Raw to make detailed adjustments and edits.


