The installation of the Java Development Kit (JDK) is the first important step on your way to mastering the Java programming language. With the JDK, you can develop, compile, and run programs. In this guide, I will walk you through the process of installing the JDK on your computer, whether you are a Windows, Linux, or Mac user.
Key Insights
- The JDK is essential for Java development.
- The installation varies depending on the operating system but follows similar steps.
- You can check the success of the installation via the terminal or command prompt.
Step-by-Step Guide
Step 1: Access the JDK Download Page
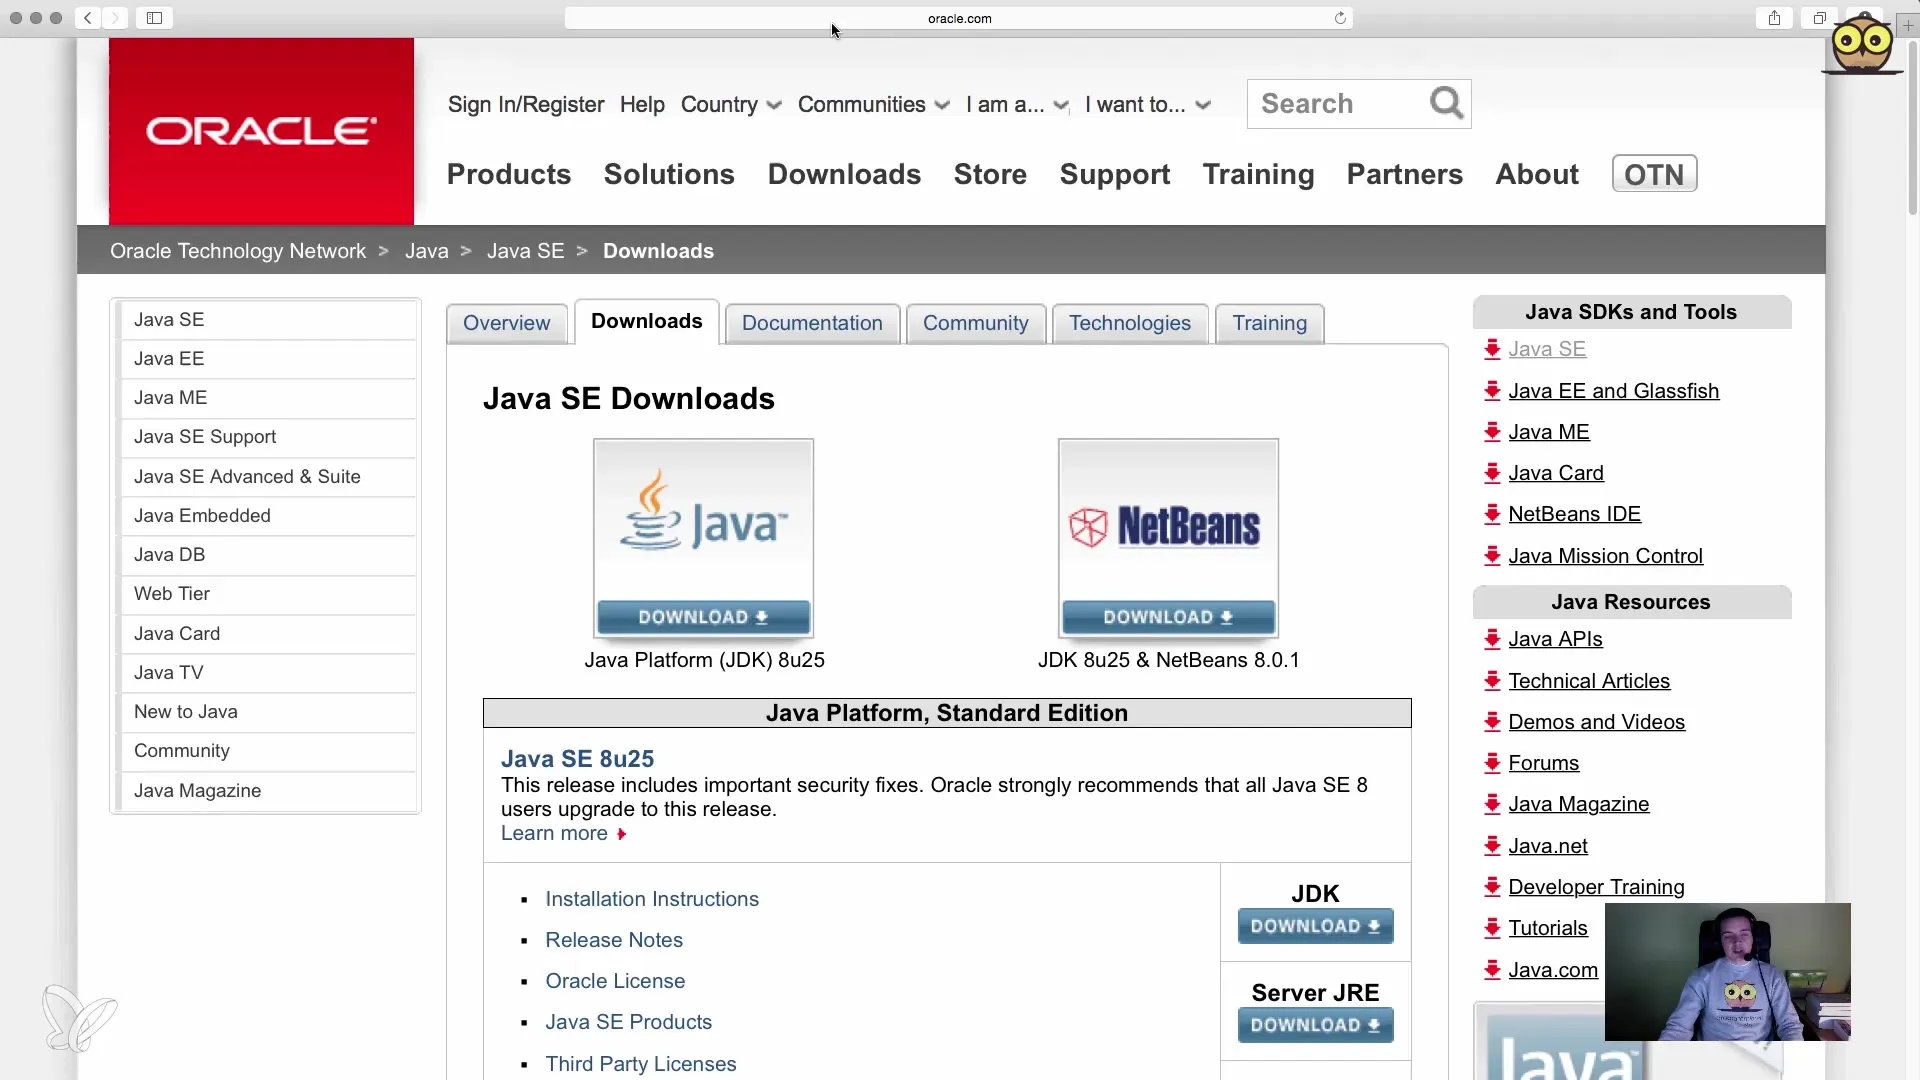
To get started, you need to access the download page for the JDK. You can use this link: programmierenlern.info/JavaDownload. There, you will be redirected to the appropriate page from Oracle, where you can download the required version of the JDK.
Step 2: Select JDK Version
On the download page, you will find various options for Java SE for different editions. Make sure to click on the button for the Java Development Kit (JDK). This is the version you need to obtain the Java compiler and other tools.
Step 3: Accept License Terms
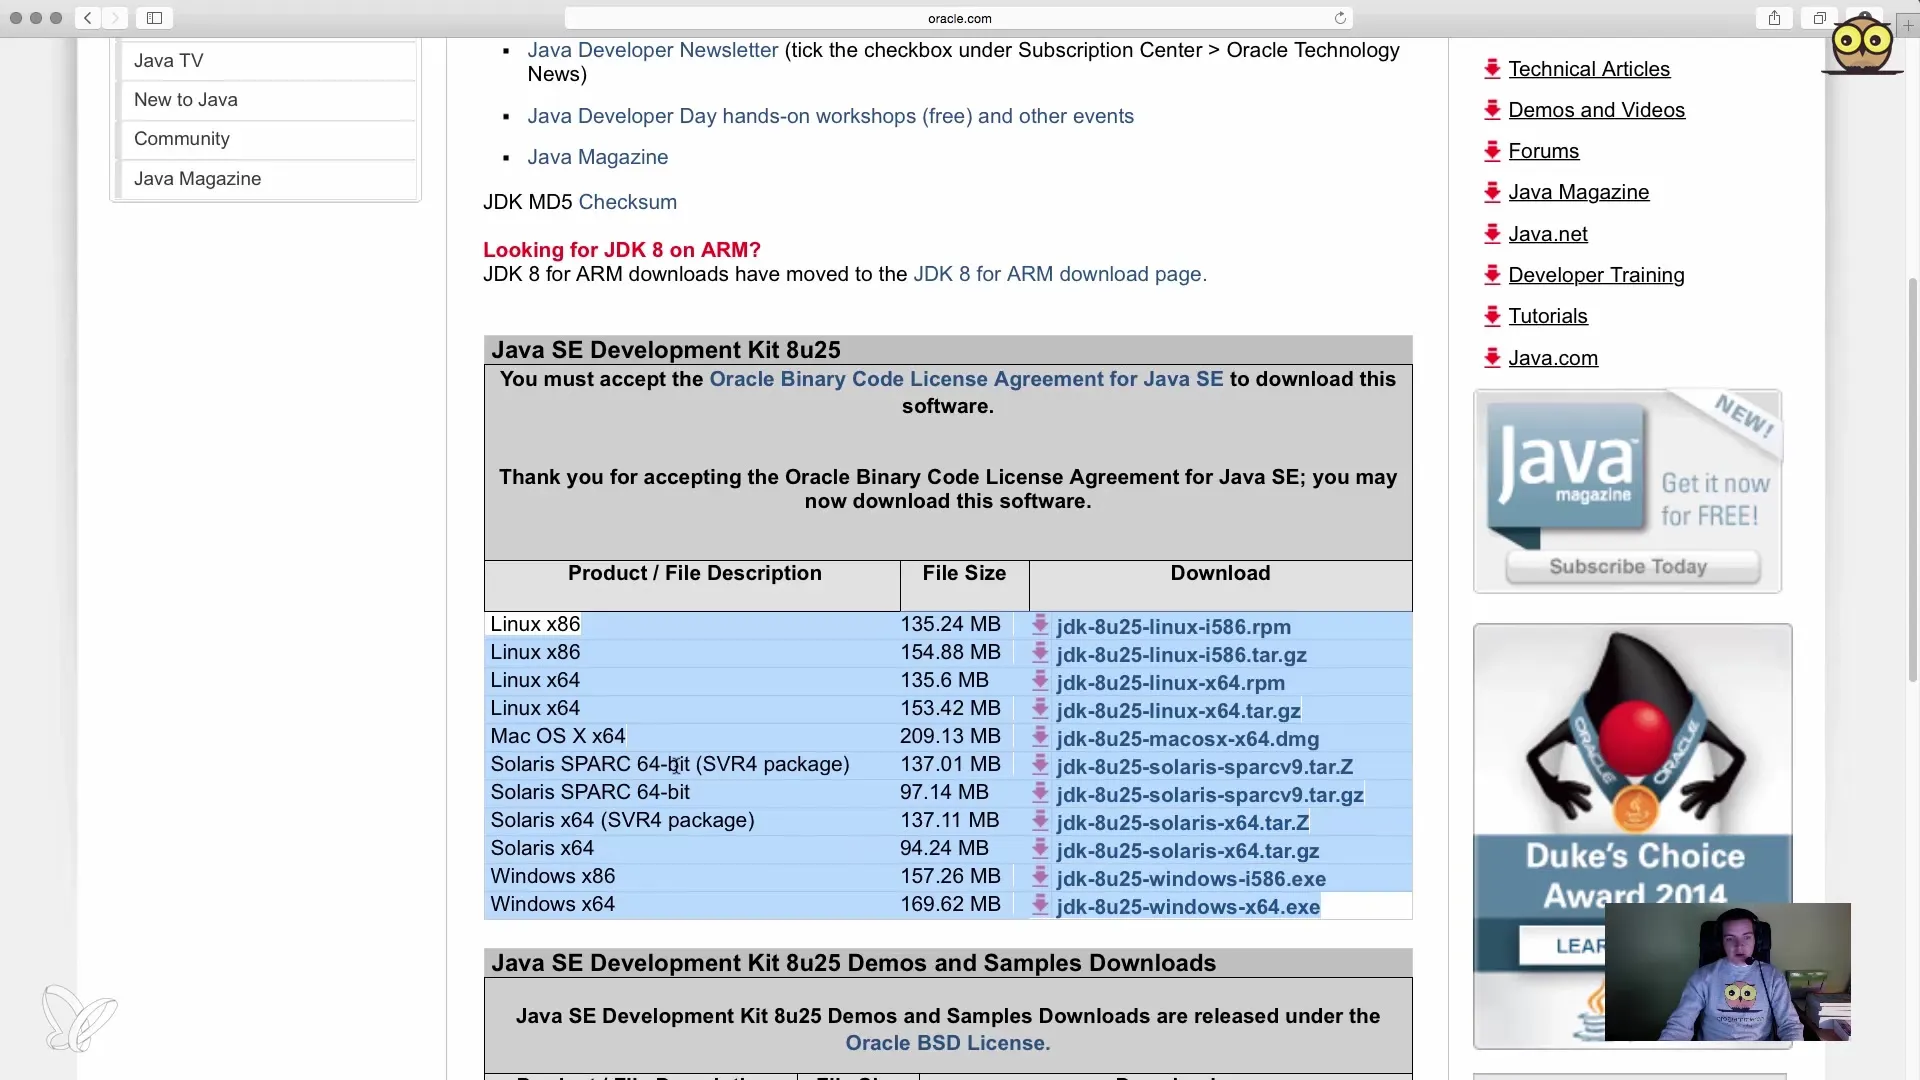
Once you click the download button, a summary page will appear where you need to read and accept the license terms. This is an important step that is often overlooked. Take a moment to read the information and then click “Accept.”
Step 4: Choose Operating System Version
In the next section, you need to select the correct version for your operating system. If you are using Windows, choose one of the Windows packages. For Mac users, I recommend downloading the appropriate Mac package. Ensure that you choose the right version for your system to avoid issues.
Step 5: Download JDK
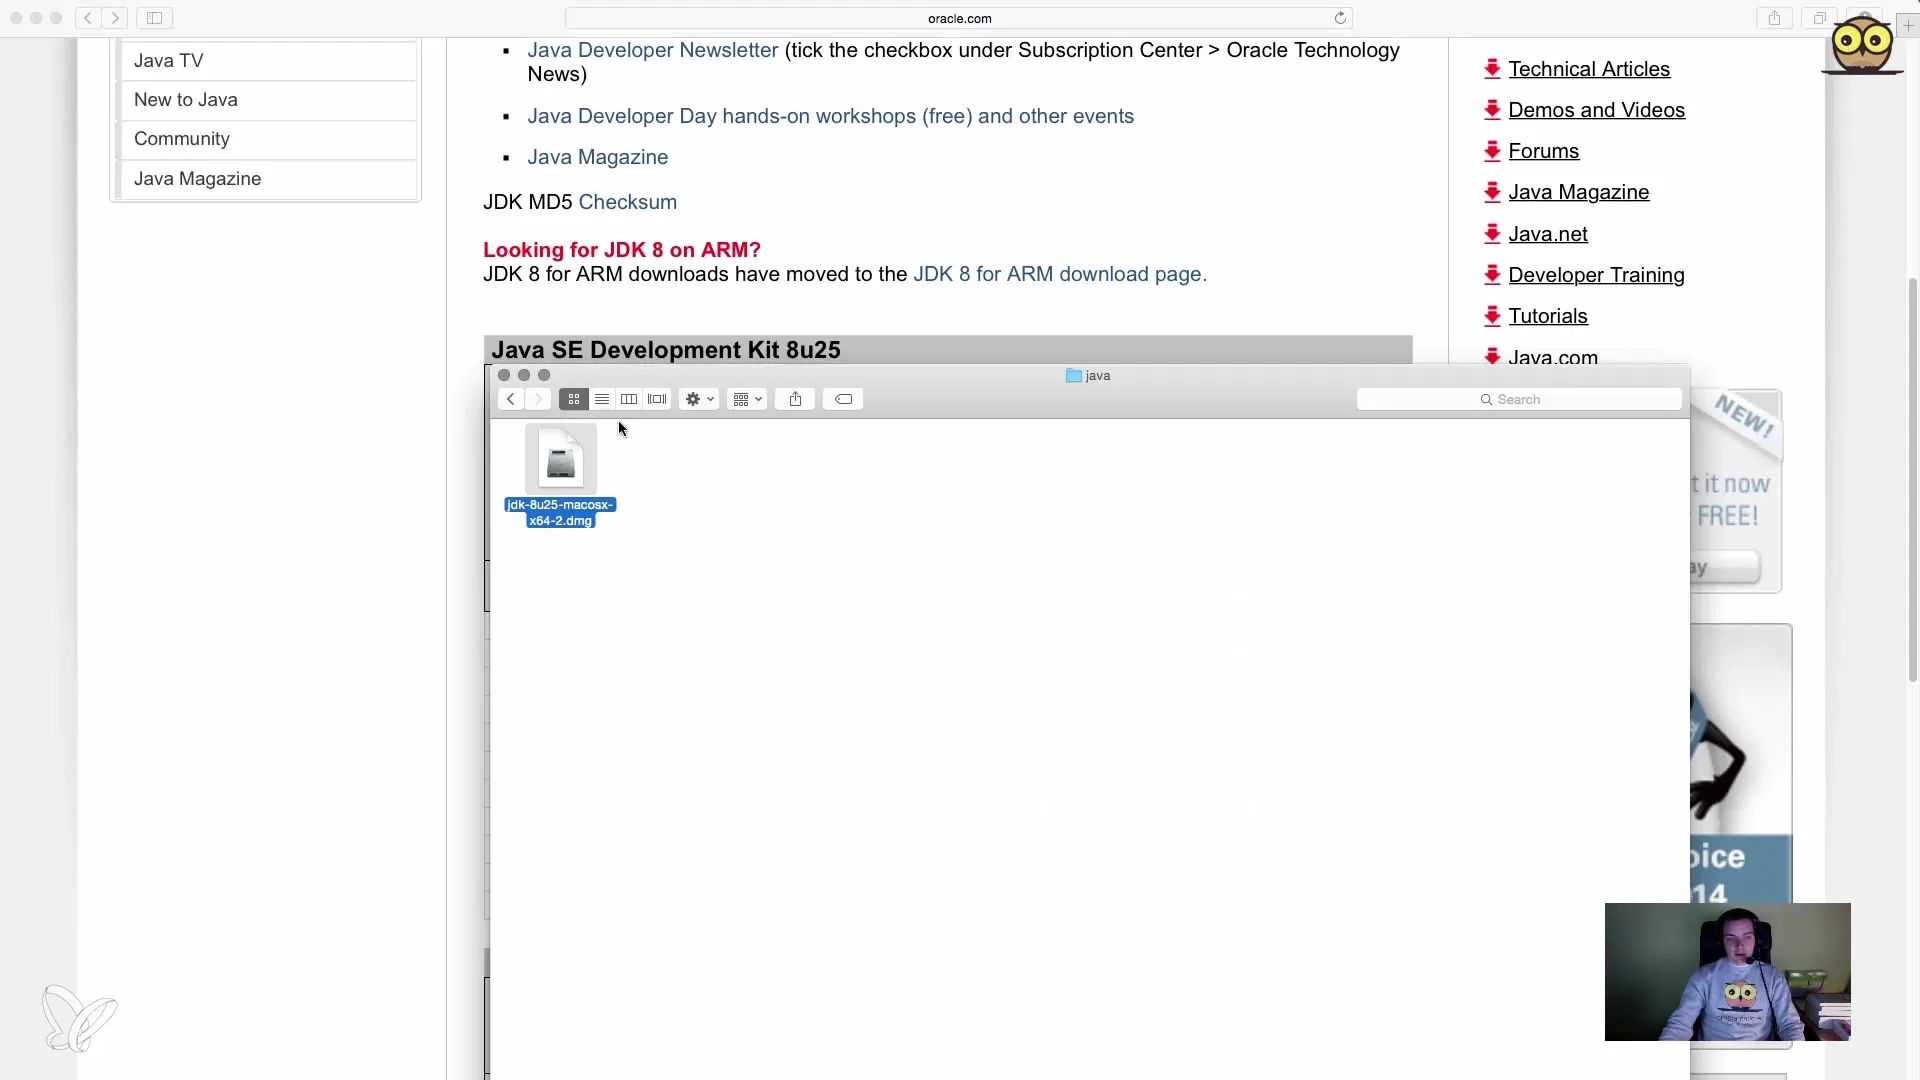
Once you have selected the correct version, click on the download link. Your browser will now download the executable file. Make sure to note where the file is saved, as you will need it later.
Step 6: Install JDK
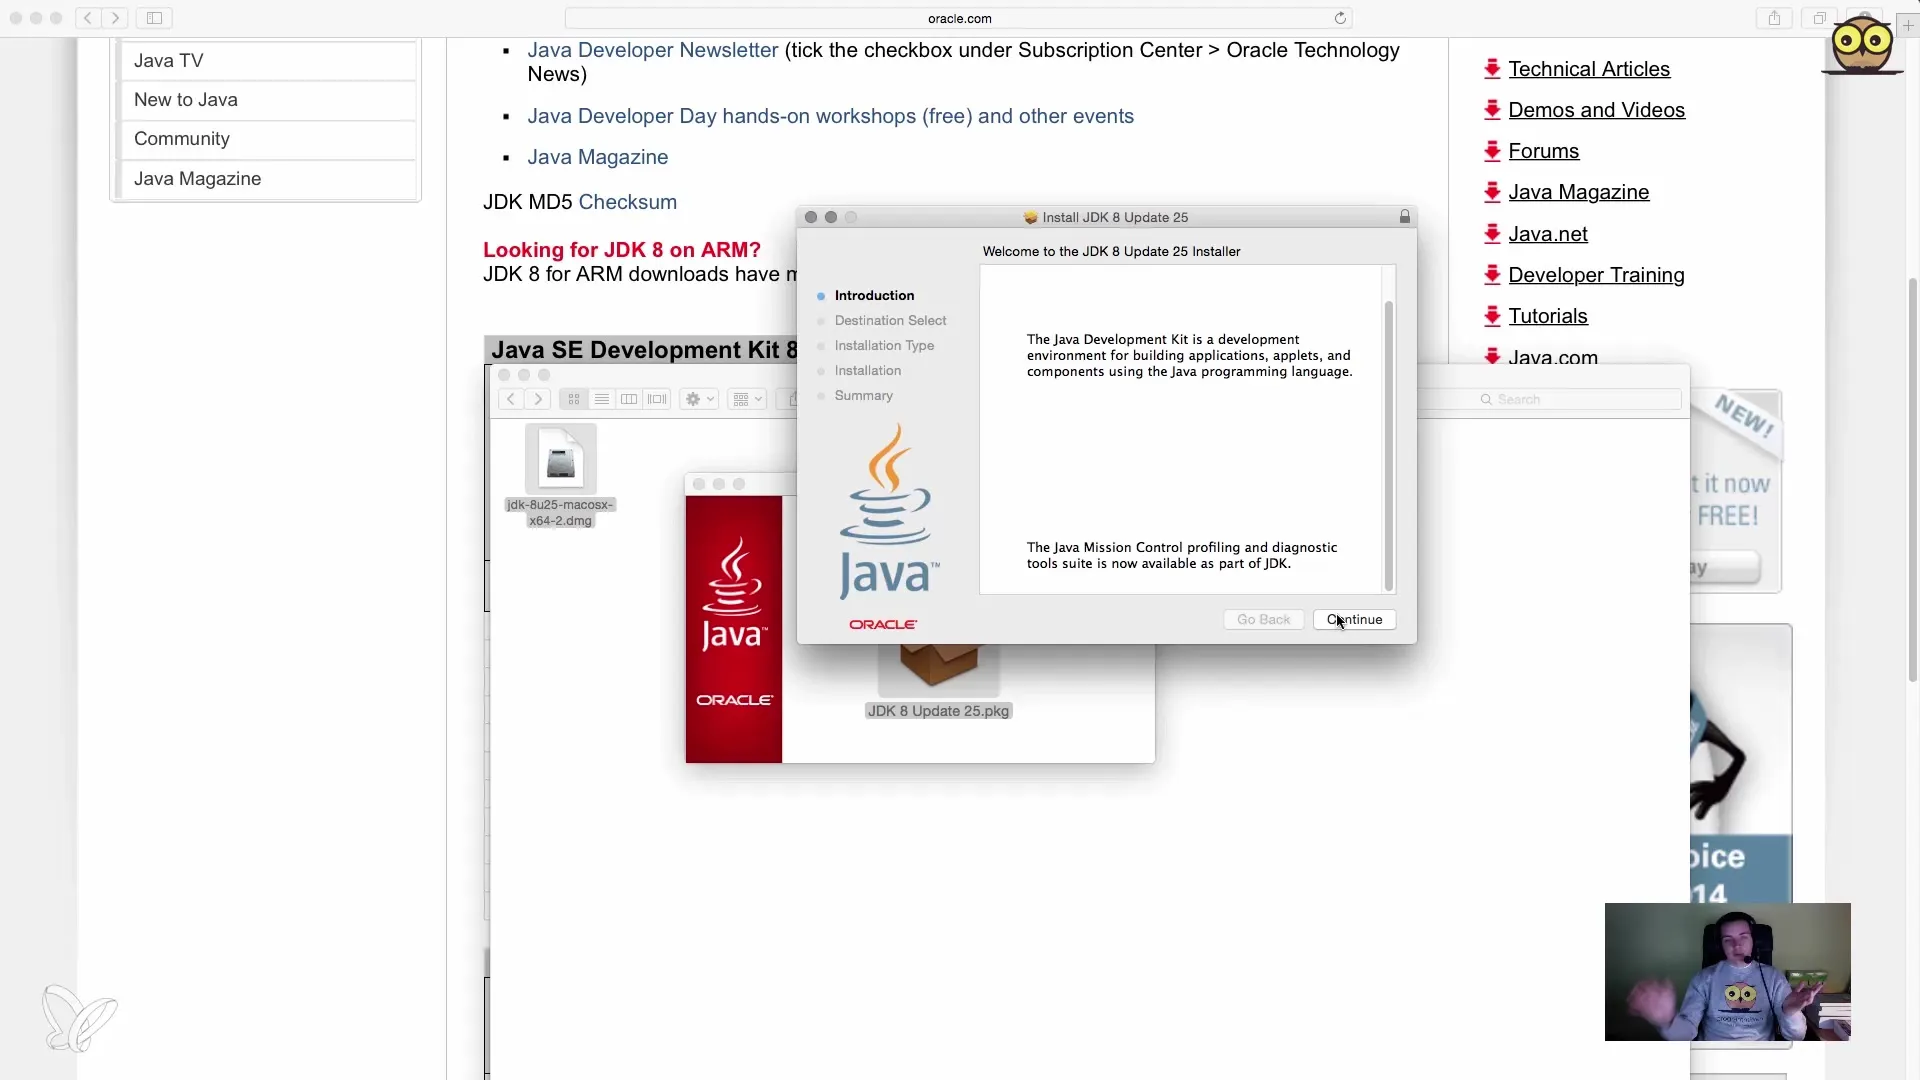
After the download is complete, you need to open the file. On Windows, this is usually done by double-clicking the downloaded file. During the installation, simply follow the instructions of the installation wizard. You will be guided through the installation by repeatedly clicking “Next” until the installation is complete.
Step 7: Verify Installation
After completing the installation, it is important to check if everything was installed correctly. You can do this via the terminal (Mac) or command prompt (Windows). Open the appropriate program and type the command java -version. This will display the installed version of Java. A confirmation should be displayed that Java was successfully installed.
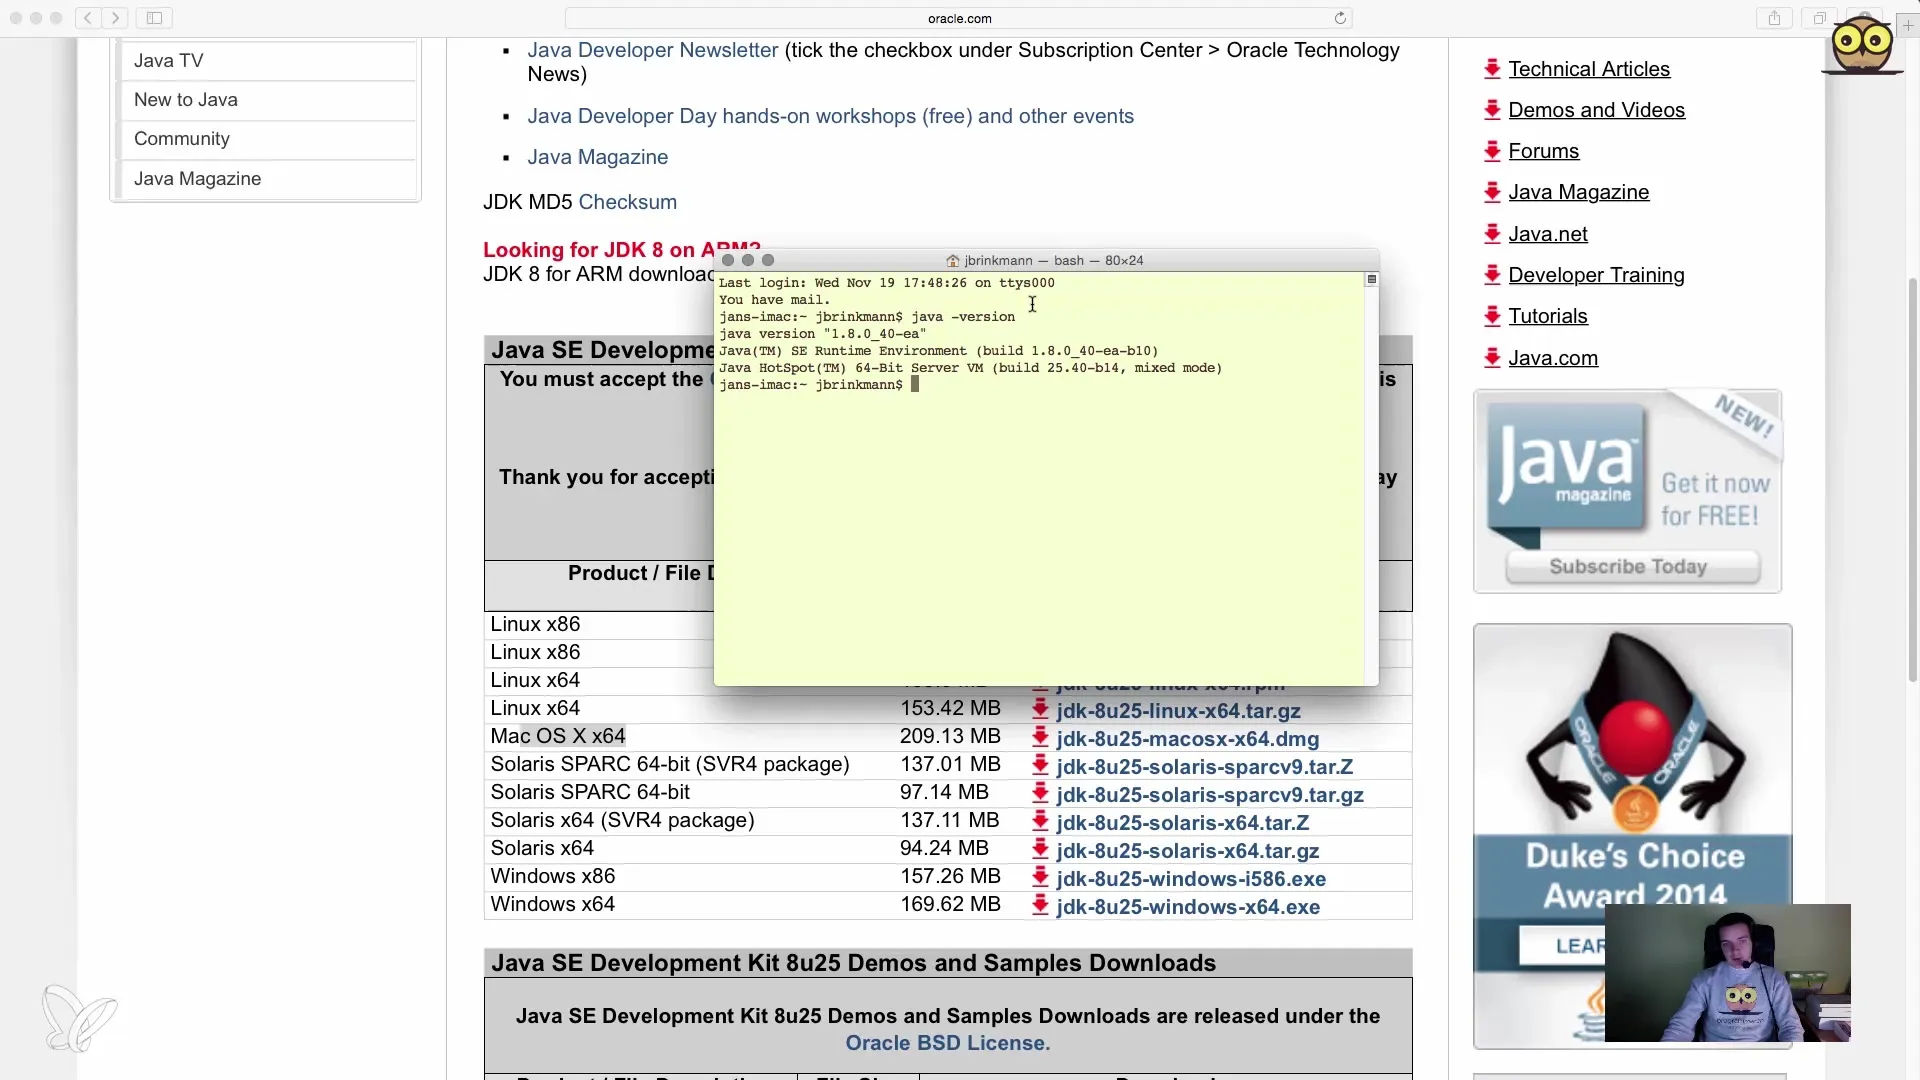
Step 8: Test Java Compiler
To ensure that the Java compiler is also working, you can enter the command javac -version. If everything is installed correctly, you should now see information about the available compiler versions rather than an error message stating that the program was not found.
Summary – JDK Installation for Java Developers: Step-by-Step Guide
The installation of the JDK is the first step into the world of Java development. You have learned how to download, install, and verify the JDK, so you are ready for the next steps in your programming course.
Frequently Asked Questions
How do I download the JDK?You can download the JDK from the website programmierenlern.info/JavaDownload and follow the instructions.
How do I install the JDK on my computer?After downloading, you need to open the file and follow the instructions in the installation wizard.
How do I check if the JDK was installed successfully?Open the terminal or command prompt and type java -version to check the installed version.
What should I do if I encounter errors during installation?Make sure you have downloaded the correct version for your operating system and repeat the steps.
How do I test the Java compiler after installation?Enter the command javac -version in the terminal or command prompt to verify the functionality of the compiler.


