You have decided to learn programming with Java and want to expand your knowledge in graphical user interfaces (GUI)? This Tutorial is about how you can create a simple application using the JList component that is capable of managing data dynamically. We will combine the JList with a JTextField component and a JButton to create a practical use case. With this guide, you will be able to create your own lists and fill them with user interactions.
Key Insights
- You will learn how to use the JList and the associated model (DefaultListModel).
- You will understand how to add entries to a list and update the user interface.
- You can use simple layouts to design your GUI.
Step-by-Step Guide
Step 1: Preparing the Environment
Before you start programming, make sure you have installed a Java development environment (IDE) like IntelliJ IDEA or Eclipse. Open a new project and create a main class that will render the GUI window. To demonstrate the functionality of the program, let’s prepare the main panel with the necessary layouts and components.

Step 2: Create Layout
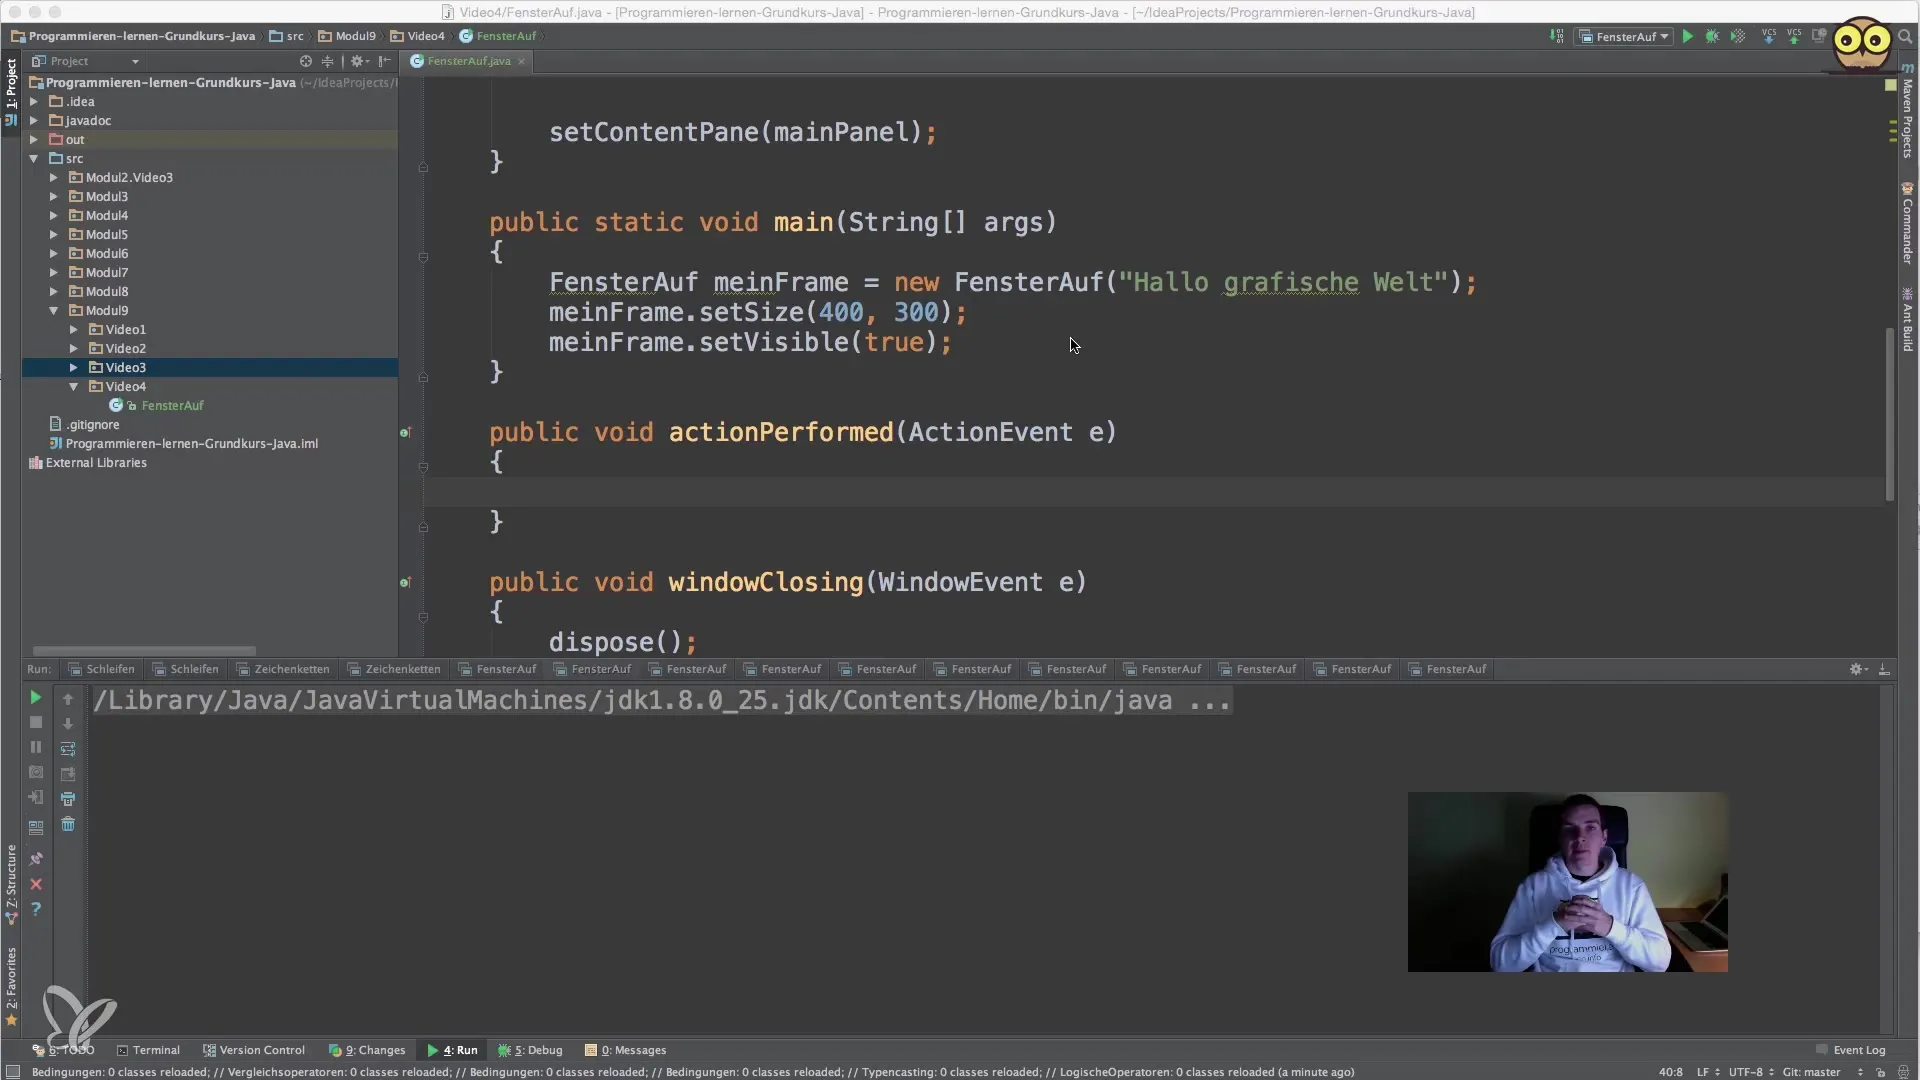
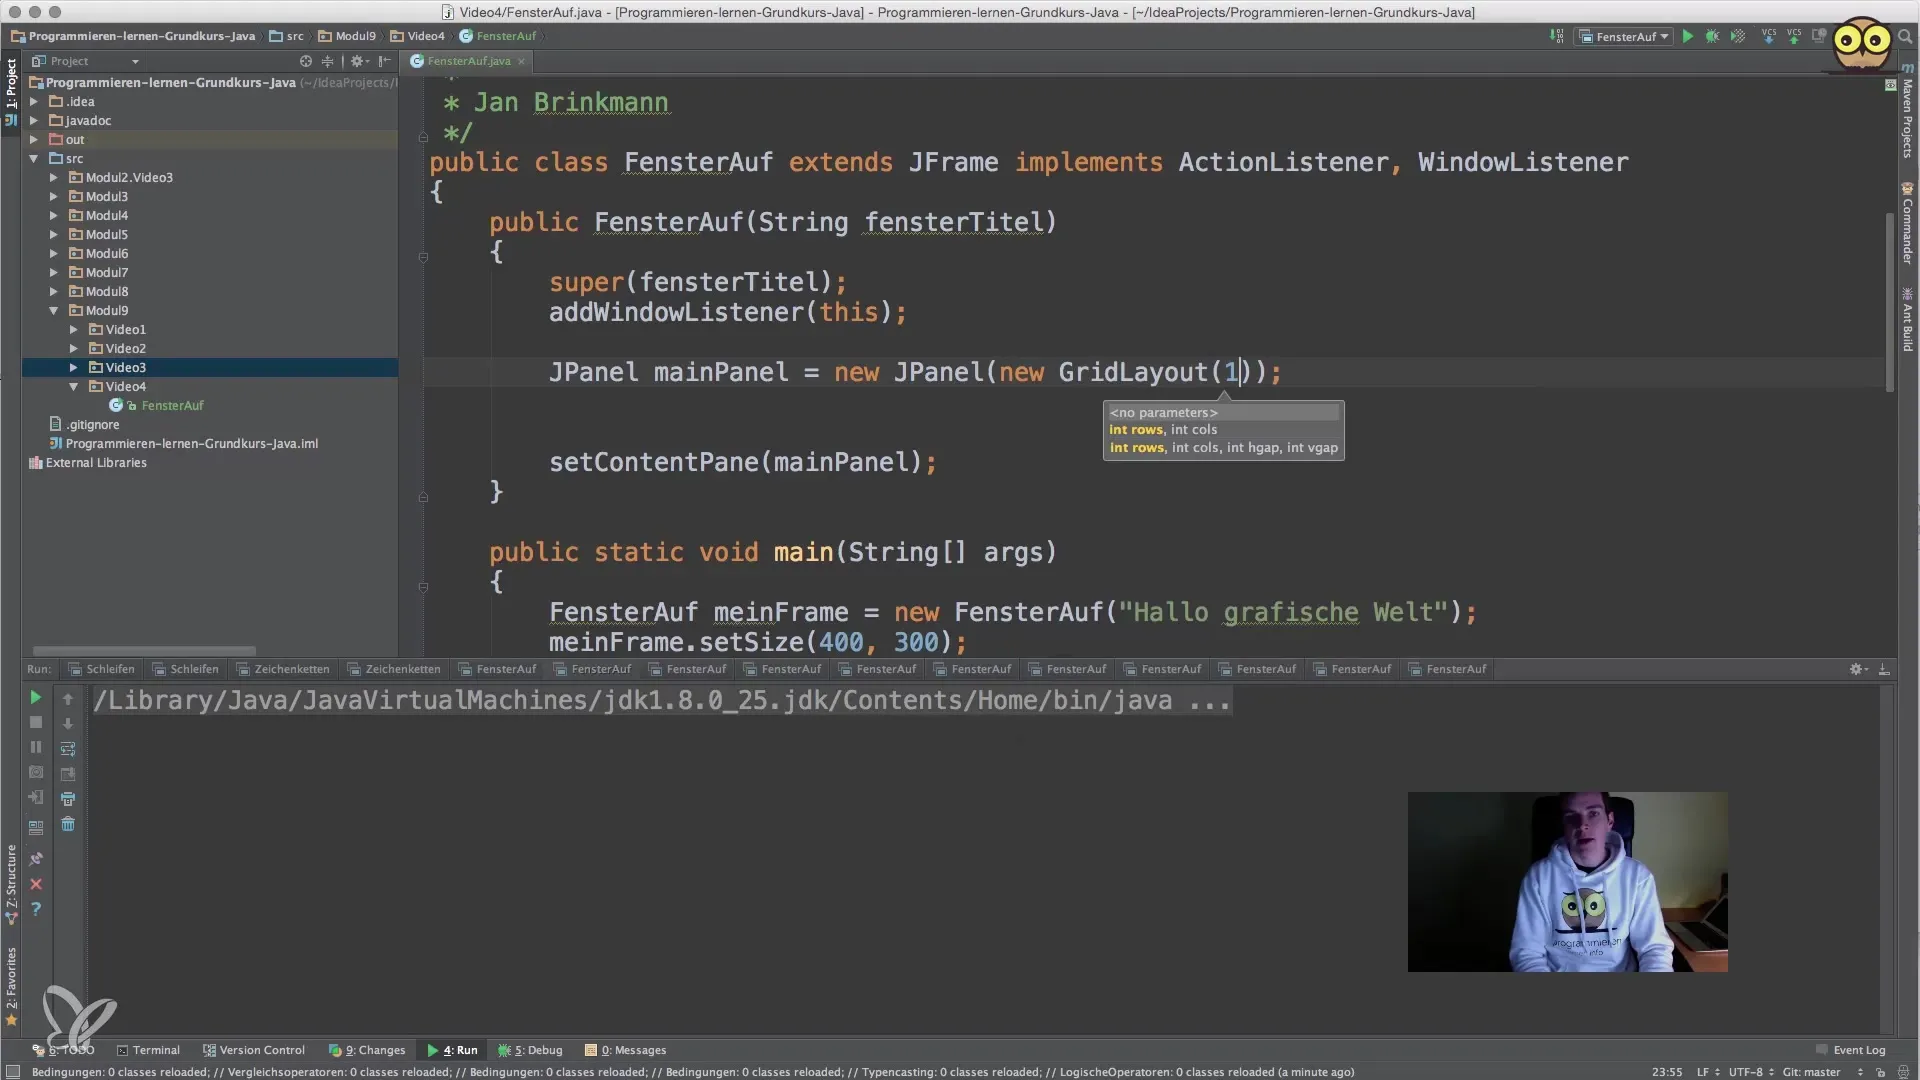
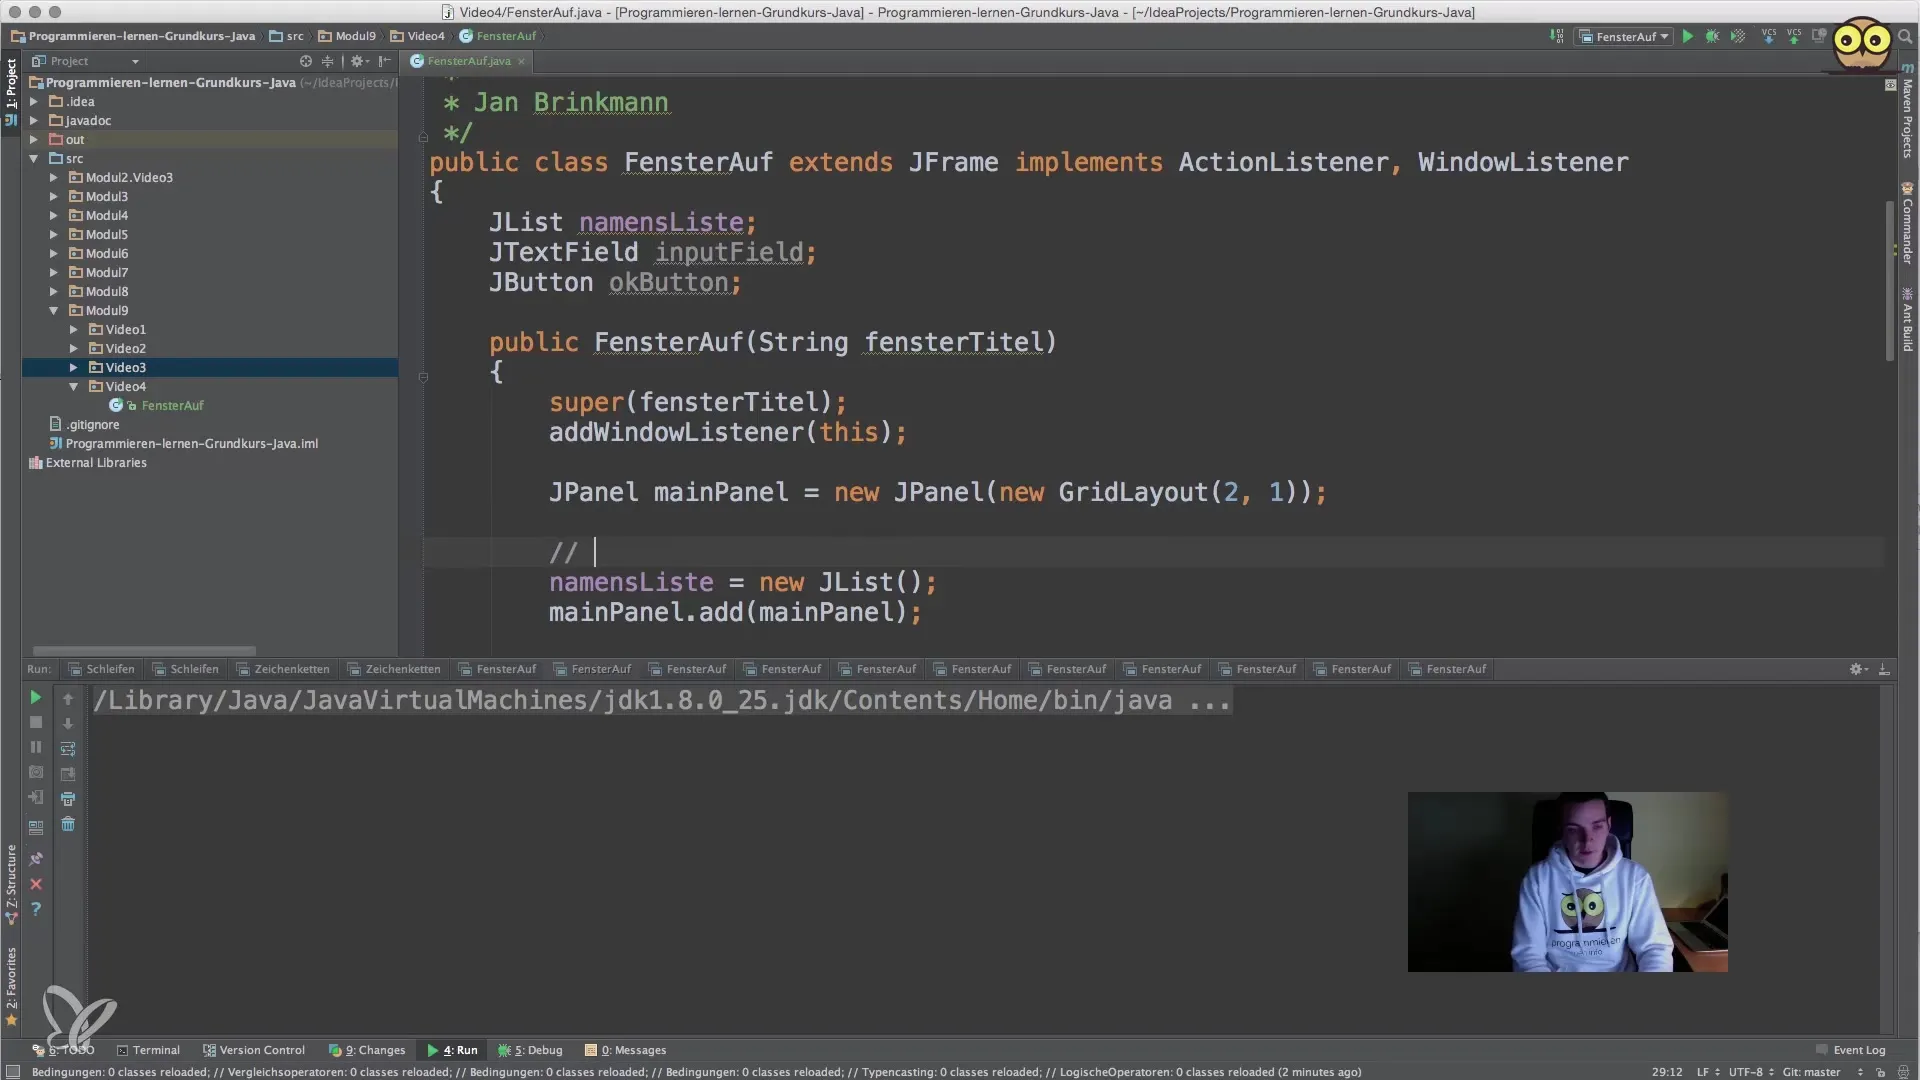
Now, add a JPanel for the main layout of your application. A GridLayout is ideal for arranging the various components appropriately. Set the layout to one column and two rows so that your list can be positioned at the top and the inputs below.
Step 3: Add JList and DefaultListModel
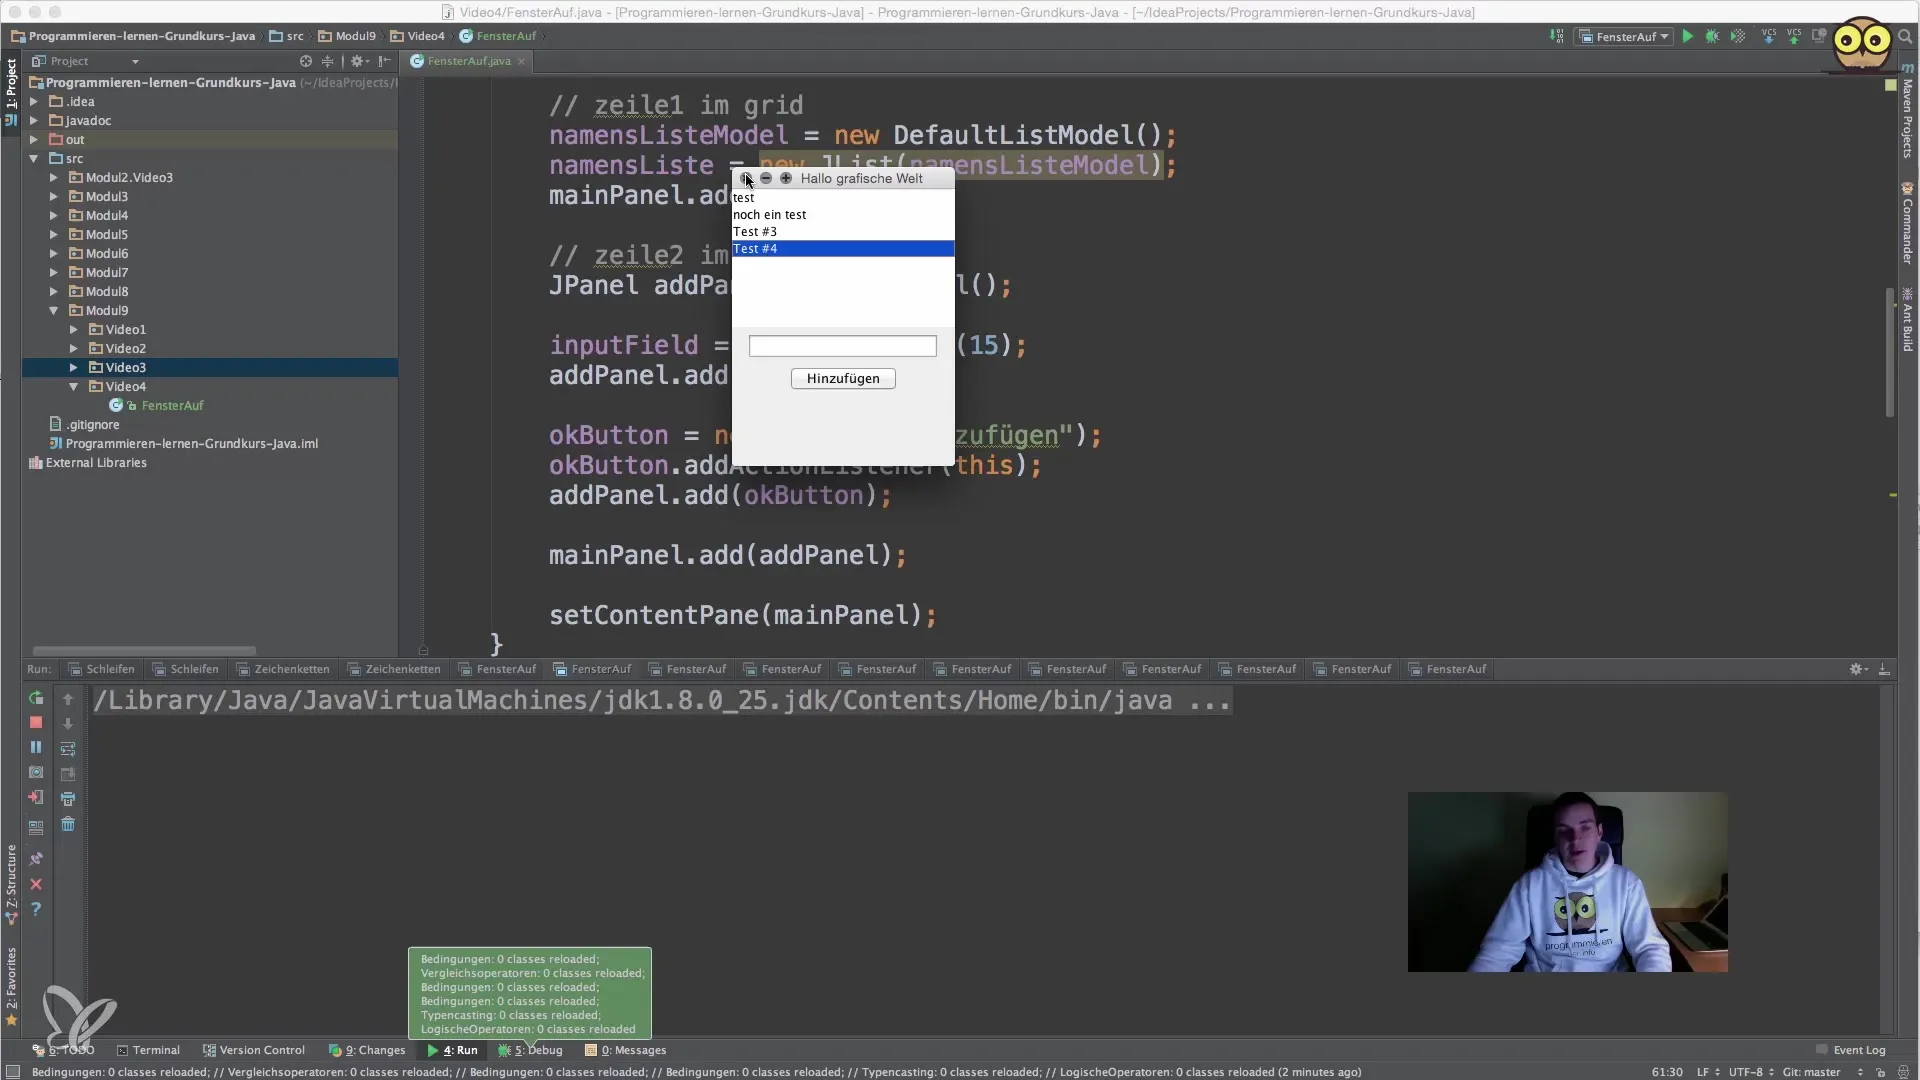
Create a DefaultListModel to manage the data displayed in the JList. By handling the list through a model, you can automatically update the display when adding or removing entries. Next, create the JList itself and link it to your model.
Step 4: Implement Input Field and Button
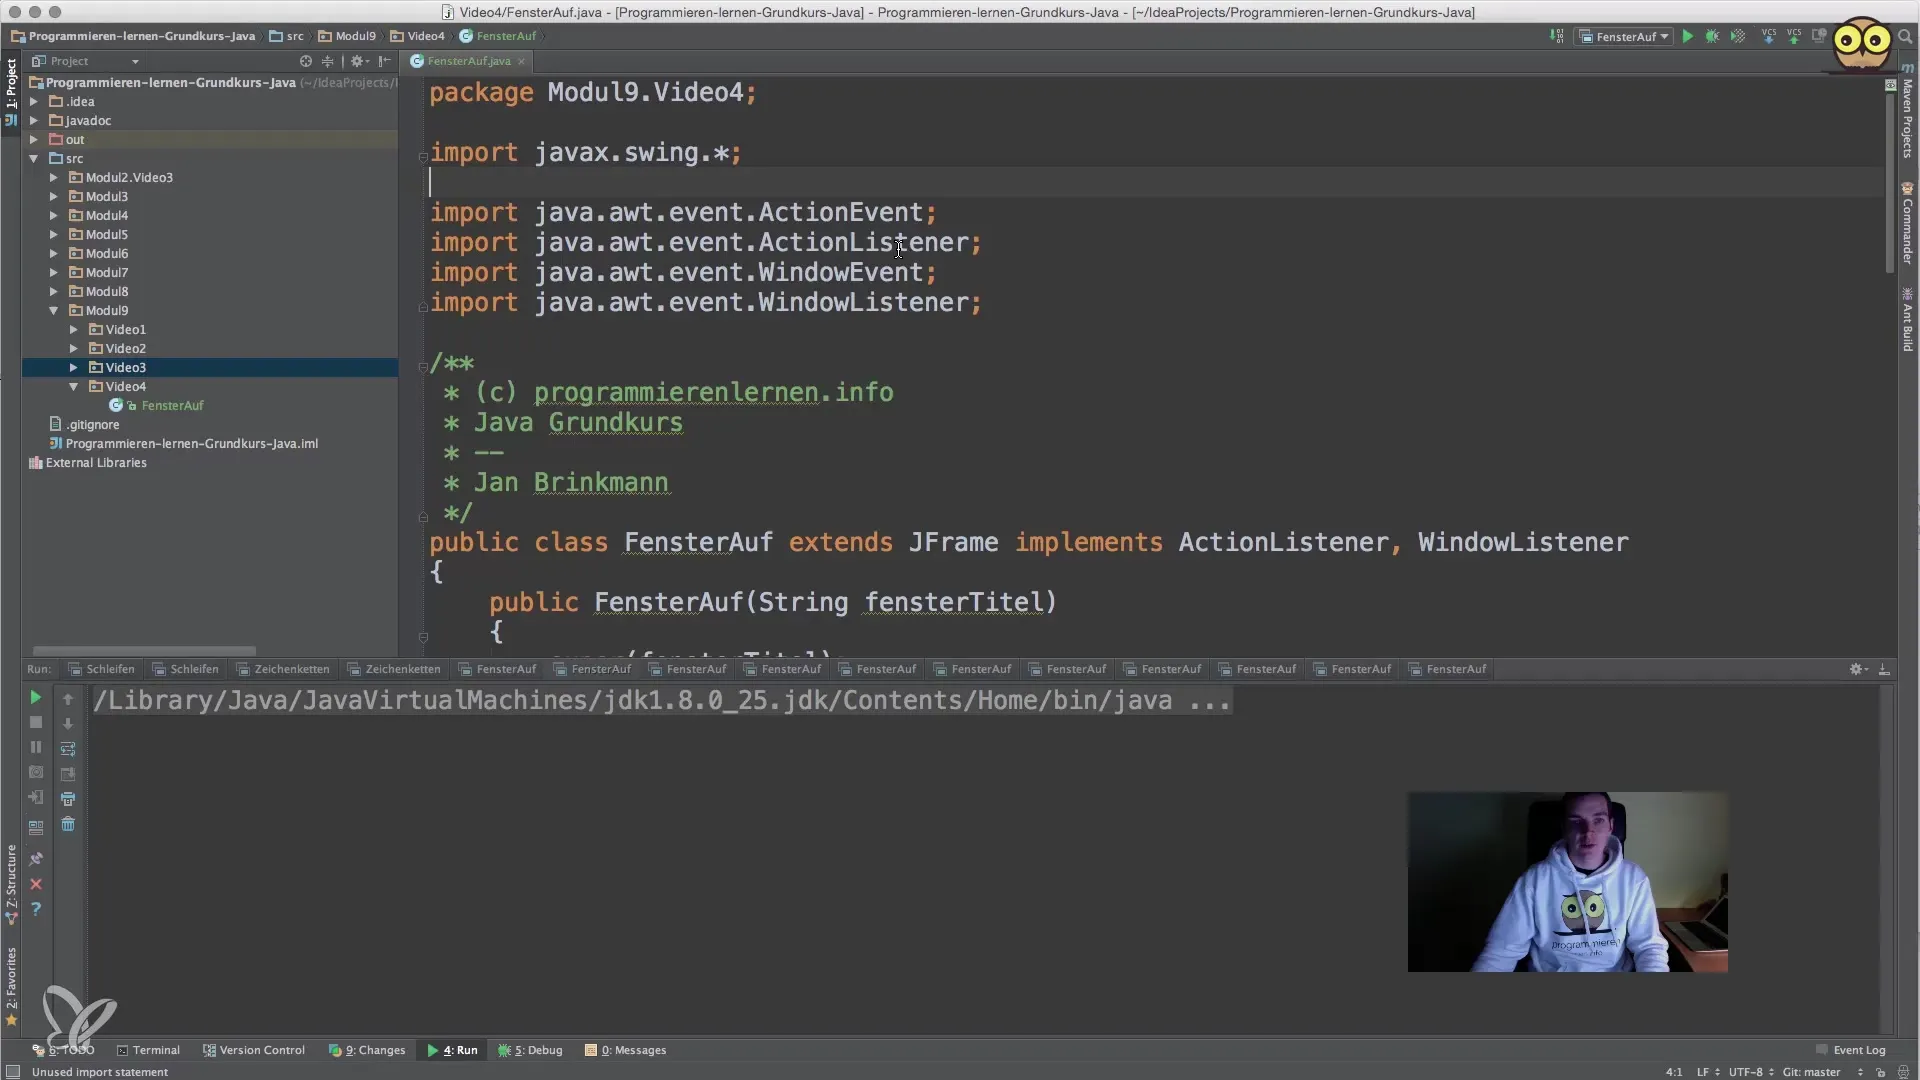
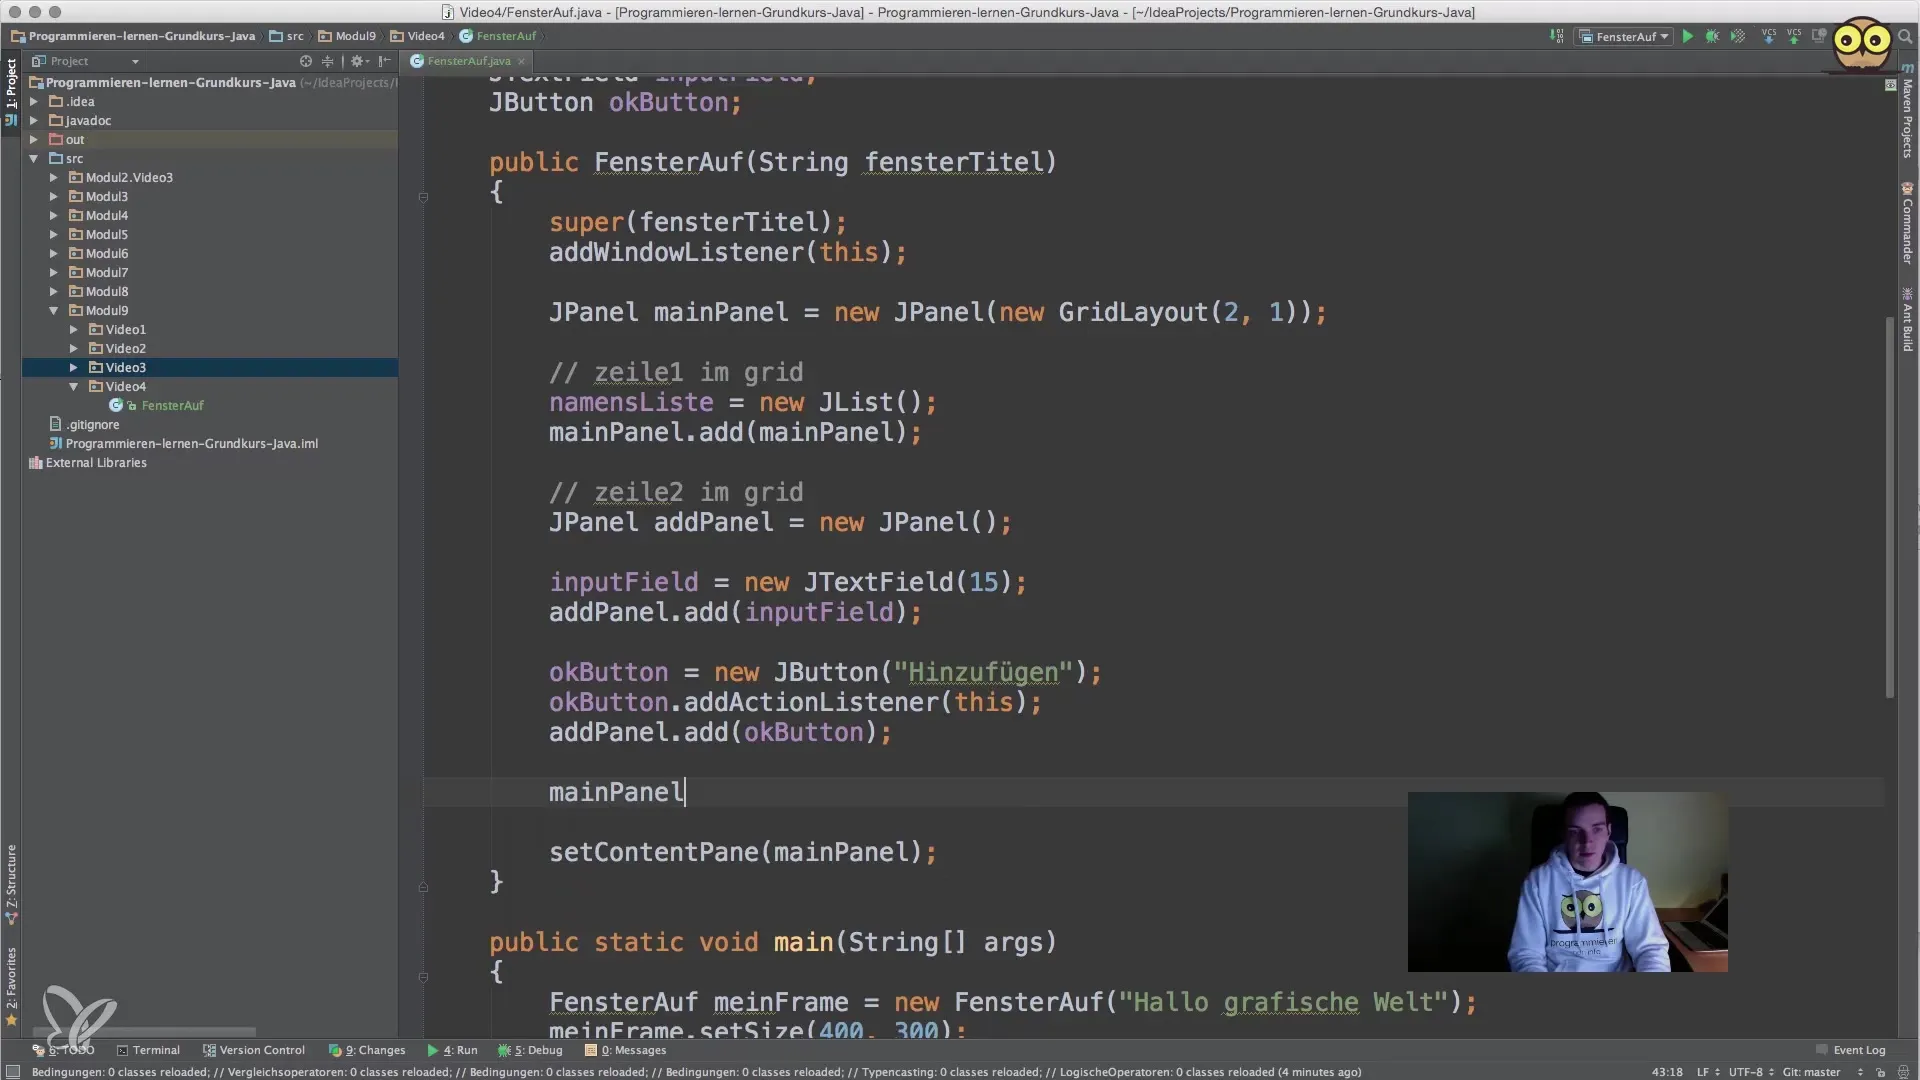
Now add a JTextField where the user can enter new entries. Additionally, create a JButton that, when clicked, should add the text from the input field to the list. Ensure that the button has an Action Listener to process the inputs.
Step 5: Set Up Action Listener
Configure the Action Listener for your button so that when clicked, the current text from the input field is captured. You can then add the new value to the JList via the DefaultListModel. Don’t forget to clear the input field after adding an entry, so the user can easily enter a new item next time.
Step 6: Test Your Application
Start the application and test if all components are working together as expected. If you enter a name into the input field and click the button, you should see the name displayed in the JList. Make sure to test this with different entries to ensure everything functions smoothly.
Step 7: Troubleshooting and Optimization
If you encounter problems, check carefully to see if you have connected all components correctly. Check if you have configured the Action Listener properly and if the model is correctly bound to the JList. Also, ensure that you have set the layout correctly so that all elements are visible.
Step 8: Expand the Project
Once your basic application is working, think about what additional features you could implement. Possible extensions could include removing entries from the list or editing existing entries. Experiment with the GUI and different layouts to deepen your understanding.
Summary – Java for Beginners – Creating Lists with JList
In this guide, you have learned how to create and manage simple list representations with Java's JList create. You experimented with the layout using GridLayout and learned how to implement user interaction effectively. By continuing to develop and optimize your application, you will gain a deeper understanding of programming graphical user interfaces in Java.
Frequently Asked Questions
How do I add a new element to the JList?You can add a new element to the JList by adding it to the DefaultListModel and ensuring that the JList is connected to this model.
How can I remove entries from the JList?To remove entries, you can use the removeElementAt(index) method of the DefaultListModel and specify the index of the element to be removed.
Can I make the JList multi-line?Yes, you can create a multi-line JList by implementing a custom renderer object that can adjust the displayed elements.


