Programming a calculator is an excellent exercise for beginners in Java programming. In this tutorial, we will look at a possible sample solution for a simple calculator and analyze its functionality in the debugger. You will learn how to manage user interfaces with Java and what logical processes need to be considered when entering and calculating values.
Main Insights
- Understanding the step-by-step execution of the calculation process in the debugger
- Using variables to store input values and the last operator
- Insights into the logic of calculations and their implementation
Step-by-step Guide
1. Getting Started in the Debugger
You start by opening the heart of the application, the method calculate, in the debugger. Here, you can observe how the code is executed when entering numbers and operators.
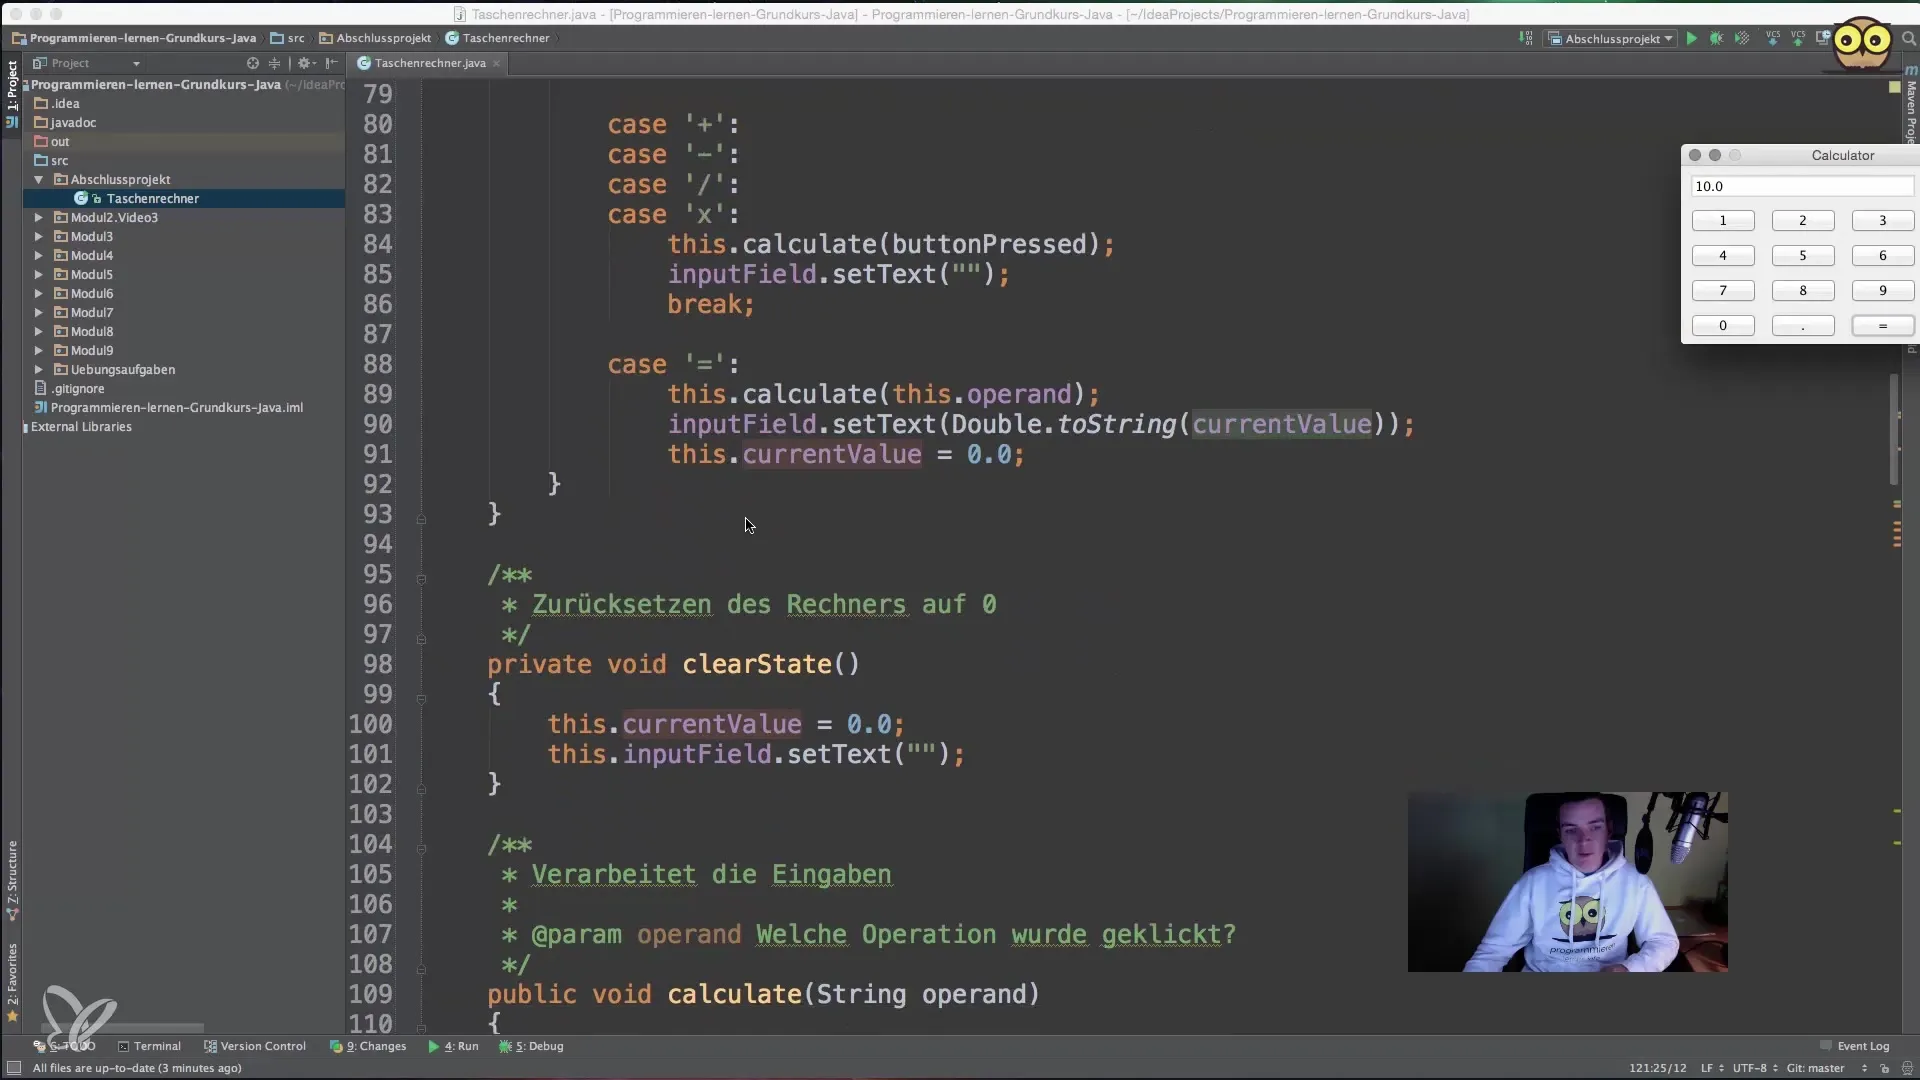
2. Make the First Input
When you now enter the number "5" and select the operator "Plus", the code is forwarded to the corresponding event. In the debugger, you will see that the current operator "Plus" is stored as a string and this information is available for the next calculation.
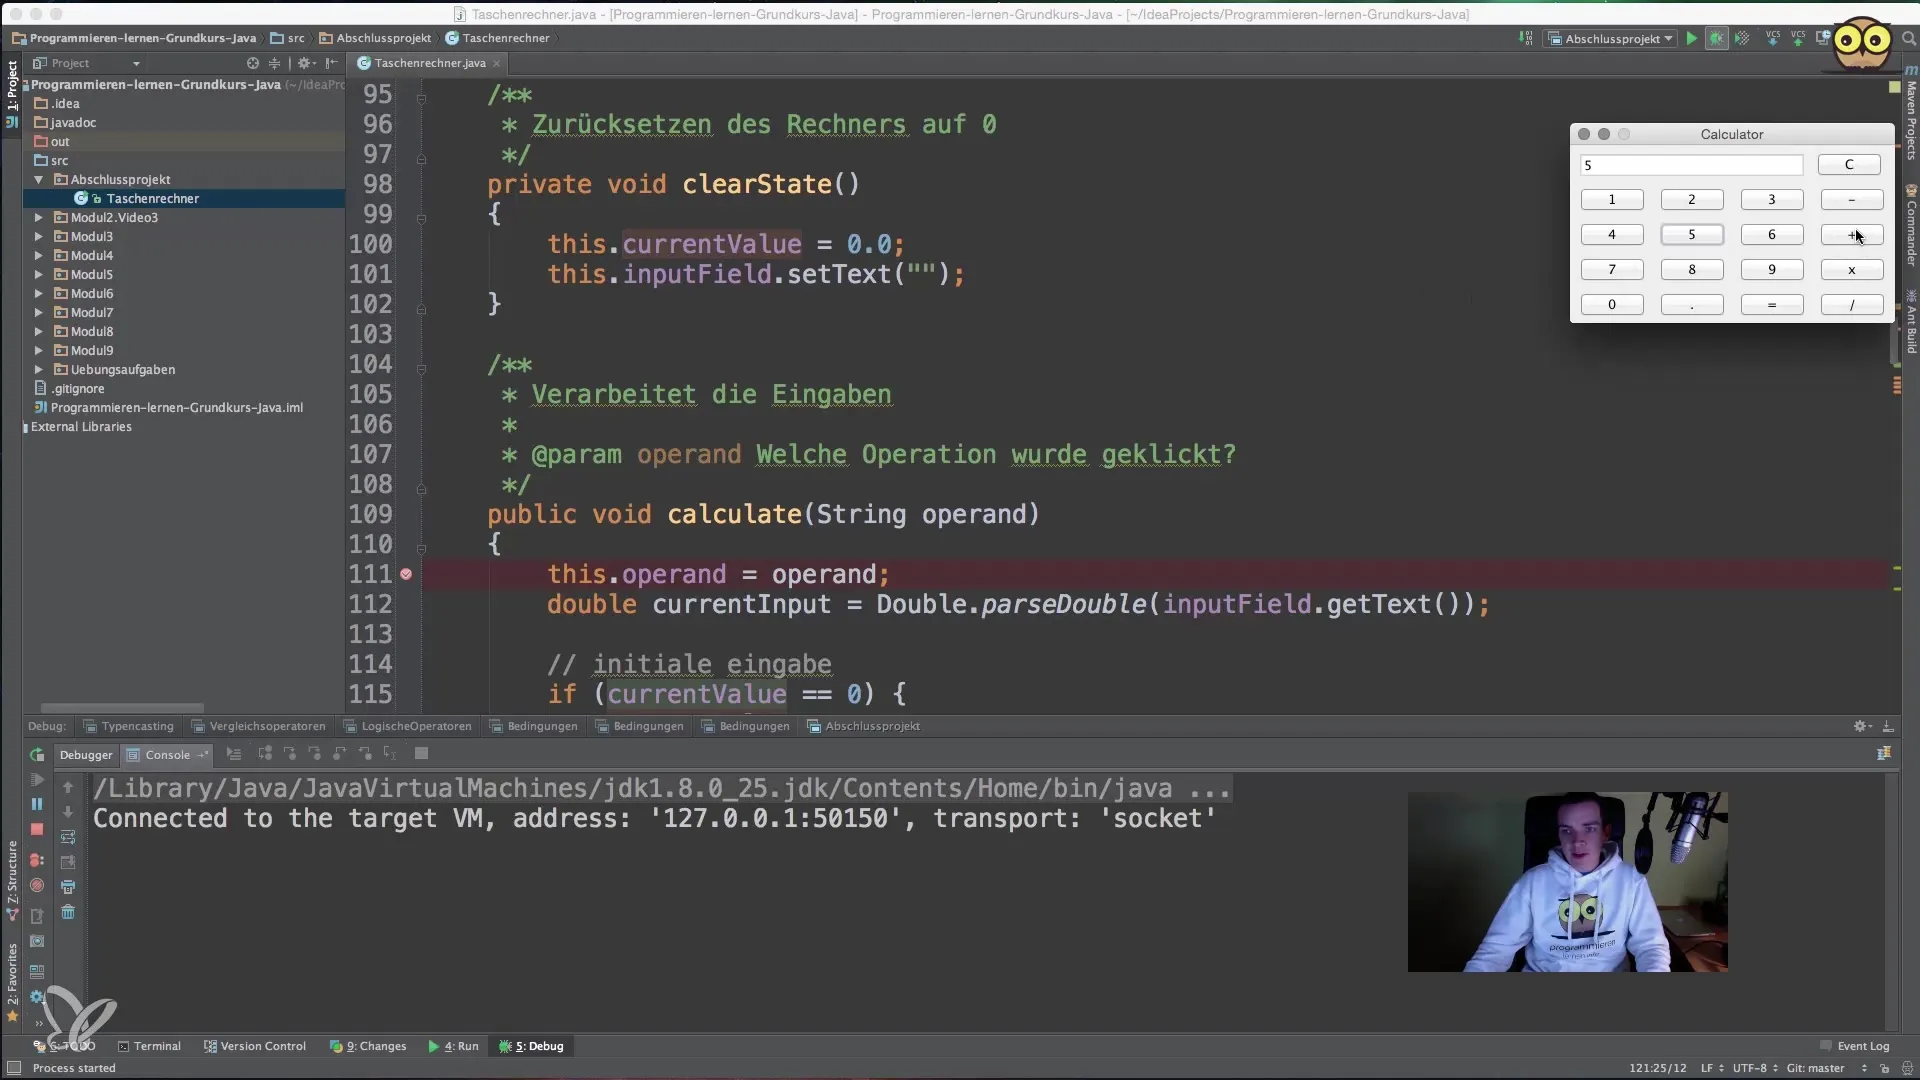
3. The Current Value
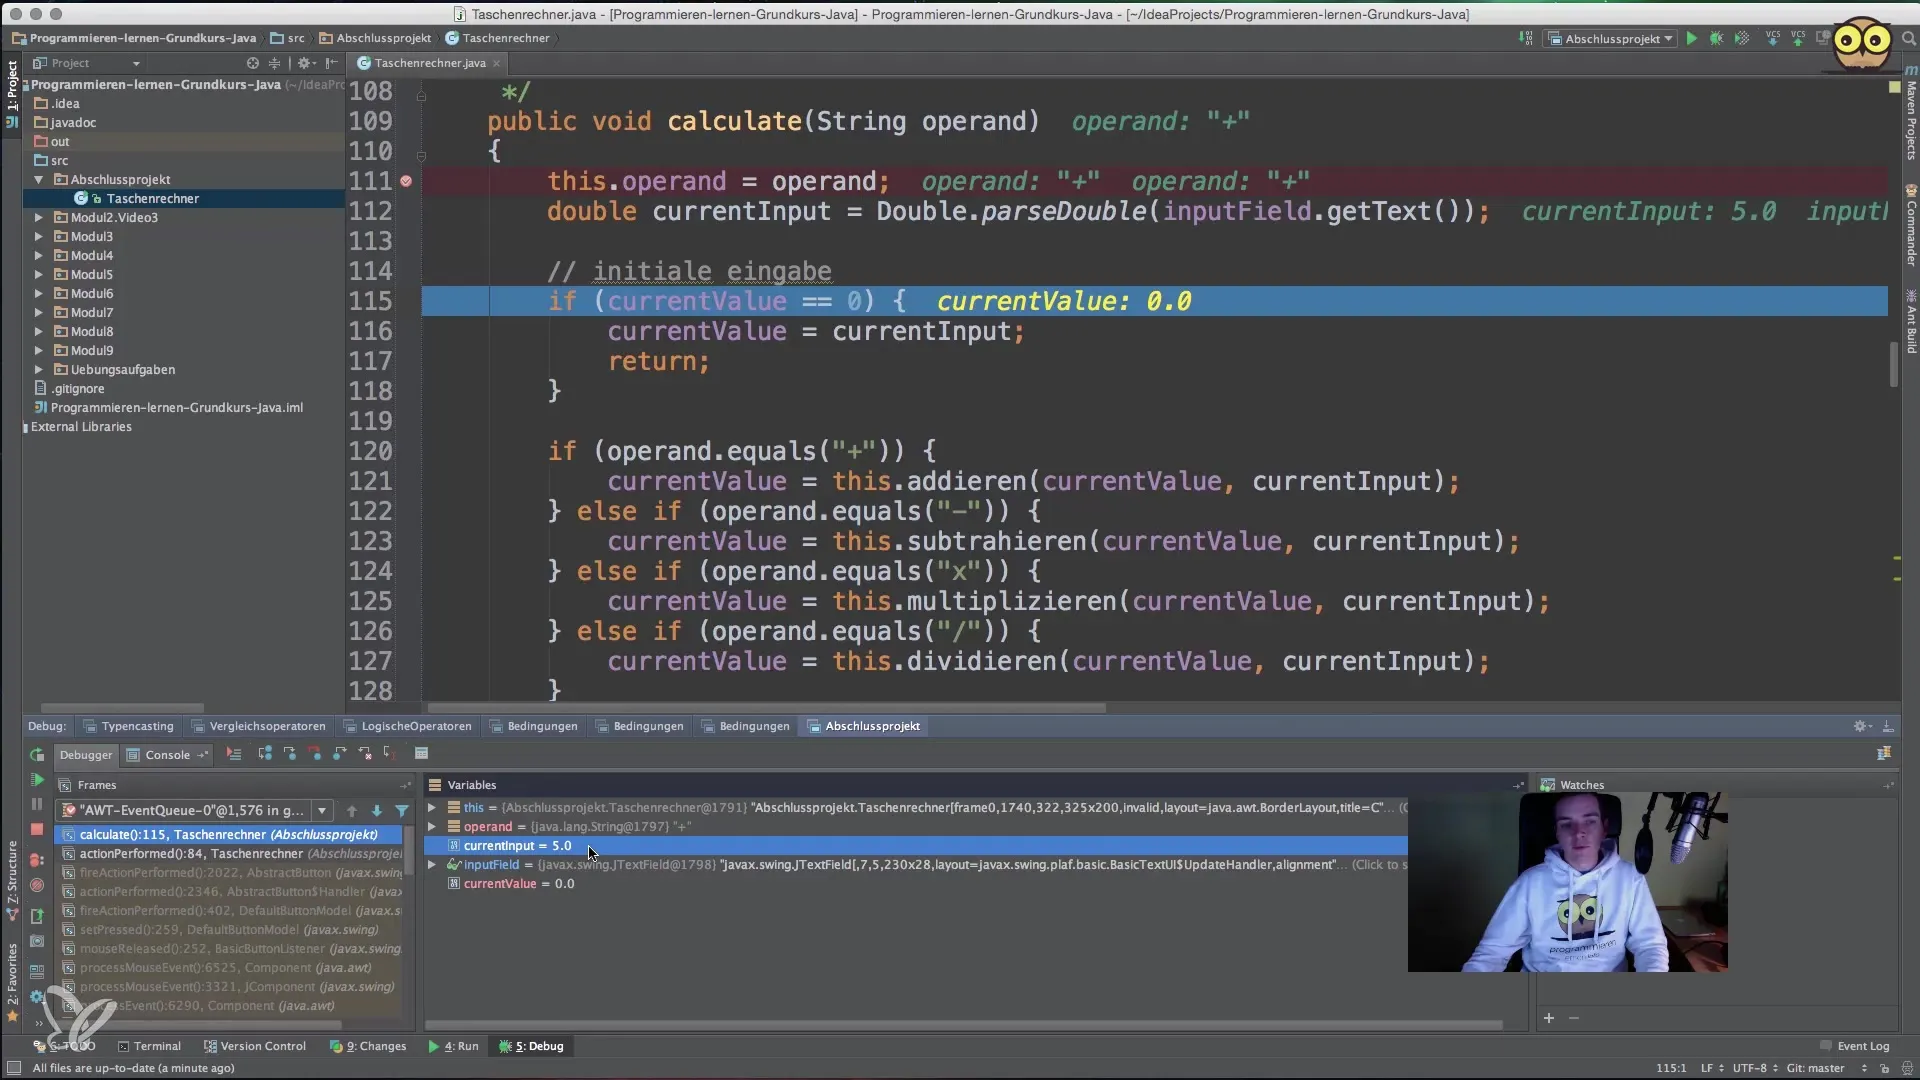
After you have selected the operator, the program retrieves the current value from the input field. In this case, the value "5" is set as the current value, and the internal counter stores this value. If you have not entered anything yet, the counter is initialized.
4. Return After Input
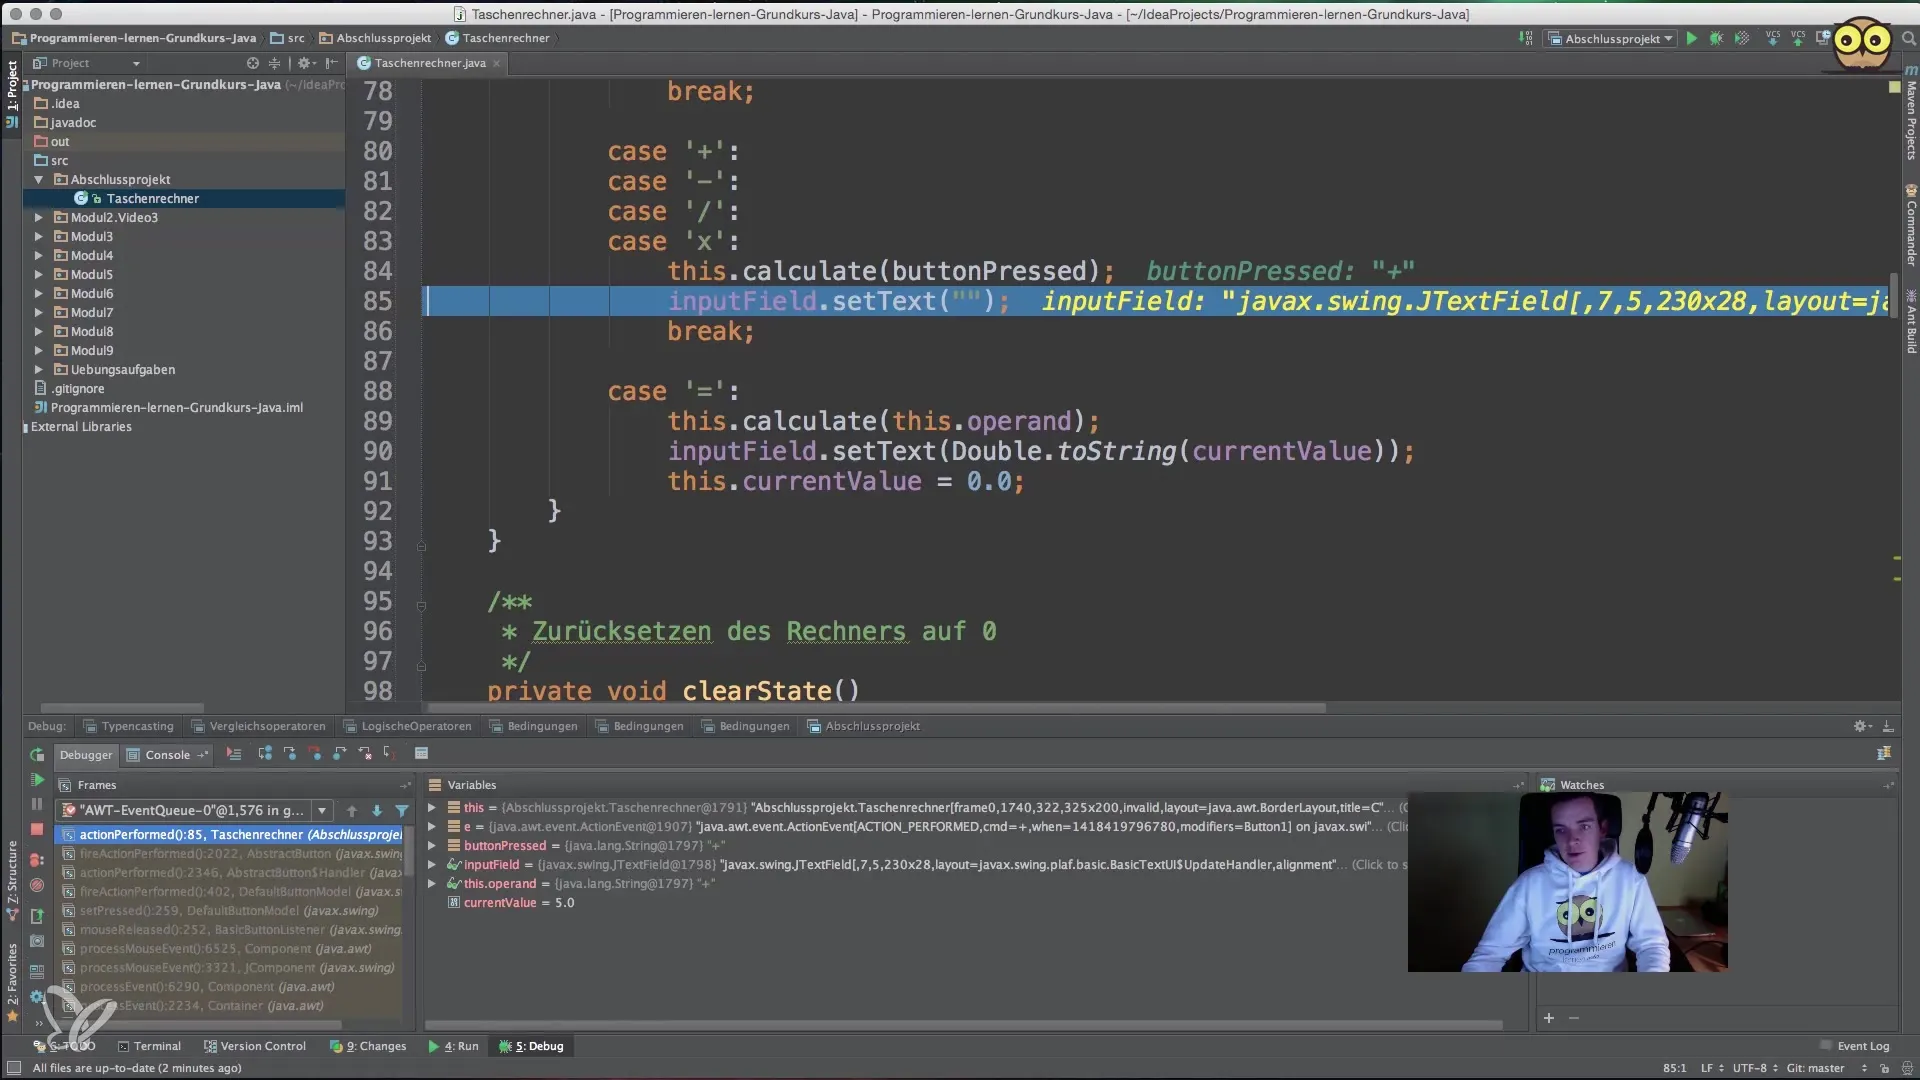
A simple return is made when the calculate method is completed. The current value is saved and the input field is cleared to prepare for the next input.
5. Perform the Following Calculation
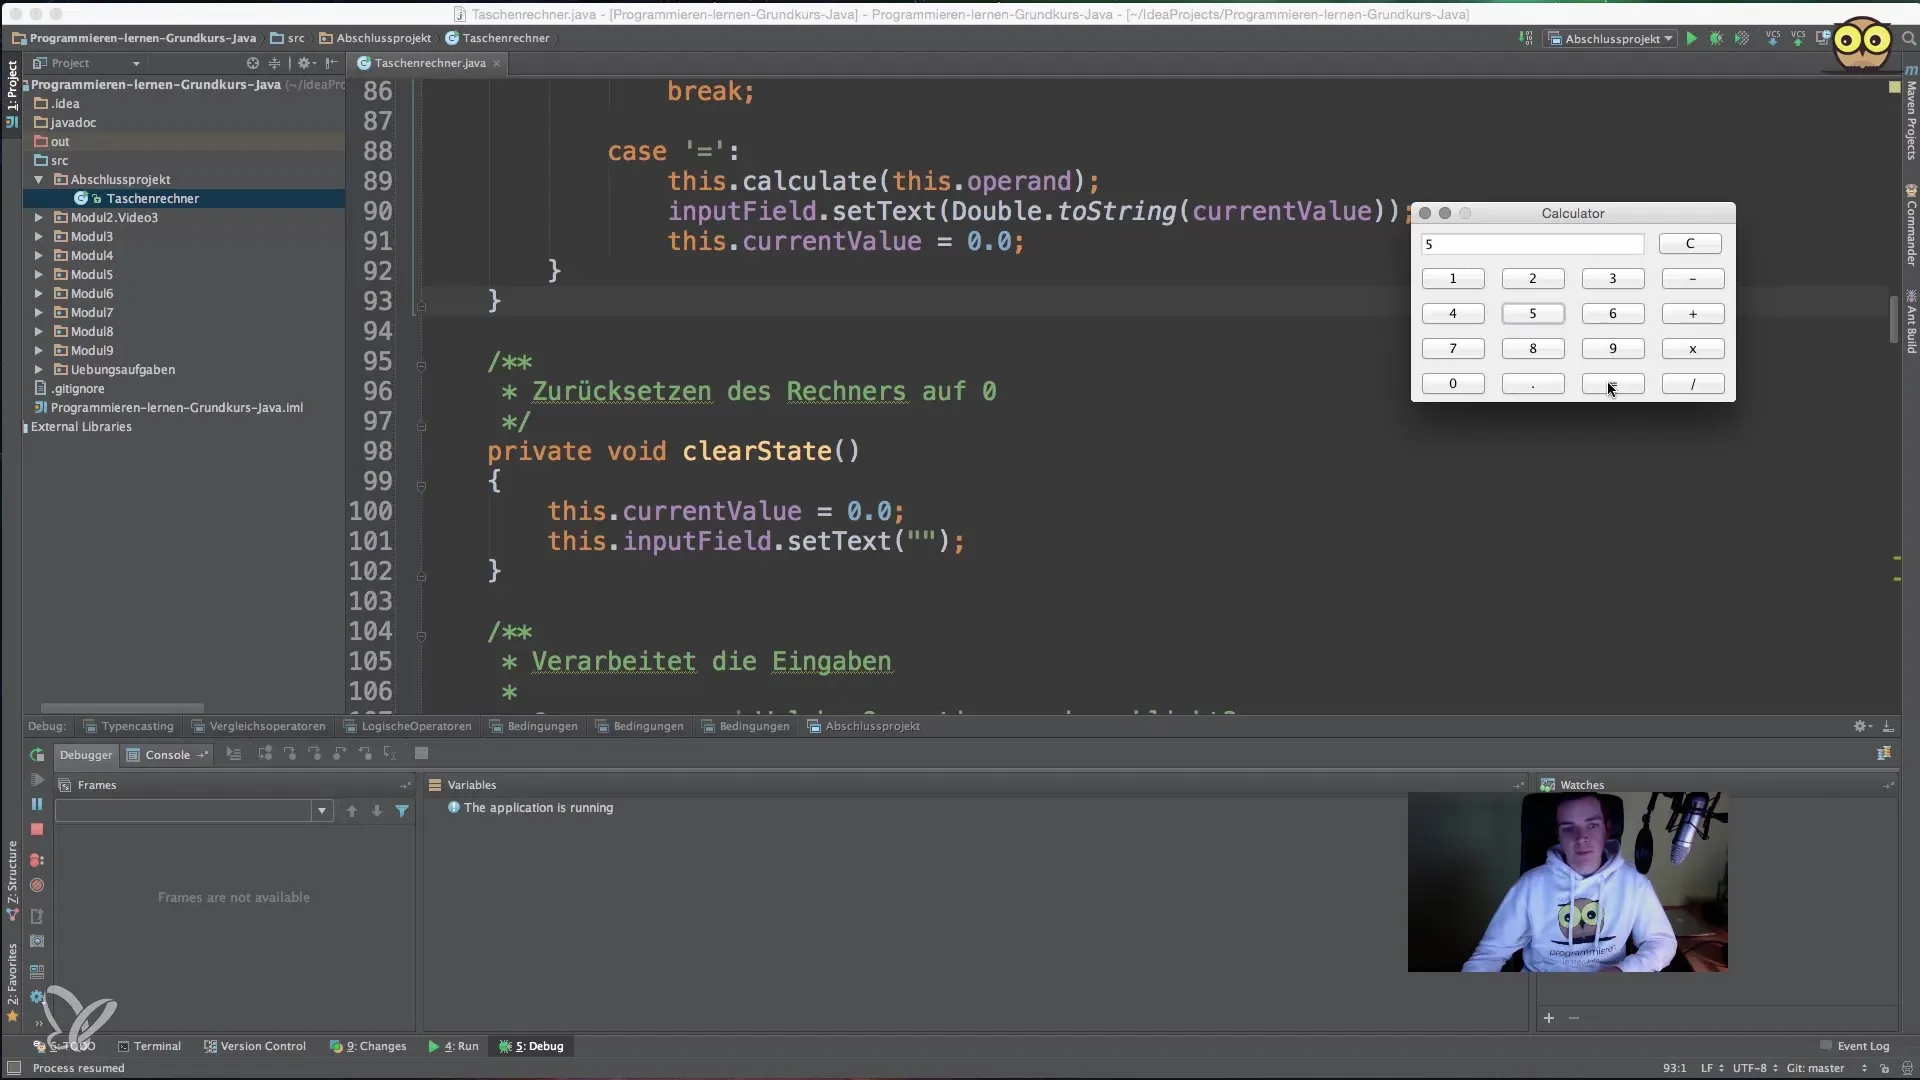
After you input "5" again and the equals operator, the last operator—here "Plus"—is needed to perform the calculation. The values that were last stored will now be added together.
6. Recalculate in Step Mode
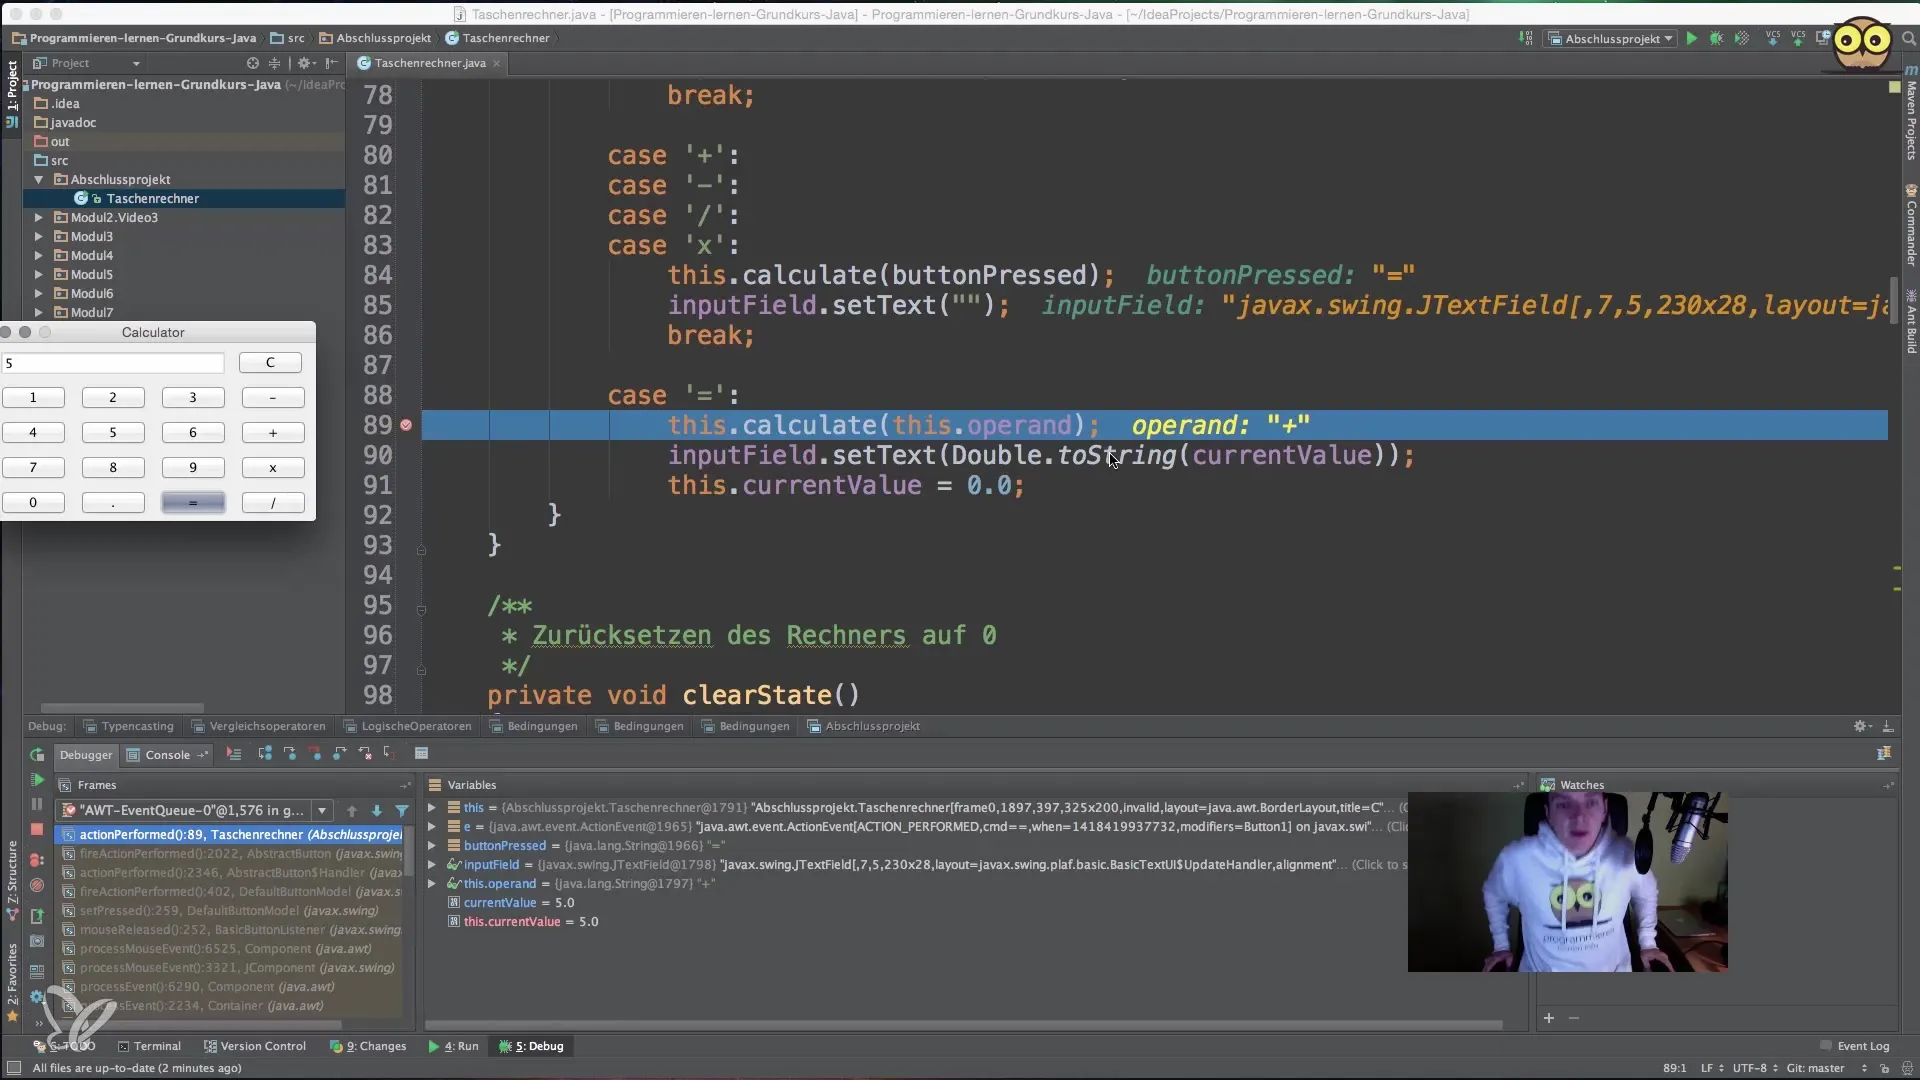
You continue to jump in the debugger to observe how the last operator is used. The current value is retrieved, and you see the calculation in the background that adds the two "5", resulting in "10".
7. Display Result
Once the calculation is complete, the final value is displayed in the text field. You can see how the app retrieves the result from the internal counter and displays it.
8. Expansion Possibilities
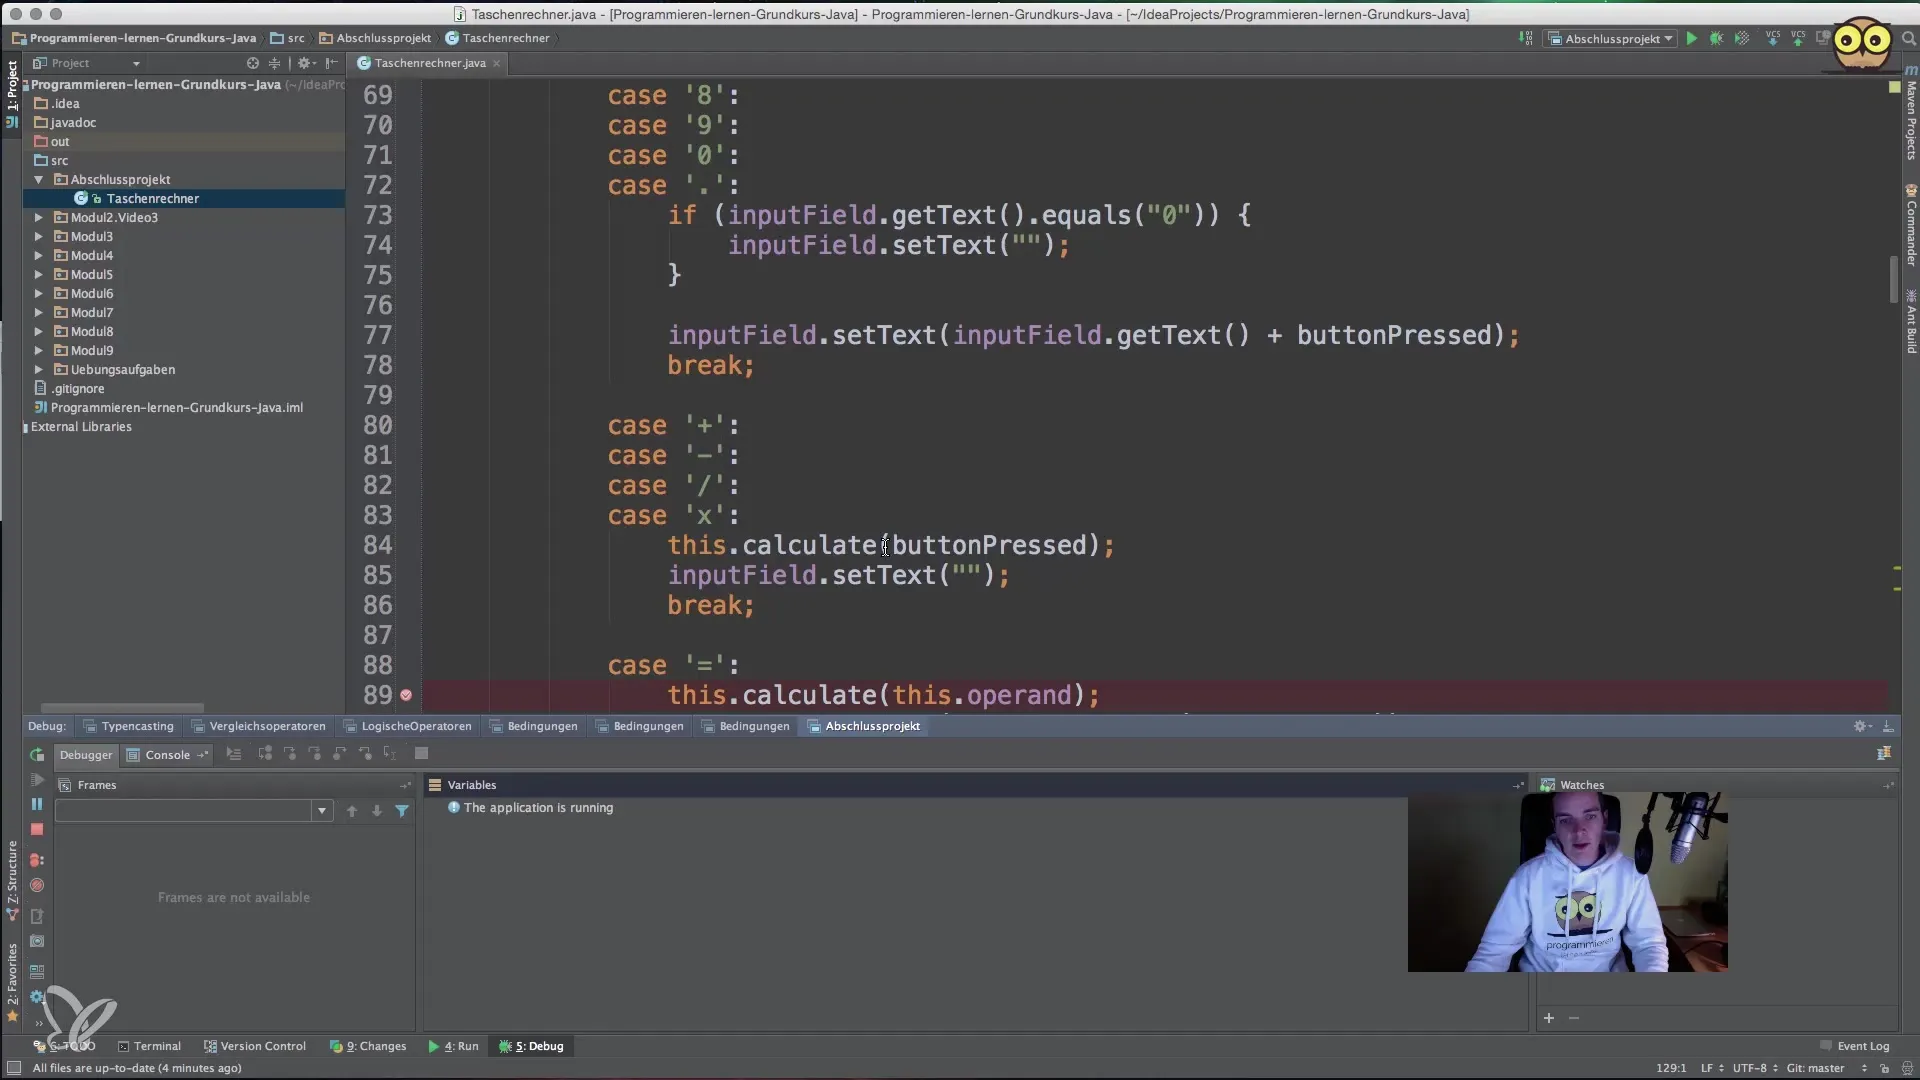
There are many possibilities for expanding the functionality of the app, such as adding negative numbers, scientific functions, or exponential calculations. However, the goal is to create a working base app that can be further developed later.
Summary – Implementation of a Simple Calculator App in Java
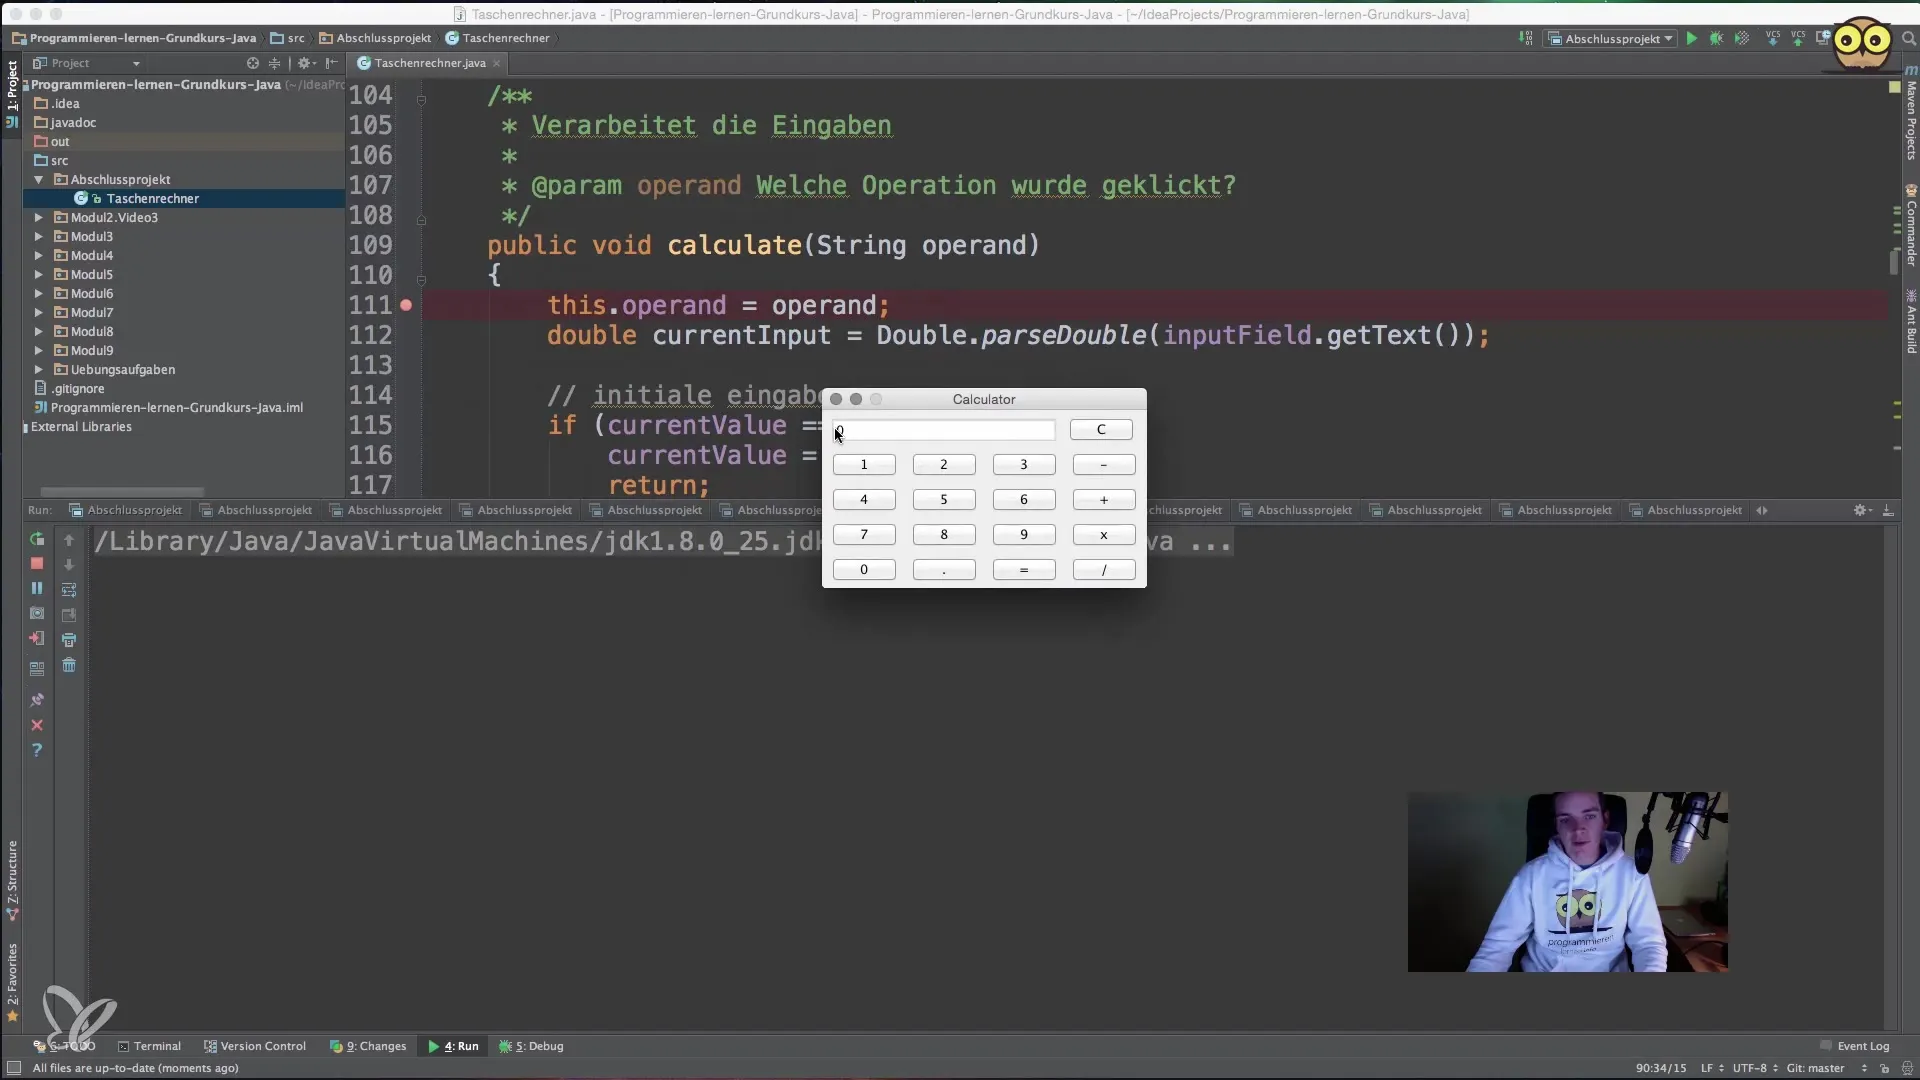
This guide provides you with a clear structure to understand the functionality of a simple calculator in Java. By following the debugger, you can gain deeper insights into the logic of the program and build a solid foundation for future programming projects.
Frequently Asked Questions
What is the main goal of this guide?The main goal is to demonstrate the functionality of a simple calculator in Java and to show valuable debugging techniques.
How does the storage of the last operator work?The last operator is stored in a string variable to be used for the next calculation.
Can the calculator also work with negative numbers?Currently, the calculator is implemented to not accept negative numbers, but this could be added as an extension.
Are further mathematical functions possible?Yes, implementing scientific functions such as square root calculation or powers would be a possible extension.
How much time should be planned for implementation?The implementation can vary depending on experience and knowledge, but it is important to take sufficient time to understand all concepts.

