In this guide, you will learn the basic steps for using the Java compiler (javac) and running your Java programs with the Java Runtime Environment (JRE). To better understand the process of compiling and executing Java code, it is important to know the individual steps and understand what happens in the background.
Key Insights
- The Java compiler (javac) translates your source code into bytecode.
- Bytecode is saved in.class files and can be executed by the JRE.
- The process involves compiling the code and subsequently executing it through the command prompt or a terminal.
Using the Java Compiler (javac)
First, you want to ensure that you have correctly configured your development environment. An IDE (Integrated Development Environment) can make your work easier, but it's useful to know how the process works technically.
Step 1: Understanding IDE and Command Line
First, it's important to understand that the IDE you are working with relies on the Java compiler and the JRE in the background. These tools do the actual work while the IDE makes the execution easier for us. You should gain a basic understanding of how javac works.

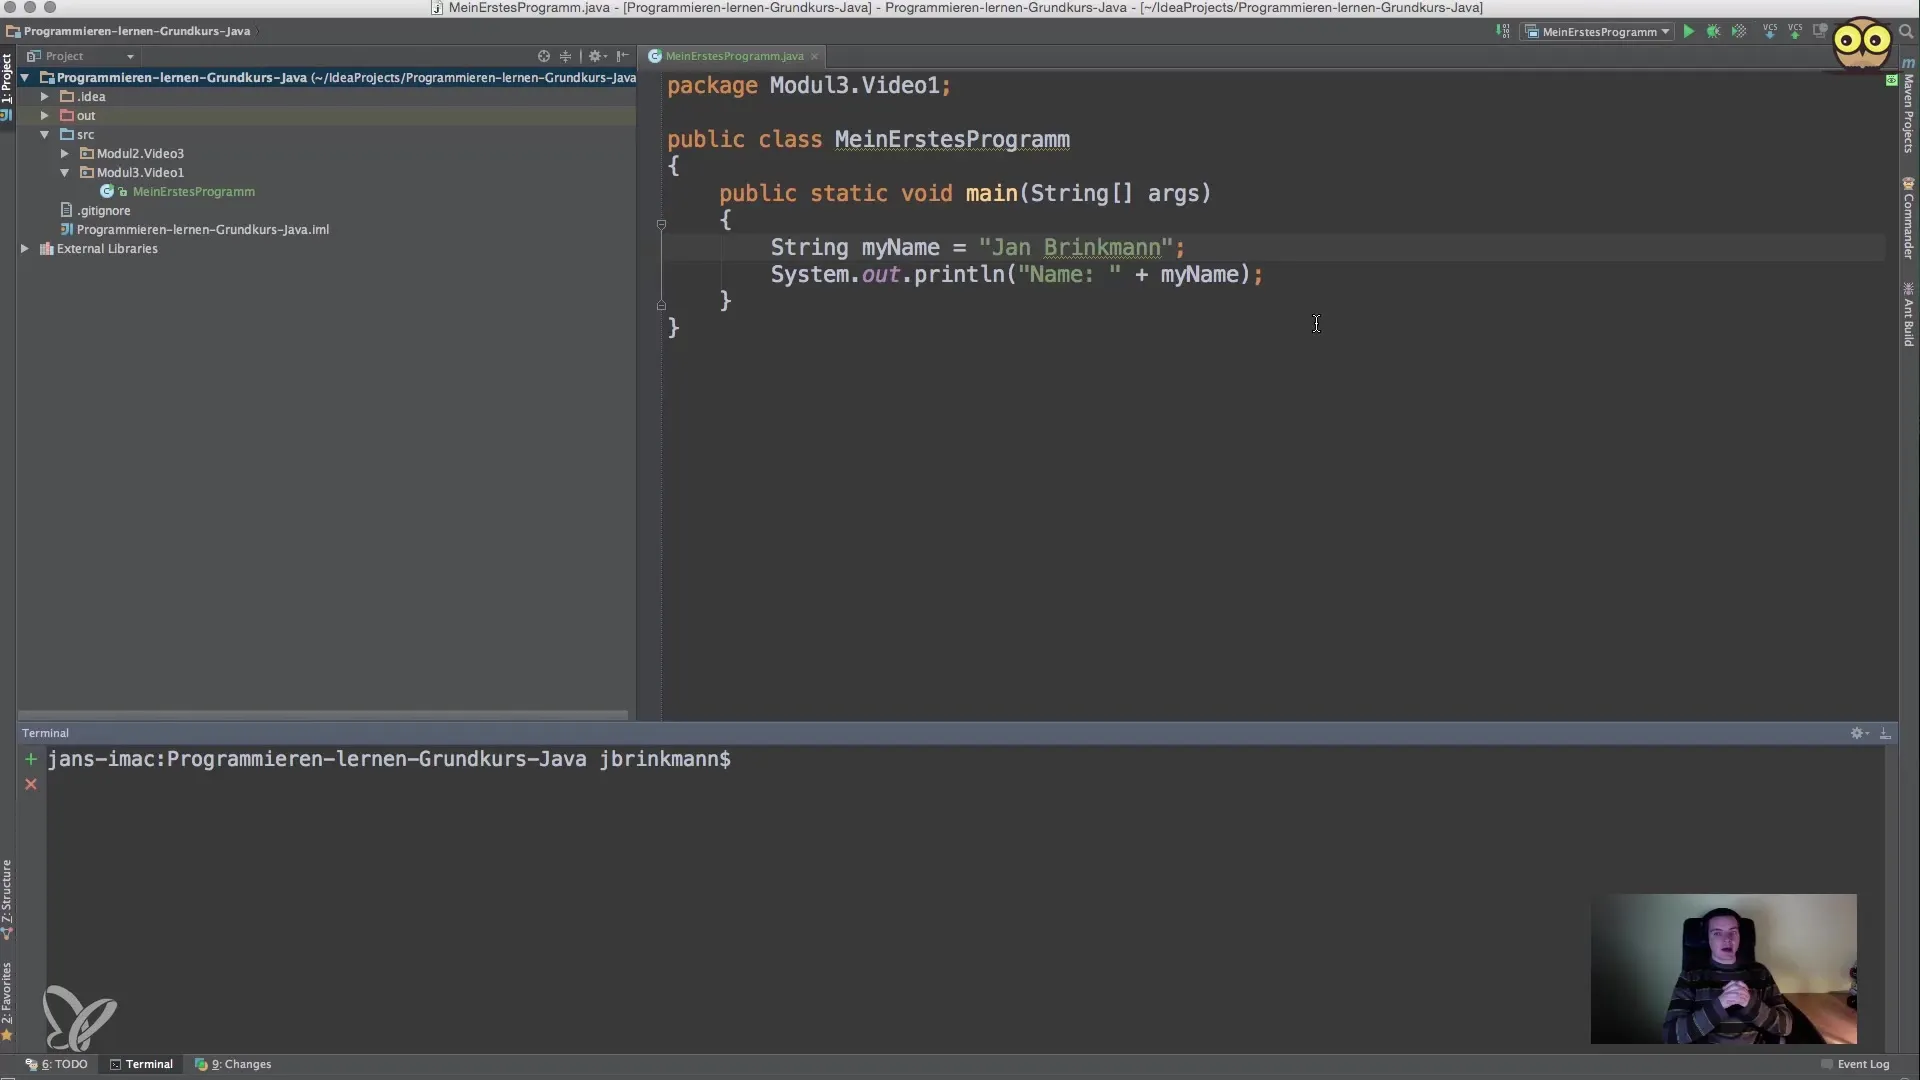
Step 2: Program Directory and Source Code
Make sure you specify the correct path to your source code. When working with packages, it is helpful to maintain the structure laid out in your project folder. Place your files in the appropriate directories so you can find and compile them more easily.
Step 3: Compiling Source Code
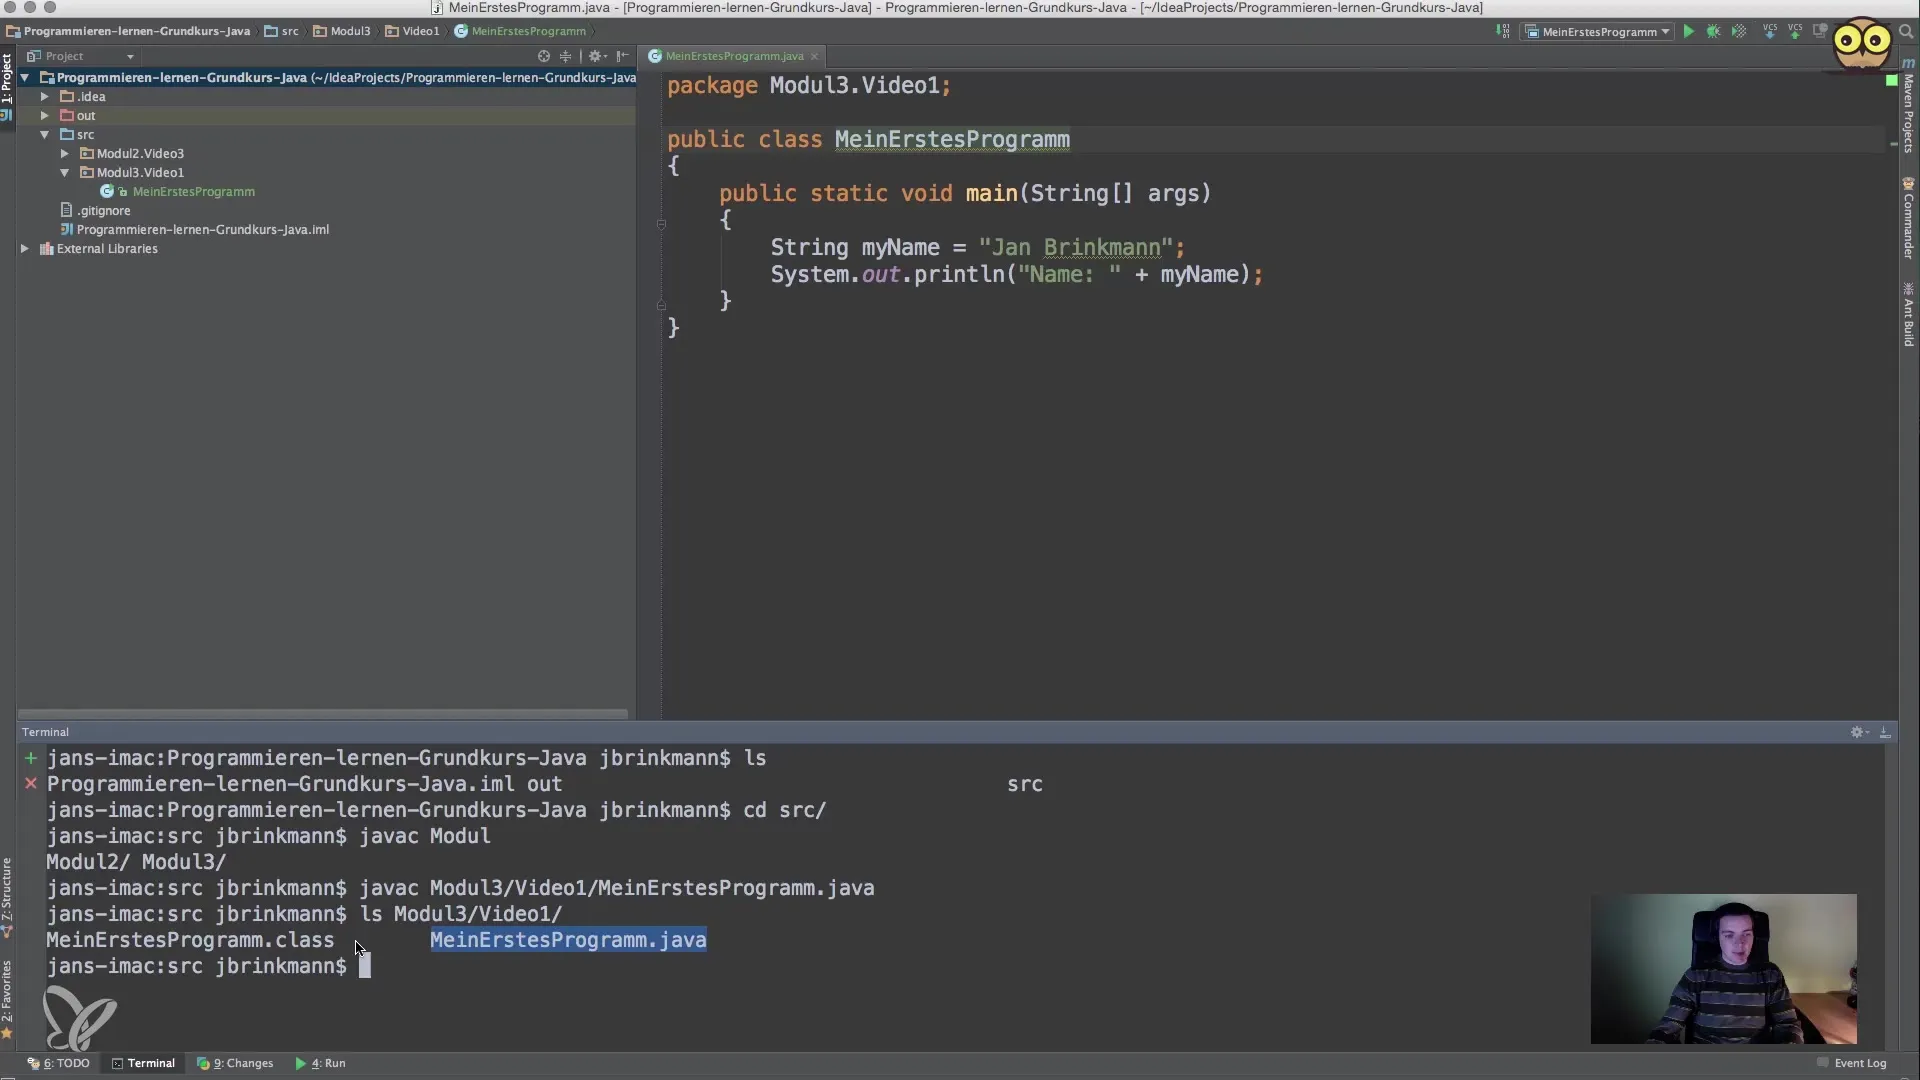
To compile your Java code, open the terminal or command prompt and navigate to the directory where your source code is stored. The command you will use is javac. You will enter the following:
javac Module3/Video1/my first program.java
Press Enter. If the process completes and there are no error indications, your code has been successfully compiled.
Step 4: Checking Generated Files
After successful compilation, you should find a.class file in the Module 3/Video 1 directory. This file contains the bytecode that will be executed by the JRE. This.class file looks like this:
my first program.class

Step 5: Running the Program
To execute the generated.class file, use the command java followed by the full name of your class, leaving off the file extension:
java Module3.Video1.my first program
After entering this and pressing Enter, the bytecode will be executed, and you should see the corresponding output in your console.
Step 6: Making Changes to the Code
If you make changes to your source code, you need to re-run the compilation process. Use the javac command as before. It can be very helpful to recall commands in your terminal with the up arrow key to run them again more quickly.
Step 7: New Code and Output
Run your program again after making changes to ensure that the new inputs take effect. After running the program, you will see the new outputs based on the changes in your source code.
Summary
Using the Java compiler javac along with the Java Runtime Environment to run your programs is a fundamental process when programming in Java. You have learned how to compile your source code, locate the generated.class files, and run your programs.
Frequently Asked Questions
How do I run the Java compiler?You can run the Java compiler by using the command javac in your terminal or command prompt, followed by the path to your.java file.
What is the difference between.java and.class files?A.java file is the source code you write, while a.class file contains the bytecode that is executed by the Java interpreter.
How do I fix compilation errors?Carefully check your source code for syntax errors and then re-run the compile command to see if the errors are resolved.
Can I run Java code without an IDE?Yes, you can also compile and run Java code directly through the command prompt or terminal without using an IDE.


