Modern graphical user interfaces offer a variety of possibilities for arranging components. The default behavior in Java often refers to a simple flow layout that automatically handles the arrangement of elements. In this guide, I will show you how you can optimize the layout of your application through targeted changes. We will discuss nearby layouts, make adjustments, and add new features.
Main findings
- The default arrangement of components in Java is done using a flow layout.
- A border layout allows for a structured arrangement in five areas.
- By nesting panels, you can gain better control over the layout.
Step-by-Step Guide
1. Introduction to the Flow Layout
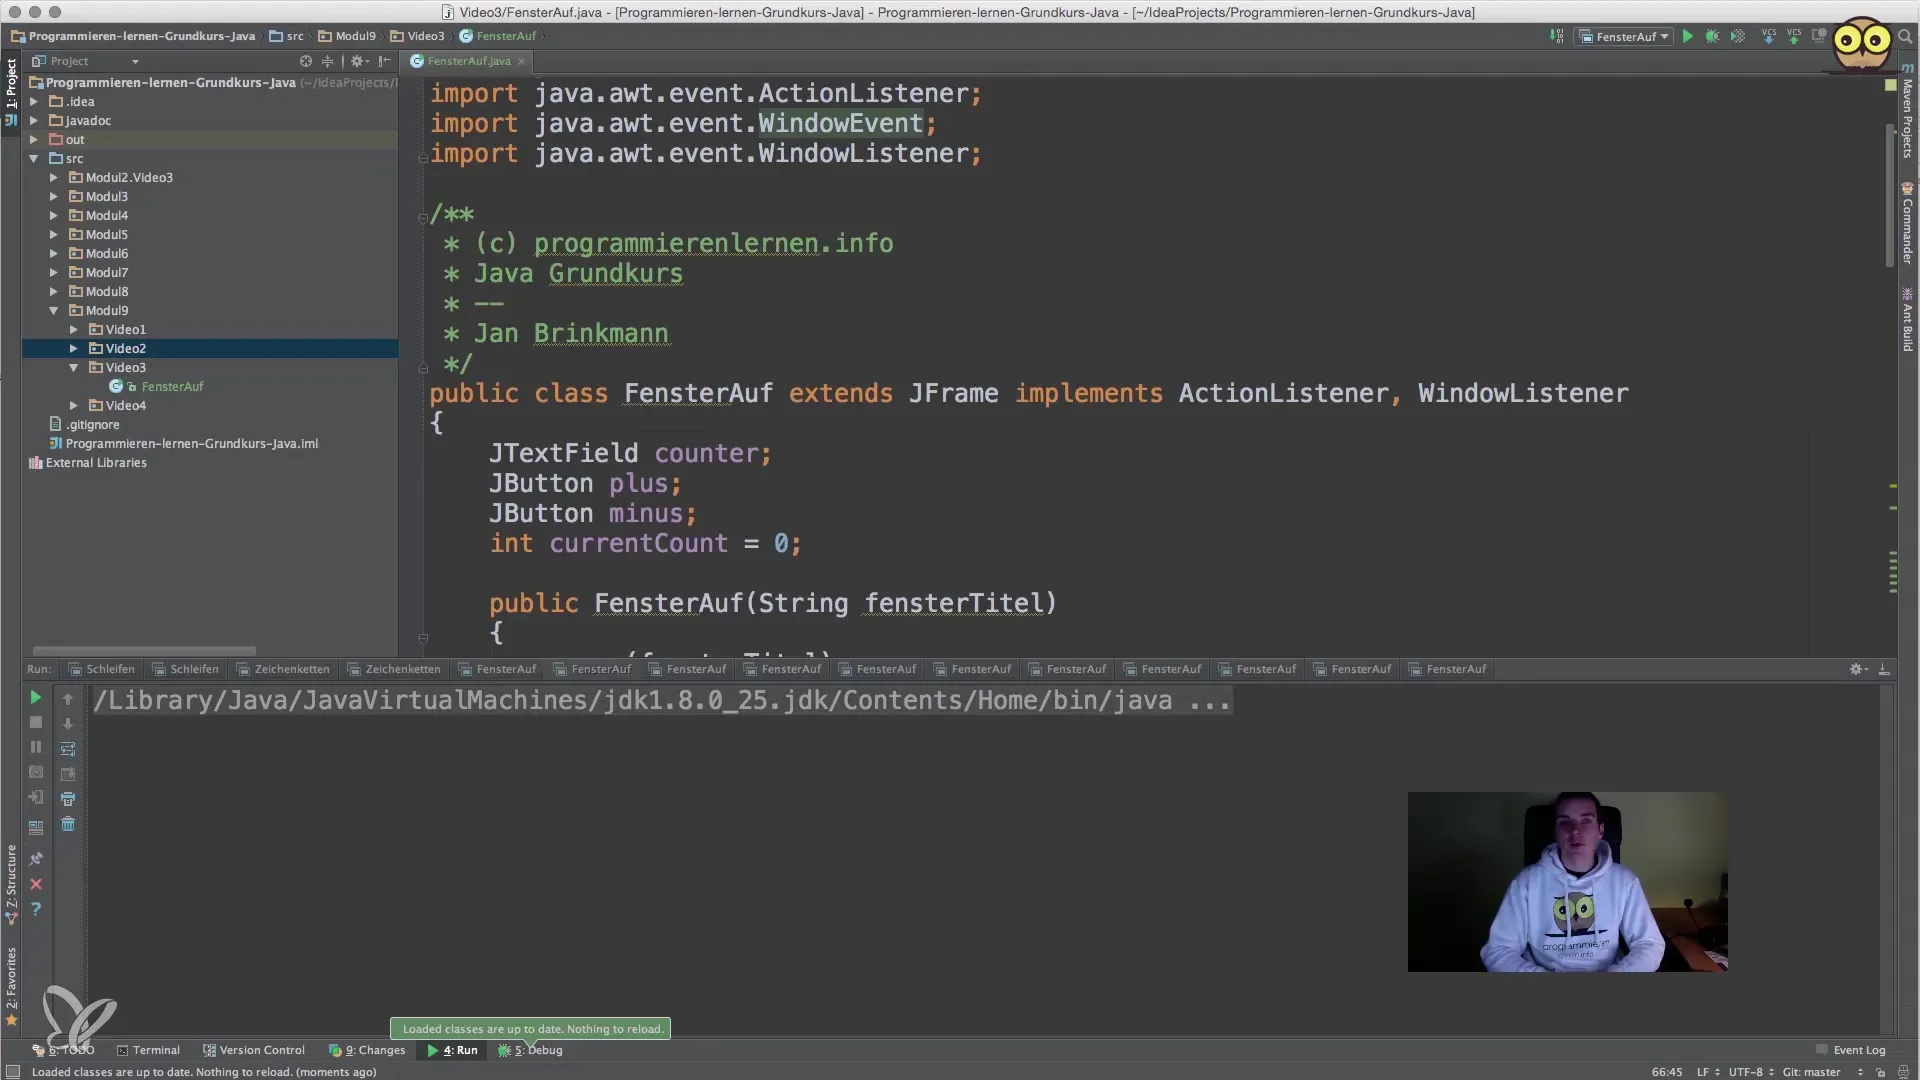
First, let's take a look at the standard arrangement of your components. In Java, if you do not specify any other layouts, a flow layout is used by default. This means that all components are placed from left to right, with new elements forming a new line when there is no more space. To get a better understanding, run your existing program and observe how the elements are arranged.
2. Adjusting the Action Listeners for the Buttons
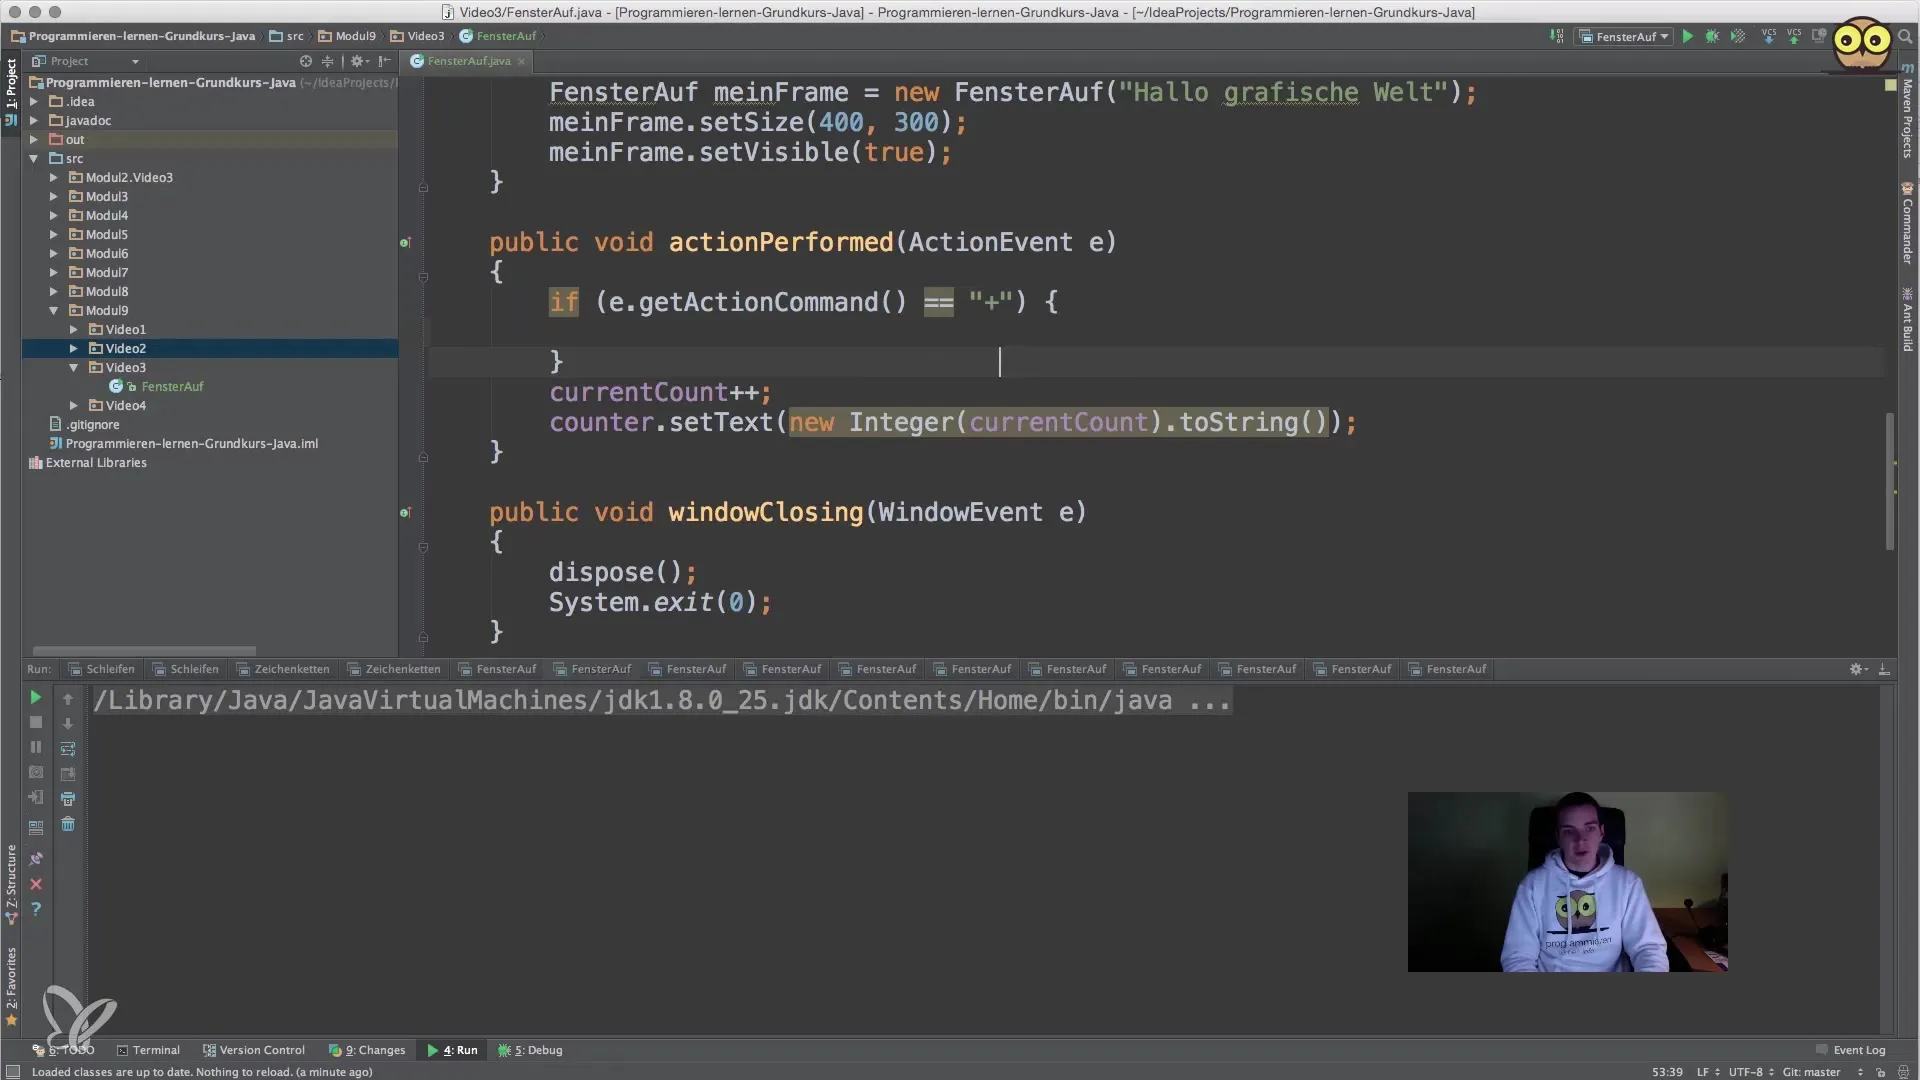
Now let's take a look at how the action listeners behind the buttons work. First, it is important to implement the functionality so that the plus and minus buttons respond correctly to inputs. In the code, check if the action command of the clicked button is "plus" or "minus". Depending on the condition, you can increase or decrease the counter. This ensures that the correct value is adjusted when clicking.
3. Using the Border Layout
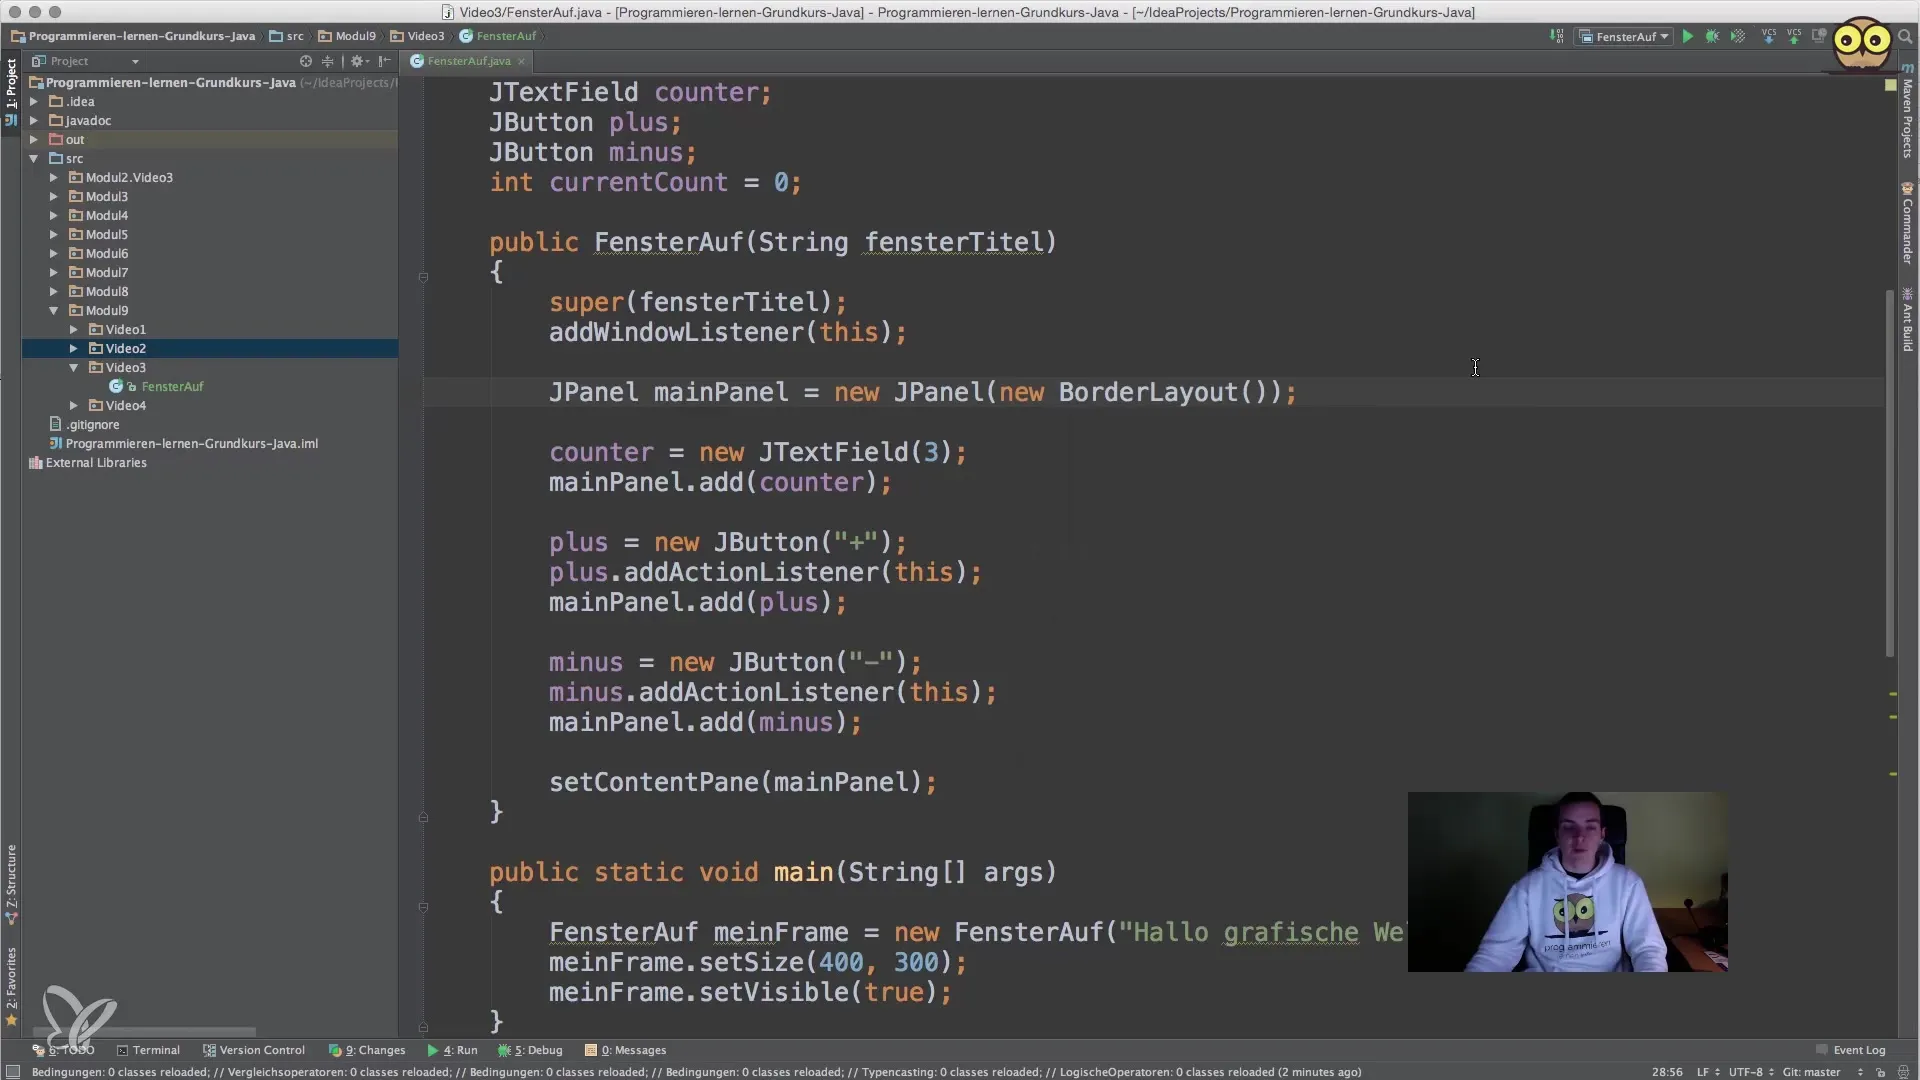
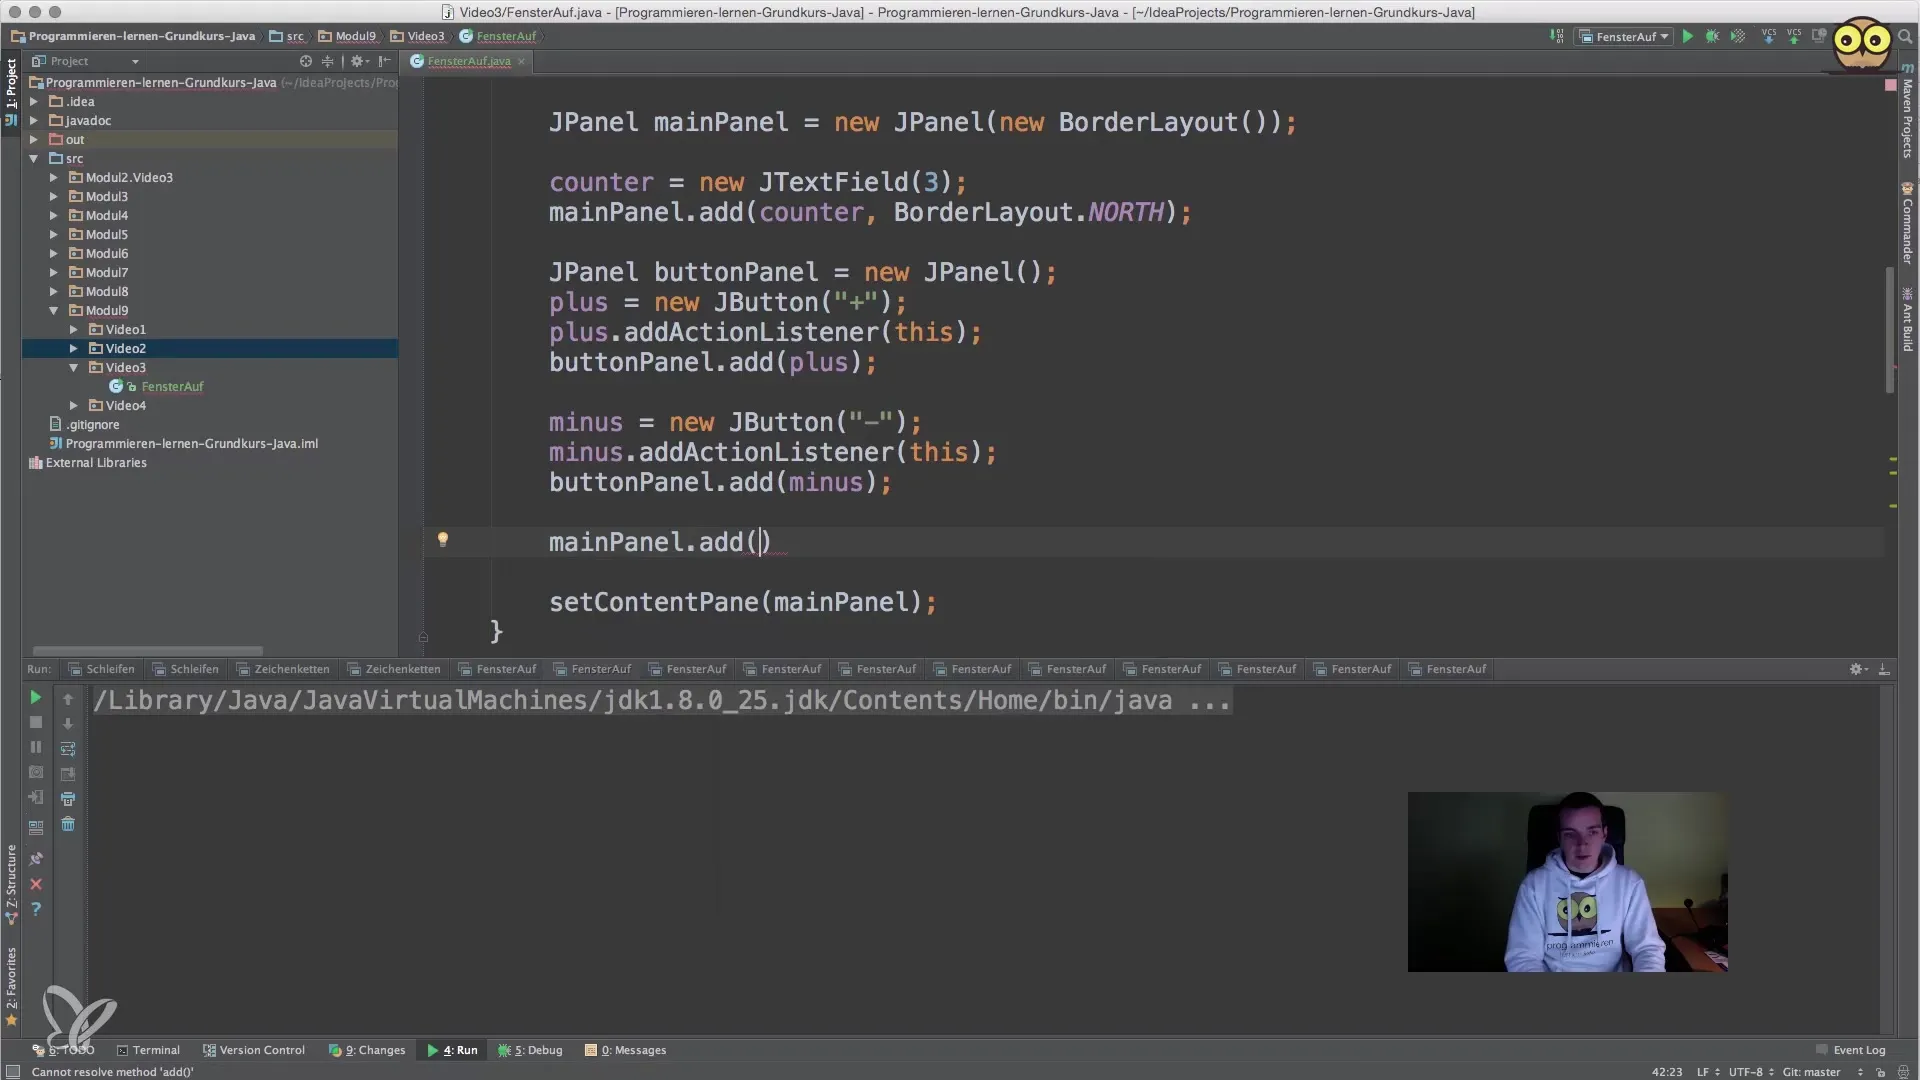
In the next step, we will switch to the border layout. This layout divides the available space into five areas: North, South, East, West, and Center. Start by changing the layout of your JPanel. Instead of the flow layout, you will now define a border layout by specifying new BorderLayout() when creating the panel. This lays the foundation for a better-structured arrangement of your components.
4. Placing Components in the Border Layout
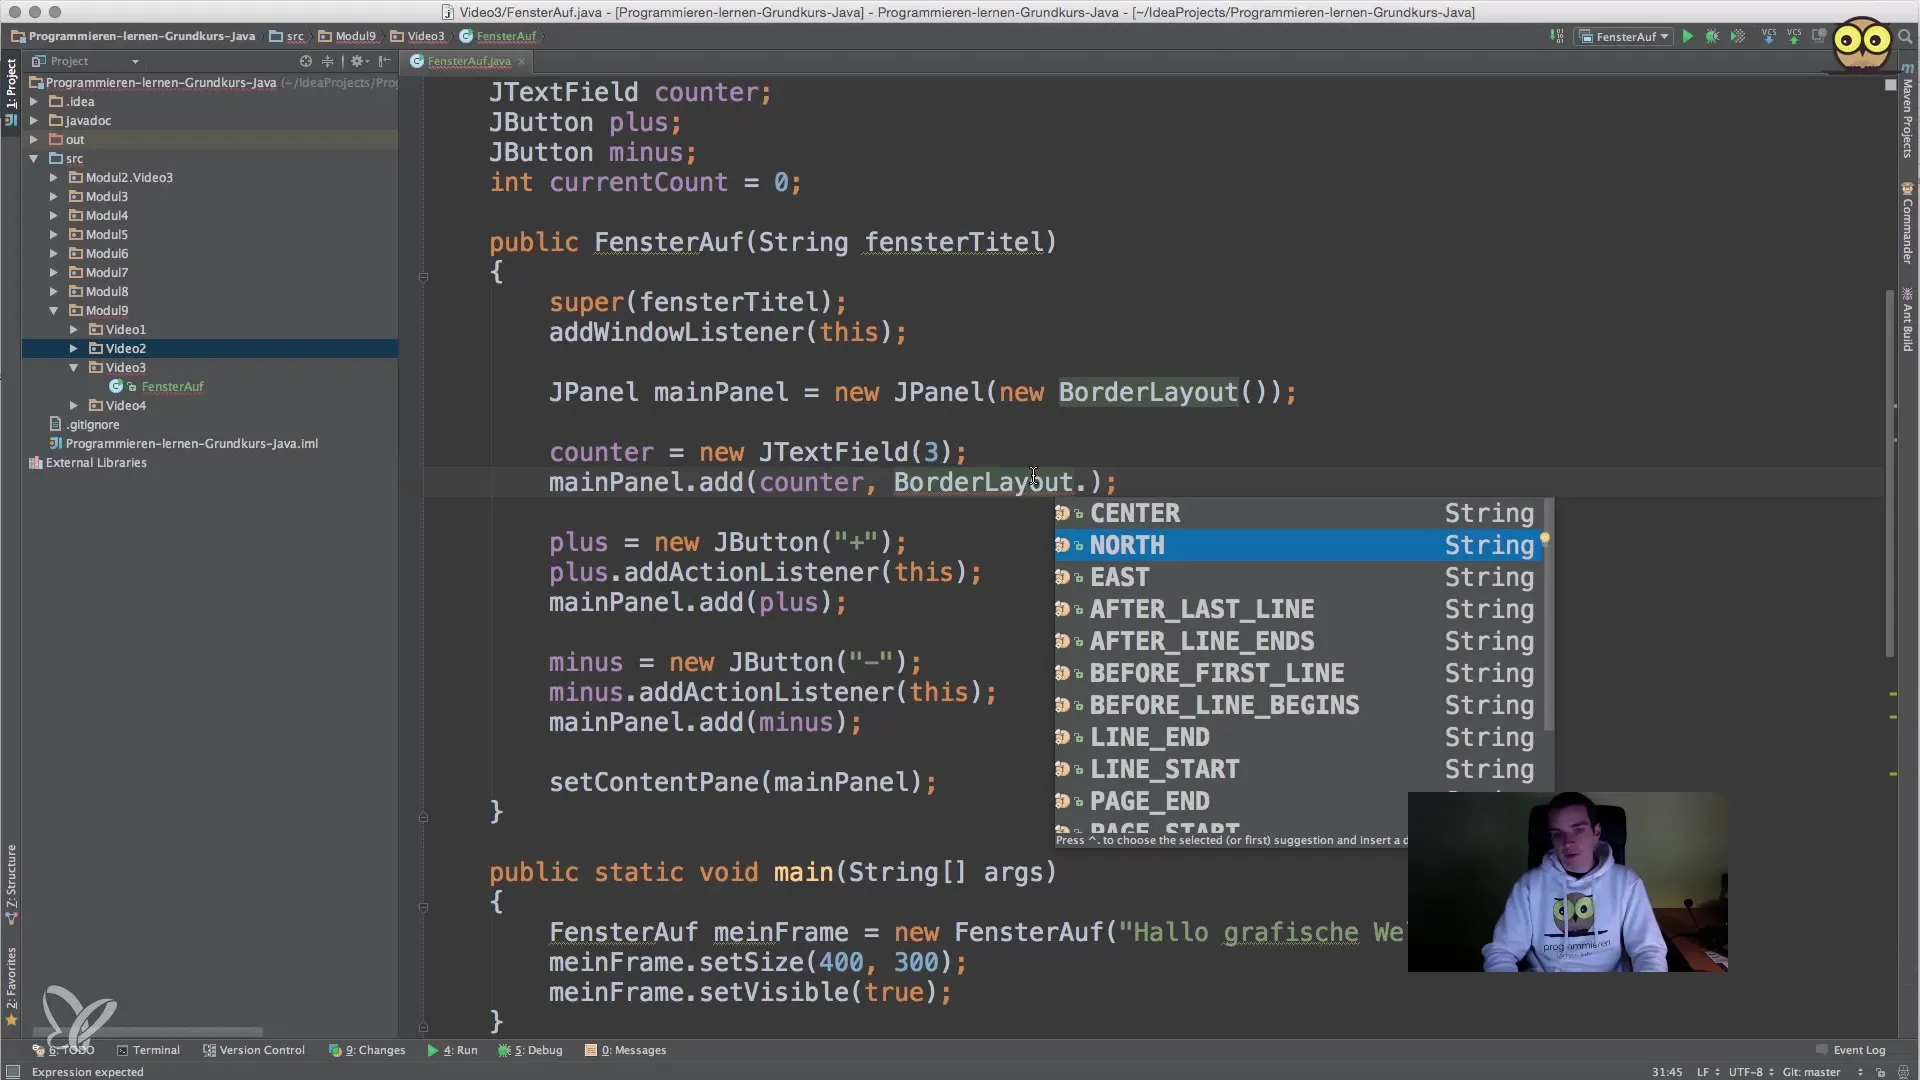
After you have implemented the border layout, it is important to redefine the positions of the components. You can place the text field in the North area and the plus and minus buttons in the East and West. Use the constants BorderLayout.NORTH, BorderLayout.EAST, and BorderLayout.WEST to determine the positions where the components will be arranged.
5. Optimizing the Arrangement
To further refine the layout, you can add the buttons to a separate JPanel. This button JPanel will be equipped with a flow layout that places the buttons next to each other. Finally, you will add this button JPanel to your main panel in the center to optimize the display of buttons in the layout.
6. Testing the Changes
Restart your program to ensure that the new layout changes work as intended. Observe how the components behave in the application and ensure that the counter and the buttons respond correctly.
Summary – Guide to Effective Arrangement of Components with Layouts in Java
In this guide, you learned how to improve the default flow layout in your Java application by using border layouts and nested panels. This gives you more control over the arrangement of your GUI elements. With knowledge about action listeners and their customization, you were able to further develop and optimize the functionality of your application.
Frequently Asked Questions
What is a flow layout?A flow layout organizes components in a row from left to right. When there is no more space, a new row begins.
How does the border layout work?The border layout divides the available space into five areas: North, South, East, West, and Center.
How can I nest panels?You can add panels within other panels to create more complex layout structures.
What happens when I add a new button?The new button is placed in the order according to the layout used.
Can I change the layout at runtime?Yes, you can change layouts at any time. Design the code so that you can adjust the new layouts during runtime.


