The implementation of a calculator in Java is an excellent exercise to learn basic programming concepts while also realizing a practical project. In this guide, you will go through the development of a graphical calculator step by step. It will explain the considerations made for structuring the class, how the layout is created, and how the logic for the calculations works.
You should already have some basic knowledge of Java before starting this project – this significantly increases your learning success.
Key Insights
- The calculator is implemented with a grid layout, making the arrangement of buttons and input fields easier.
- A single class is used to reduce complexity and keep the code organized.
- Handling ActionListeners enables the interactivity of the program and the execution of calculations.
Step-by-Step Guide
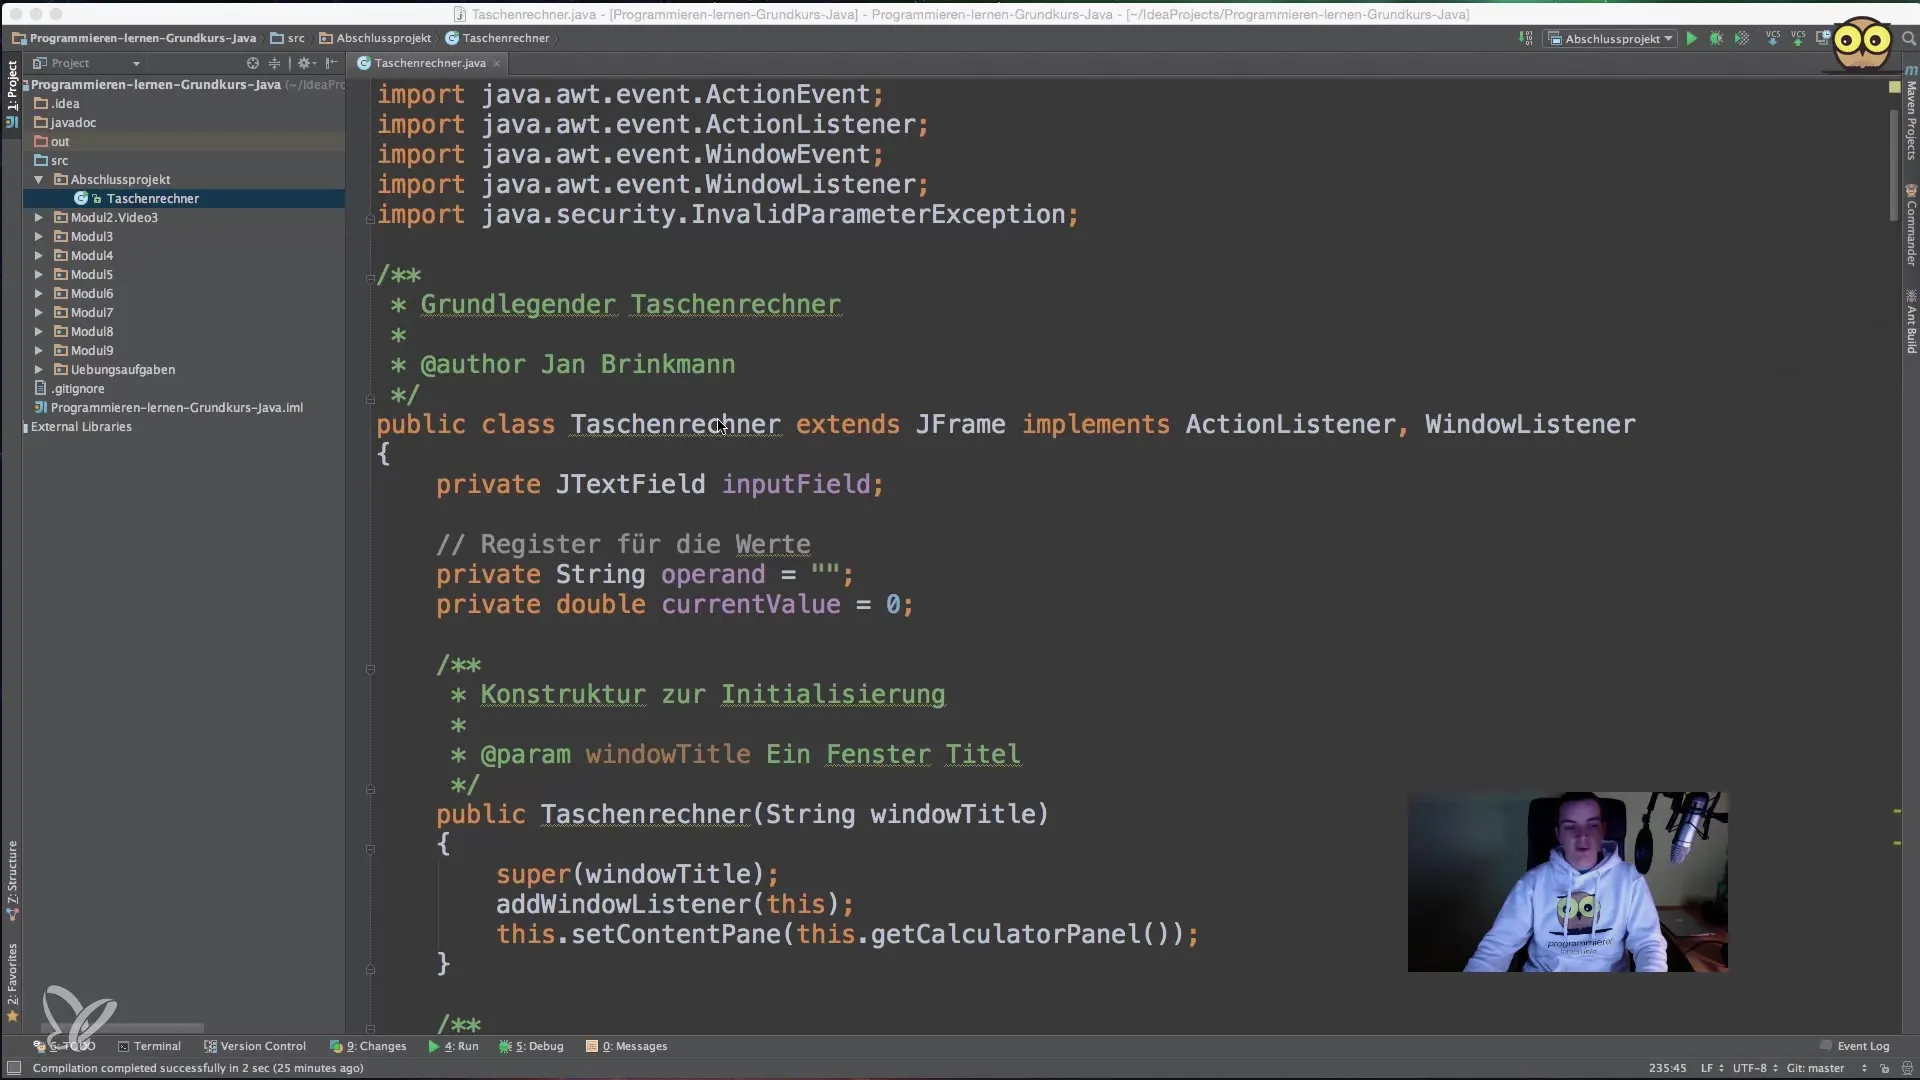
First, let's look at the foundation of our application. The calculator will run on a JFrame and can then be extended in its functionality. The class we create inherits from JFrame and contains all the elements we need.
Step 1: The Main Method and the Constructor
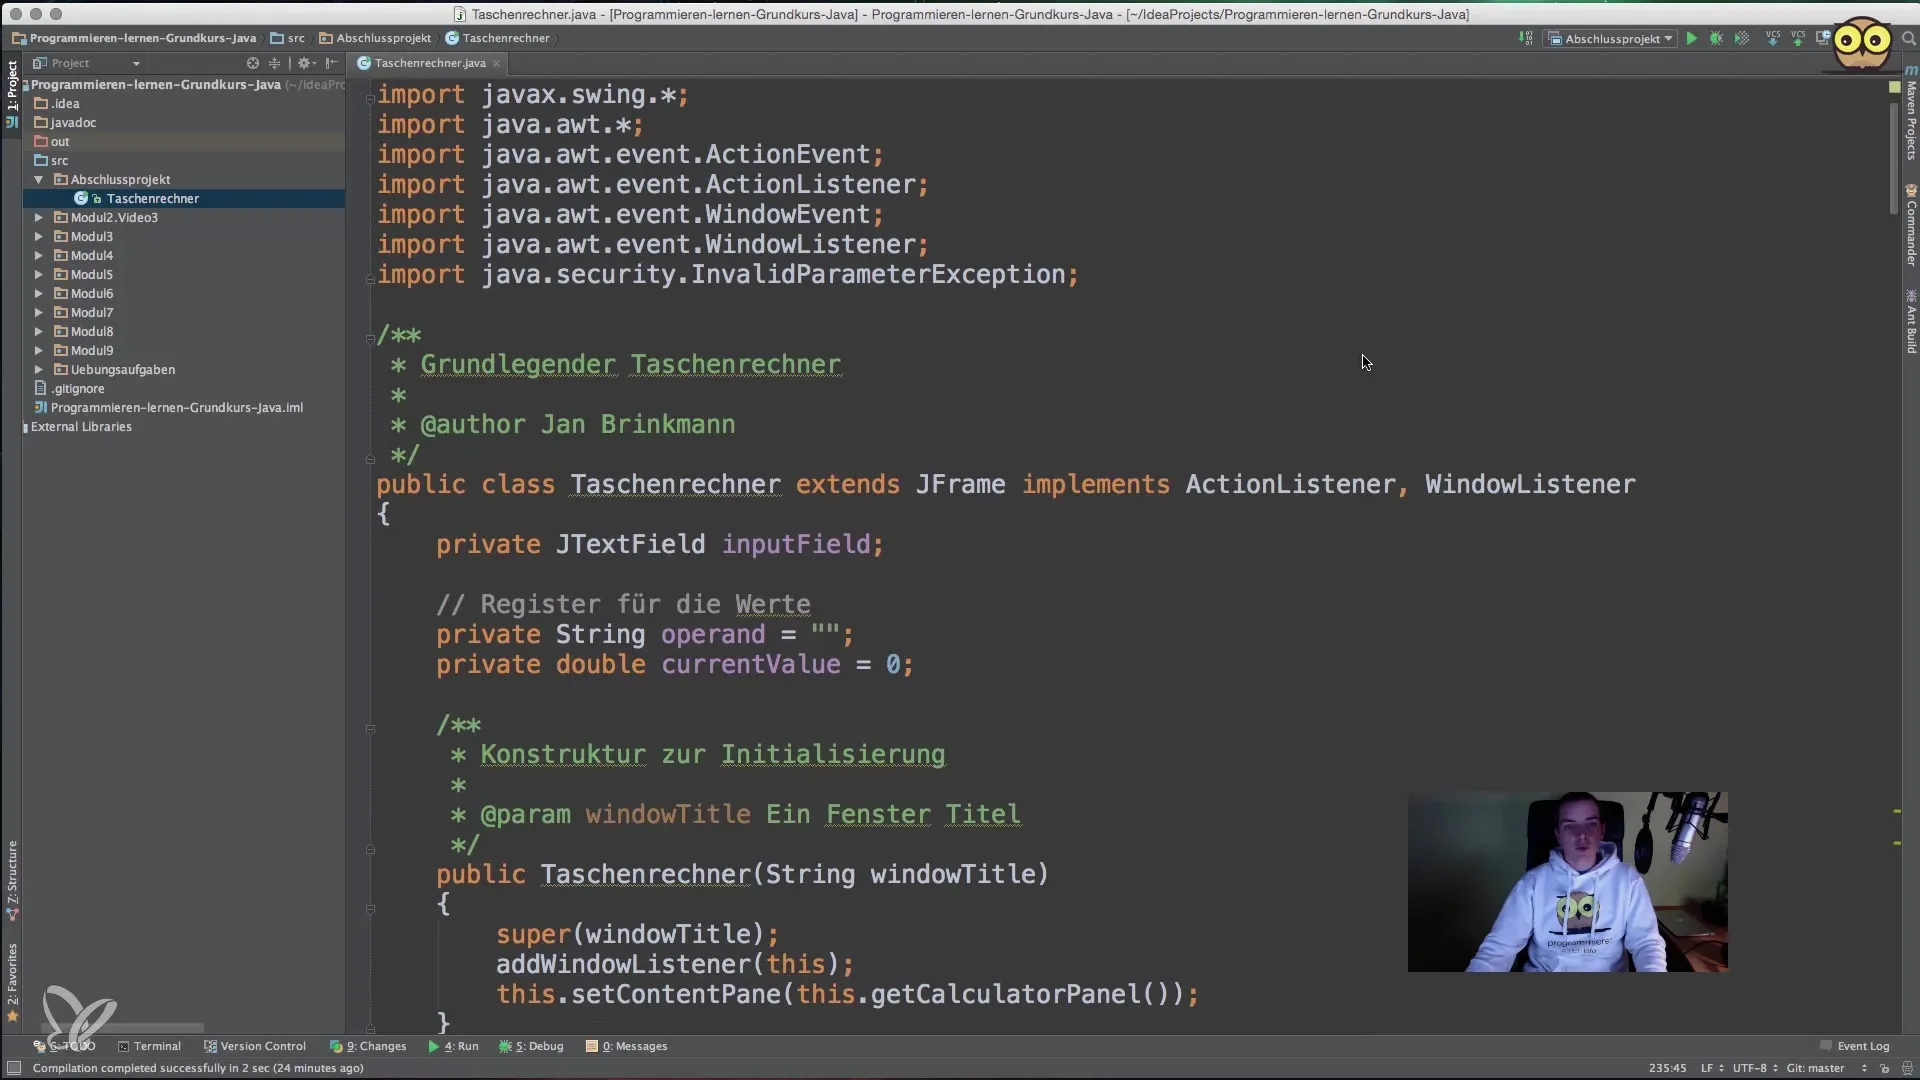
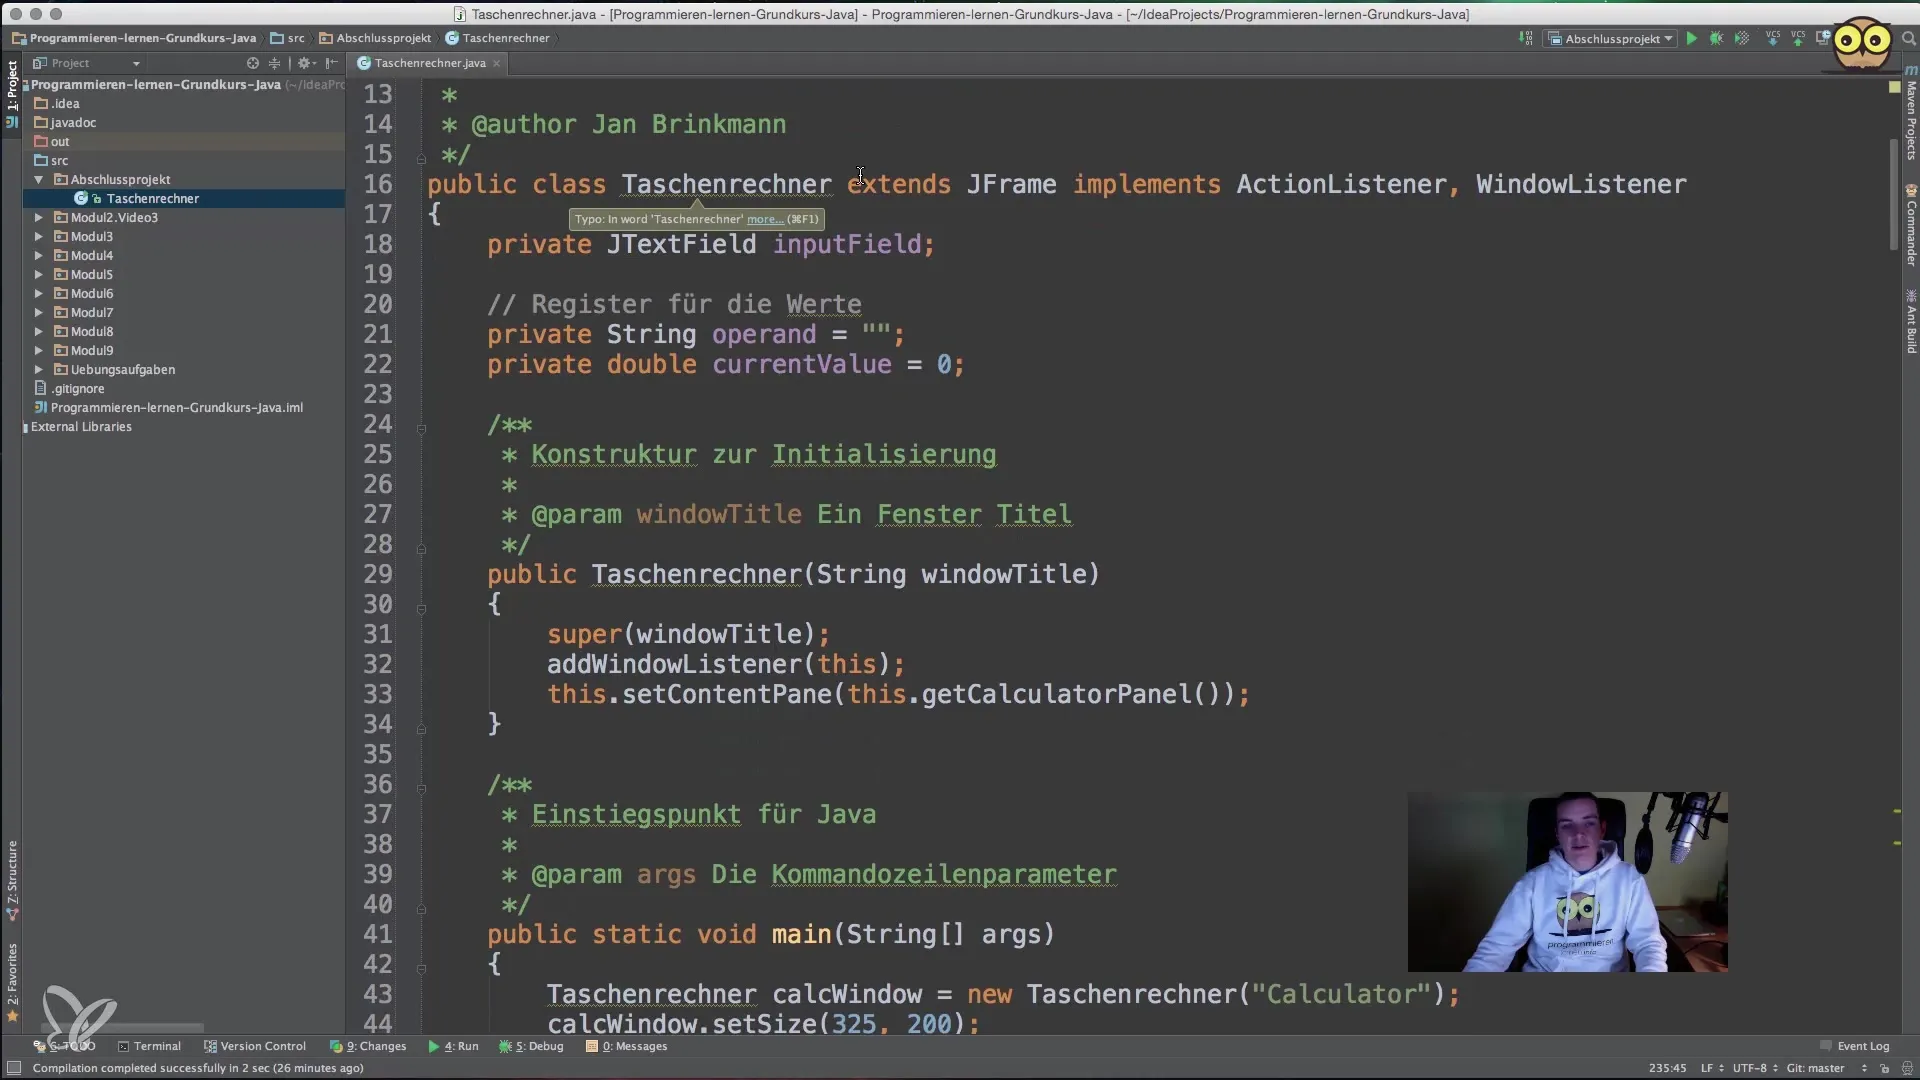
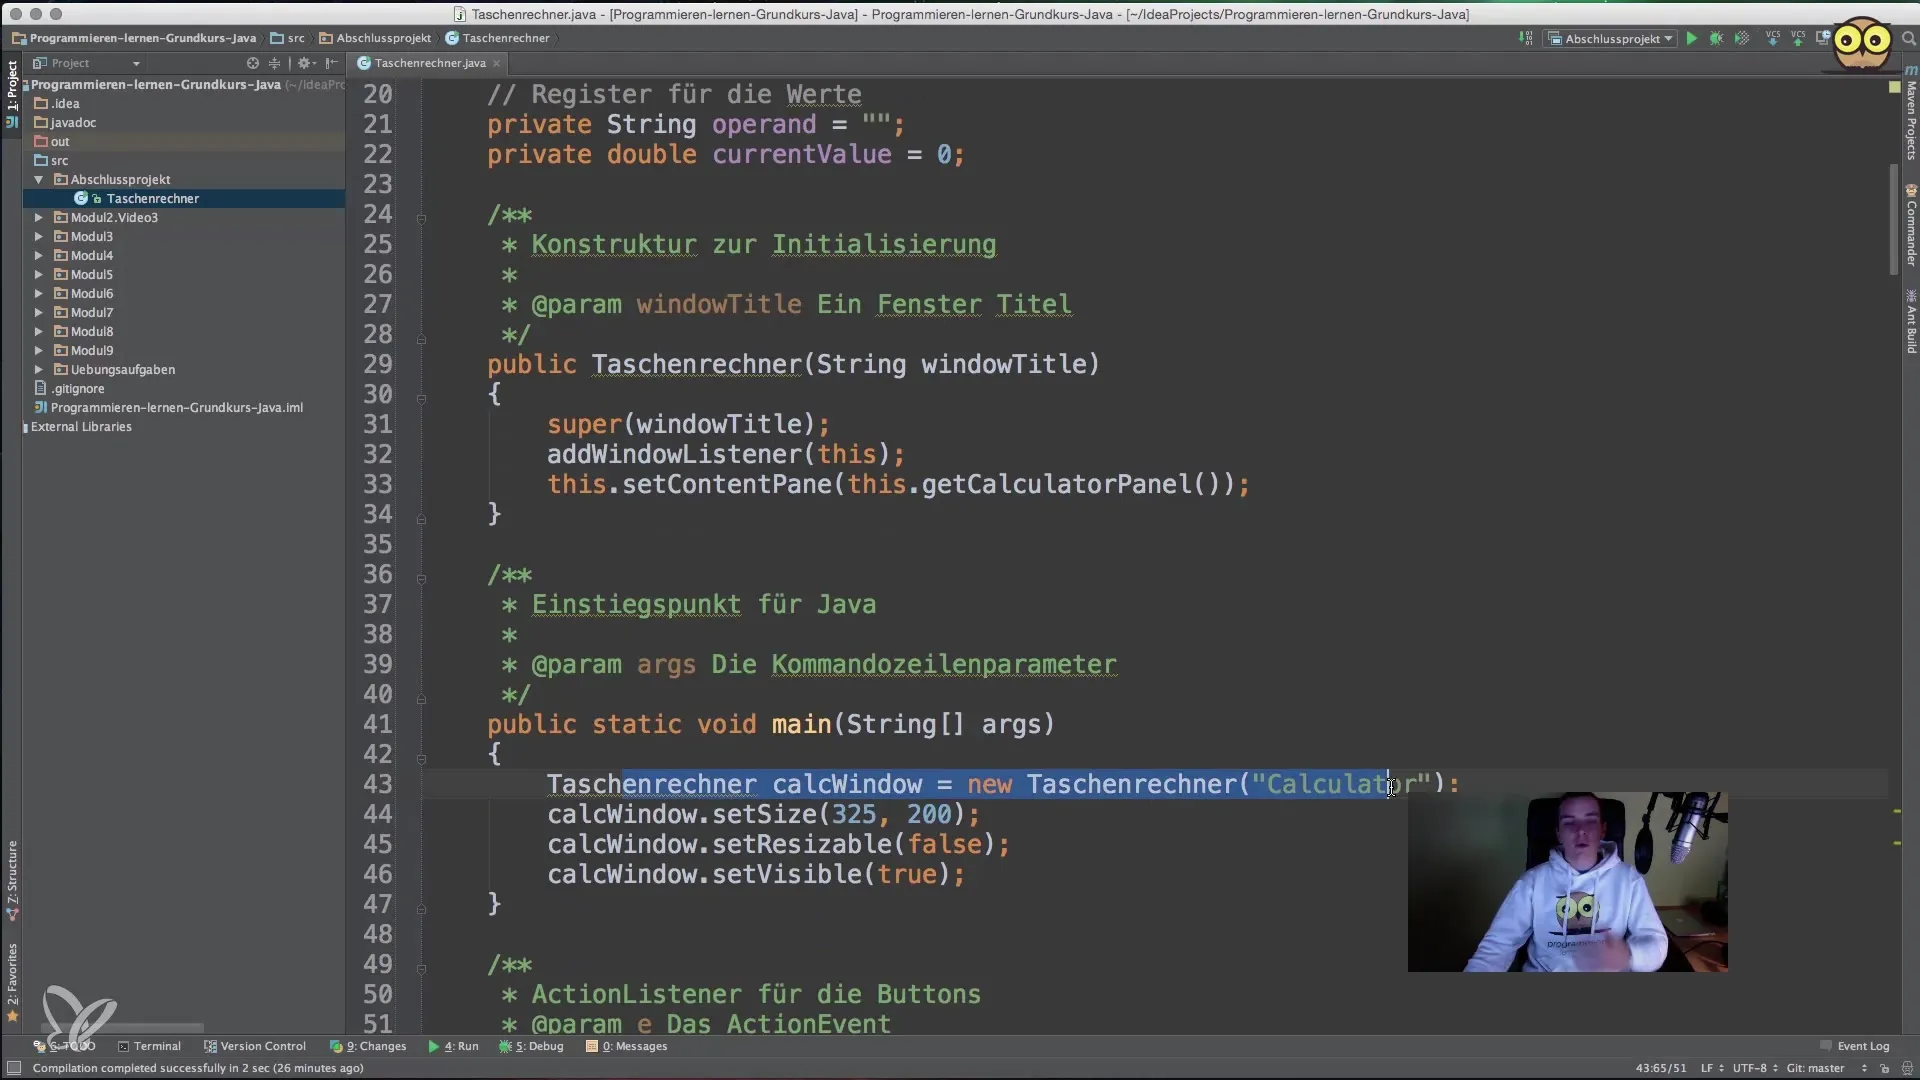
The main method is the entry point of your application. It creates an instance of the calculator class, sets the size, and makes the window visible. The constructor will set the window title and initialize the layout.
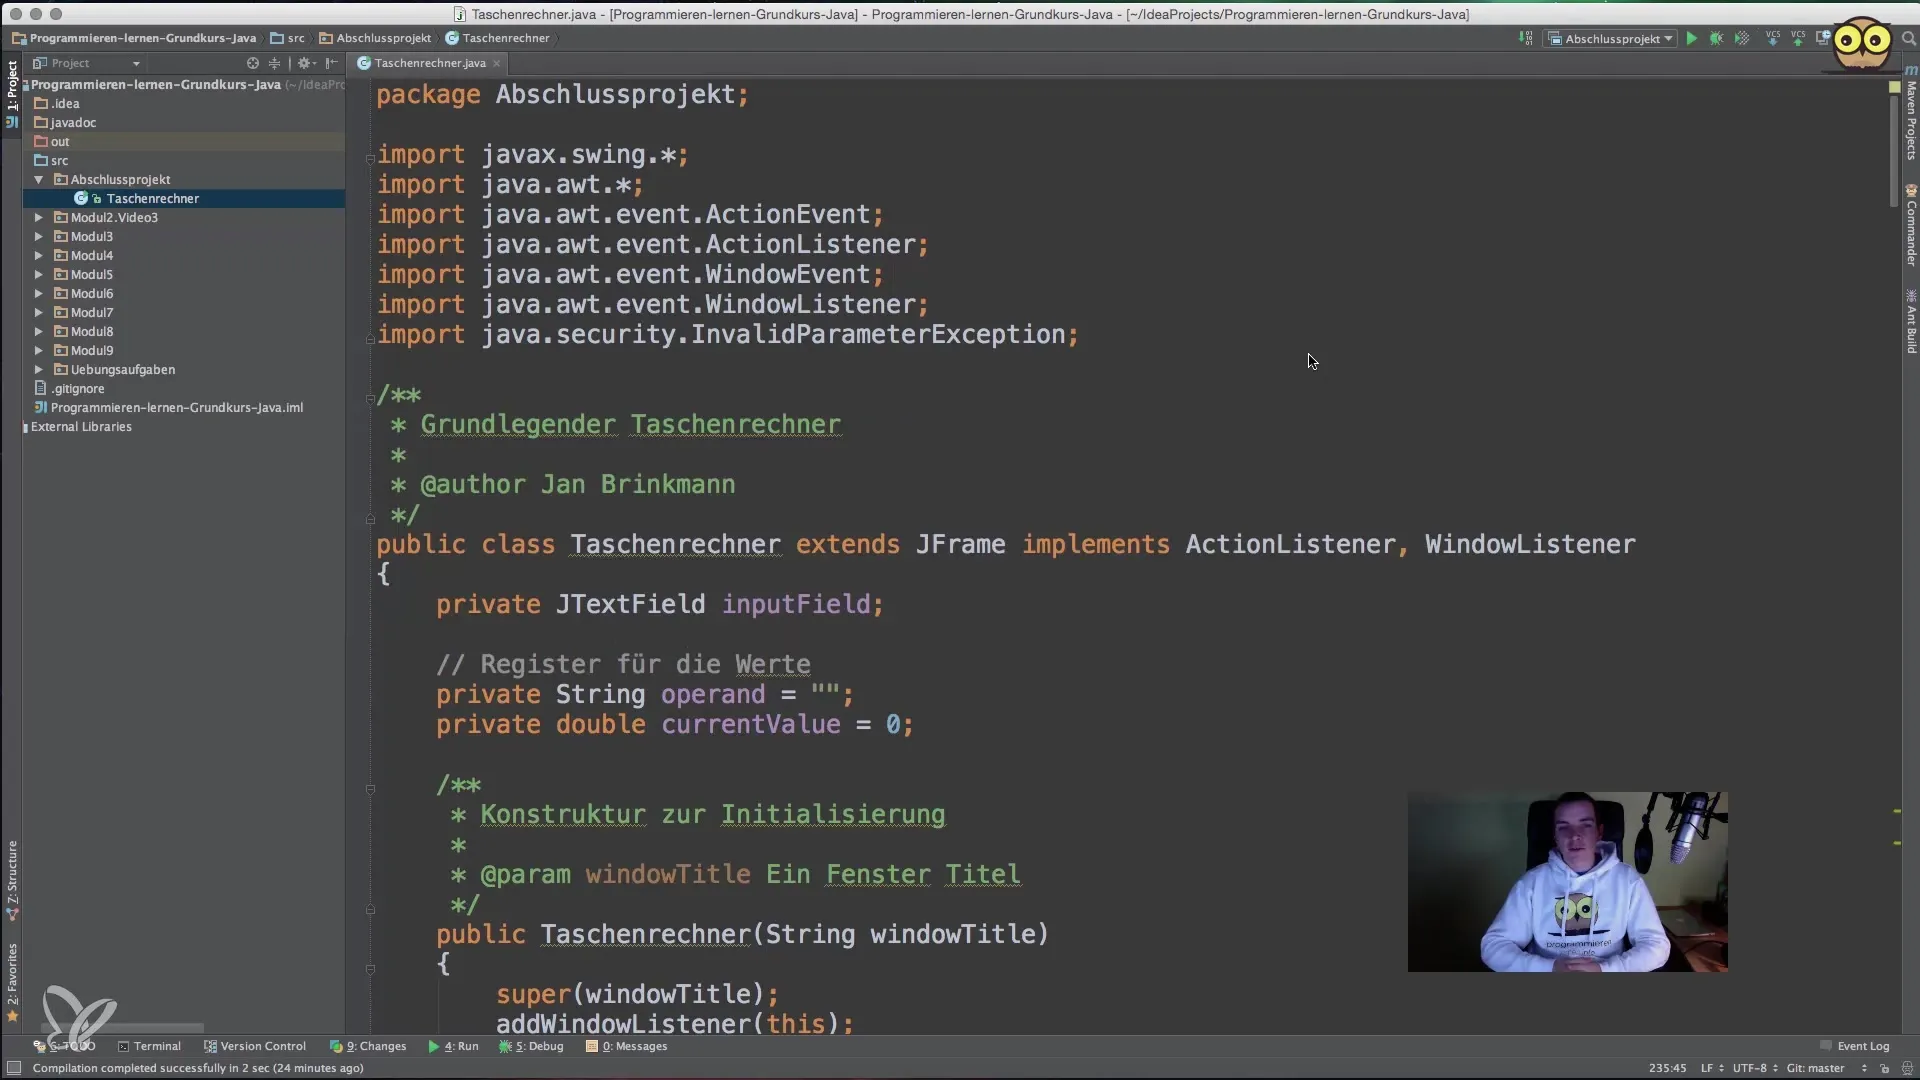
In the constructor, you set the window size to 325 x 200 pixels. To ensure that the layout does not get messed up when the window size changes, you should use setResizable(false). This keeps the layout stable, regardless of how the user adjusts the window.
Step 2: Creating the Layout
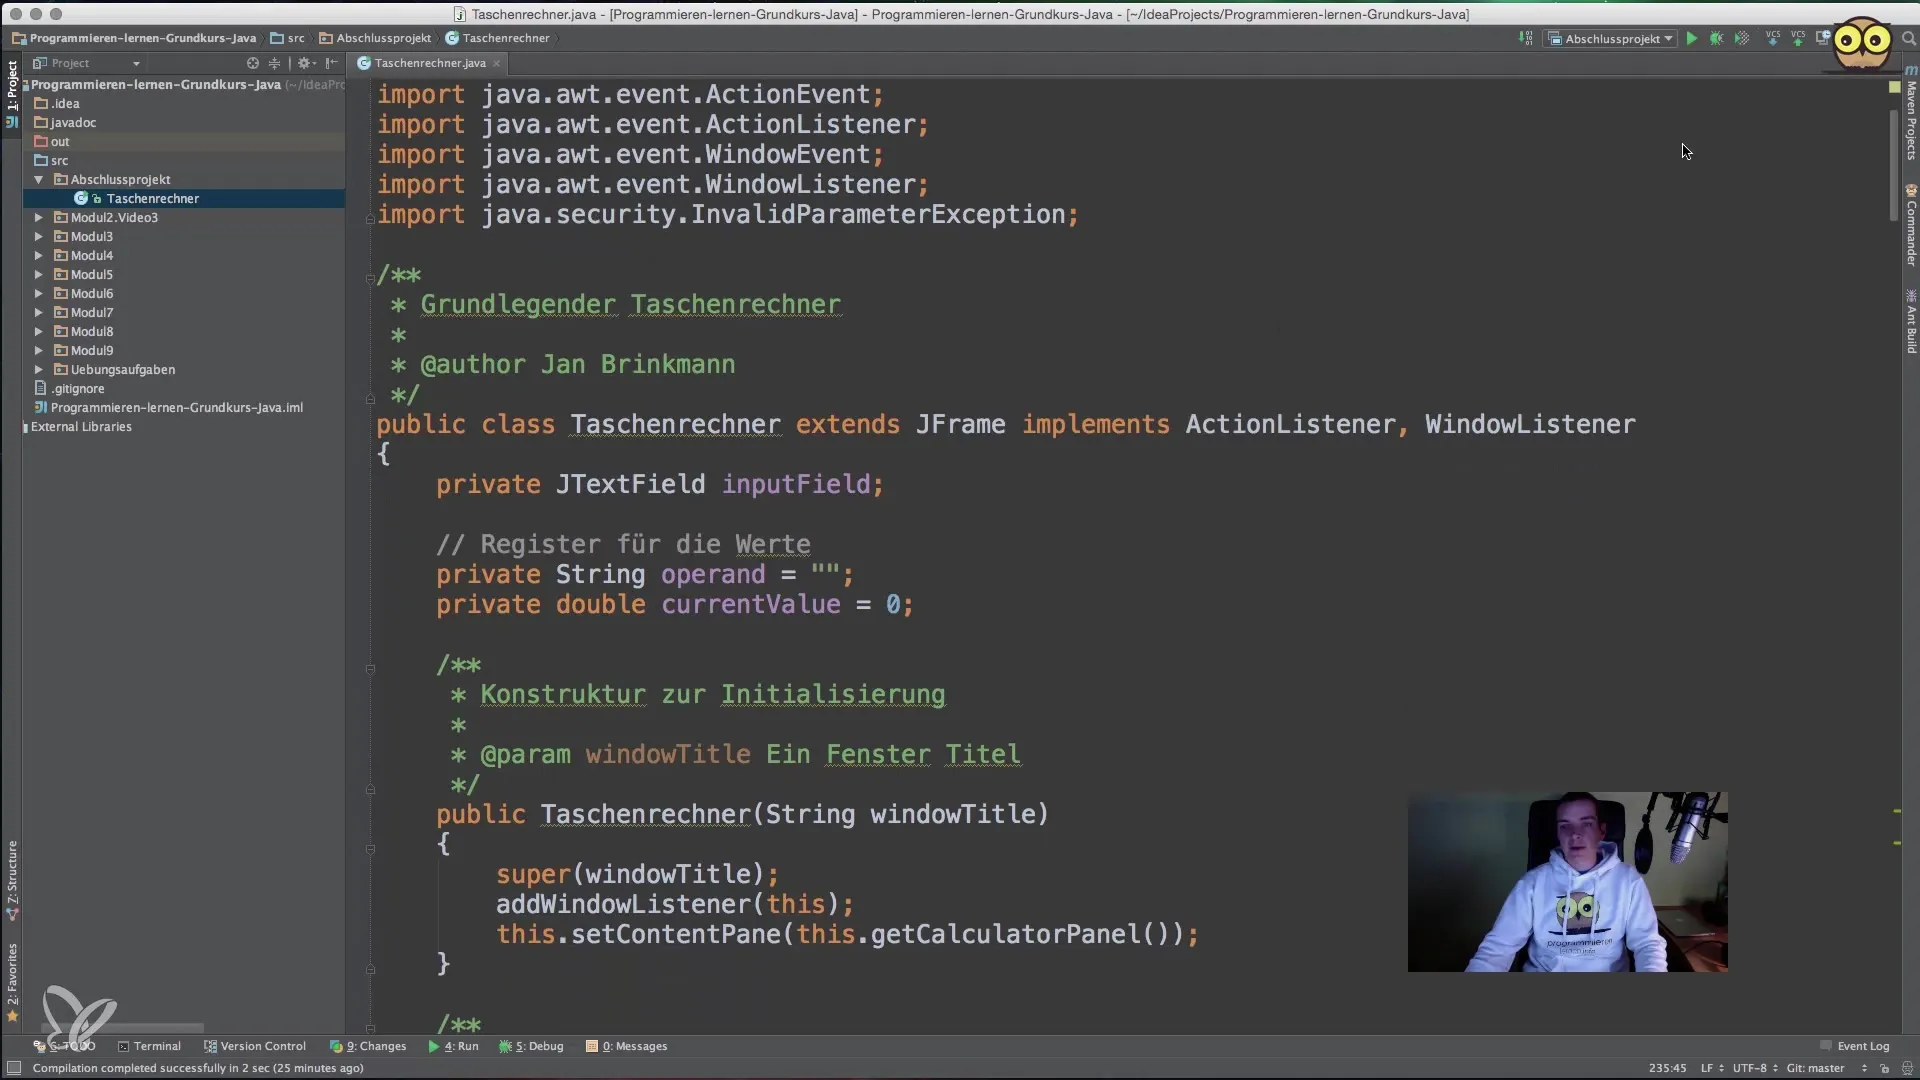
For the layout, we will use a GridLayout. This allows you to arrange the buttons and input fields in a clear grid. You create a JPanel that will use the grid layout. Here, you define five rows and one column.
In the next step, you will add the top part of your panel, where the input field and the "Clear" button will be placed. This is achieved through a separate method, getInputPanel().
Step 3: Creating the Buttons
In addition to the input fields, we will add several buttons for the different numeric inputs and basic arithmetic operations. To avoid repeating code, you will create a generic method getRowPanel(). This method will be used to create the buttons for each row and attach them to the main panel.
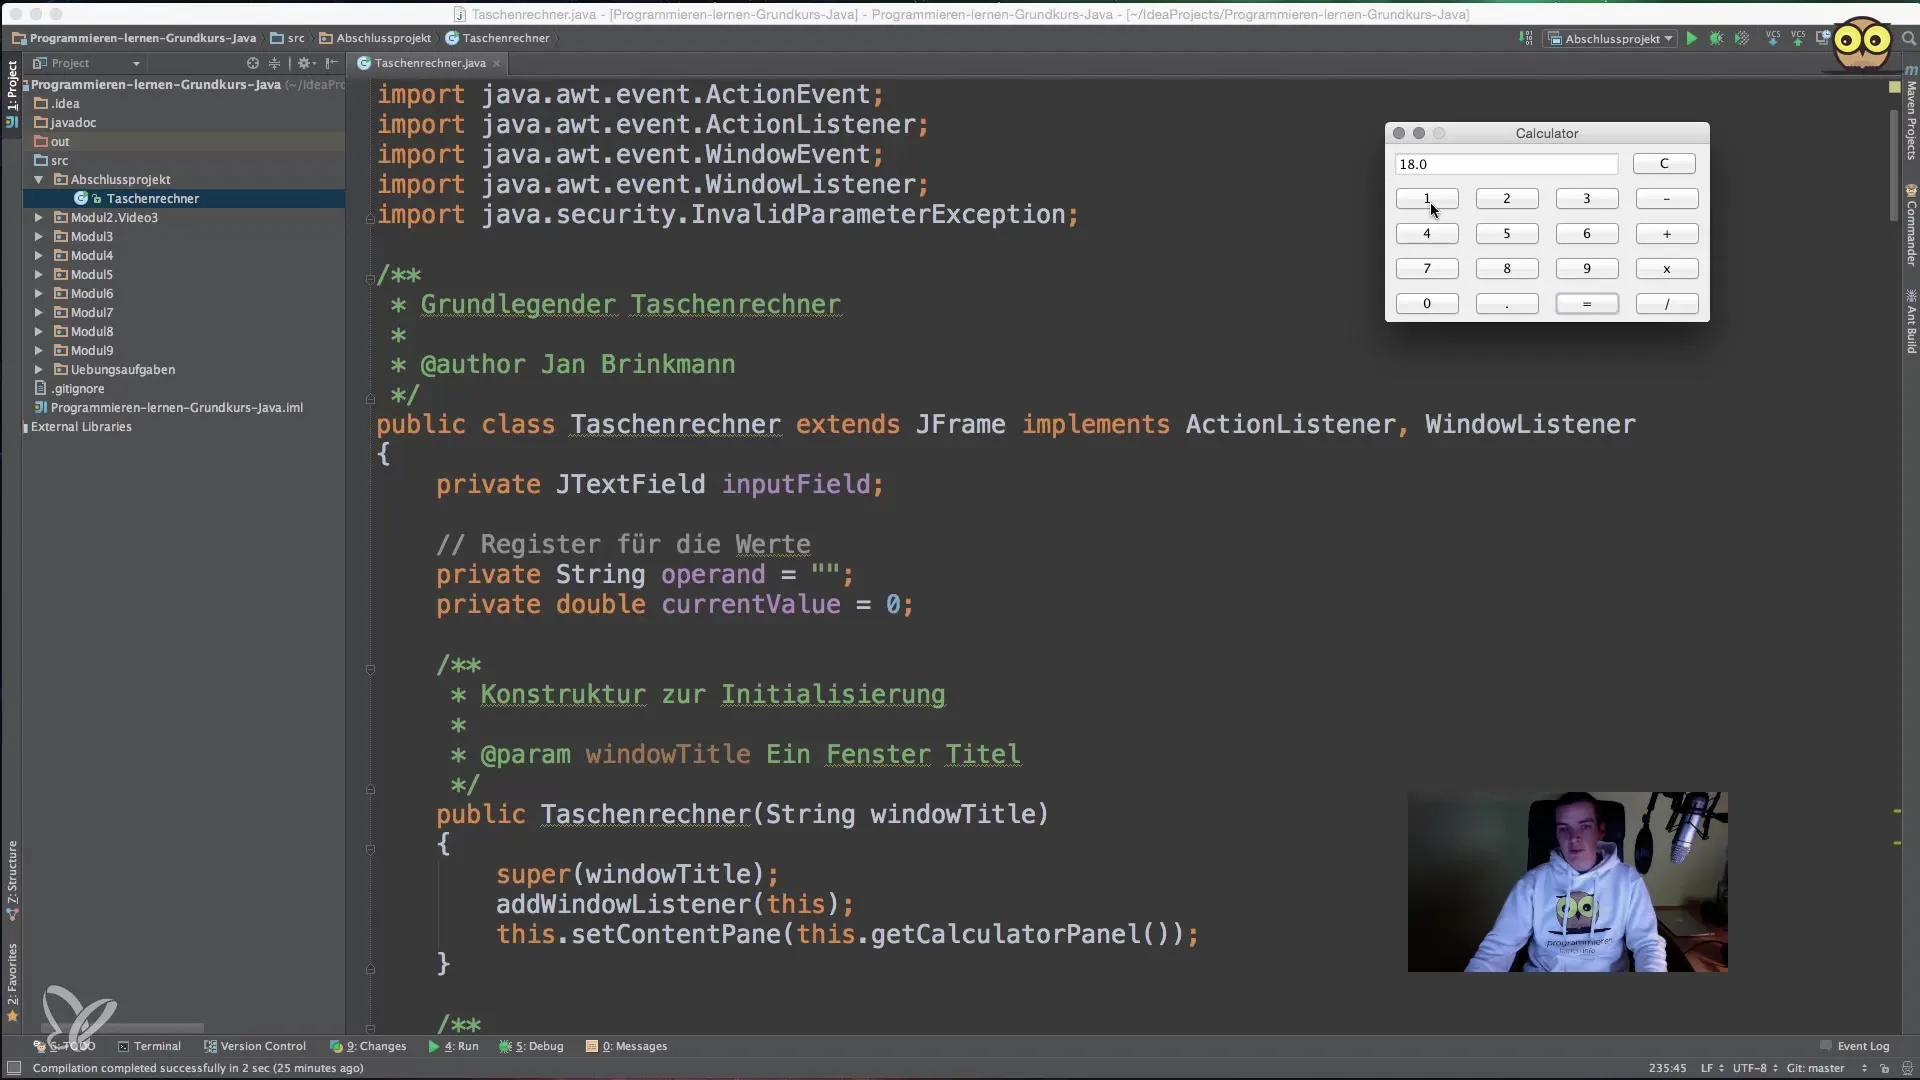
You will define an array that contains the button labels, e.g., {1, 2, 3}, and pass it to getRowPanel(). Using a loop, you will add each button to the panel and equip it with an ActionListener that calls the action method you created.
Step 4: Implementing the ActionListener
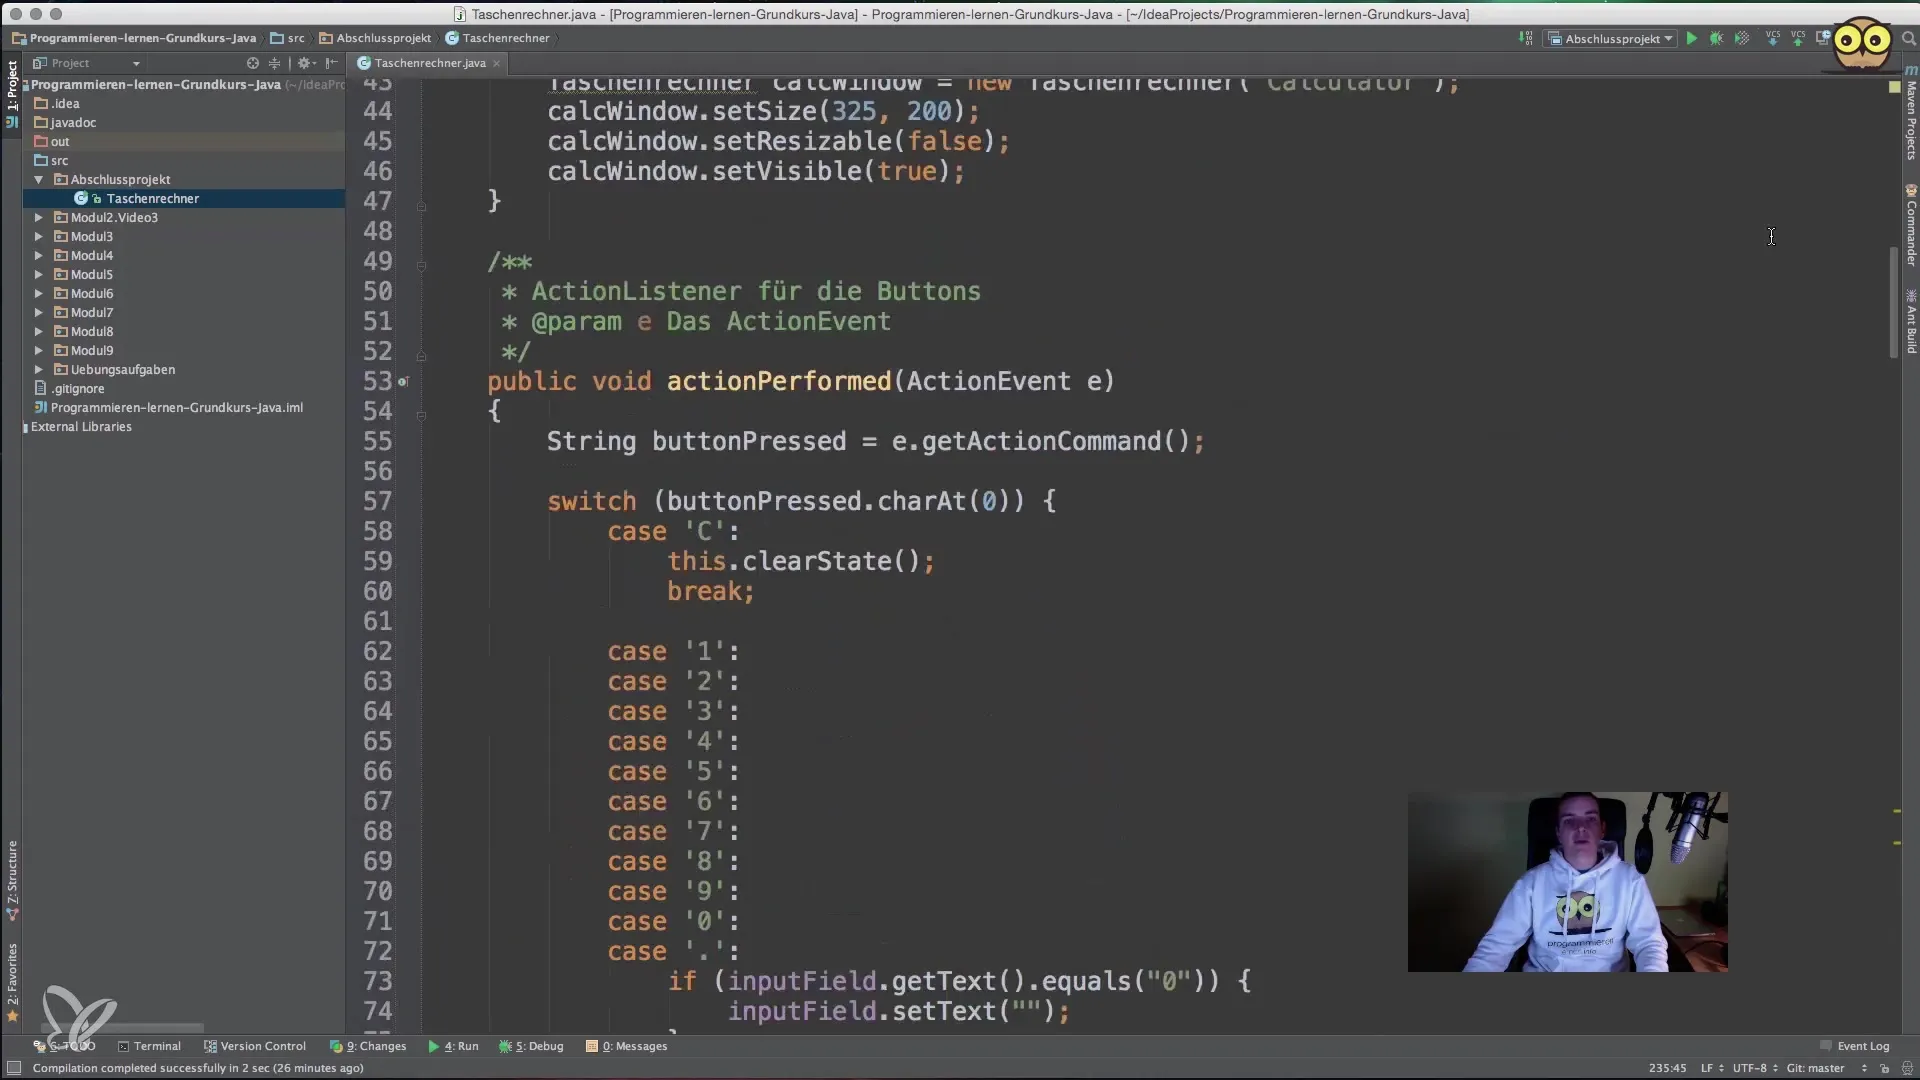
Implementing the ActionListener is crucial for the interactivity of your calculator. When a button is pressed, the ActionListener method, where you work with actionPerformed(), retrieves the text of the button and determines which calculation to perform.
It is also important to keep track of the state of the program, especially in case the user performs a mathematical operation. Some helper variables, like currentOperation, will help you track the user's current intent.
Step 5: The Calculation Logic
The core logic of the calculator takes place in the method calculate(). Here, it is determined what needs to happen with the entered values (addition, subtraction, etc.). When clicking "Equals" or an operation, you need to know which operand was set last. Since the calculation is based on previous values, it is essential to manage the state between user inputs.
The switch statement in calculate() checks the currentOperation variable and performs the corresponding calculation. For example, if the user enters "5 + 5" and presses "Equals," the result of "10" will be displayed in the input field.
Step 6: The "Clear" Feature
The clear button must also be functional and reset the current value and operations. In the clearState() method call, you reset all values to zero and ensure that the input field is cleared.
Through these steps, you have now created a simple, functional calculator that performs basic mathematical operations. As you move forward, you can further customize the project by adding additional features such as the ability to handle decimal numbers or advanced mathematical operations.
Summary – Java for Beginners: Guide to Creating a Calculator
You have learned how to implement a graphical calculator in Java. You created the structure of the application, designed the user interface, and implemented all necessary functions to perform calculations. With this knowledge, you are now capable of realizing more complex Java projects.
Frequently Asked Questions
How do I add buttons to my JFrame?Buttons are added to a JPanel with a GridLayout, which is then attached to the JFrame's content pane.
How can I add ActionListeners to my buttons?In the constructor or when initializing the buttons, you can use addActionListener() to link the desired method.
What do I do if I have an error in the code?Use the debugger to step through your code and identify errors. Also, check for possible typos or logical mistakes in your conditions.
How can I expand my calculator?You can introduce functions like decimal numbers, add more mathematical operations, or customize the user interface to create more clarity.


