Congratulations on your progress so far in the Java programming world! You have made it to this point, and that is an excellent achievement. The next step on your journey is the final project, where you will independently program a calculator. In this guide, you will find the necessary steps to successfully achieve your goal.
Key Insights
- You will create a simple calculator that handles the basic arithmetic operations.
- It is important to find the solution yourself to enable effective learning.
- Utilize the concepts you have already learned from the previous modules.
- Ensure to implement the logic cleanly in an ActionListener.
Step-by-Step Guide
1. Project Setup
Before you start programming, you should ensure that you have all the necessary tools and a suitable development environment. You can use an IDE like IntelliJ IDEA or Eclipse. Create a new Java project and set up a main class.

2. Framework and Layout
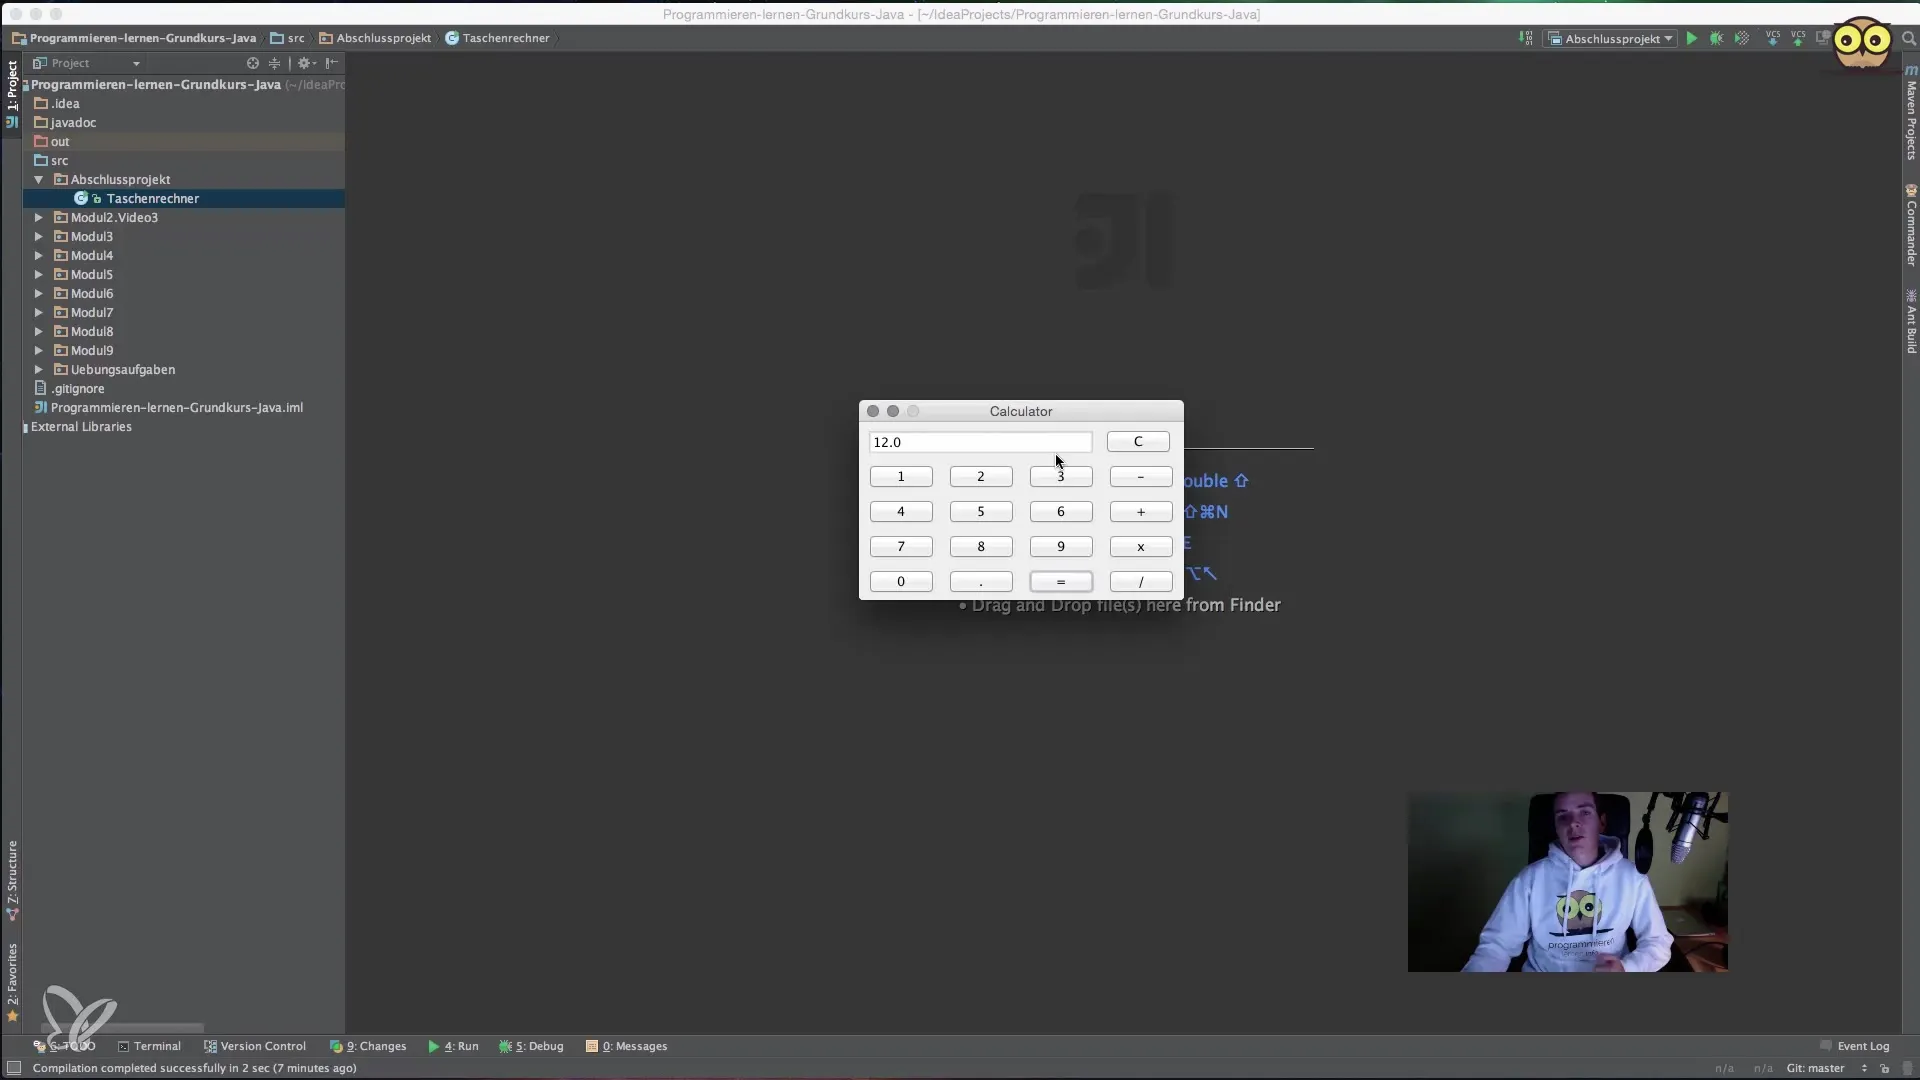
Begin by creating the user interface. Use a GridLayout to arrange the buttons of the calculator logically. You should include an input field for the results as well as buttons for the basic arithmetic operations (addition, subtraction, multiplication, division).

3. Input Field and Buttons
Use a JTextField to display the users' inputs. To avoid input errors, you can configure the input field to be non-editable. Also, include buttons for “Clear” (C) and the basic arithmetic operations.
4. Implementing ActionListener
Now comes the heart of your project: the ActionListener. This must respond to button clicks and perform the corresponding mathematical operations. Create helper variables to store intermediate values and manage the logic.
5. Calculation Logic
Here, it is important to keep a close eye on user actions. Store the last inputs and the operations performed. When the user presses “Equal” (=), the result should be calculated based on the entered values and the last operation. Implement conditional statements to determine the correct arithmetic operation.
6. Testing the Application
After you have created the basic framework of your calculator, you should test it. Click on the various buttons to ensure everything works as expected. Make sure to handle possible input errors correctly and that calculations are precise.
7. Improving Functionality
Once you have successfully implemented the basic functionality of your calculator, consider how you could further improve the program. Adding features such as the ability to perform multiple calculations in sequence or integrating error handling can make the calculator more user-friendly.
Summary – Creating a Calculator in Java
In this guide, you have walked through all the basic steps to create a simple calculator in Java. The programming is done step-by-step, from setting up the layout to implementing the logic and testing the application. It is important to be creative and develop your own solutions instead of relying too heavily on others' approaches.
Frequently Asked Questions
How can I make the input field read-only?You can make the input field read-only by using the method setEditable(false).
Which classes do I need for the calculator?You primarily need JFrame, JButton, JTextField, and ActionListener.
How do I store the last inputs?Use one or more helper variables in your class to store the last values and operations.
What should I do if I make a mistake?Make sure to check and handle all inputs to avoid possible errors before you perform the calculations.


