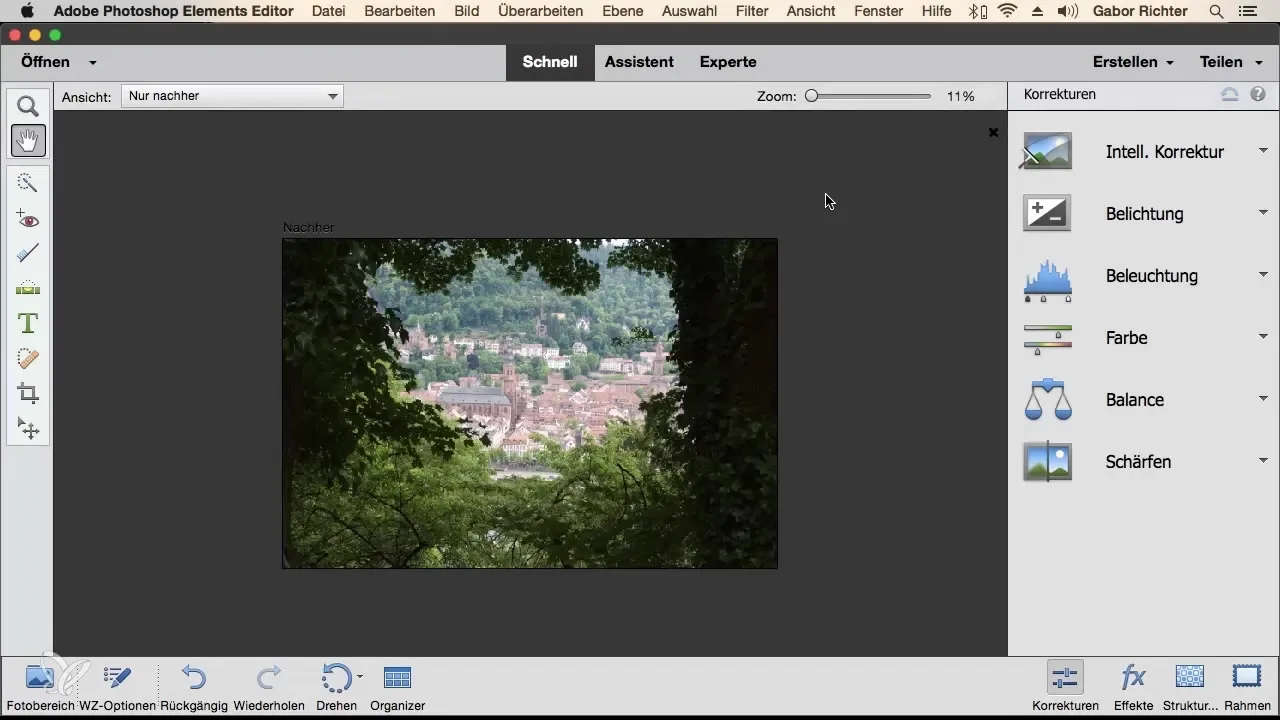
When you open Photoshop Elements for the first time, you will be faced with a unique user interface that depends on the chosen mode. Each of the three work environments offered provides its own collection of tools and features. This guide will help you understand the different modes and find out which one is best suited to your needs.
Main Findings Photoshop Elements offers three main work modes: the Quick Mode, the Assistant Mode, and the Expert Mode. Each mode has its own strengths and is tailored to different users. The Quick Mode is ideal for quick adjustments, while the Expert Mode is best suited for detailed edits.
Step-by-Step Guide
1. Using Quick Mode
In Quick Mode, you have the option to quickly correct your image. Here, you have access to some basic tools to make adjustments. For example, you can select the smart correction, which automatically suggests adjustments for exposure, color, and sharpness. When you open an image, you will immediately be presented with these options.

2. Smart Corrections
When you activate the smart correction, Photoshop Elements shows you several automatically generated adjustment options. You can browse through the individual suggestions and select the ones you like best. For example, you can adjust the exposure to correct overly bright or dark images.
3. Using the Assistant
The Assistant in Photoshop Elements helps you quickly solve common problems. It offers suggestions for color correction, creative editing, and more. For example, if you have difficulty with skin tones in a portrait photo, the Assistant will show you exactly which tools you should use to fix the issue. This makes working much easier, especially if you are unsure which adjustments are needed.

4. Applying Effects
If you are looking for creative freedom, you can also apply effects to your image. In Quick Mode, you will find templates for various styles, such as the "vintage effect." Again, there is a comparison of "Before" and "After" so you can see the changes directly.

5. Switching to Expert Mode
The Expert Mode is for anyone who desires deeper control over their images. You have access to all tools here. You can work non-destructively by using layers. This allows you to make various adjustments without altering the original file. Start with basic adjustments and work your way to more detailed features.
6. Full Control in Expert Mode
In Expert Mode, you have full control over all features of Photoshop Elements. You can understand the layer structure, which allows you to work more precisely. Once you are familiar with these tools, you will quickly understand how to shape your image according to your desires. The Expert Mode is exceptionally powerful and should be your first choice for demanding edits.

7. Switching Between Modes
The beauty of Photoshop Elements is the flexibility to switch between modes. If you just want to quickly correct an image, use Quick Mode. For more complex edits, you can simply switch to Expert Mode. The ability to switch depending on your needs gives you the freedom to make the best use of the software.
Summary - Efficiently Using Work Mode in Photoshop Elements
In this guide, you have learned about the work modes offered by Photoshop Elements and how to use them effectively. From quick corrections in Quick Mode to detailed adjustments in Expert Mode – you are now ready to edit your images professionally.
Frequently Asked Questions
What are the three work modes in Photoshop Elements?The three work modes are Quick Mode, Assistant Mode, and Expert Mode.
Who is the Quick Mode suitable for?The Quick Mode is ideal for users who want to make quick adjustments without needing in-depth expertise.
What can I do in Expert Mode?In Expert Mode, you can utilize all functions of Photoshop Elements, including working with layers and non-destructive adjustments.
How do I switch between work modes?You can switch between modes at any time, depending on your current needs and requirements for image editing.


