The use of vector graphics allows you creative freedom that goes beyond simple image editing processes. In Photoshop Elements, you will find a variety of tools for creating and editing shapes that help you bring your individual design ideas to life. Whether for flyers, business cards, or posters – vector graphics are versatile and allow you to bring your creative visions to life.
Key Insights
- Photoshop Elements offers a variety of tools for creating and editing vector graphics.
- By modifying the shapes, you achieve unique designs.
- Moving and adjusting graphic elements is made easier with the proper use of layers.
Step-by-Step Guide
Creating and Adjusting Shapes
To work with vector graphics, first start Photoshop Elements and select the shape tool. The ability to create rectangles, circles, polygons, and stars opens up a spectrum of design possibilities.
Creating and Coloring a Rectangle
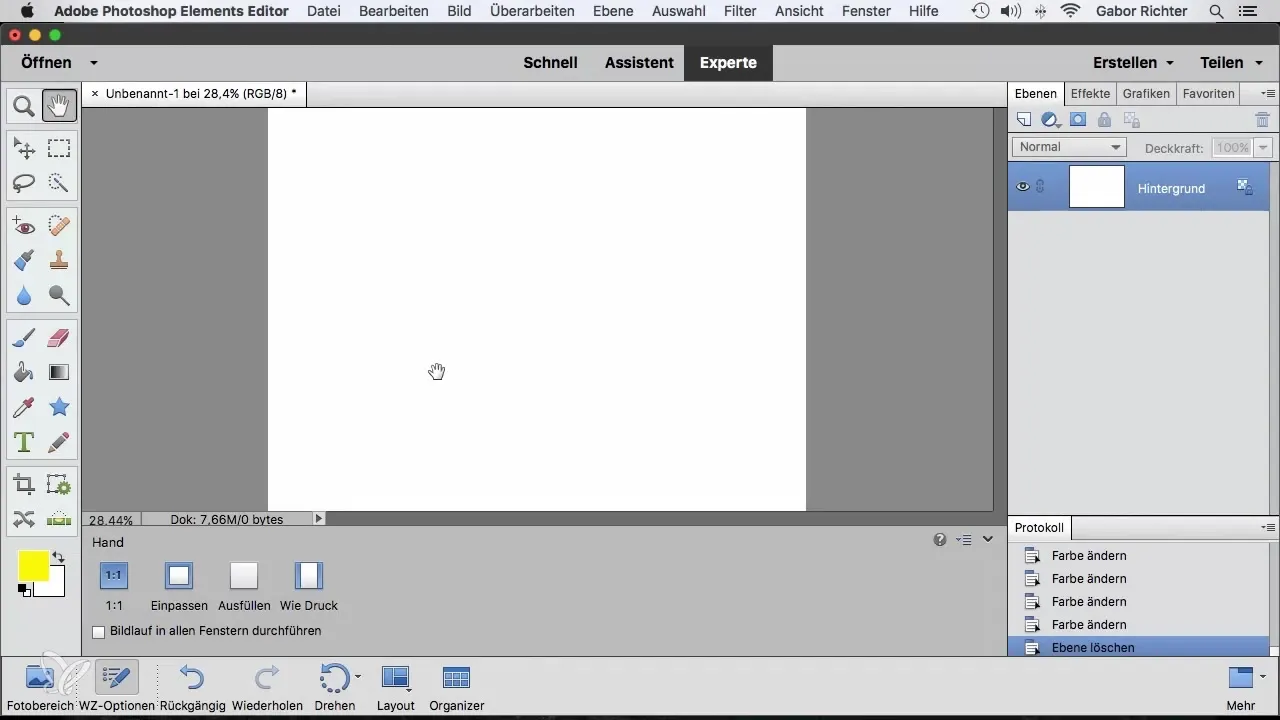
Draw your first rectangle on the canvas and observe how a standard color is automatically assigned. You can either change the color directly in the tools area below or by double-clicking on the layer at the top in the layers area to select a new color.
Making Color Changes
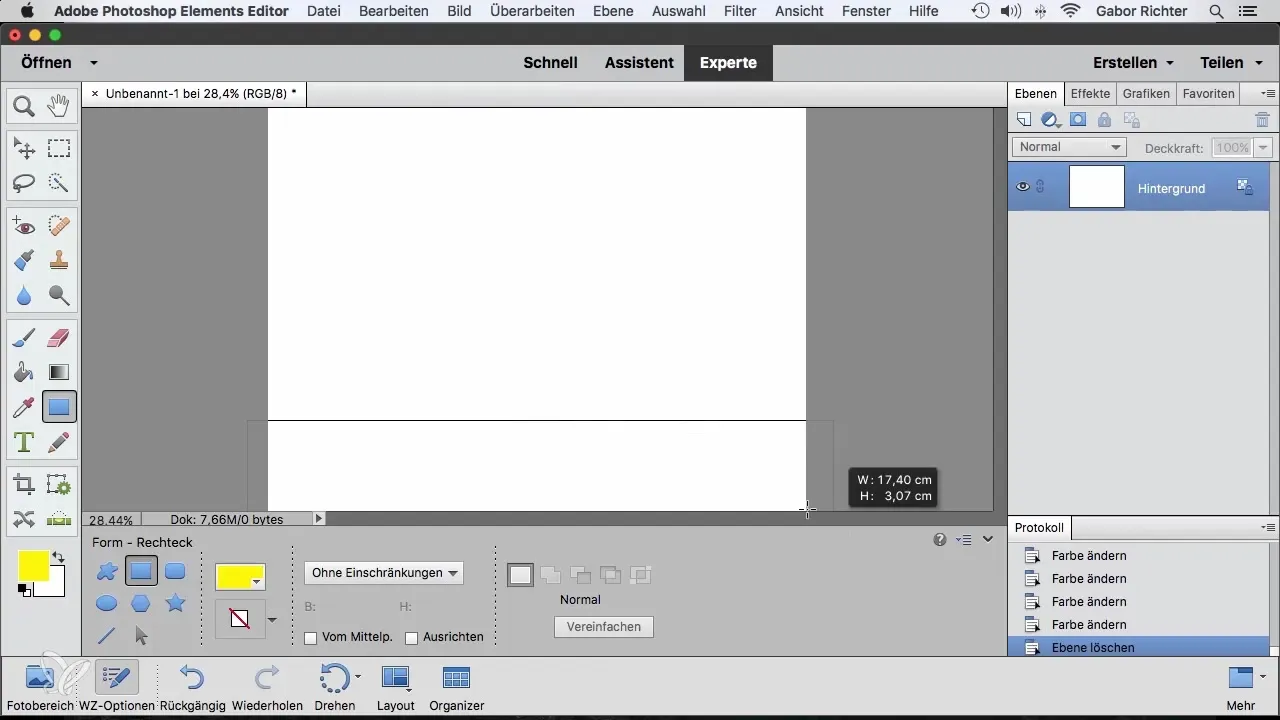
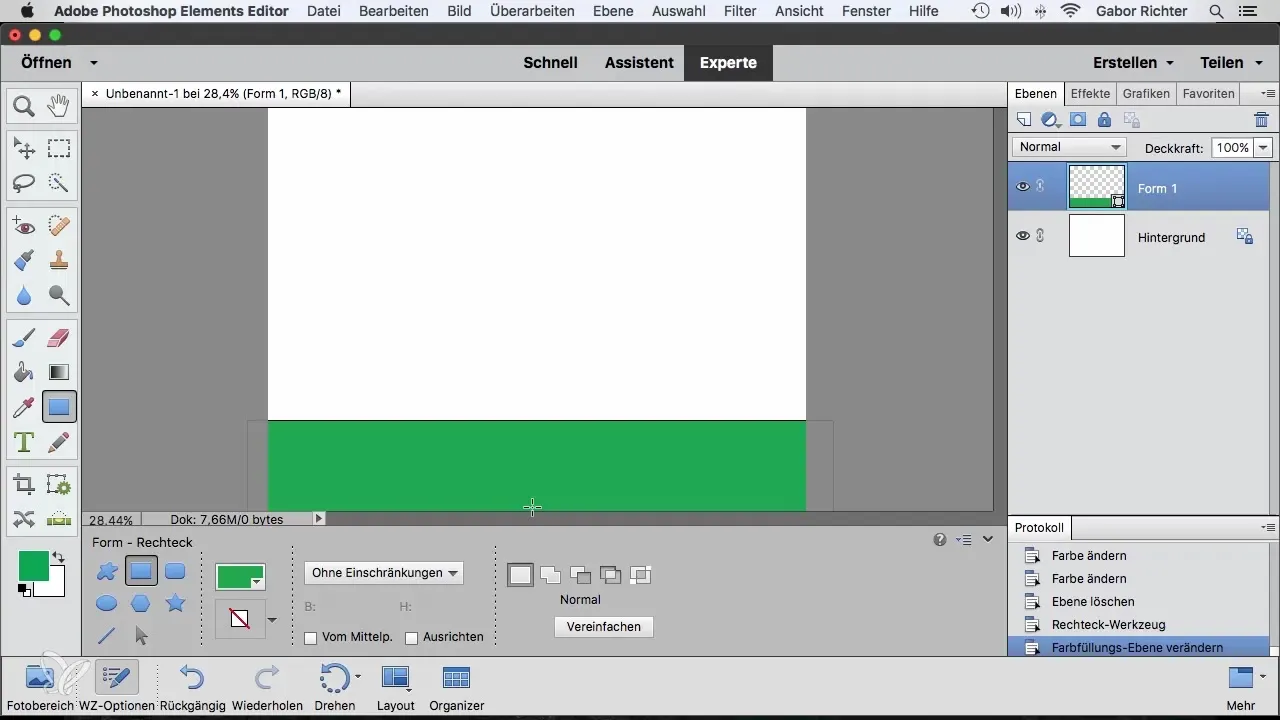
If you don't like the default color, simply click on the color selection and choose your favorite. I chose a nice green that fits well with the image concept that I will present to you shortly.
Designing the Sky and Field
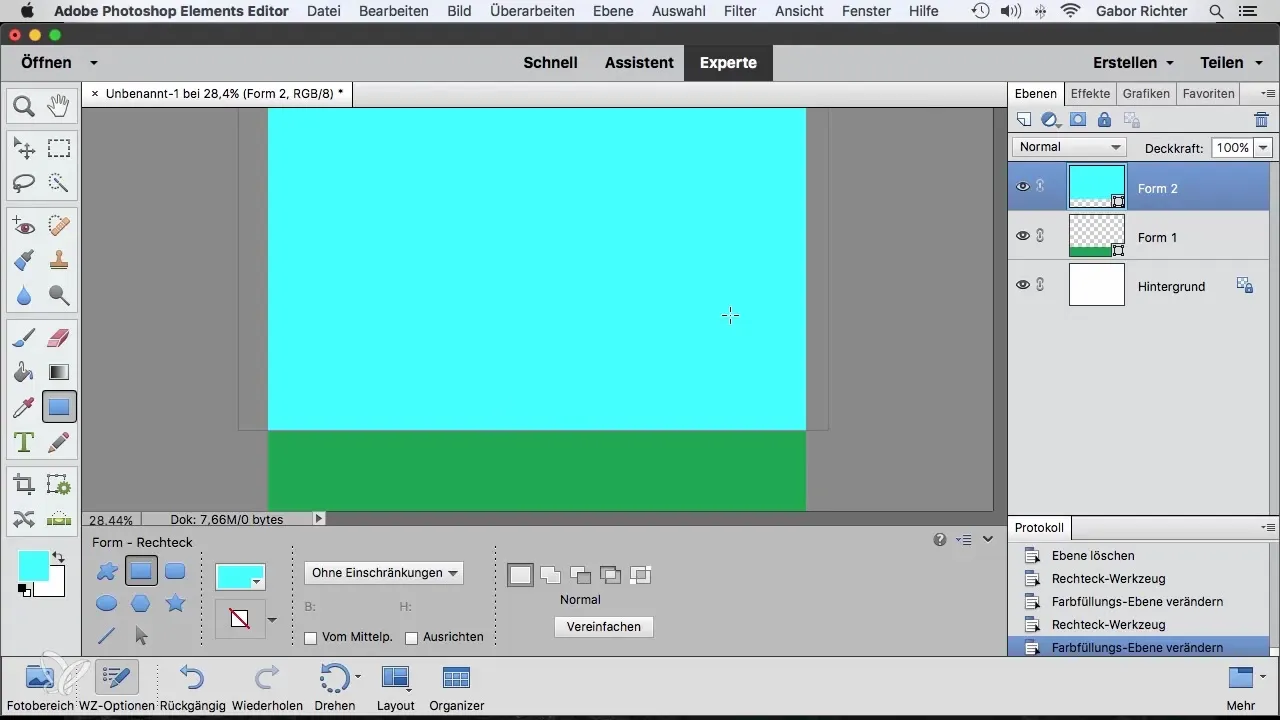
Now create a second rectangle that is positioned above the first. Change the color to a light blue to create a heavenly atmosphere. You can adjust the color as desired to achieve the desired mood.
Creating a Circle
To create a circle, draw a rectangle while holding down the Shift key. This ensures that the circle maintains the correct proportions and does not become an ellipse.
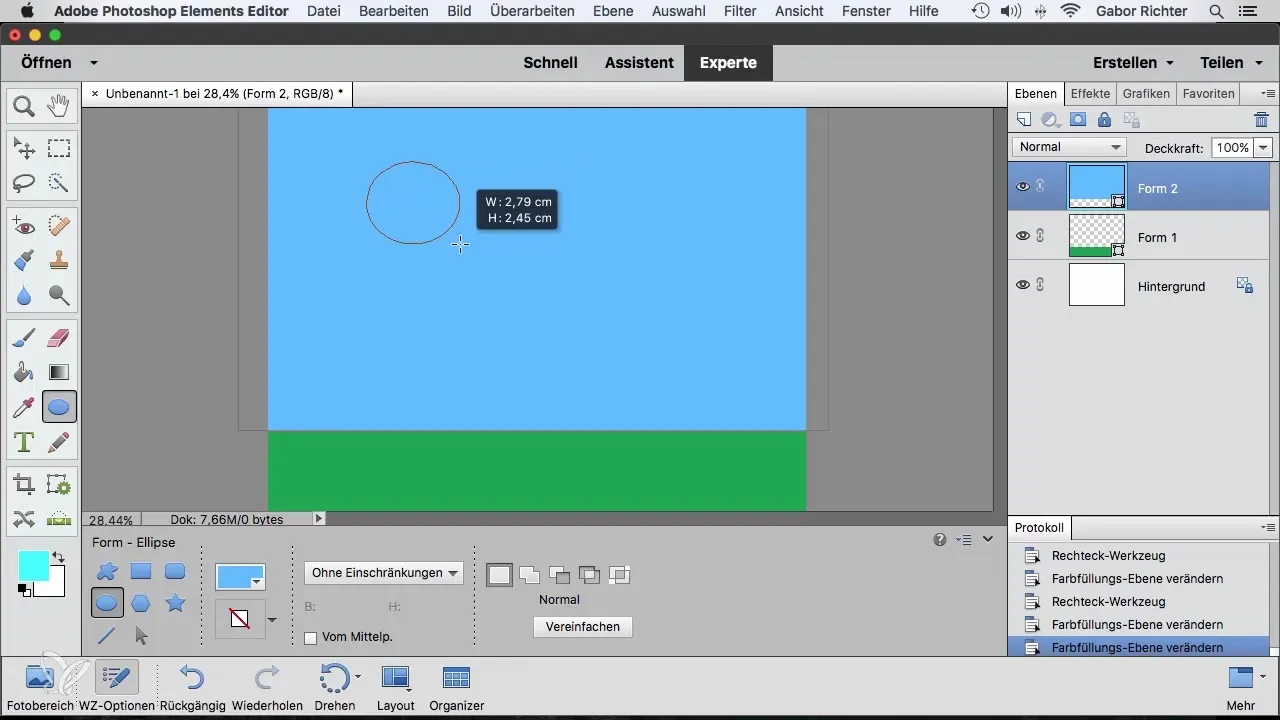
Coloring and Positioning the Circle
After drawing the circle, you need to adjust the color. Choose a light yellow tone to represent the sun. Then use the move tool to position the sun where you want it.
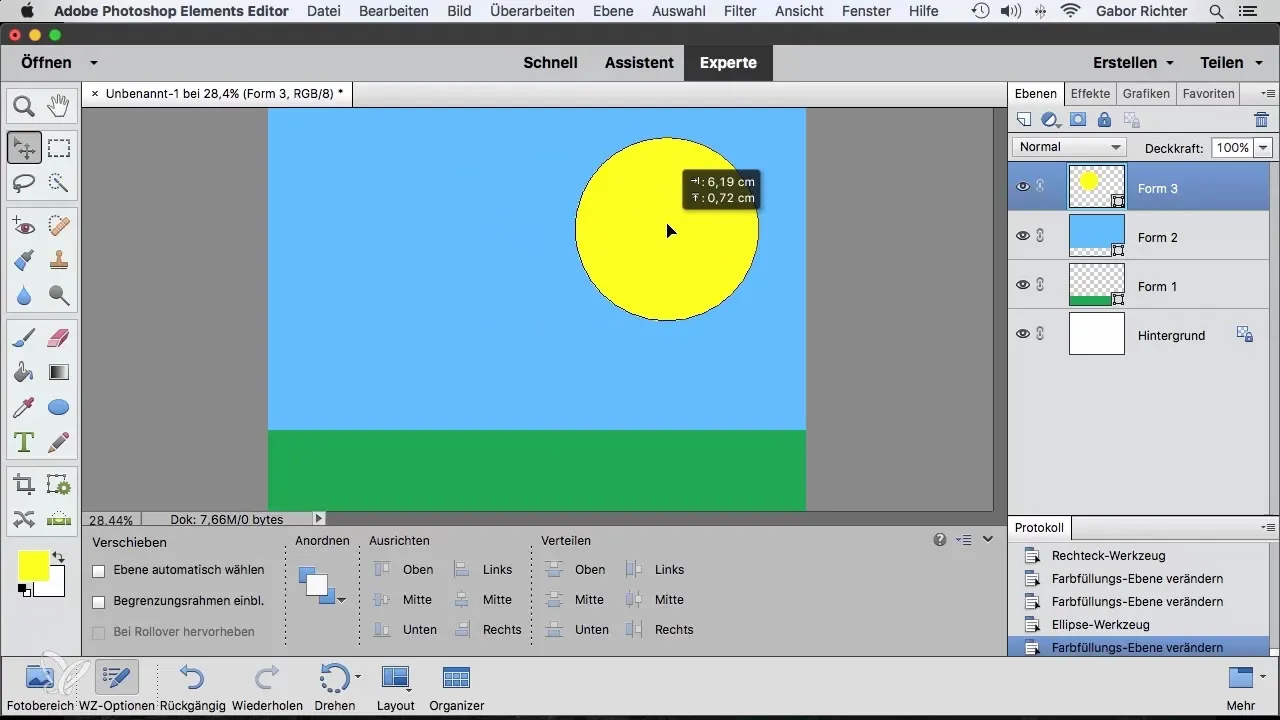
Adjusting the Size of the Object
To change the size of the circle, press the Command key (or Ctrl) and scale it down while holding the Shift key. This ensures that the proportions are maintained when resizing.
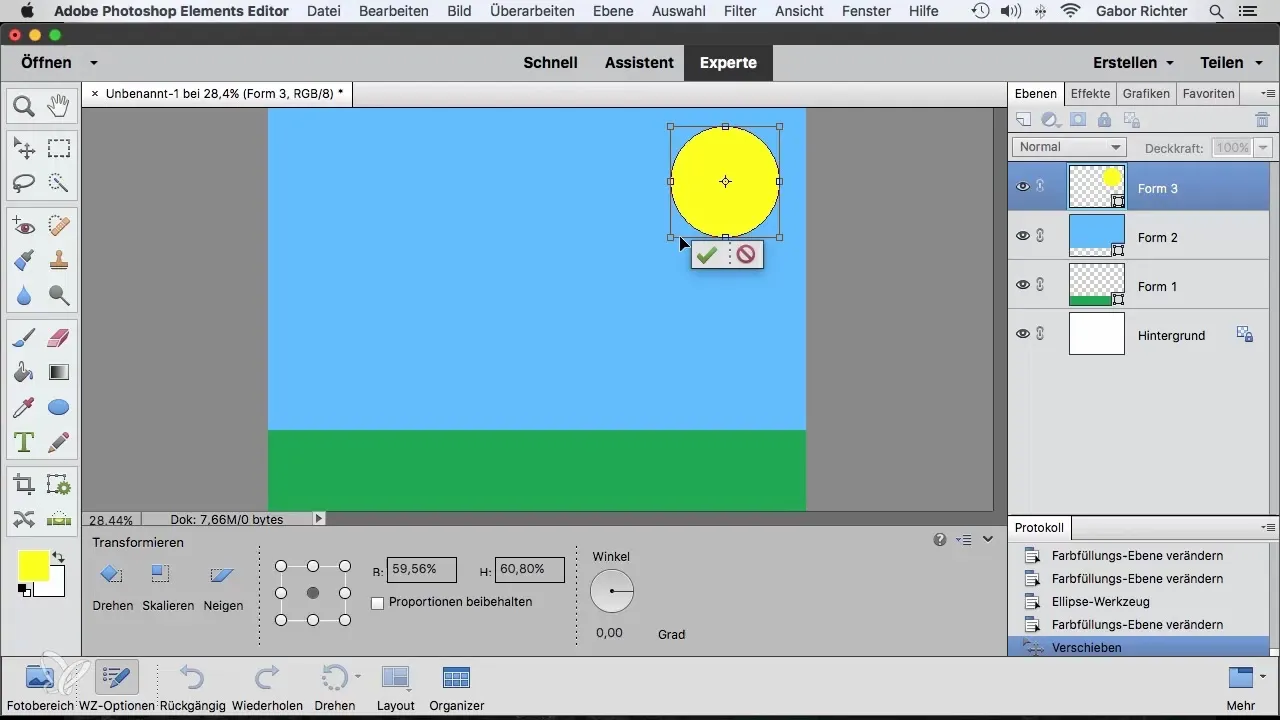
Adding a Star
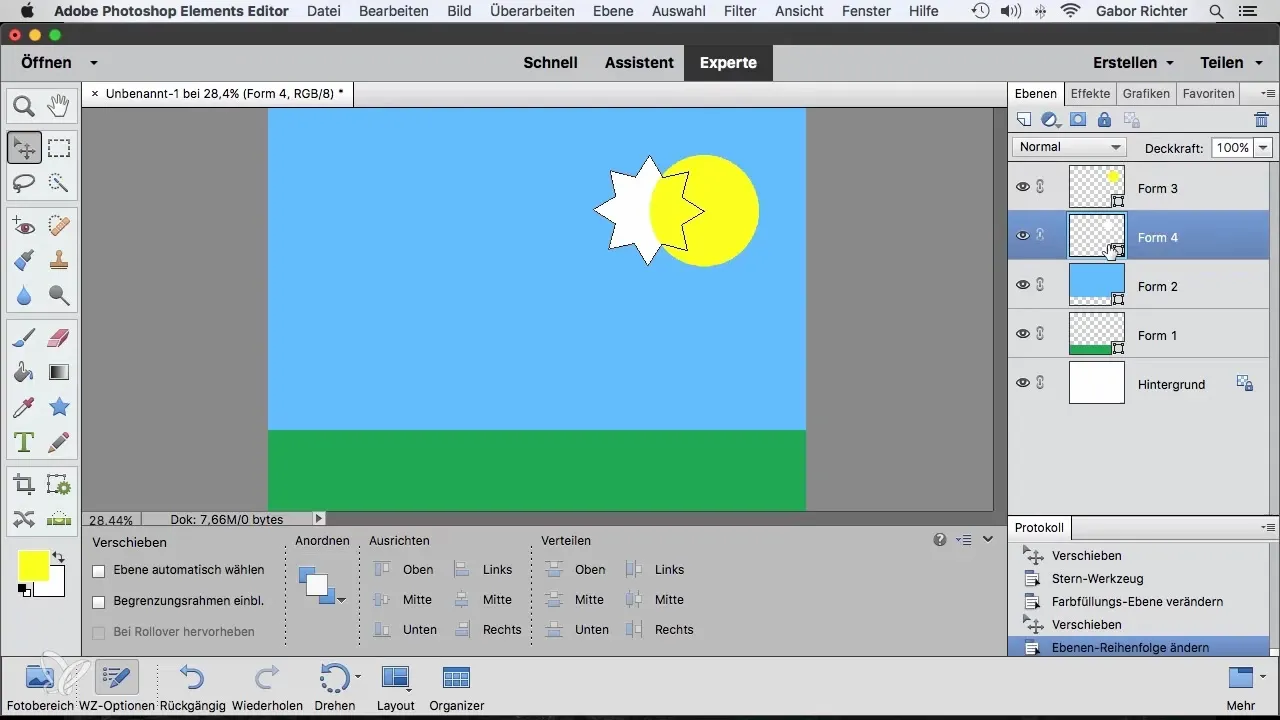
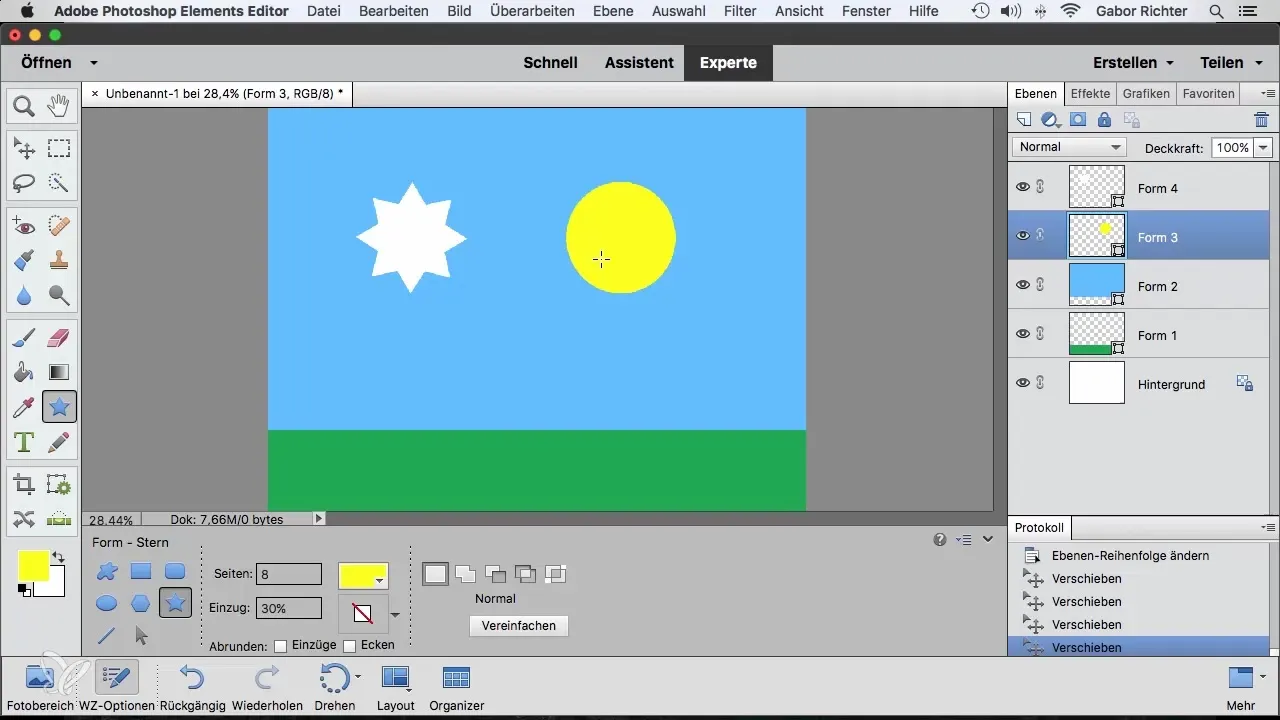
Now we will add a star. For demonstration, I chose a six-pointed star. You can change the shape at any time by adjusting the number of points and thus artistically vary.
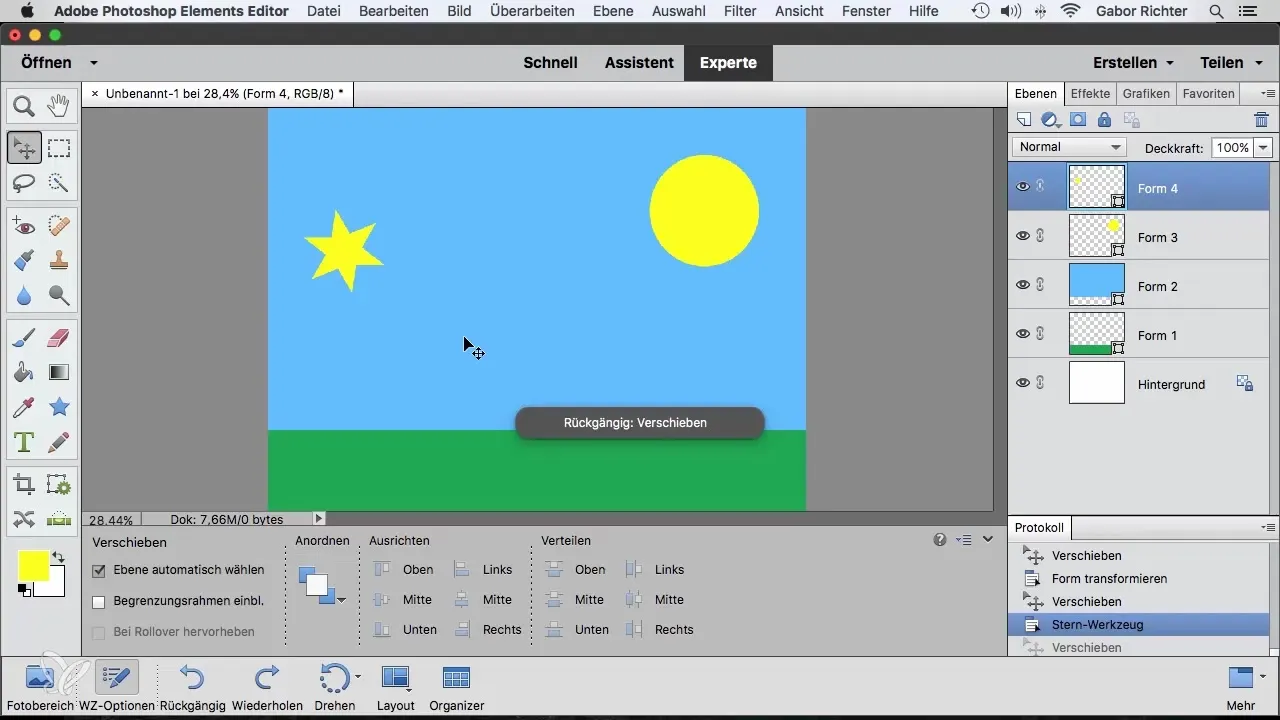
Managing Layers
If you want to adjust the position of the star, make sure you have the layers in the correct order. Drag the star below the sun to ensure that the optical effect meets your expectations.
Automatically Selecting Layers
To make design easier, enable the "Automatically Select Layers" feature. This allows you to simply click on the individual graphics and move them easily without searching for them in the layers view.
Using Additional Shapes
Also experiment with the polygon and line tools. These allow you to create abstractions and other interesting designs. Remember that you can adjust colors and sizes at any time to perfect your design.
Conclusion – Creative Design with Vector Graphics in Photoshop Elements
The built-in tools in Photoshop Elements offer you unlimited possibilities to realize your creative ideas with vector graphics. By working purposefully with shapes, you can create and customize both simple and complex designs.
Frequently Asked Questions
How can I change the color of a shape?Click on the color in the tools area or double-click on the shape layer.
Can I proportionally adjust the size of the shapes?Yes, hold the Shift key while changing the size to keep the proportions.
How can I manage layers more easily?Enable the "Automatically Select Layers" feature to quickly click on and move shapes.
Can I modify the shapes?Yes, you can adjust the properties of the shapes at any time, including the number of points and colors.
What shapes can I use in Photoshop Elements?You can create and edit rectangles, circles, polygons, and stars.


