You have certainly edited an imperfect image before and wondered how to quickly and easily remove unwanted elements. The Spot Healing Brush in Photoshop Elements is exactly the tool you need. This tool allows you to efficiently retouch blemishes in photos, whether for a quick touch-up or for more detailed adjustments. In this guide, I will show you how to make the best use of the Spot Healing Brush.
Main Insights
- The Spot Healing Brush is especially effective for retouching faces and other details.
- Unlike the Clone Stamp, the Spot Healing Brush works automatically and does not require manual source selection.
- For complex contours, the Clone Stamp may sometimes be the better choice.
- Working on a blank layer offers flexibility and the option to undo changes.
Step-by-Step Guide
The Spot Healing Brush offers you many ways to improve the quality of your image editing. Here are the steps you can follow to use this tool effectively.
1. Tool Selection
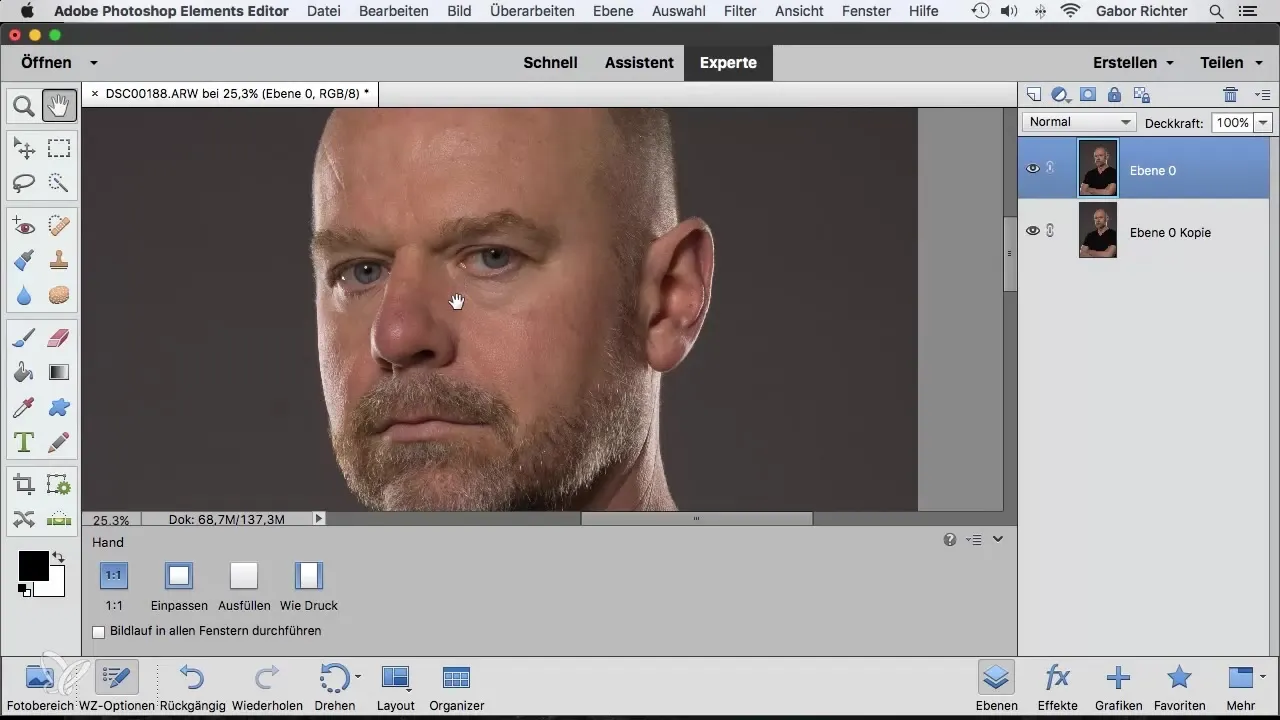
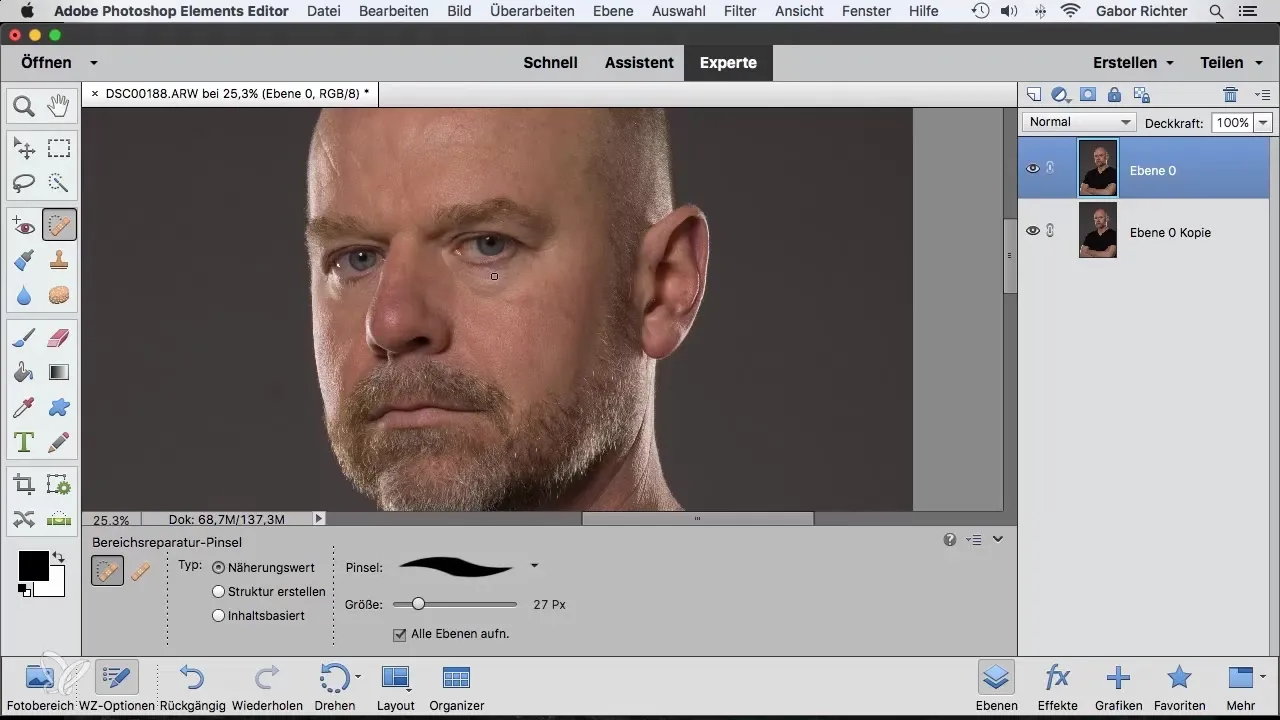
Open Photoshop Elements and select the Spot Healing Brush from the toolbar. You can quickly find it by clicking the brush icon.
2. Prepare the Image
Load the image you want to retouch. It is advisable to create a copy of your background layer to ensure that your changes are not permanent. Right-click on the background layer and select "Duplicate Layer."
3. Select Blemishes
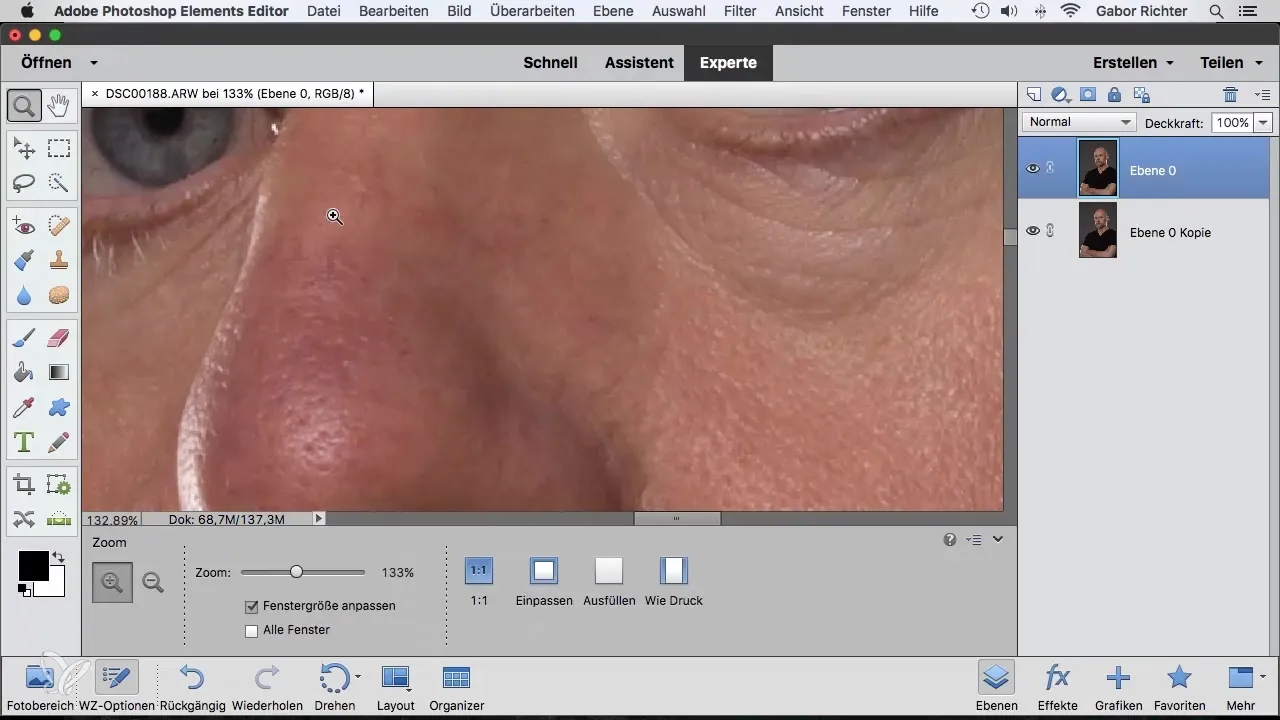
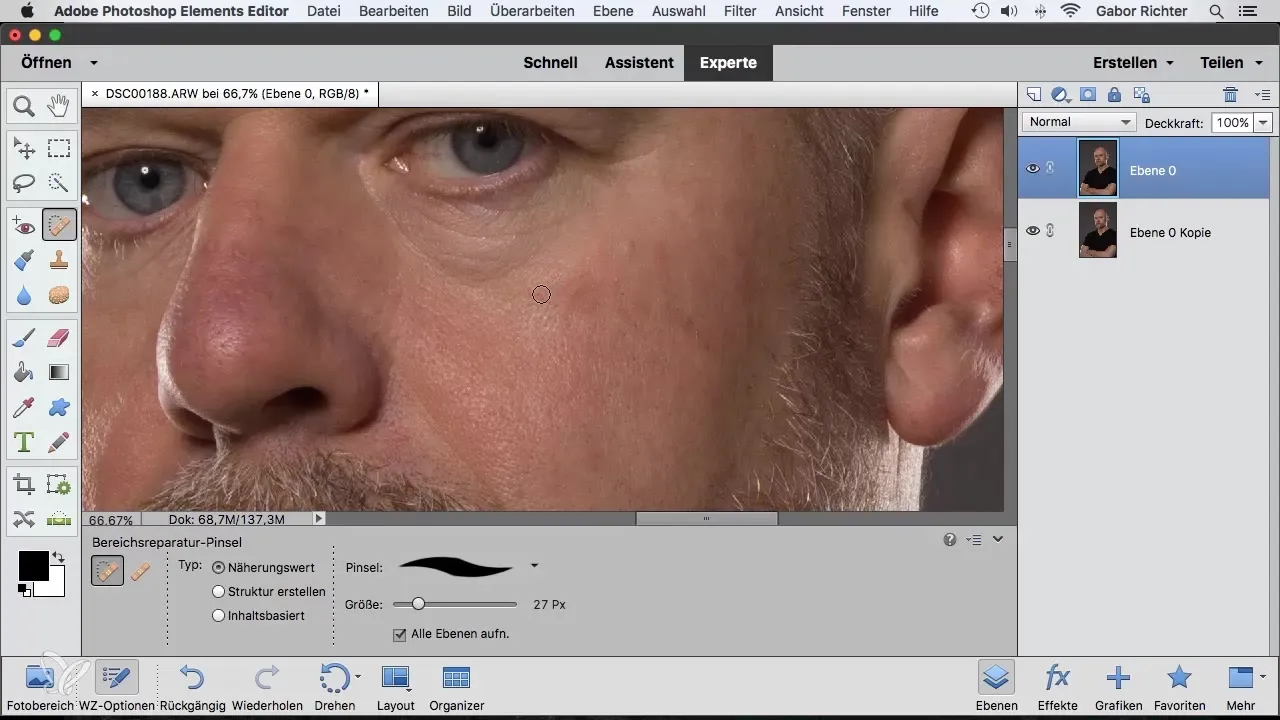
Once you have prepared your image, you can select the blemishes you want to remove. By zooming in to 100% on the face, you can specifically zoom in on the areas where you want to make adjustments.
4. Adjust Brush Size
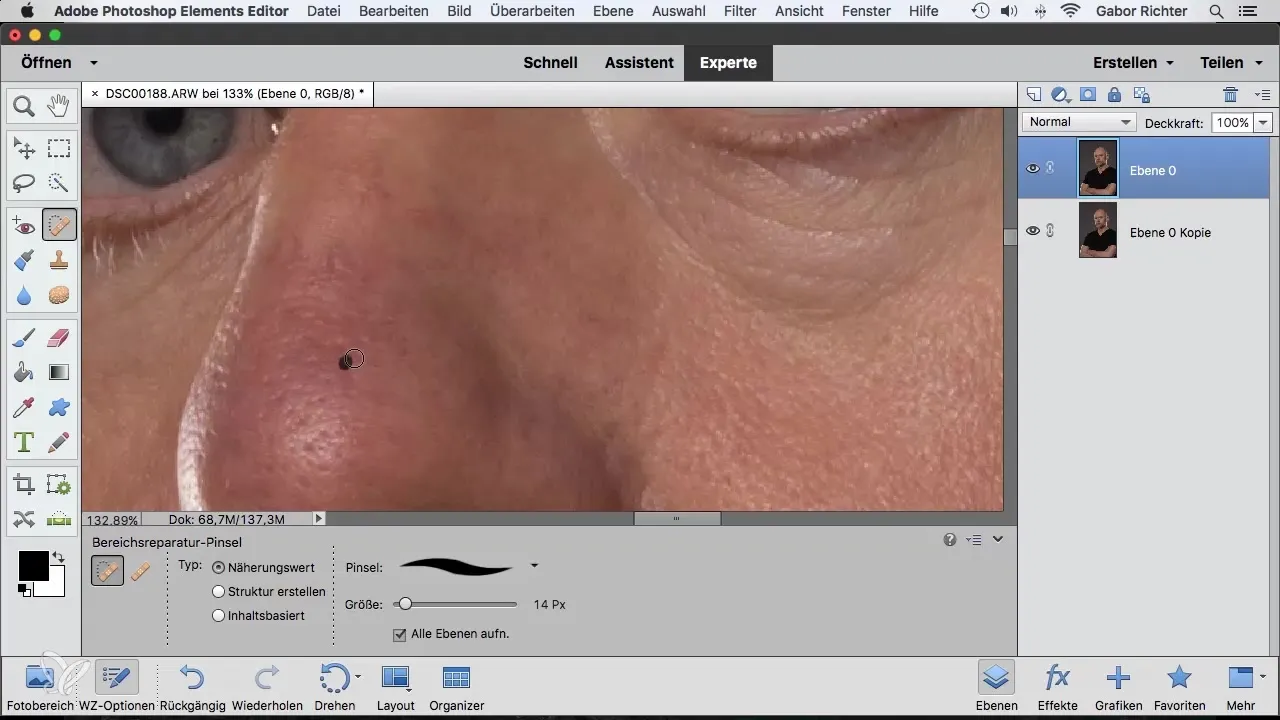
Before you start the actual retouching, adjust the size of the brush to match the area you want to edit. A smaller brush allows for more precise changes, especially for details such as pimples or small blemishes.
5. Perform Retouching
Run the brush over the blemishes you want to remove. You will notice that Photoshop analyzes the surrounding pixels and automatically makes an adjustment. This happens without any manual intervention.
6. Review Results
After using the Spot Healing Brush, you should examine the before-and-after results. You can check the history in the History panel if you don’t like the result.
7. Challenges with Contours
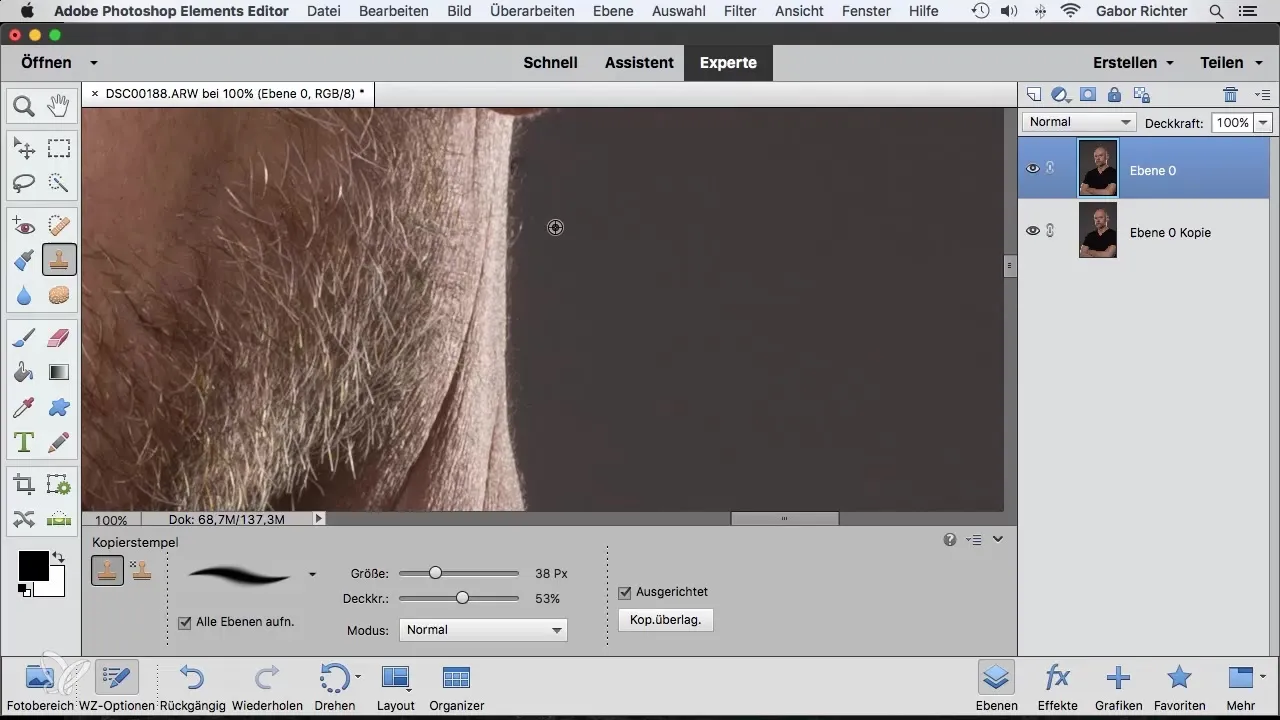
Note that with complex contours, such as hair or strong textures, the result is not always ideal. In such cases, it may be worthwhile to use the Clone Stamp, as it allows for more control.
8. Work on a Blank Layer
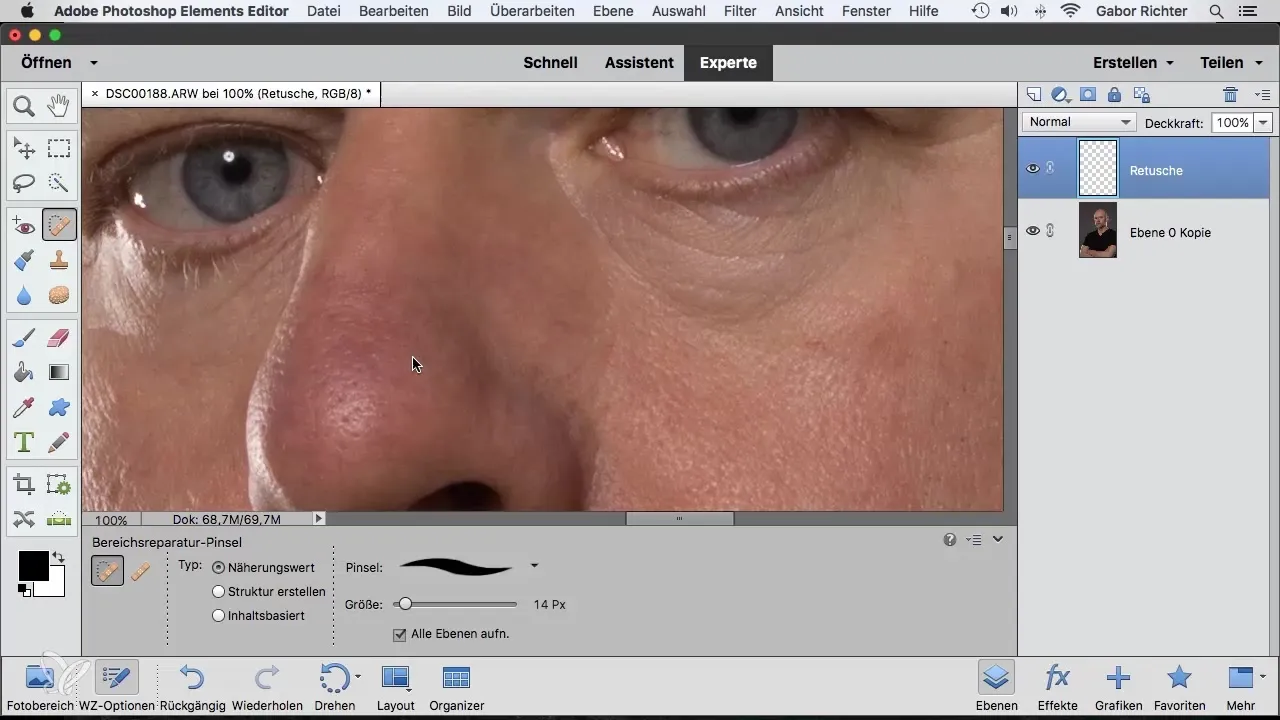
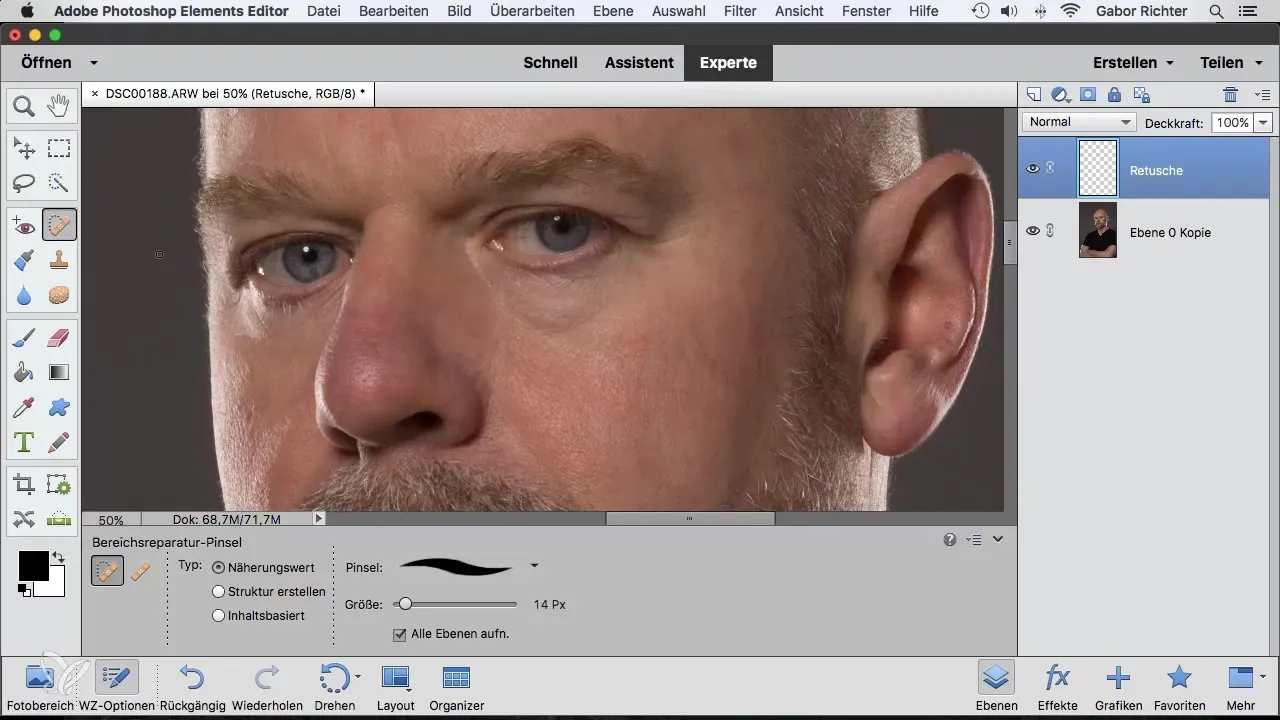
To not only undo your edits but to adjust them flexibly at any time, create a blank layer for your retouches. This ensures that you can preserve the original details.
9. Undo Edits
As with any image editing, you may find that you are not satisfied with the result. You can easily undo changes via the History feature or the Undo function (Ctrl + Z).
10. Final Adjustments
If you are satisfied with your retouches, you can save your finished work. Don’t forget to keep a version history in case you think you might want to make changes later.
Summary – Spot Healing Brush in Photoshop Elements
In this comprehensive guide, you have learned how to use the Spot Healing Brush in Photoshop Elements to effectively retouch images. From selecting the tool to performing the adjustments to overcoming challenges with complex contours – you now have all the necessary information to optimize your image editing.
Frequently Asked Questions
How do I use the Spot Healing Brush?Select the tool in the toolbar, adjust the brush size, and run it over the blemishes you want to remove.
Can I undo my changes?Yes, you can reset all steps via the History panel or with Ctrl + Z for Windows.
Is the Spot Healing Brush better than the Clone Stamp?For general retouching tasks, the Spot Healing Brush is often easier, but the Clone Stamp can be more effective for complex contours.
Should I work on a blank layer?Yes, it is advisable to work on a blank layer to have flexibility and easily undo changes.
Does the Spot Healing Brush always yield good results?No, sometimes the result can be unsatisfactory, especially with complicated textures or contours.
