The precise alignment of graphics, texts, and other elements can often be a challenge, especially when working with different shapes and objects. However, Photoshop Elements offers effective automated tools that help you create layouts not only more accurately but also significantly faster. In this tutorial, you will learn how to efficiently align various shapes in Photoshop Elements.
Main insights Automated alignment features in Photoshop Elements make it significantly easier to adjust graphics, texts, and shapes. You will learn how to duplicate, position, and evenly distribute elements to create appealing designs.
Step-by-Step Guide
Create a Landscape Scene
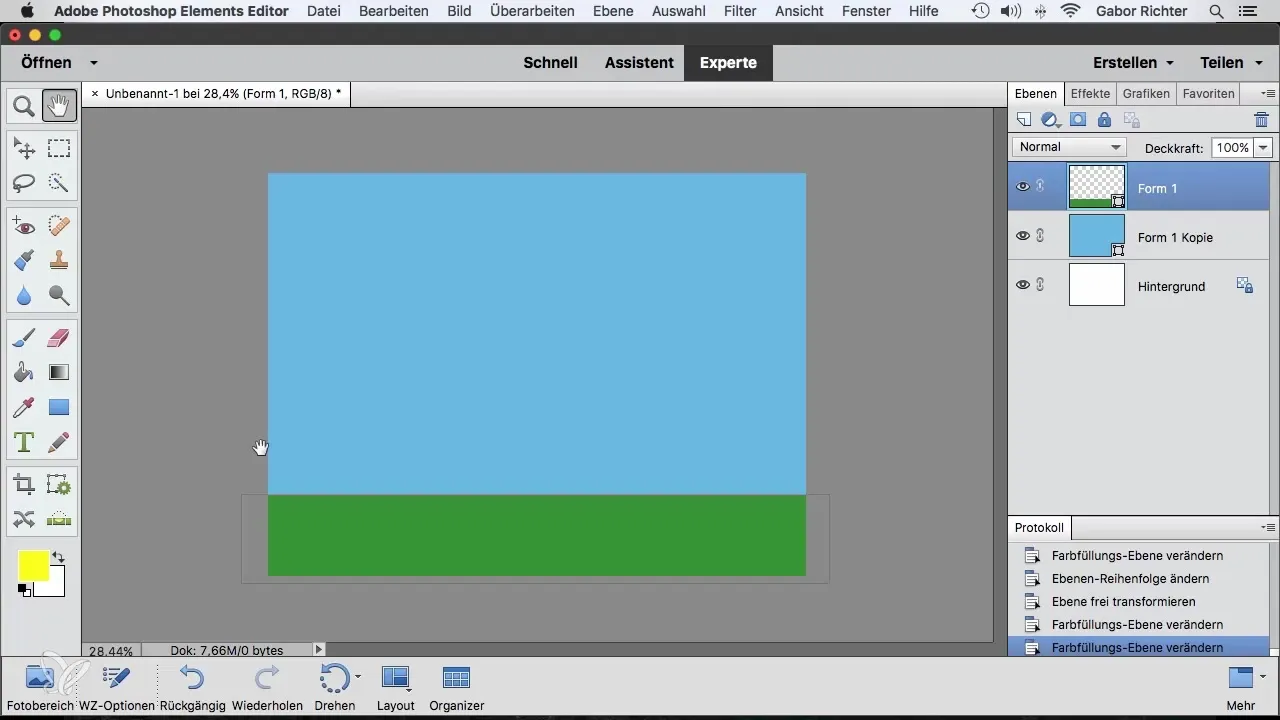
To start aligning shapes, first open your project in Photoshop Elements. Here, you will create a landscape scene, for example, with a garden fence. Begin by selecting a new shape, such as a picket fence, and insert it into your document.
Create the First Board
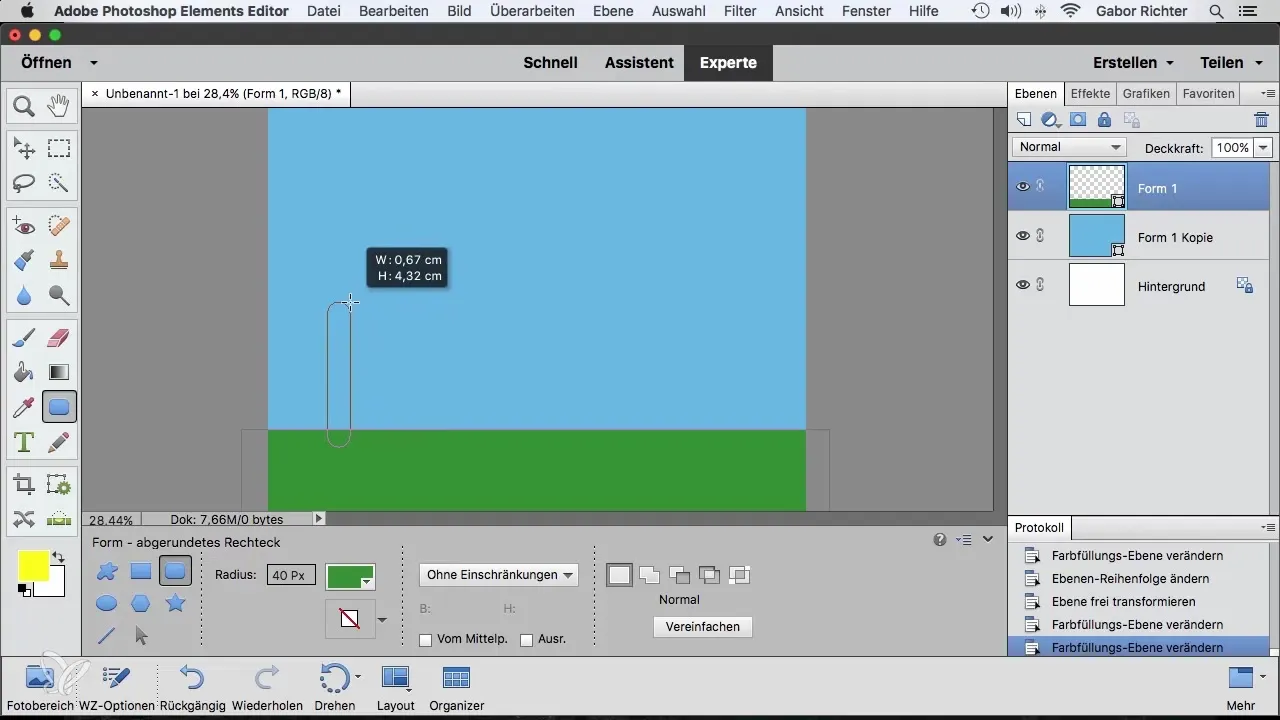
Draw the first board of the fence by adjusting the shape accordingly. Choose a suitable color for your board, such as brown, and position it according to your preferences in the document.
Duplicating the Boards
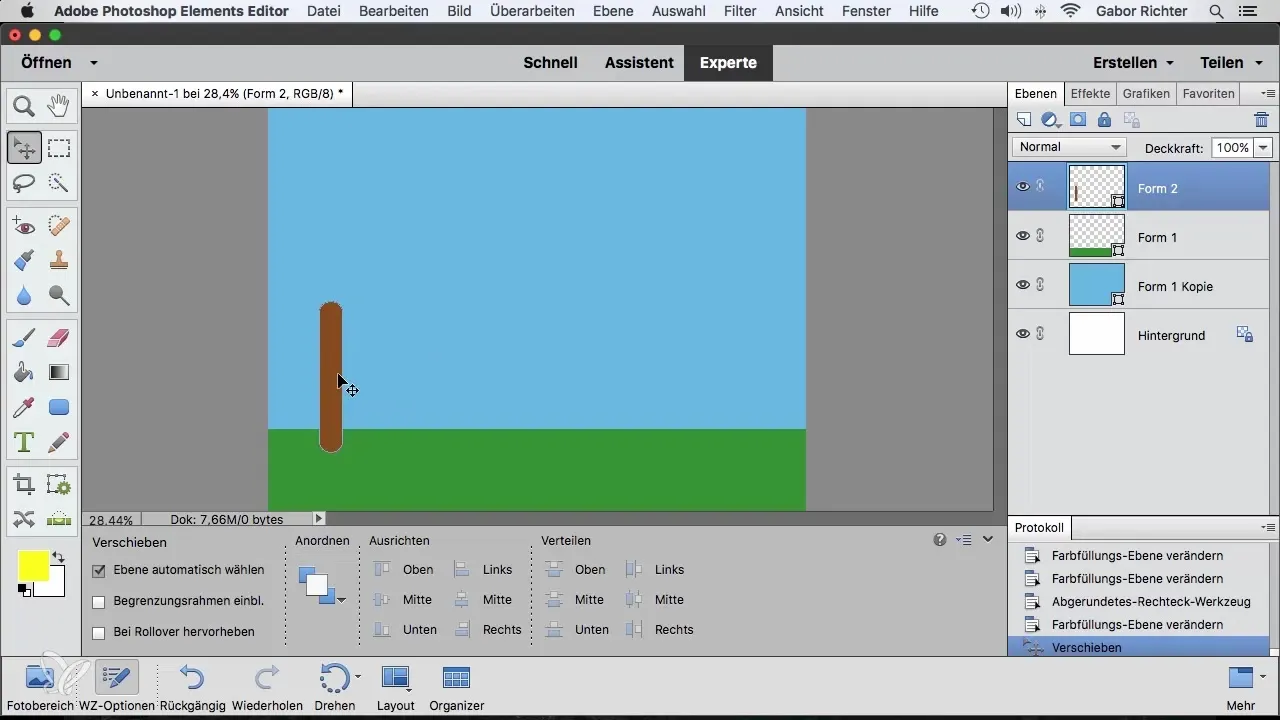
To create multiple boards, activate the Move tool. Make sure the layer of the first board is active, then hold down the Alt key and drag the board to the right. This will duplicate the board. Repeat this step to create multiple boards.
Positioning the Boards
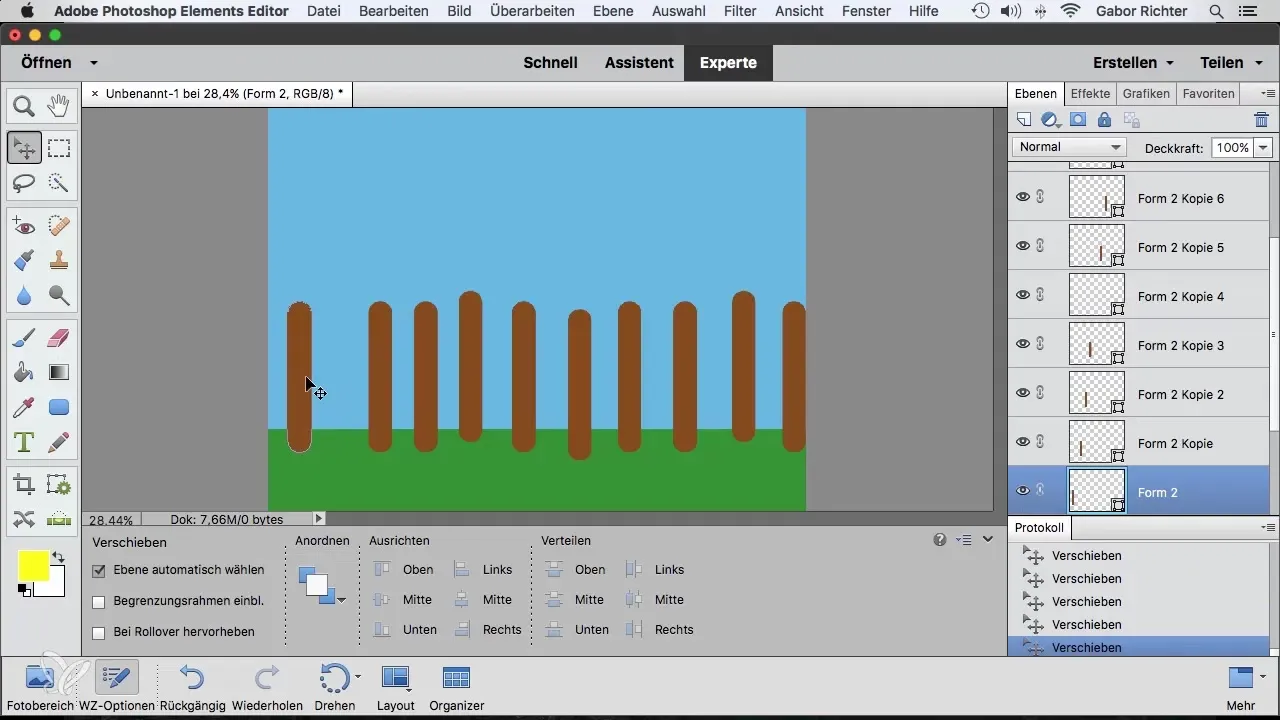
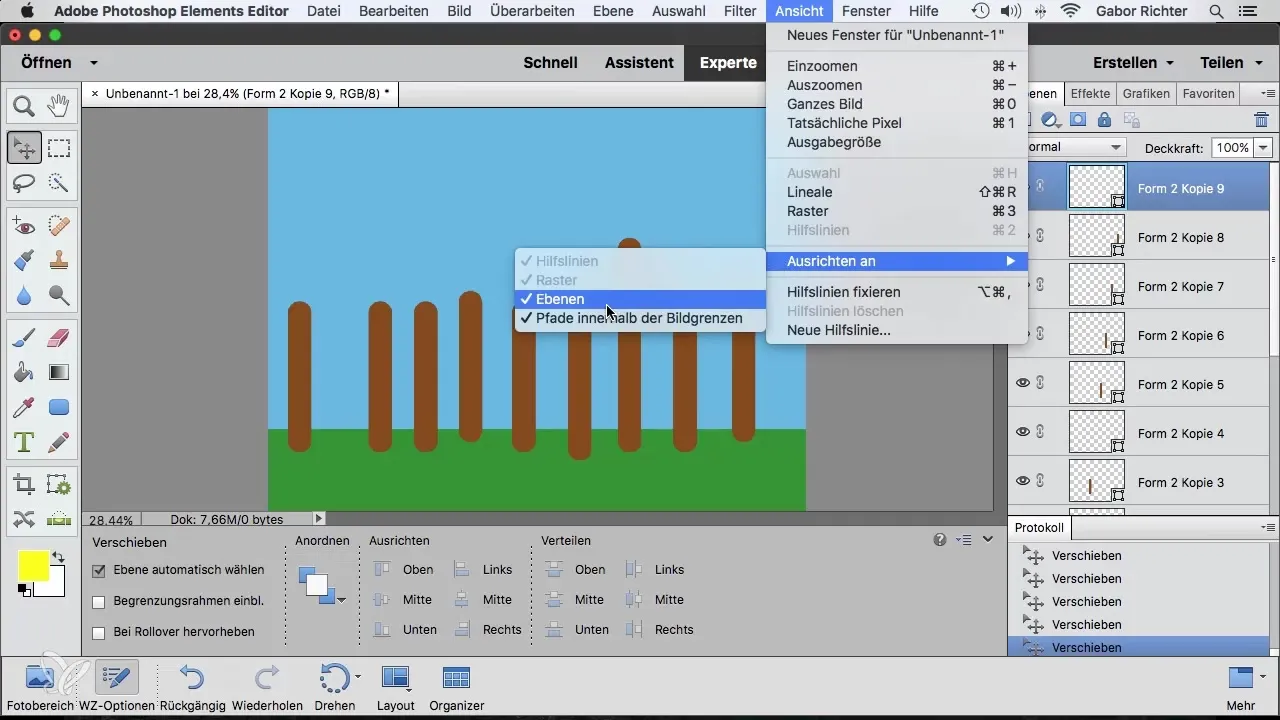
Now it is important to align the boards correctly. Start by positioning the left board at the edge where it is to be installed. Position the right board at the desired location as well. Make sure the automatic alignment feature is activated to ensure precise alignment.
Disable Snapping (Optional)
If the snapping feature bothers you while moving, you can temporarily disable it. Go to View and uncheck the "Snap to Layer" option.
Fine-Tuning the Positioning
To align the board on the right side accurately, it may be helpful to zoom in on the image. Ensure that it sits perfectly flush, allowing you to have an improved view of the size and position of the referenced images.
Evenly Aligning All Boards
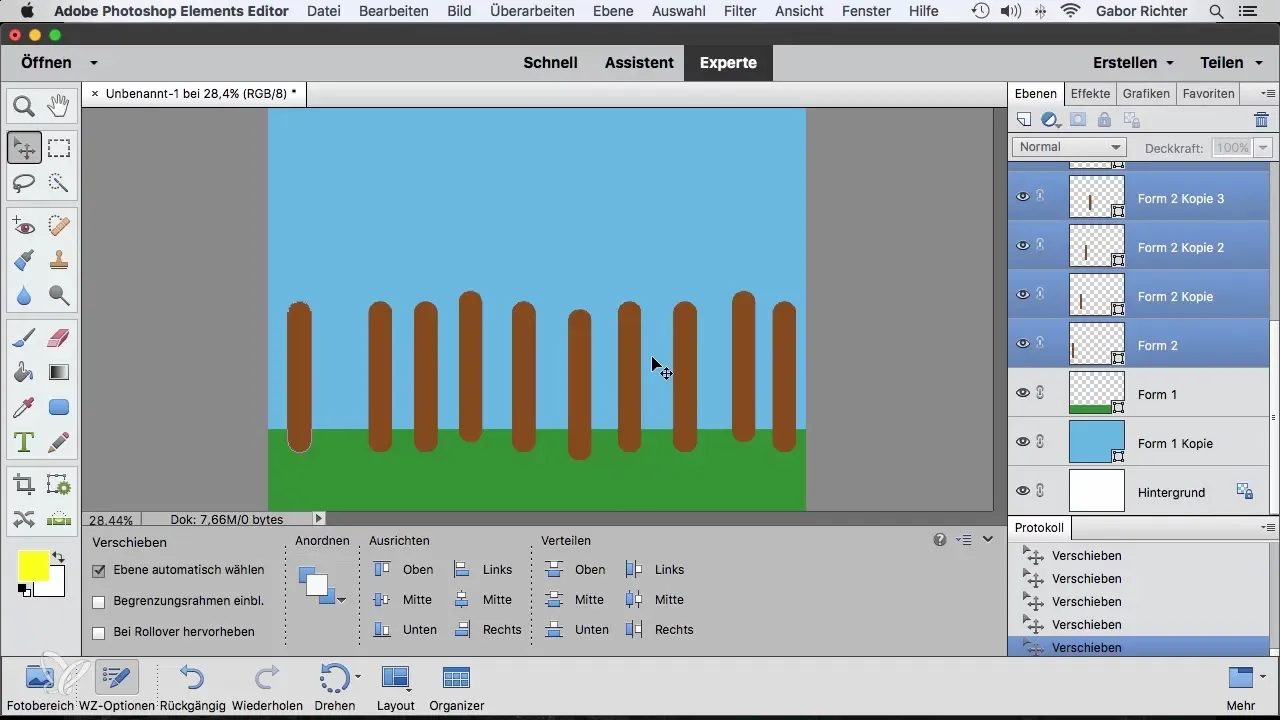
To align all boards evenly, select the top board in the layers panel, scroll down, and hold the Shift key while selecting the last board. Now you have the option to make a horizontal alignment.
Vertical Arrangement of the Boards
You can also adjust the vertical positioning. Select the boards again and choose the "Align Bottom" option to align them at the bottom edge. This creates a harmonious overall appearance.
Adjusting Distances Between the Boards
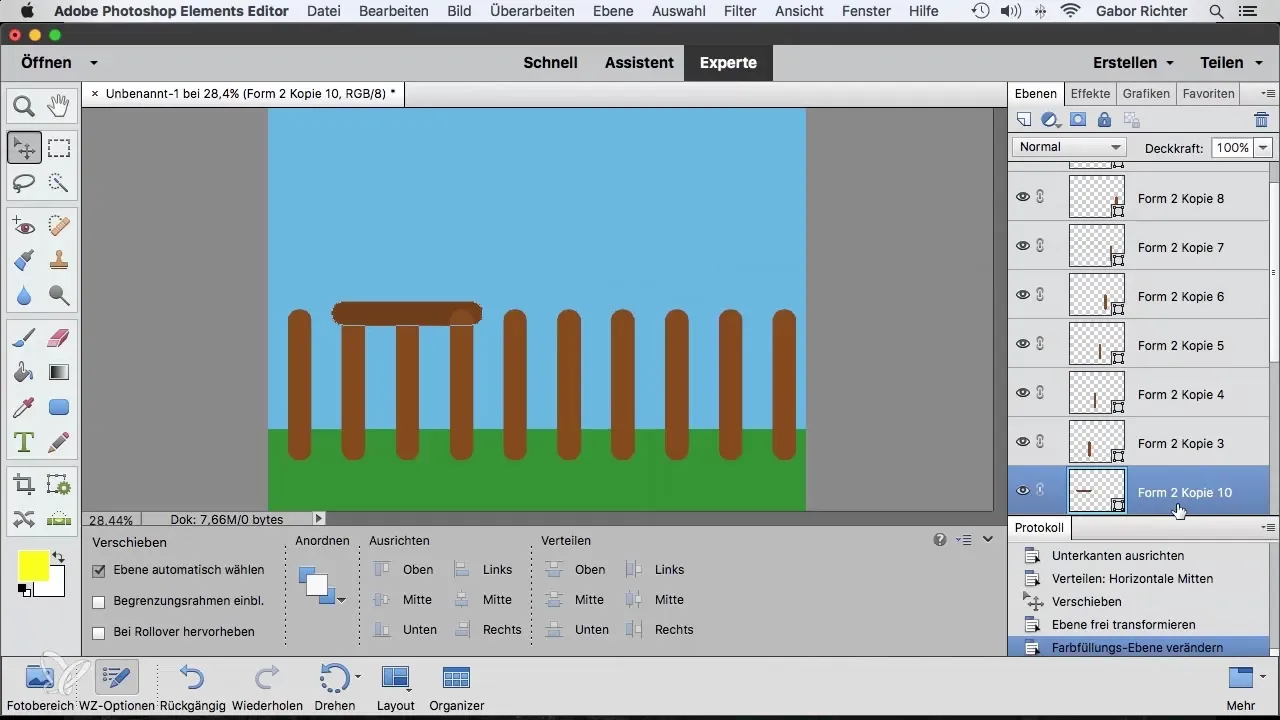
To evenly distribute the distances between the individual boards, click on the "Distribute" option and activate "Center". All boards will now be displayed at the same distance from each other.
Duplicate and Modify Top Layer
Now duplicate the top layer. You can rotate this and adjust it with different colors to create a realistic fence effect. Move the duplicated boards up and down to make the fence look realistic.
Flexible Position Adjustment of the Boards
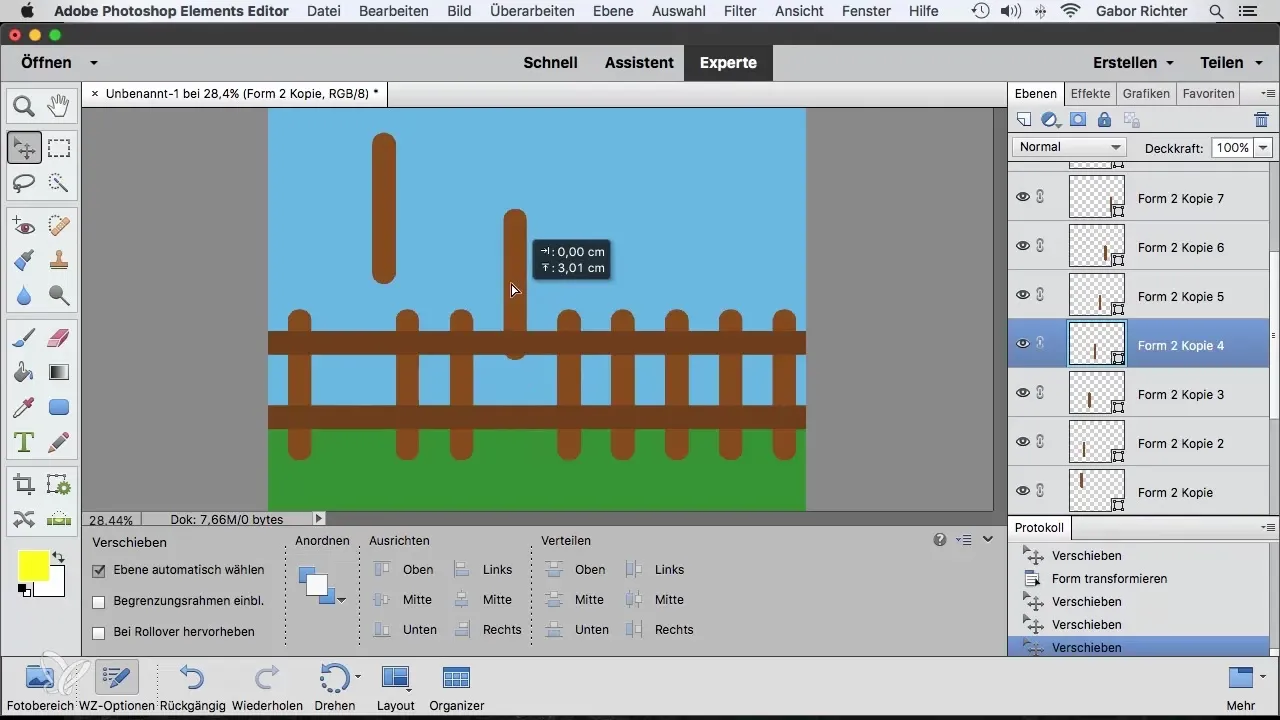
You can change the position of the individual boards at any time by selecting and moving them. This gives you full control over the design and allows for adjustments if necessary.
Summary – Aligning Shapes in Photoshop Elements
In conclusion, you have learned how to efficiently align and adjust various shapes, especially a garden fence, in Photoshop Elements. Utilizing the automated alignment features allows you to work quickly and accurately.
Frequently Asked Questions
How do I duplicate a shape in Photoshop Elements?Activate the Move tool, hold down the Alt key, and drag the shape in the desired direction.
How can I disable snapping?Go to “View” and uncheck the “Snap to Layer” option to turn off snapping.
What does the “Distribute” function do?The “Distribute” function allows you to adjust even spacing between multiple selected objects.


