Working with masks in Photoshop Elements can be a challenging but also an extremely rewarding skill. Masks give you the ability to control elements precisely and make parts of an image invisible without permanently deleting them. This guide will explain step by step how to use masks effectively to achieve impressive results.
Key Insights
- With masks, you can make parts of an image invisible without deleting them.
- A mask consists of the colors black (invisible) and white (visible).
- The brush is the main tool for editing masks.
- Always make sure you are working on the mask and not on the pixel layer.
Step-by-Step Guide
To understand the basic functions of masks, we will go through the process step by step.
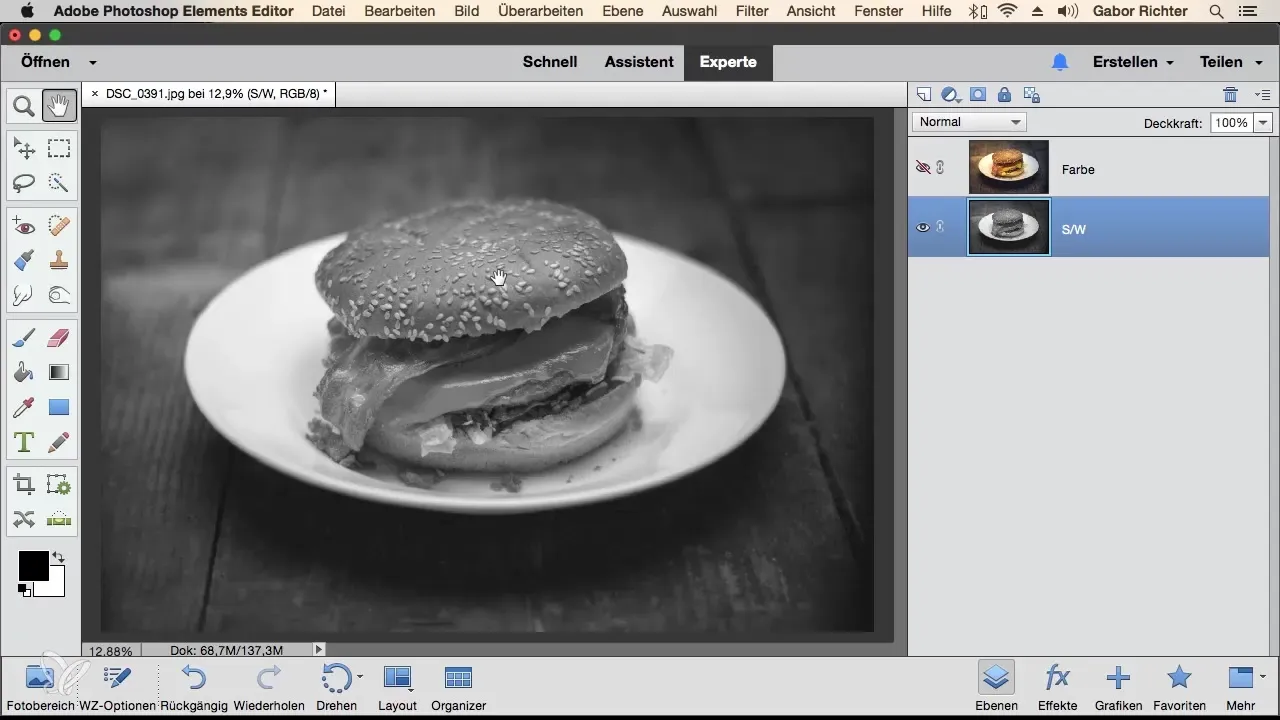
To create a mask, you first need a layer in your project. In this example, we have two layers: a black-and-white layer and above it the colored layer with a hamburger motif. It’s important that you familiarize yourself with these layers first in order to add a mask. You can do this by clicking the mask icon in the top bar.

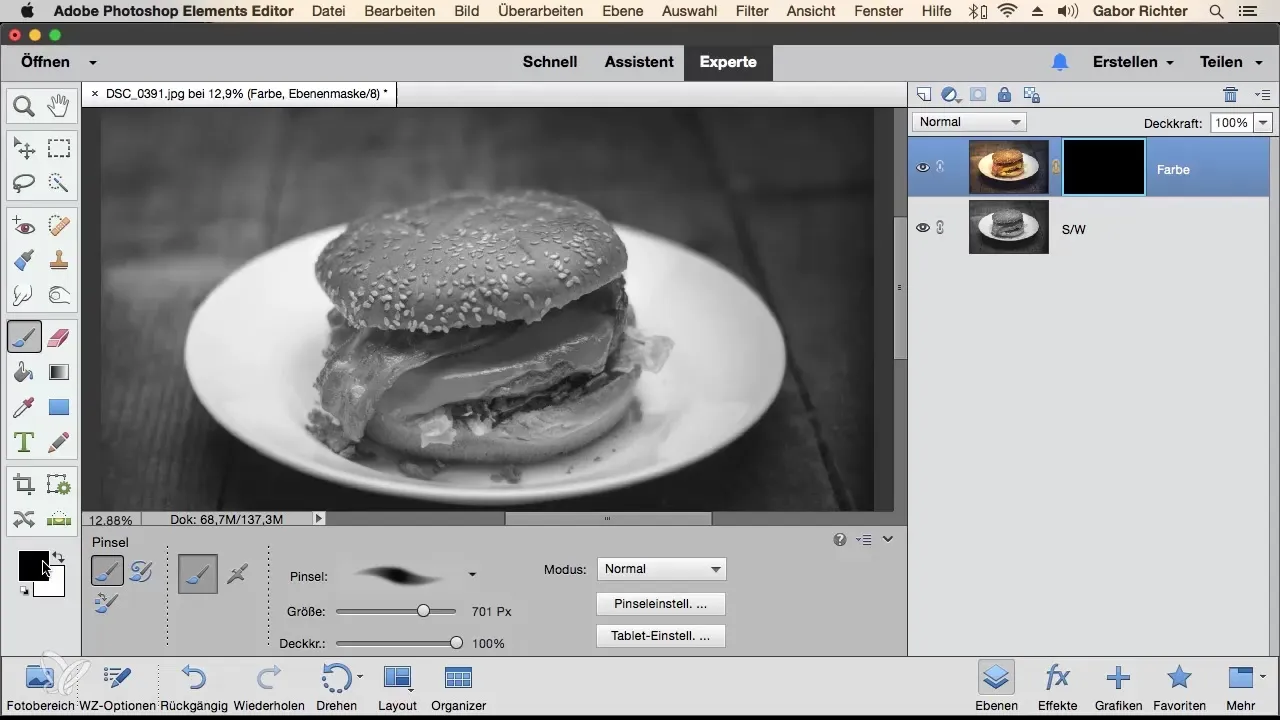
Once you click the icon, a mask will be added that is initially invisible. The secret of a mask is that everything that is white remains visible, while black areas become invisible. To illustrate this, invert the mask by using the keyboard shortcut CMD+I (Mac) or CTRL+I (Windows). Now everything that was previously visible becomes invisible.
When the mask is inverted, the layer is still there but invisible. This means that a part of the hamburger's color is vanishing, but you still have to pay attention to the mask and not revert to the pixel layer.
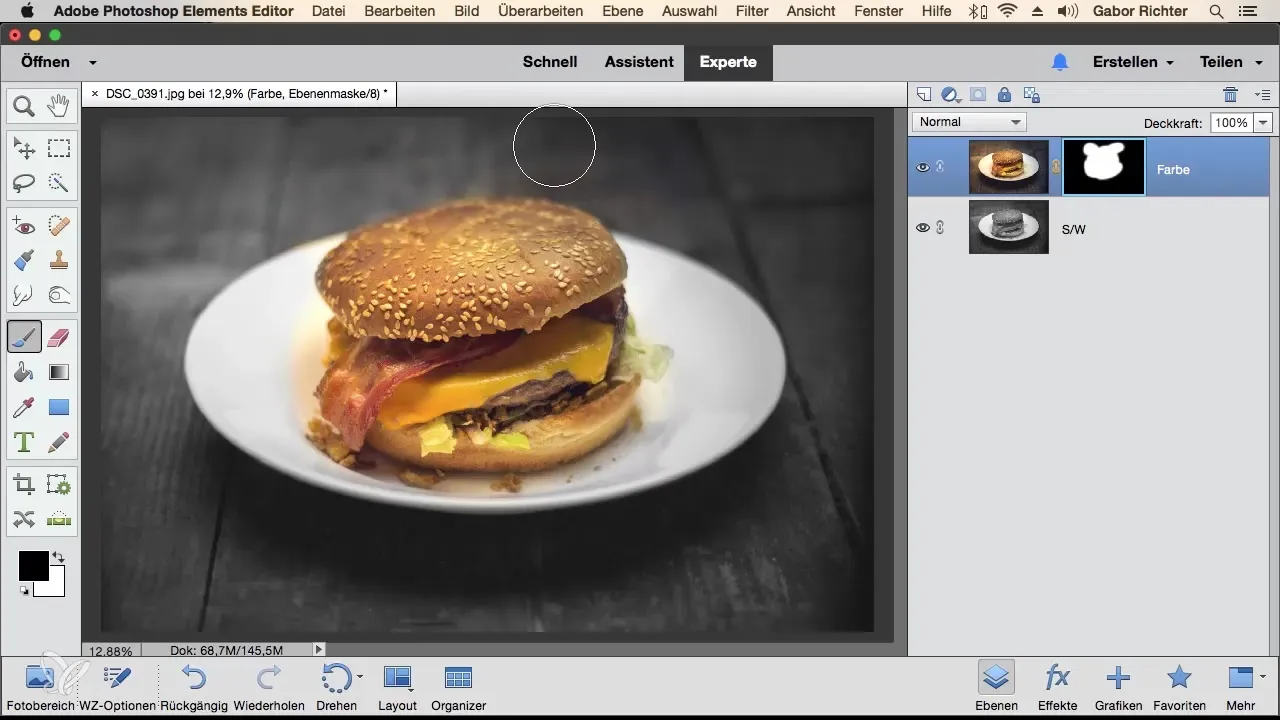
To make the hamburger visible again, you need a brush. Make sure you have set the foreground color to white. This will allow you to reveal the desired areas again and bring back the color simply by painting over the mask. Just brush over the hamburger to restore the original colors.

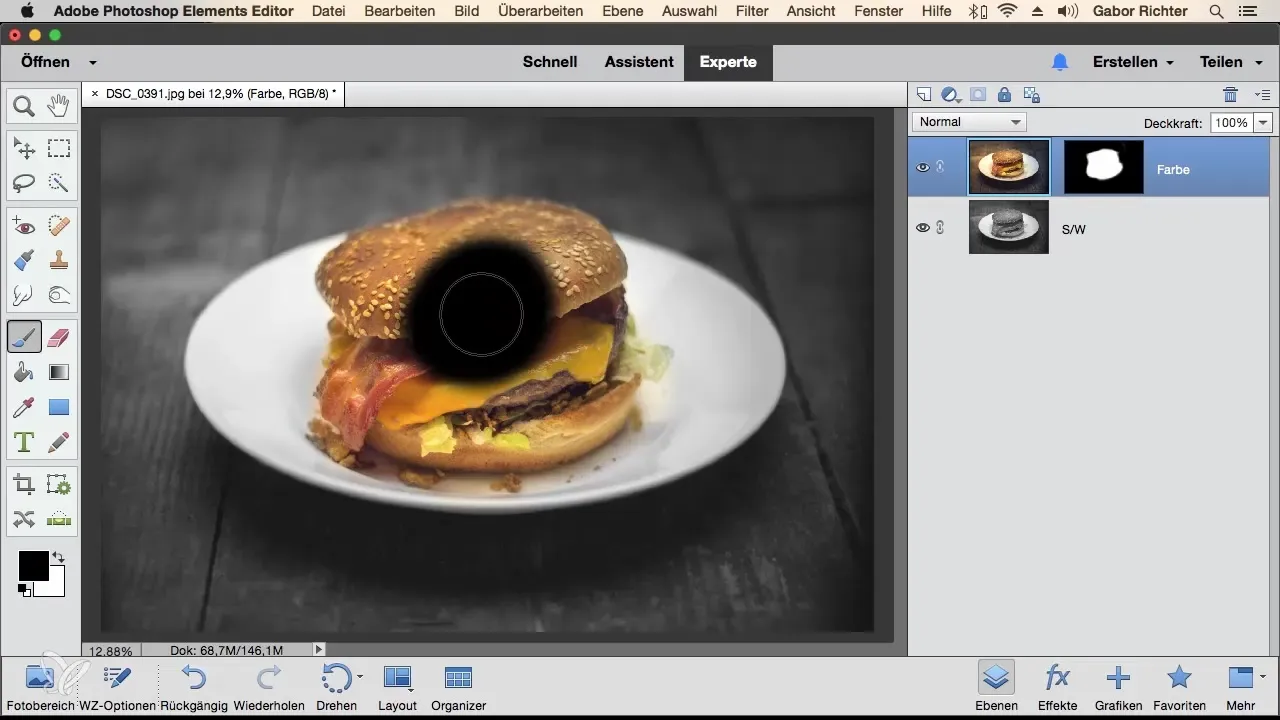
If you notice while working with the brush that you painted in the wrong place – for example, on the plate – you can switch the foreground color to black to make those areas invisible again. Just press the X key to toggle between black and white.

The mask is now edited so that the hamburger remains colorfully visible while the lower black-and-white background stays intact. Proceed carefully and ensure that you never work directly on the pixels unless the chain between the mask and the layer is broken. If this happens, you will notice that the image editing does not have the desired effect.

To ensure that you are working on the correct layer, make sure that the chain between the mask and the layer is activated. It's easy to accidentally click on the pixel layer, and then you will see that your changes do not affect as desired. When in doubt, undo the last step and restore the chain to get back to your mask.
Summary - Masks in Photoshop Elements: A Comprehensive Guide
Working with masks in Photoshop Elements is a method that offers you a lot of creative freedom. You can control areas of the image without permanently deleting them, thereby achieving impressive results. Make sure to work on the mask and switch between black and white to control the visibility of the elements. This way, you can create exciting effects and take your image editing to the next level.
Frequently Asked Questions
How do I create a mask?Click on the mask icon and select the desired layer.
What happens if I invert the mask?Then everything that was previously visible becomes invisible, and vice versa.
How can I control the visibility of an image?Use a brush with white to make visible, and black to make invisible.
What do I do if I accidentally work on the pixels?Reset the chain between the mask and layer to work on the mask.
Can I edit a mask at any time?Yes, you can change or invert the masks at any time without deleting the pixels.


