The clone stamp is an essential tool in Photoshop Elements, allowing you to remove errors and flaws in images. This tutorial will guide you through the use of the clone stamp, explain its functions, and show you how to make the most of this great tool. You will learn how to retouch carefully and precisely to achieve a perfect final result.
Main insights
- The clone stamp is ideal for removing errors and flaws.
- It's important to select the right pixels to achieve a natural result.
- By working on a new empty layer, you can work non-destructively and make adjustments without affecting the original image.
Step-by-step guide
To use the clone stamp effectively, follow these steps.
1. Select and adjust the tool
First, open Photoshop Elements and select the clone stamp from the toolbar. Check the brush size and adjust it according to the area you want to retouch. For small flaws, like a pimple on the face, you should choose a smaller brush to work precisely.
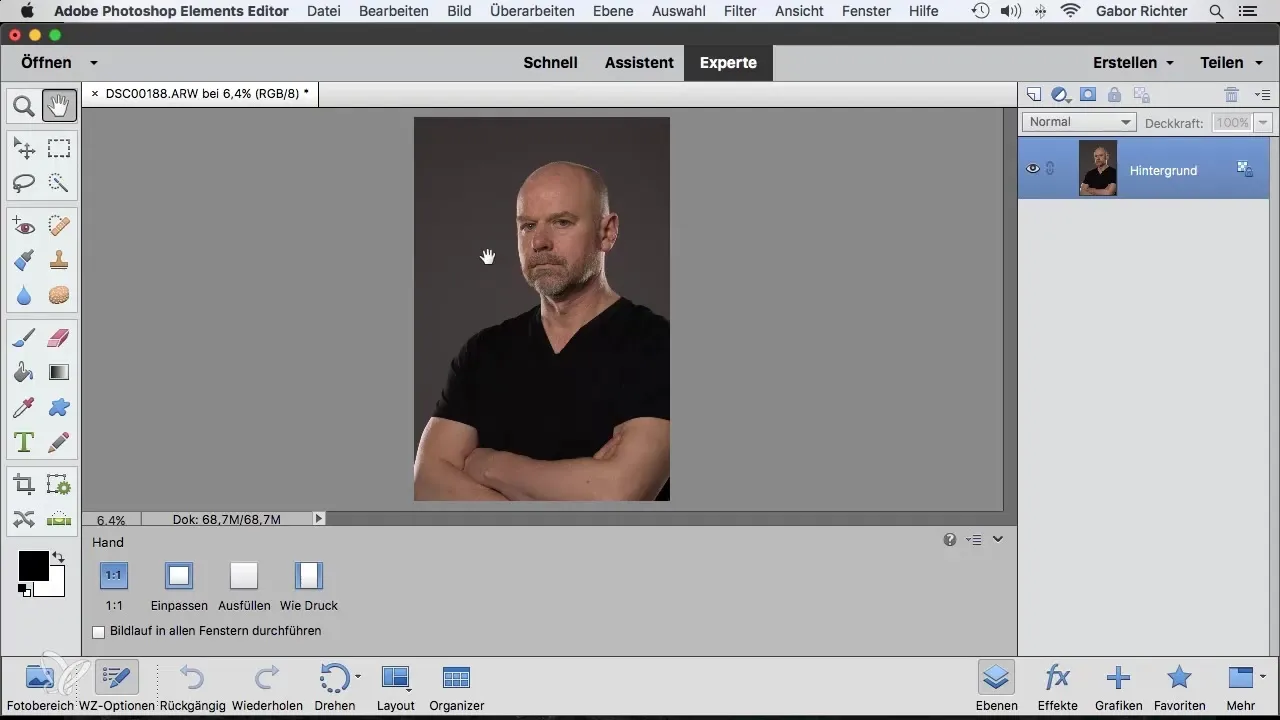
2. Select target pixels
The clone stamp requires two points: the source point and the target point. To select the source point, hold down the Alt key and click on the area whose pixels you want to copy. These will be the pixels that replace the flaw.
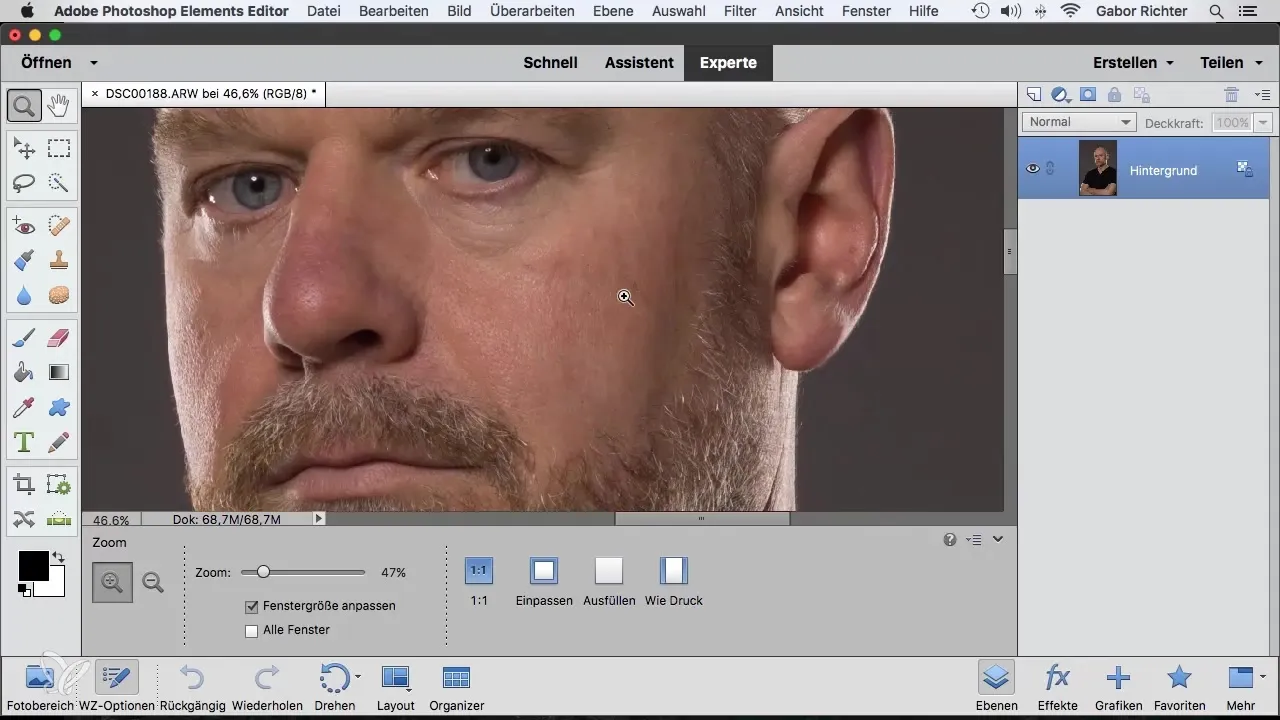
3. Retouch the flaw
After setting the source point, move the cursor over the flaw and click or drag the cursor to transfer the pixels. Make sure to make gentle movements so that the result looks natural. If you find that it doesn't look good, you can always use the undo function to revert to the original state.
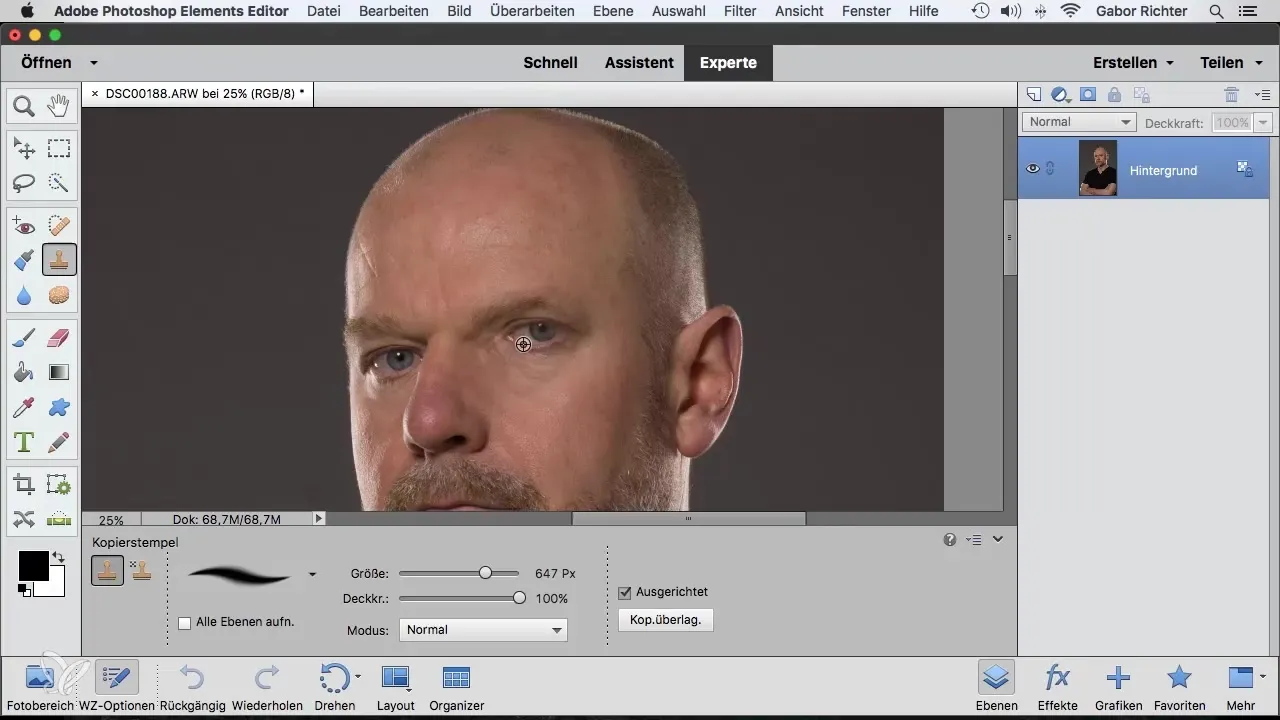
4. Adjust opacity
An important technique that can help many is adjusting the opacity of the clone stamp. Reducing the opacity to, for example, 50% allows you to transfer the pixels more softly and subtly. This enables you to go over the same area multiple times to strengthen the effect without creating harsh transitions.
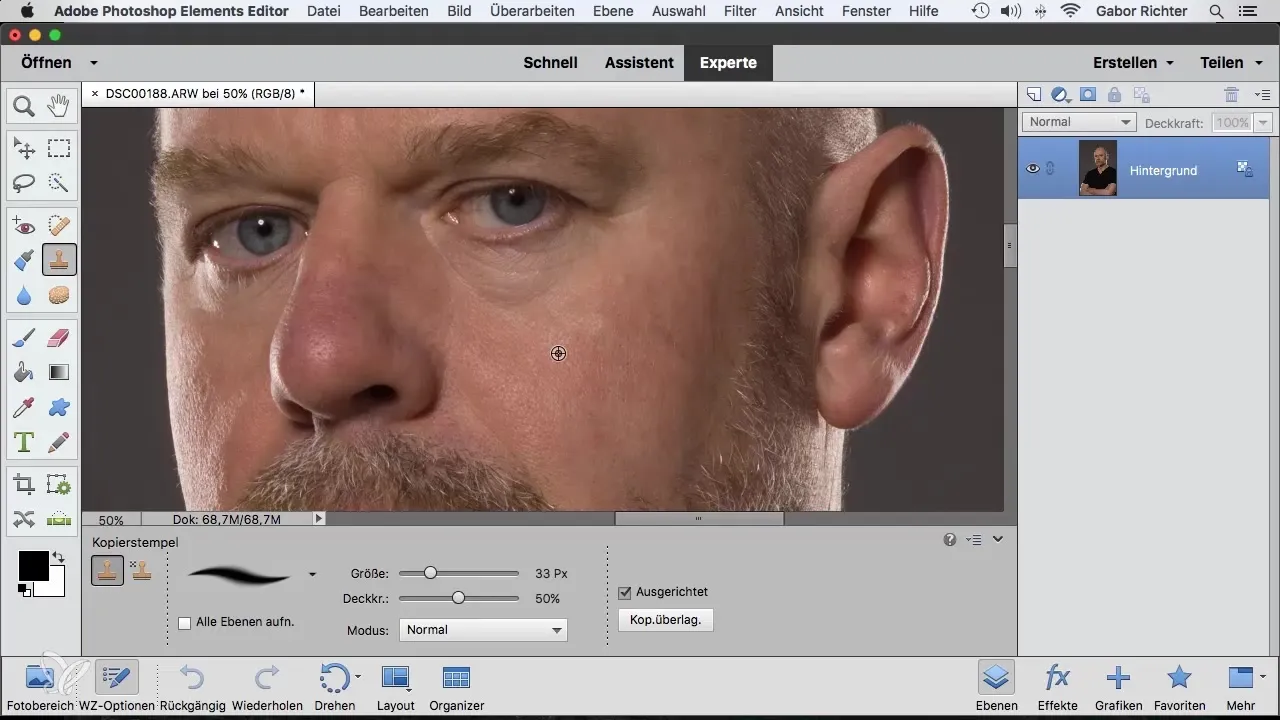
5. Work cleaner in light and dark areas
For images with strong brightness differences, such as a bright skin area next to a darker area, choose a similar pixel type to the one you want to replace. Focus on copying from the dark pixels in dark areas and vice versa for light areas to ensure a harmonious transition.
6. Work on a new layer
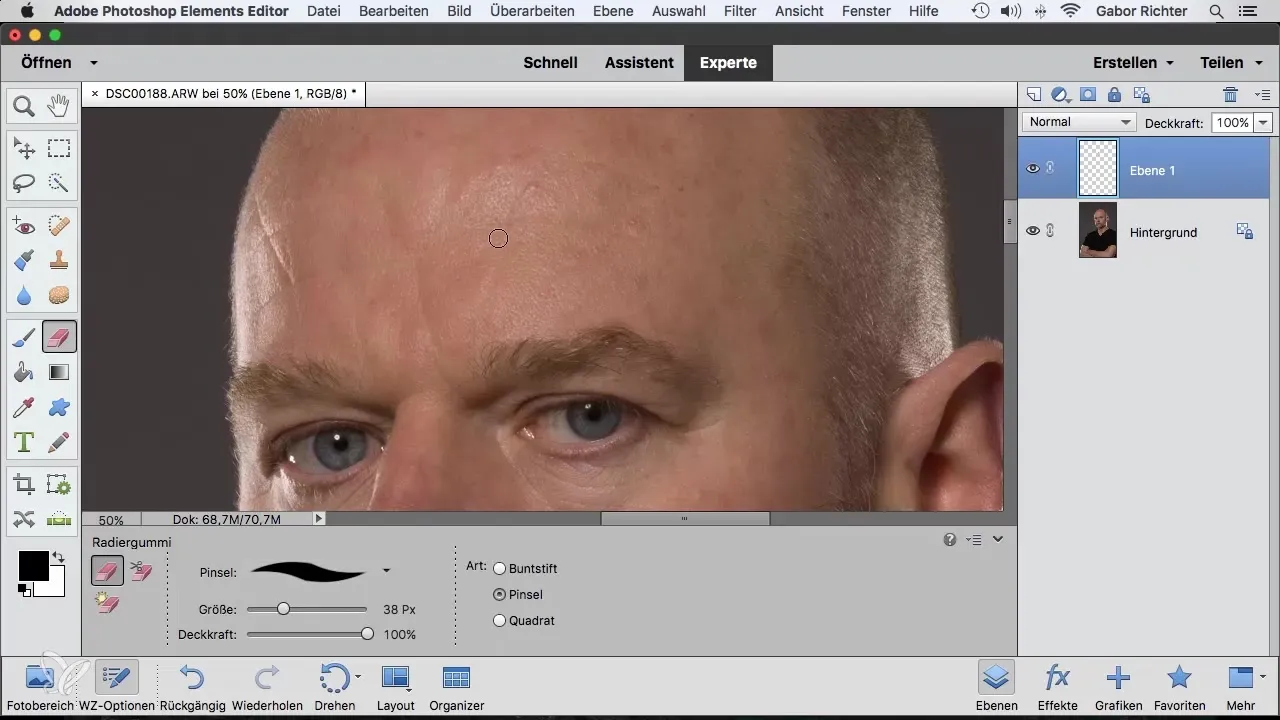
To work non-destructively, create a new empty layer before you start using the clone stamp. Activate "All Layers" in the clone stamp options. This way, you can make changes without affecting the original image, which is especially useful if the client requests changes to the retouches.
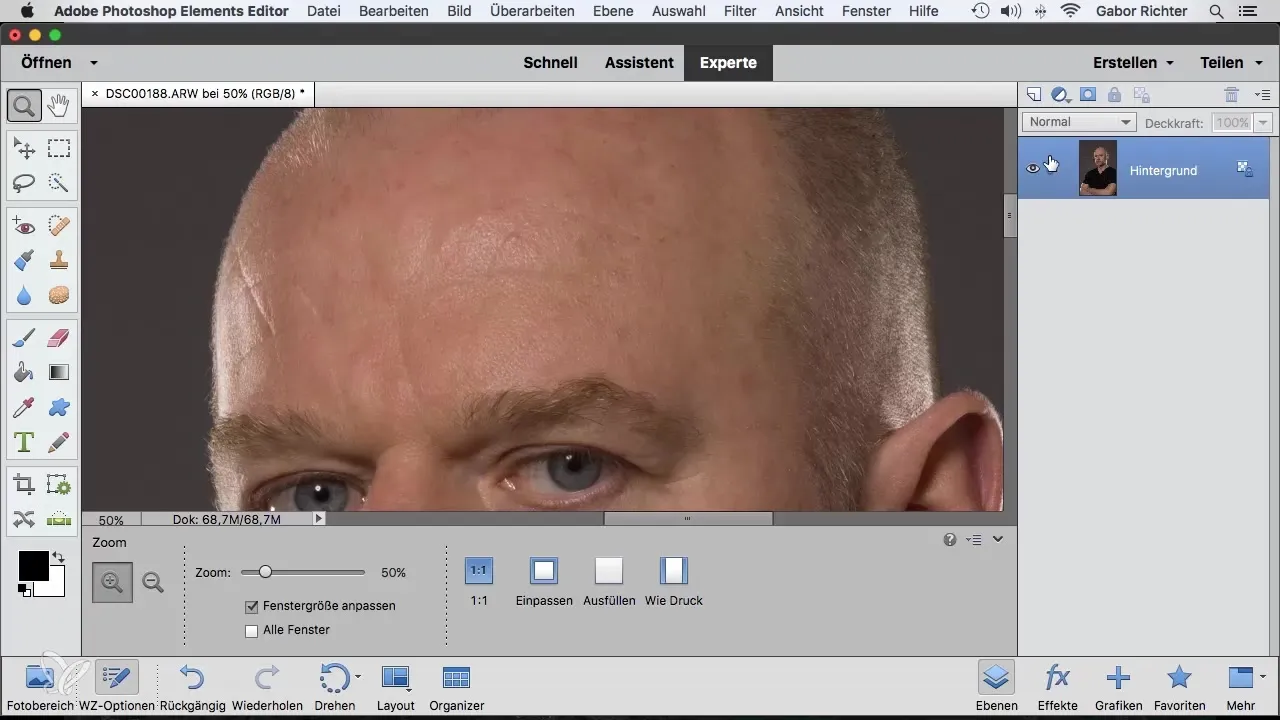
7. Review the retouches made
After you have made your retouches, you can disable the new layer to see the original image. This allows you to ensure that everything looks good. If necessary, you can use the eraser tool over the areas that should be reverted if the client misses certain flaws or details.
Summary – Clone Stamp in Photoshop Elements: Your Step-by-Step Guide to Effective Retouching
With the clone stamp in Photoshop Elements, you have a powerful tool to effectively remove flaws from images. By learning how to select the right pixels, adjust opacity, and work on new layers, you can achieve impressive results that will please both you and your clients.
Frequently Asked Questions
How does the clone stamp work in Photoshop Elements?The clone stamp copies pixels from a source area and transfers them to a target area to retouch unwanted elements.
Can I also use the clone stamp for color corrections?Yes, the clone stamp can also be used for color corrections by selecting the appropriate pixels to transfer the desired color.
What should I do if the result doesn't look natural?Experiment with the brush size and opacity to work more controlled and gently, thus achieving a more natural result.
How can I ensure that I am working non-destructively?Create a new empty layer before using the clone stamp and activate the "All Layers" option.
How can I undo changes?Use the undo function or work on a new layer so you can make changes at any time without affecting the original image.


