Photoshop Elements offers outstanding possibilities for image editing, especially when it comes to zooming in on specific areas of an image or panning the view. These features are important not only for professional designers but also for hobby photographers and creatives who want to perfect their images. In this guide, I will explain how you can effectively use the zoom and hand tool functions to optimize your image editing.
Key Insights
- The zoom tool allows you to zoom in and out on specific parts of an image.
- Zoom levels can be easily adjusted to optimize the detail view.
- With the hand tool, you can easily move the image to view the desired area.
- Double-clicking on the hand tool restores the full image display.
Step-by-Step Guide to Using the Zoom and Hand Tools
To get the most out of your images, you should master the basic techniques for zooming and panning in Photoshop Elements.
1. Open the image and select the zoom tool
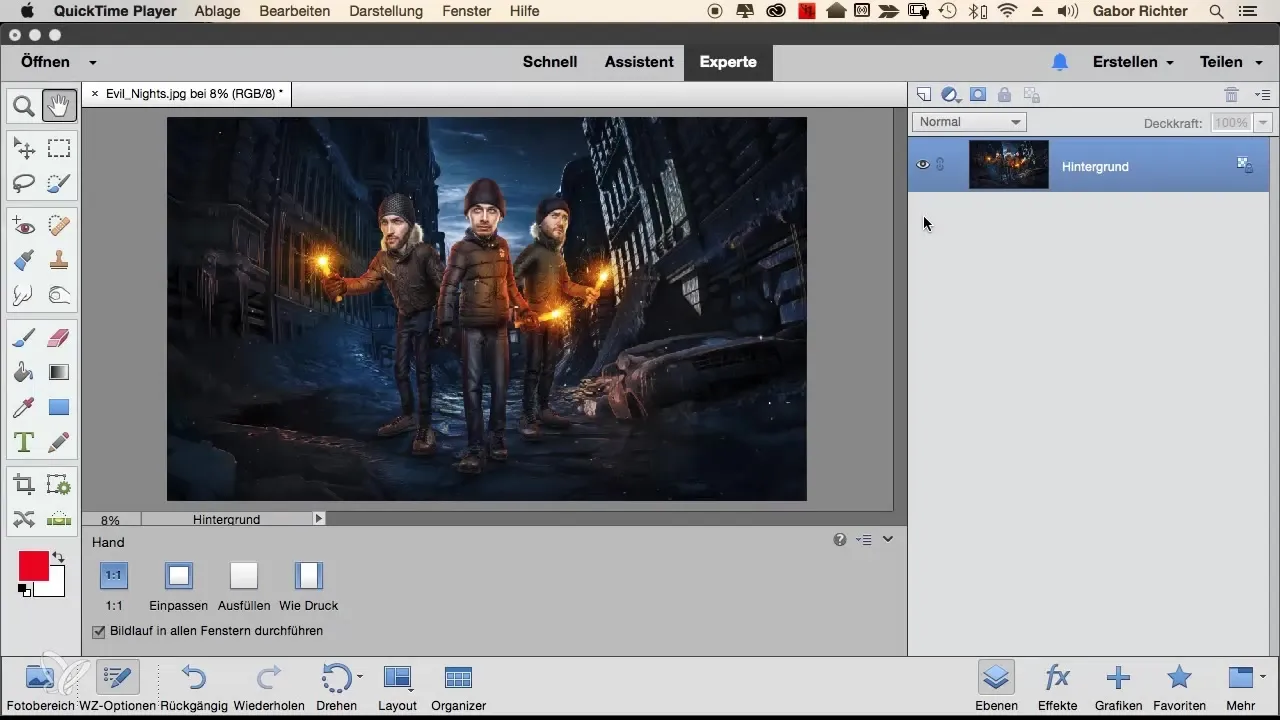
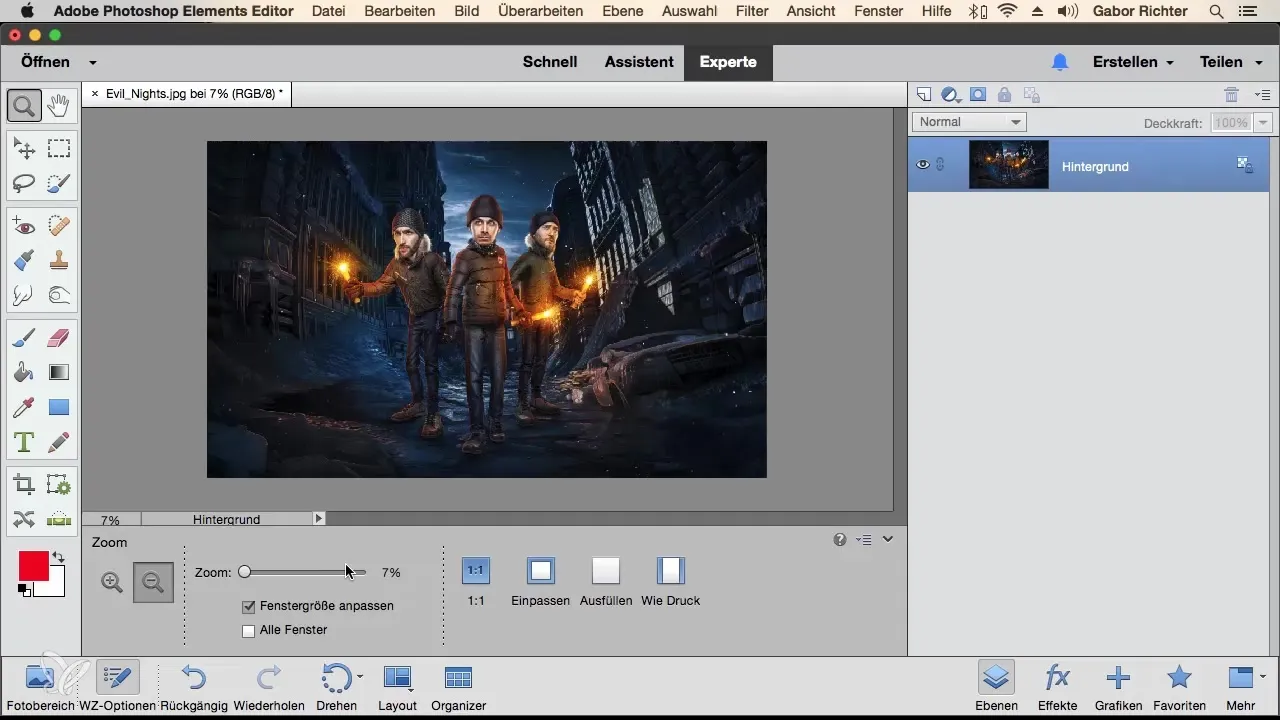
When you open an image in Photoshop Elements, it is often displayed so that you see the entire image. To get into the details, select the zoom tool. You can find it in the toolbar. Move the cursor over the image. You should now see a magnifying glass with a plus sign. This allows you to zoom into specific areas of your image for a better view.
2. Zooming in on specific areas
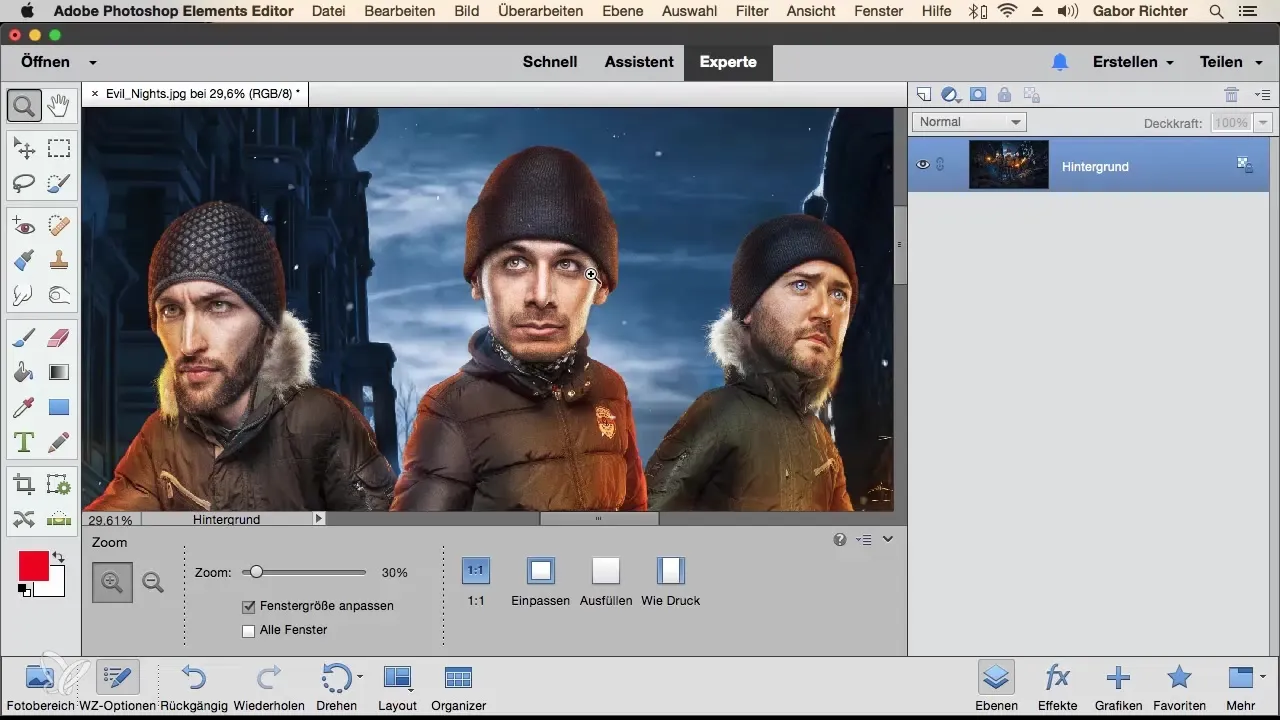
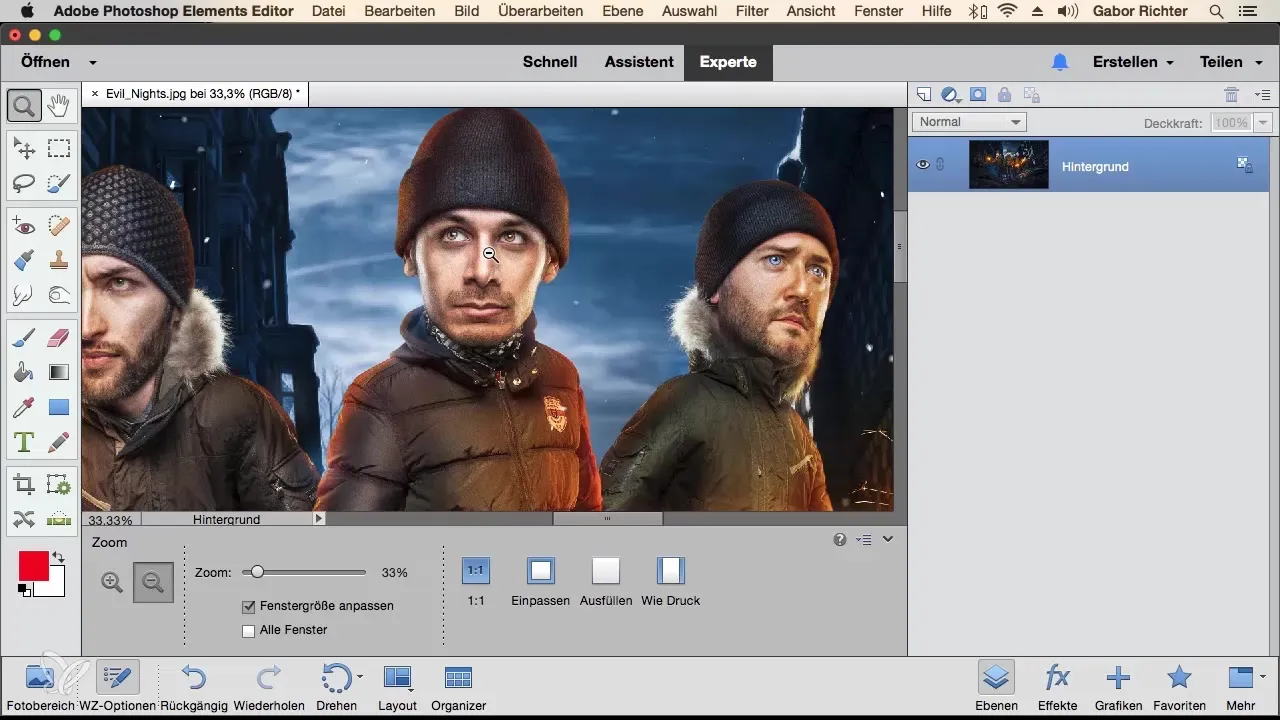
Click on the area you want to take a closer look at using the zoom tool. For example, you can click on a person's face to zoom in. Photoshop Elements will now zoom in on this area so that you can see the details more clearly.
3. Undoing the zoom
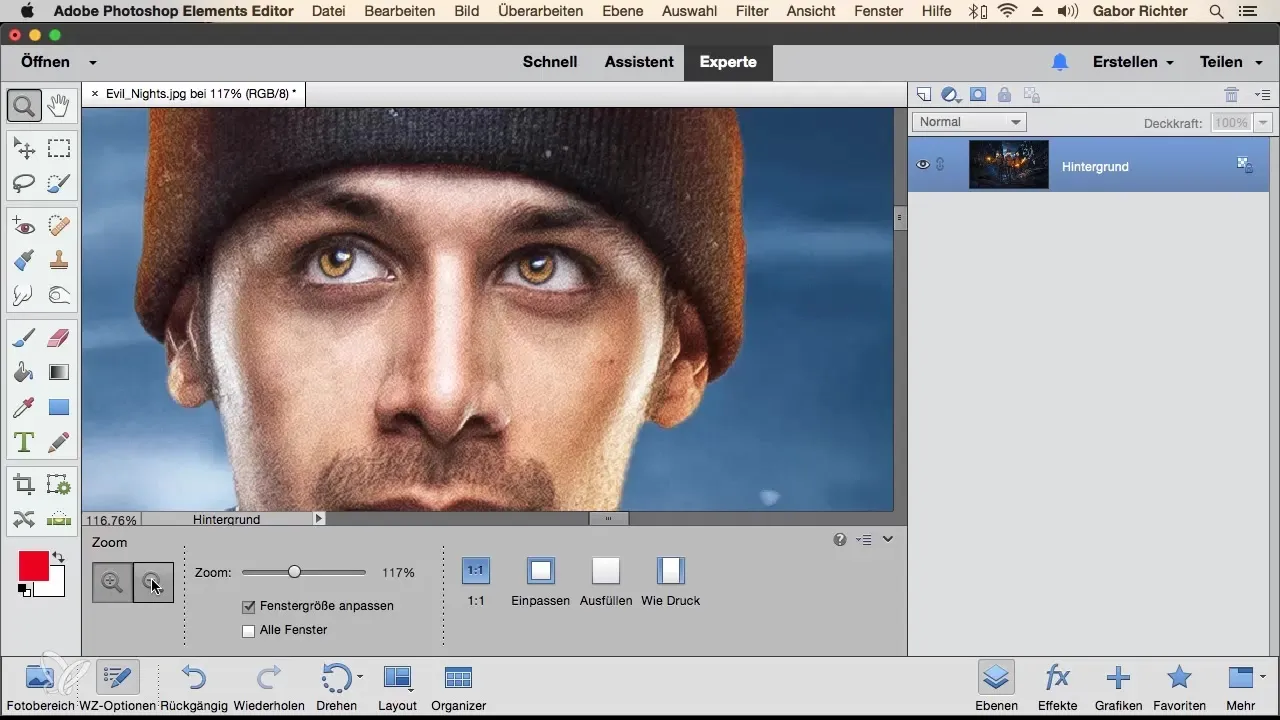
To zoom out again, you can use the minus icon in the toolbar. Simply click on the minus sign to gradually zoom out of the image. Alternatively, you can also click multiple times to adjust the zoom level as desired.
4. Working with the zoom level slider
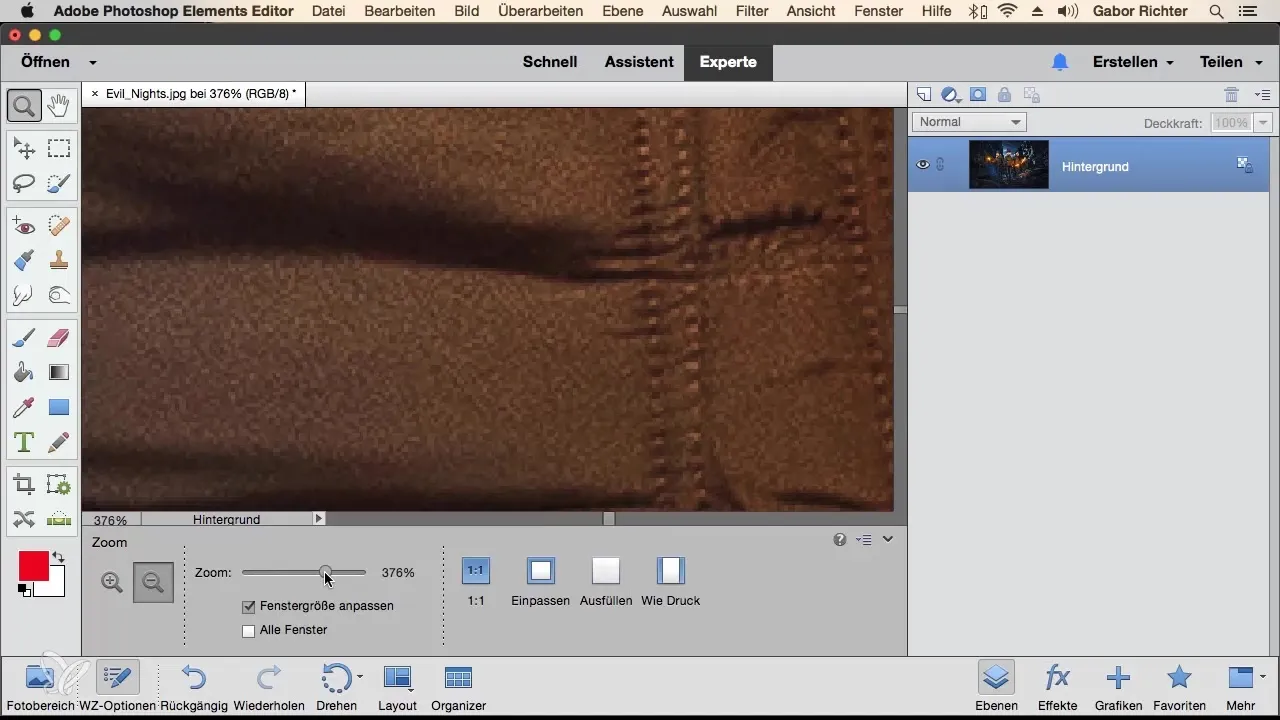
Another way to adjust the zoom level is to use the zoom slider located at the bottom of the window. Move the slider to the right to zoom in and to the left to zoom out. This allows you finer control over the displayed image size.
5. Using different zoom levels
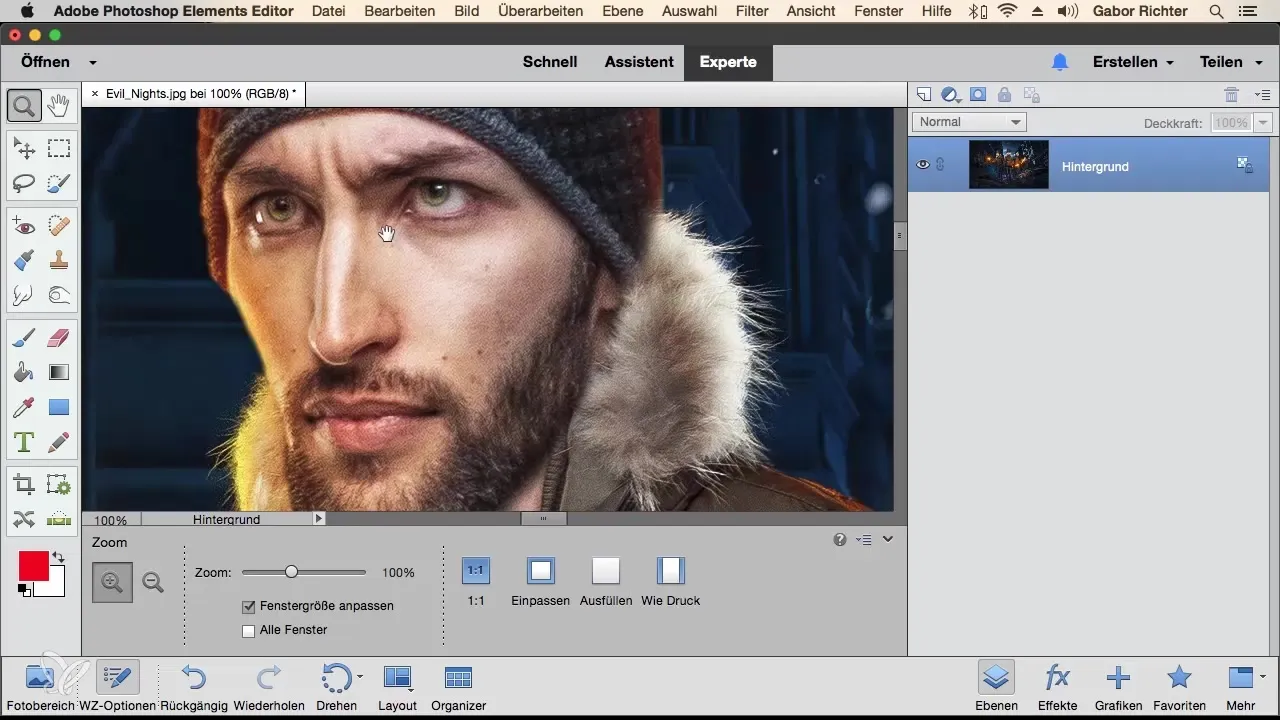
You can also select specific zoom levels, such as 100% or fit to screen. Choose 1:1 to view the image at original size. Alternatively, you can use the "Fit" function, which adjusts the entire image to fit on the screen. If you want to fill the area, select the "Fill" option.
6. Quickly switching between the zoom and hand tool
If you want to switch between different zoom levels without manually selecting the zoom tool each time, you can hold down the Alt key. This will change the zoom tool to a minus sign. When you release the key, the plus sign will reappear.
7. Using the hand tool
Do you hate searching for the desired area of the image after zooming in? Then the hand tool is the ideal tool. When you have zoomed in with the magnifying glass, you can simply hold down the spacebar. A hand symbol will appear, allowing you to move the image without changing tools.
8. Double-click for the full image display
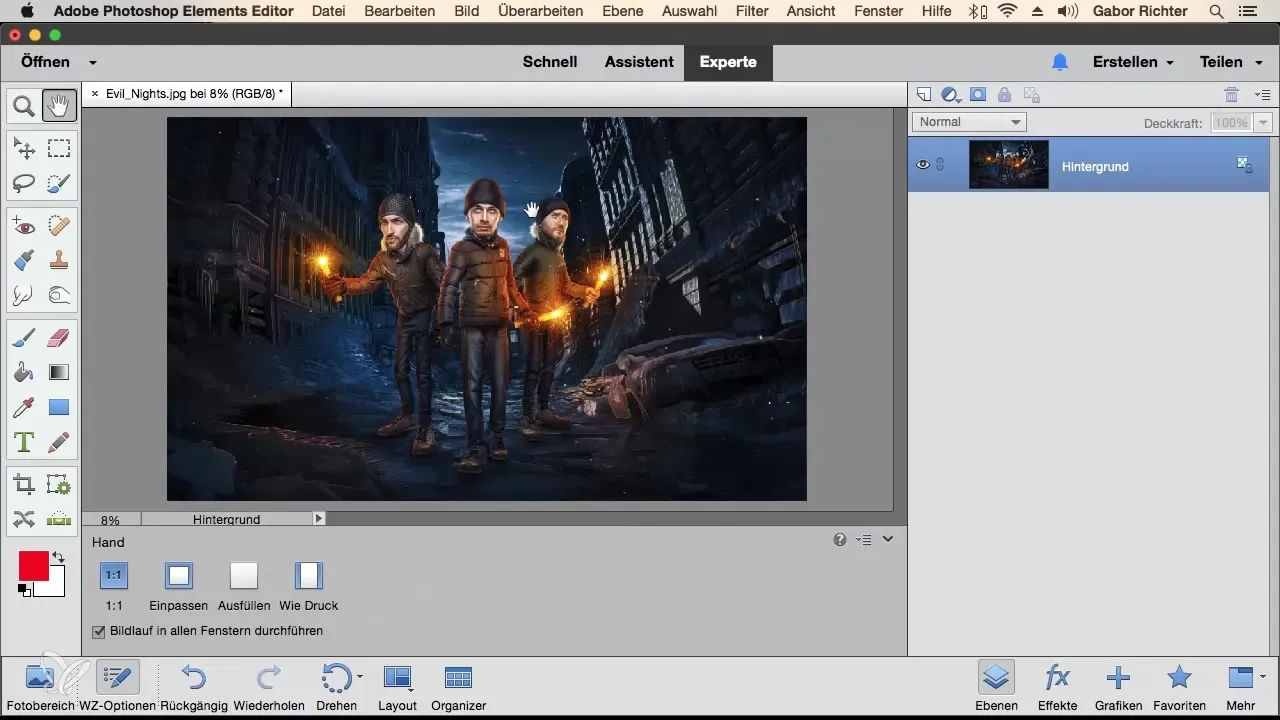
If you want to quickly return to the full image display, simply double-click on the hand tool. This will give you the full view of your image back without any additional steps.
Summary - Mastering Zoom and Hand Tool in Photoshop Elements
In this guide, you have learned how to effectively use the zoom and hand tool in Photoshop Elements. These features help you make detailed changes to your image and facilitate the communication of important image content.
Frequently Asked Questions
How do I zoom in on an image?Select the zoom tool from the toolbar and click on the desired area of the image.
What do I do if I want to zoom out again?Use the minus icon in the toolbar or click multiple times on the image to zoom out.
How do I use the zoom slider?Move the slider at the bottom of the window to the right or left to adjust the zoom level.
How can I switch between different zoom levels?Hold down the Alt key to quickly switch between zooming in and out.
How does the hand tool work?Hold down the spacebar to activate the hand tool and move the image to the desired position.


