When working with images, there may be times when certain areas need to be brightened or darkened to optimize the overall effect of the photo. Two tools that can help you are the Dodge and Burn tools in Photoshop Elements. These two tools allow you to work specifically on the contrasts and brightness in your image. Here you will learn step by step how to use these tools effectively in your own project.
Key takeaways
- The Dodge tool can be used to brighten specific areas of the image, while the Burn tool is used to darken.
- For most edits, midtones are the appropriate area to work on.
- Be sure to always work on the top layer to avoid confusion.
Step-by-step guide
Step one: Duplicate the layer Before you begin editing your images, it is advisable to create a backup copy of the original layer. To do this, right-click on your image layer and select the “Duplicate Layer” option. This way, you can reverse your changes at any time.
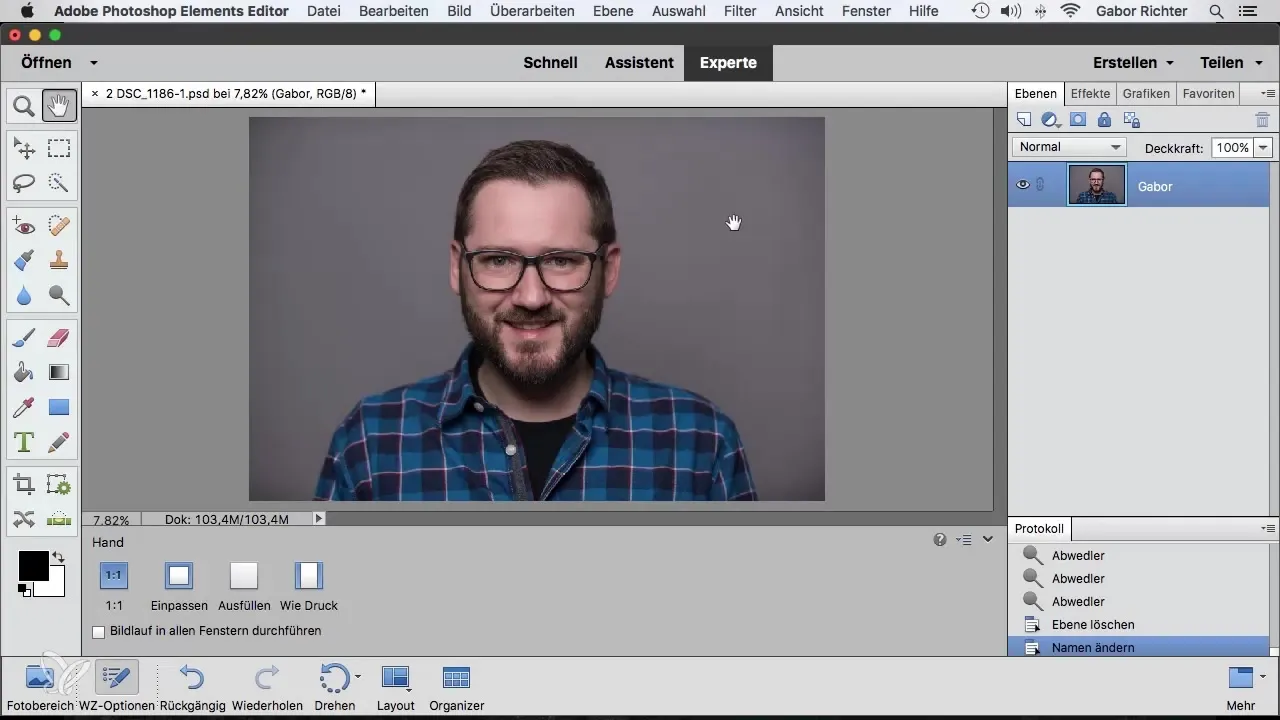
Step two: Activate the Dodge tool Select the Dodge tool from the toolbar. In the settings, you should ensure that the midtones option is active. This is sufficient for most cases to achieve a good result.
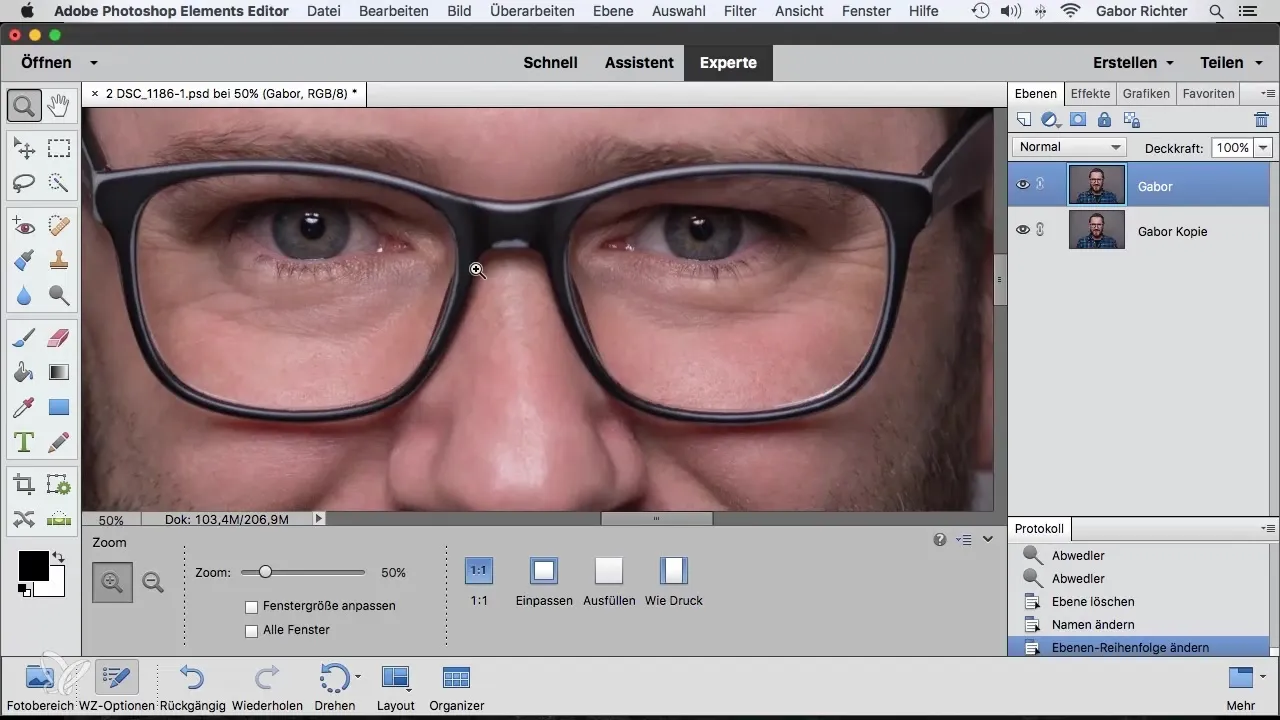
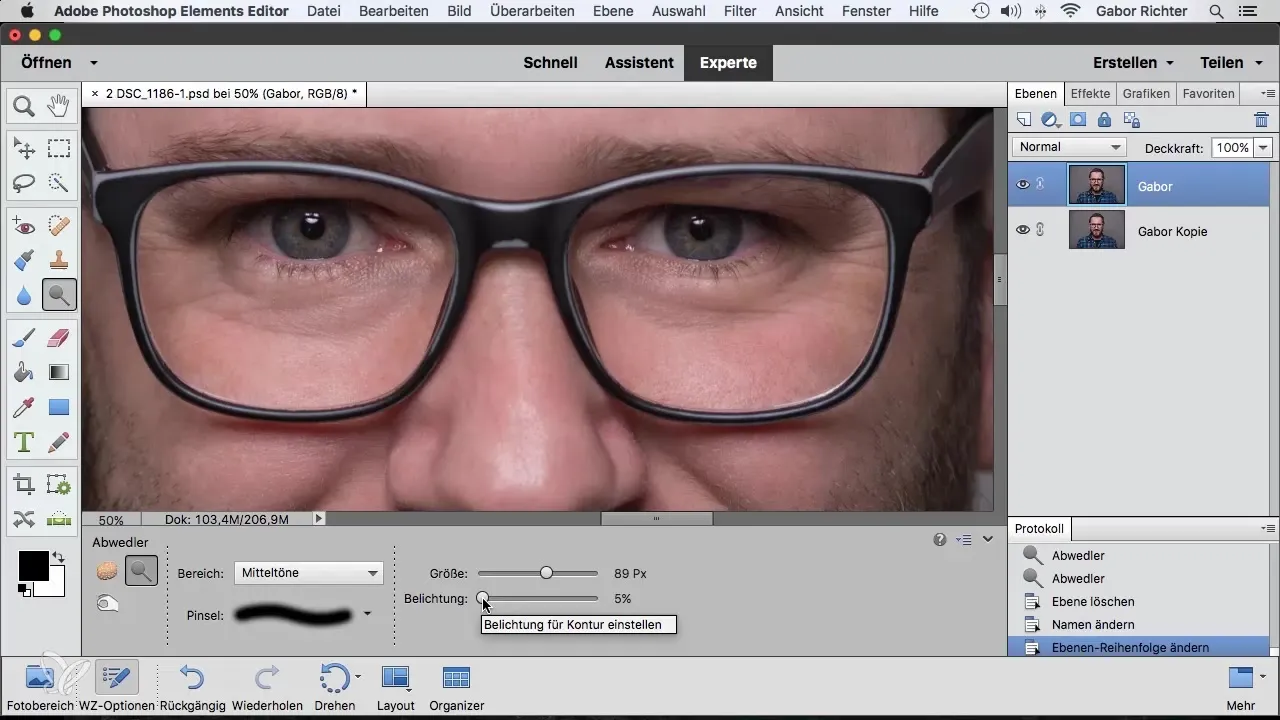
Step three: Adjust the settings of the Dodge tool For brightness, I recommend a value between 3% and 5%. A value of 5% is ideal as it does not appear too exaggerated. You can adjust the brush size to work specifically in the darker areas of your image.
Step four: Brighten areas Start by brightening the dark areas, such as the forehead and eyes. Move the brush in gentle arcs over the desired area. Applying multiple times (e.g. two to three times over the same area) can intensify the desired results.
Step five: Fine-tune the brightenings Make sure you do not over-brighten to avoid an unnatural look. Regularly check the original image to ensure that the changes appear harmonious. Evaluate the changes on key features like the eyes and nose to create an appealing overall image.
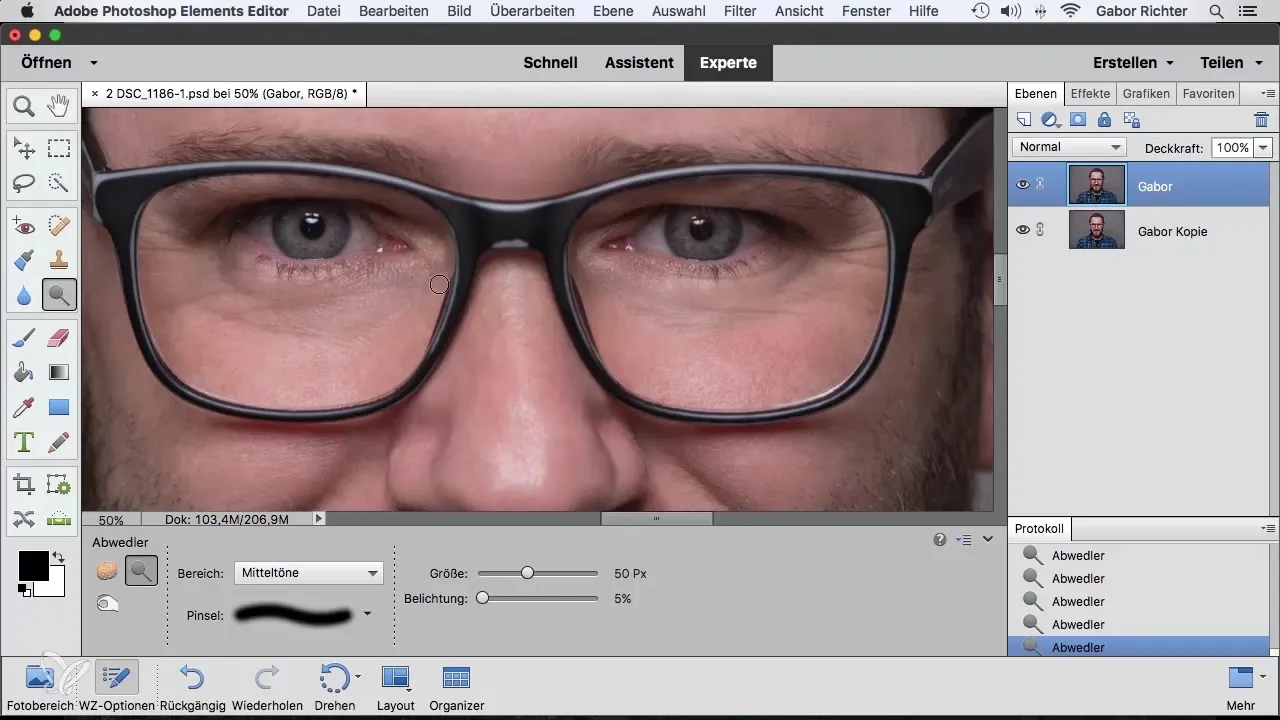
Step six: Activate the Burn tool To darken areas, switch to the Burn tool. Initially, use the same settings as for the Dodge tool. Focus on the areas you want to darken, such as the spots in the middle of the forehead or under the eyes.
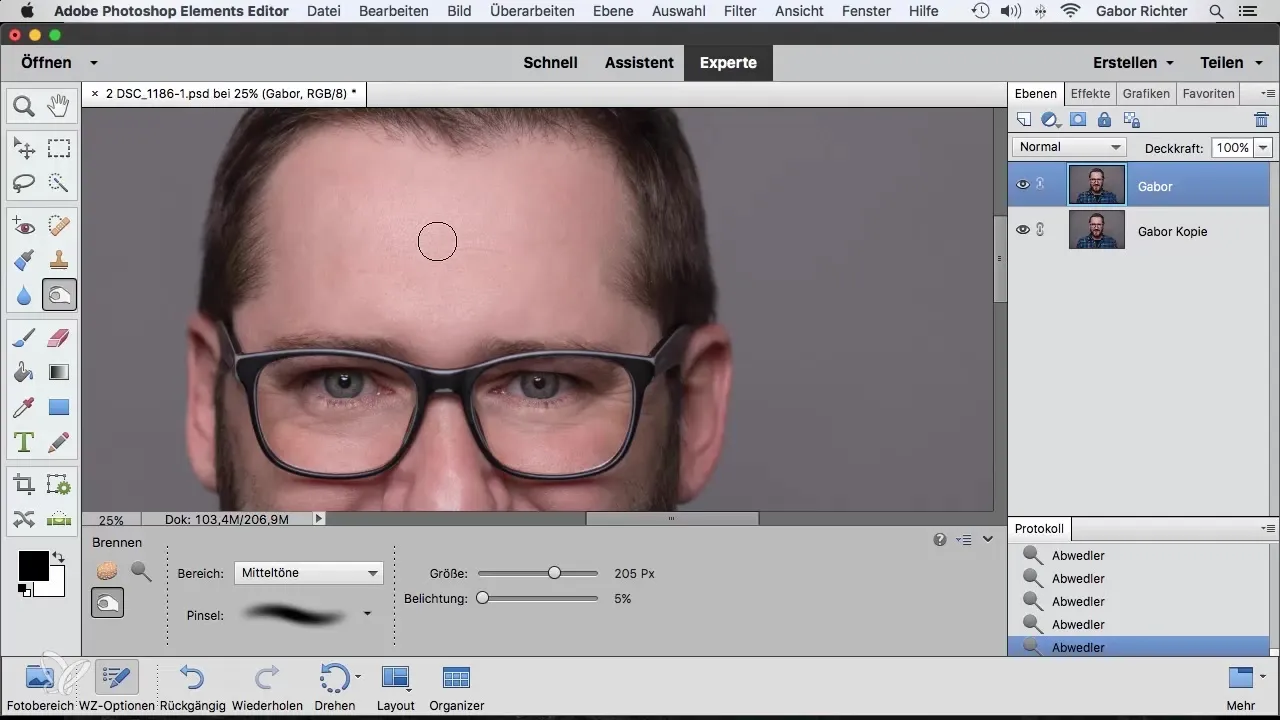
Step seven: Adjust the settings of the Burn tool Also use a low exposure for the Burn tool. Ensure that the changes are subtle to avoid too strong a darkening. If needed, you can adjust the brush size for more precision.
Step eight: Creative adjustments Don’t hesitate to be creative. You can also slightly darken the eyebrows or beard to create more definition. Keep in mind that you are always working on the top layer to execute your modifications correctly.
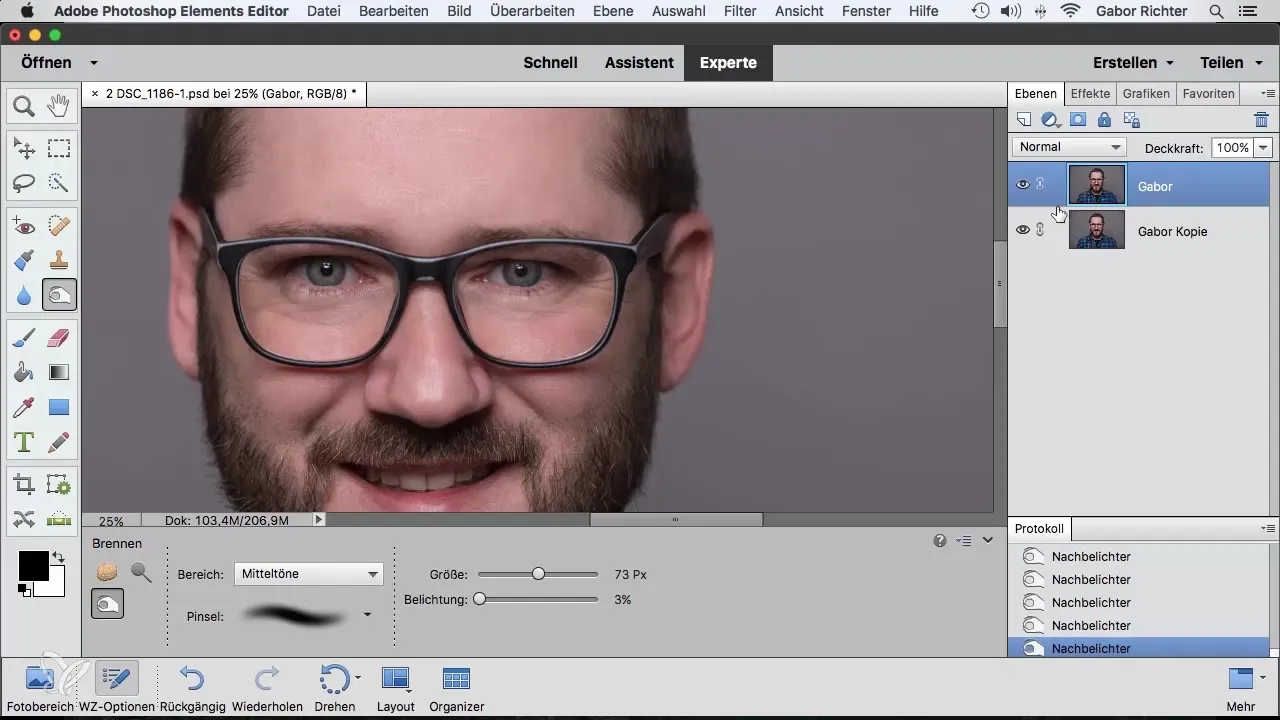
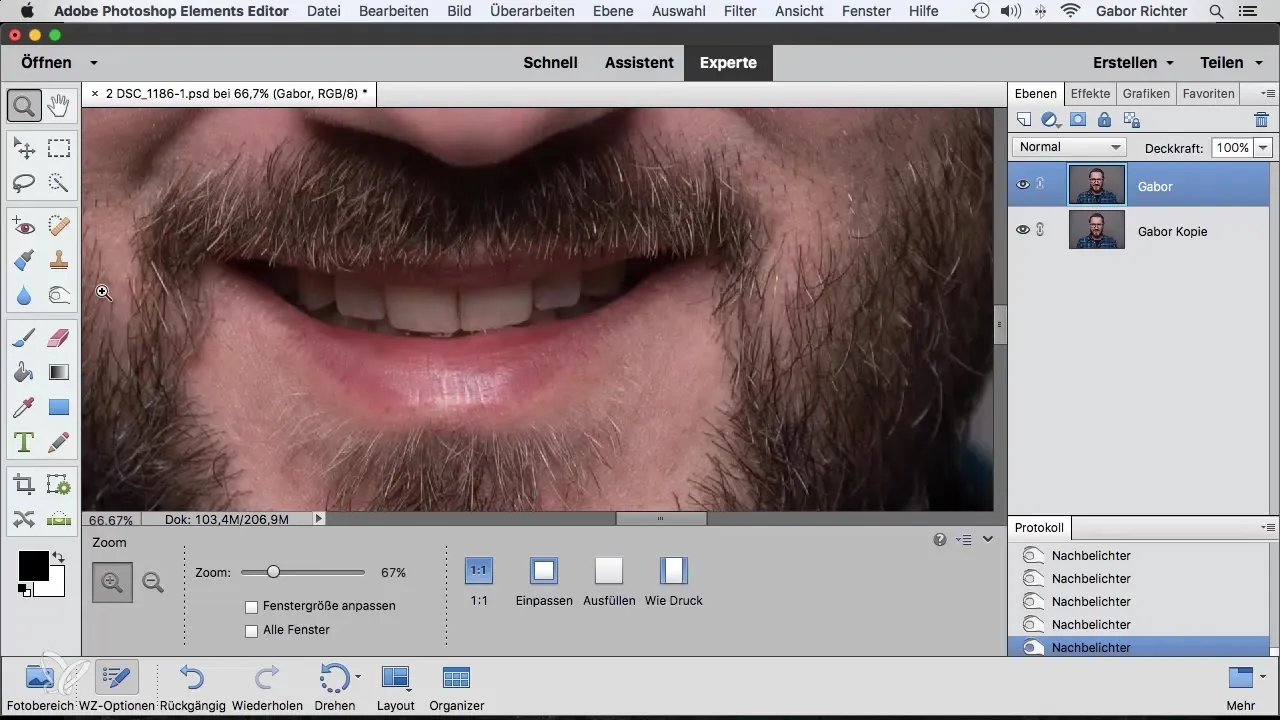
Step nine: Final review and adjustments Analyze the image as a whole and see if there are other areas that need improvement. For example, you can slightly brighten the teeth to make them stand out better. Reduce the size of the tool for more precise work.
Summary – Guide to Using Dodge and Burn in Photoshop Elements
By using the Dodge and Burn tools, you can significantly enhance your images. The targeted brightening and darkening of image areas creates a harmonious overall image. Remember to work with duplicated layers to always be more flexible in your editing.
Frequently Asked Questions
How do I duplicate a layer in Photoshop Elements?Right-click on the layer and select “Duplicate Layer”.
What is the difference between Dodge and Burn?The Dodge tool brightens areas while the Burn tool darkens them.
How do I ensure my changes look natural?Use subtle settings and regularly check the comparison of the original with your edited image.
What brush size should I use?Adjust the brush size according to the areas of the image you want to edit.
What should I do if I’m not satisfied with the results?You can adjust the settings at any time or undo the changes since you are working on a duplicated layer.
