Photography with RAW files is particularly popular in the professional world because it allows for maximum flexibility in editing and developing images. However, many photographers do not know how to fully exploit the potential of their RAW files. In this guide, I will show you how to effectively develop your RAW images using Adobe Photoshop Elements to achieve the best possible image quality.
Key Insights
- The correct straightening of images is crucial for an appealing image composition.
- The white balance affects the color temperature and can significantly change the mood of the image.
- Using the sliders for exposure, contrast, clarity, and saturation can greatly enhance the image.
- Sharpening images should be applied selectively and thoughtfully.
Step-by-Step Guide
1. Straighten Image
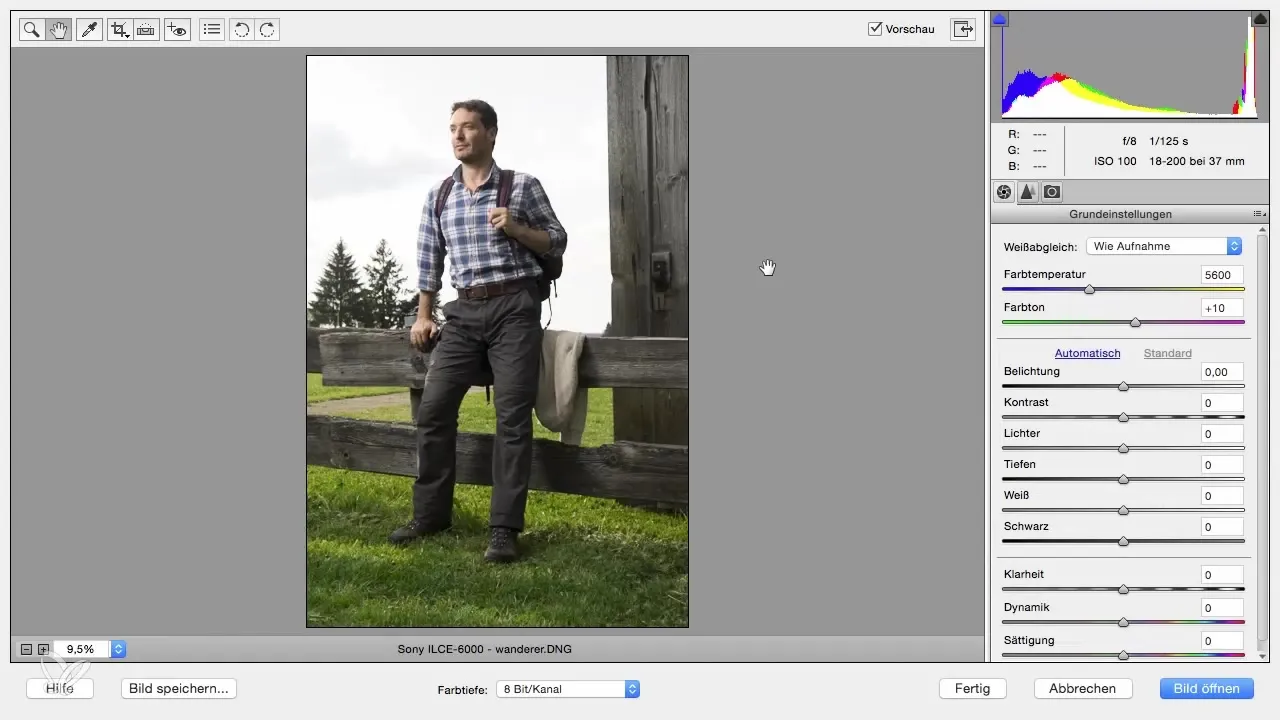
First, it is important to straighten the image to achieve a harmonious composition. Use the “Straighten” tool to correct horizontal or vertical lines in the image. Draw a line along a reference edge - for example, the wooden beam in the background. Press “Enter” to straighten the image and save the new crop.
2. Zoom In and Move Image
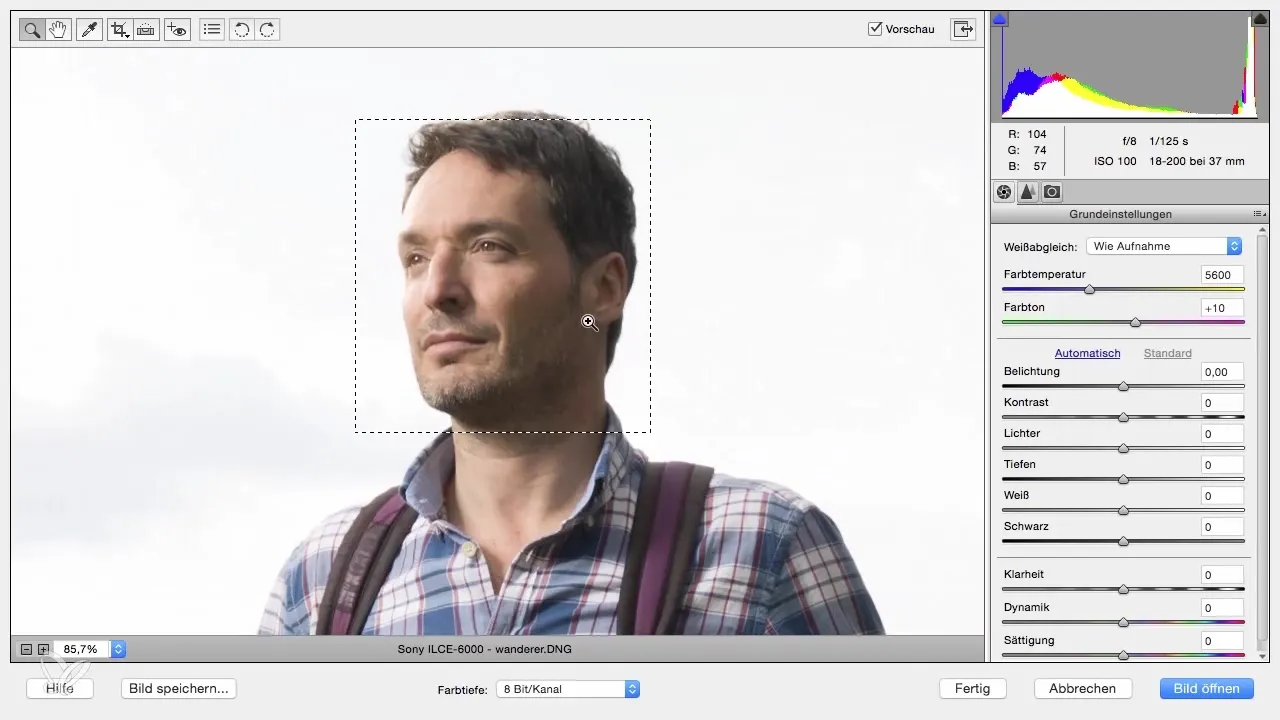
To make more detailed adjustments, use the zoom tool to zoom into the image. Hold the space bar to move the image. This allows you to better assess different focal points in the image and make adjustments.
3. Adjust White Balance
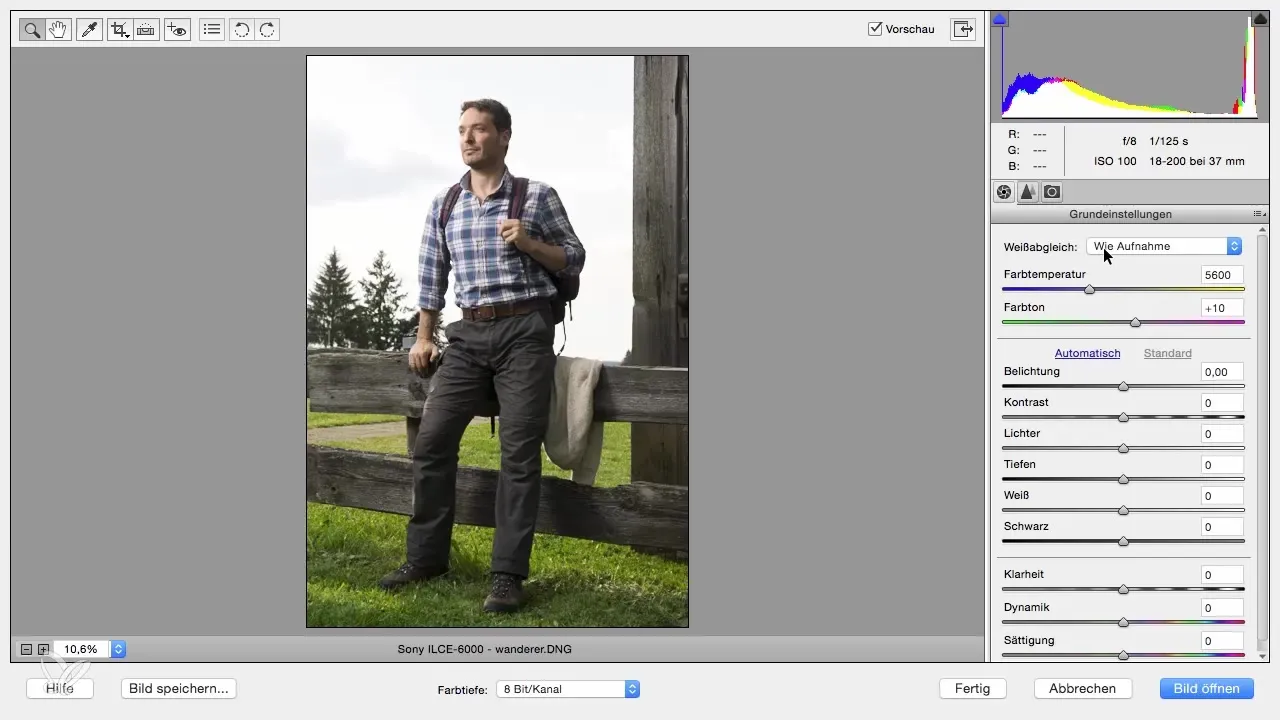
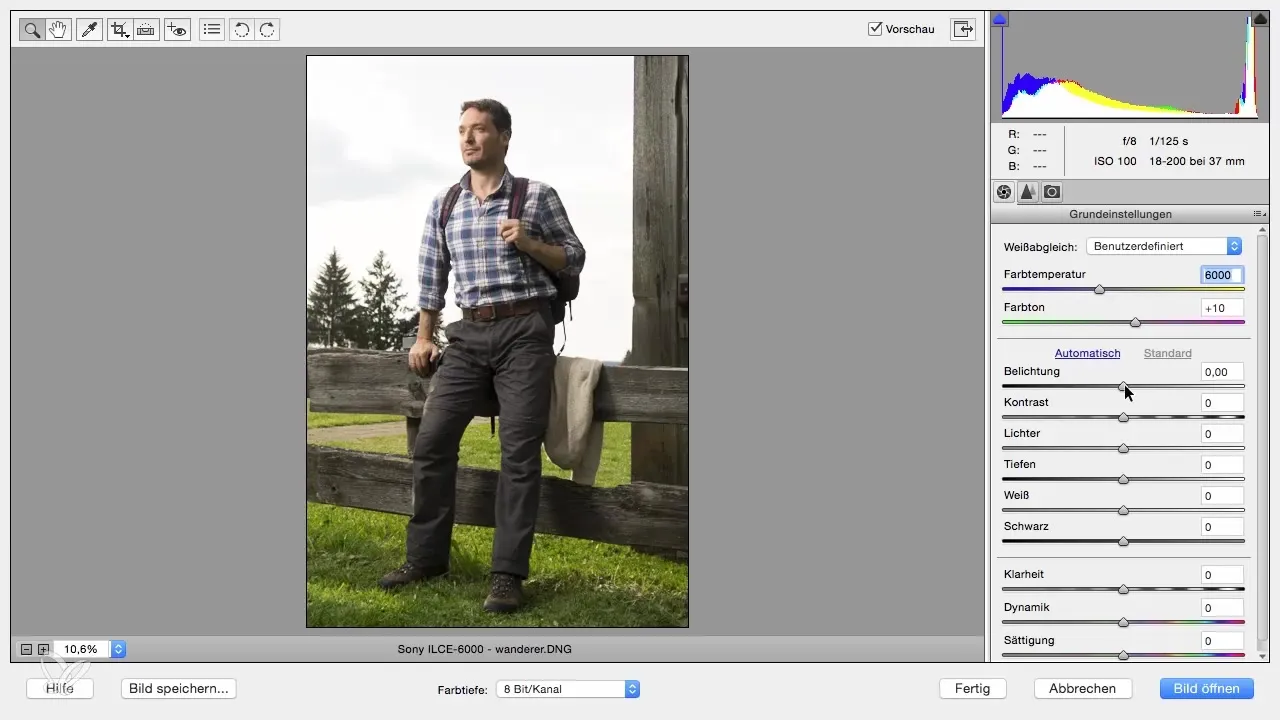
The white balance is a critical step in RAW development. You can select various presets like daylight, artificial light, or flash to quickly adjust the white balance. Alternatively, you can also manually adjust the color temperature to achieve the desired effect. Start with the current white balance of your shot and experiment with the settings.
4. Exposure and Contrast
Check if the exposure of the image is correct. If necessary, you can adjust the exposure to make the image lighter or darker. For the contrasts, move the slider so the image mood matches your vision. Higher contrast often makes the image more vibrant, but don’t overdo it.
5. Adjust Highlights and Shadows
To bring out details in the bright and dark areas of the image, adjust the sliders for highlights and shadows. This can help bring more detail into the sky or brighten shadow areas without compromising image quality.
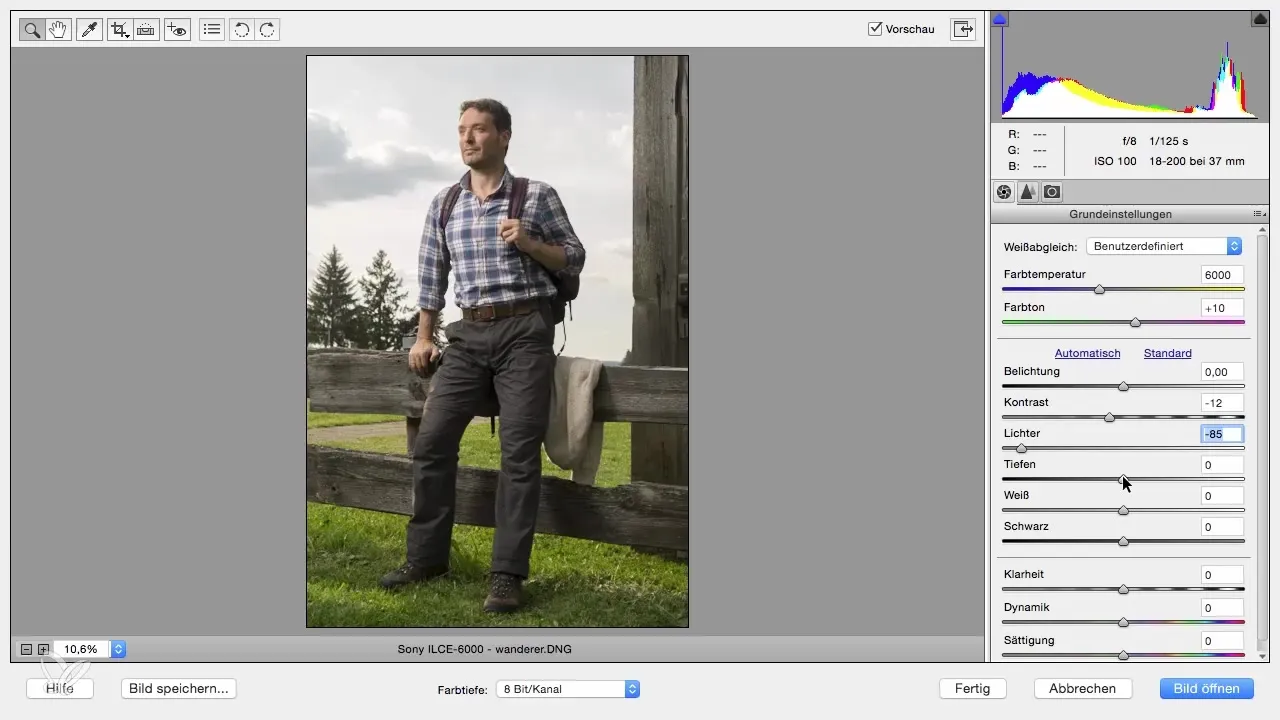
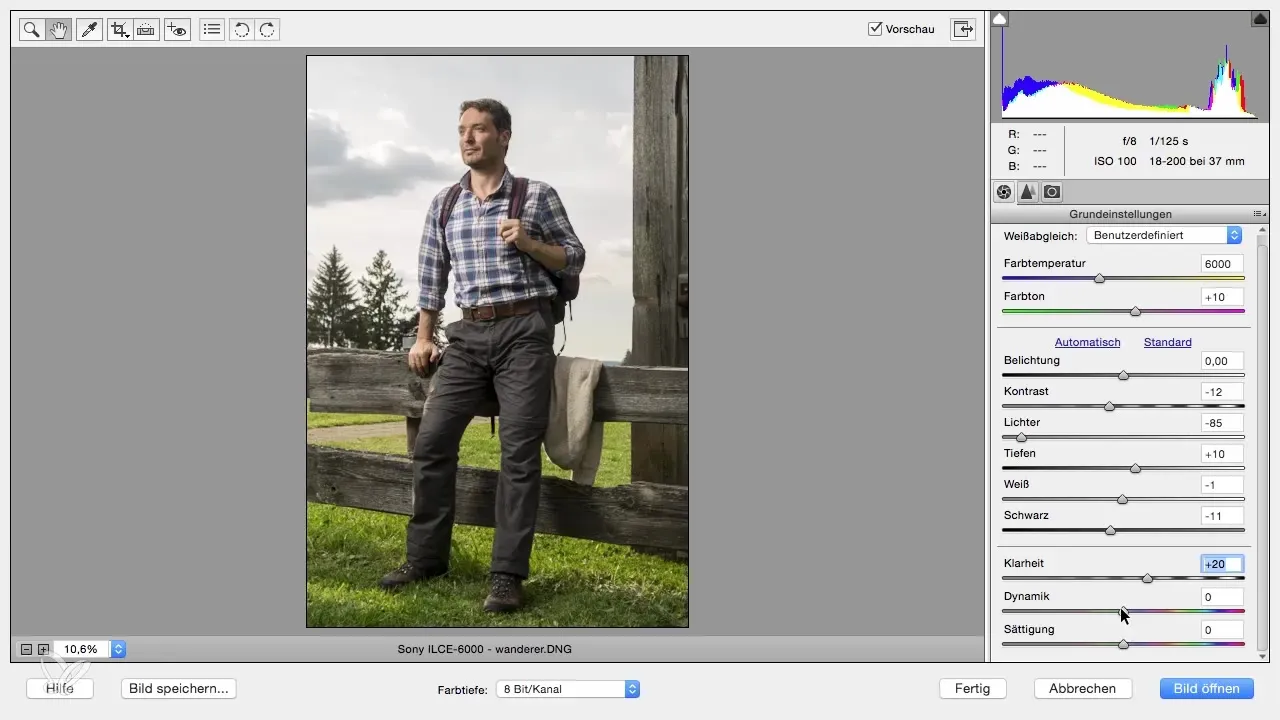
6. Clarity and Color Sliders
Use the clarity slider to enhance contrasts in the outlines of the image. A value around 20 can be useful here to achieve a certain sharpness without making the image look unnatural. The vibrance and saturation sliders also allow you to optimize the colors in the image. Vibrance lifts weak colors while saturation increases all colors evenly.
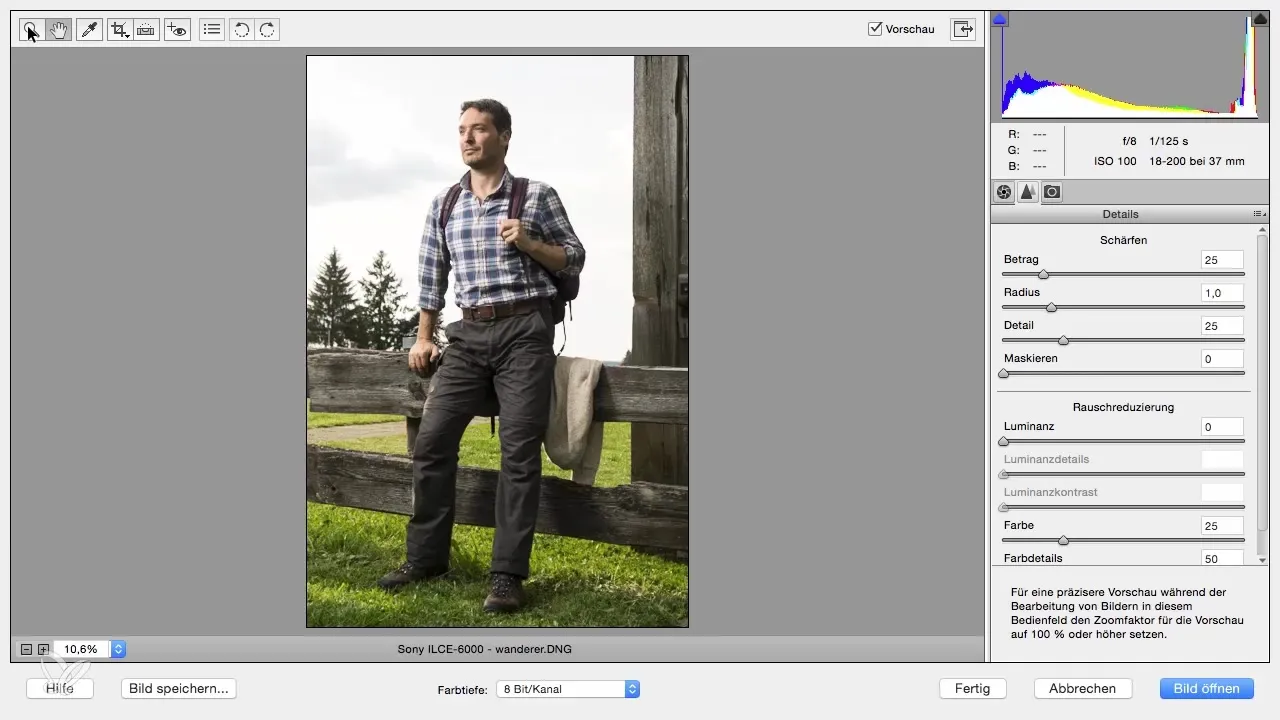
7. Sharpen the Image
Finally, sharpen the image. It is advisable to zoom in first to assess the sharpness. The radius determines how strong the sharpening affects the outlines. A value between 0.5 and 1 is usually best suited. Be careful not to create artifacts in the bright areas of the image.
Summary – Developing RAW Images in Photoshop Elements
With the right tools and techniques, you can optimally develop your RAW images in Photoshop Elements. From straightening to white balance to fine-tuning colors and sharpness, the steps are crucial for an appealing final product.
Frequently Asked Questions
How can I straighten one of my images?Use the “Straighten” tool to use horizontal or vertical lines as a reference for straightening.
What should I consider for white balance?Be sure to set the color temperature to match the lighting situation of your shot.
How can I improve the color intensity of my images?Use the vibrance and saturation sliders to adjust the color intensity.
What values are best suited for sharpening?A radius between 0.5 and 1 is optimal to create natural sharpness without producing artifacts.
Why is clarity important?The clarity slider enhances the outlines in the image, which can make the image more impactful when used correctly.


