You have an image that you like, but it's not perfectly aligned? Yes, that can be frustrating. The image could show a beautiful desert landscape, but the horizontal line is not quite straight. With Photoshop Elements, you can easily master this challenge and adjust your image to appear more harmonious.
Key Insights
- A crooked image can negatively affect the viewer's impression.
- The Straighten Tool in Photoshop Elements allows for simple and effective alignment.
- You can fill image areas with pixels to avoid white edges after straightening or remove them completely.
Step-by-Step Guide
First, open your image in Photoshop Elements. Once you have started the application, load the image you want to straighten before proceeding to the next step.
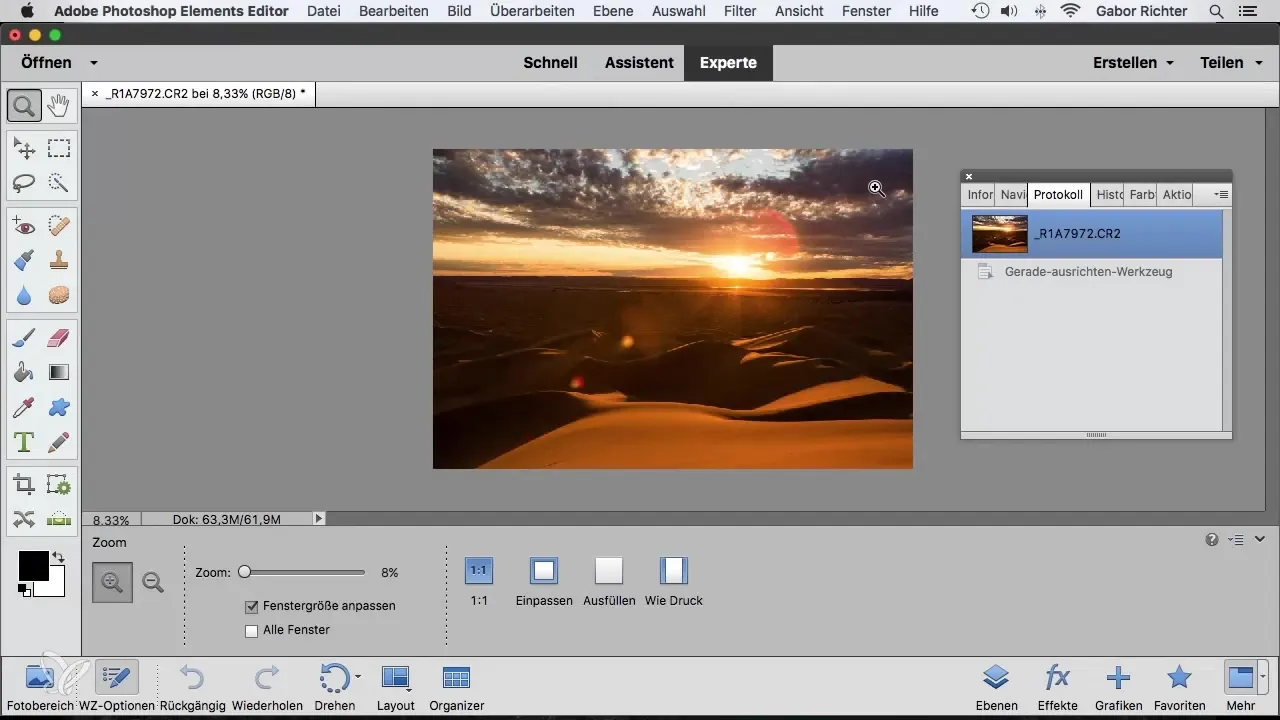
Step 1: Find the Line
To recognize the horizontal line of your image, look at the composition. You will notice that the line in the image slightly drops, and that doesn't sit well with you. It is important that the lines in the image are well aligned to provide the viewer with a feeling of calm.
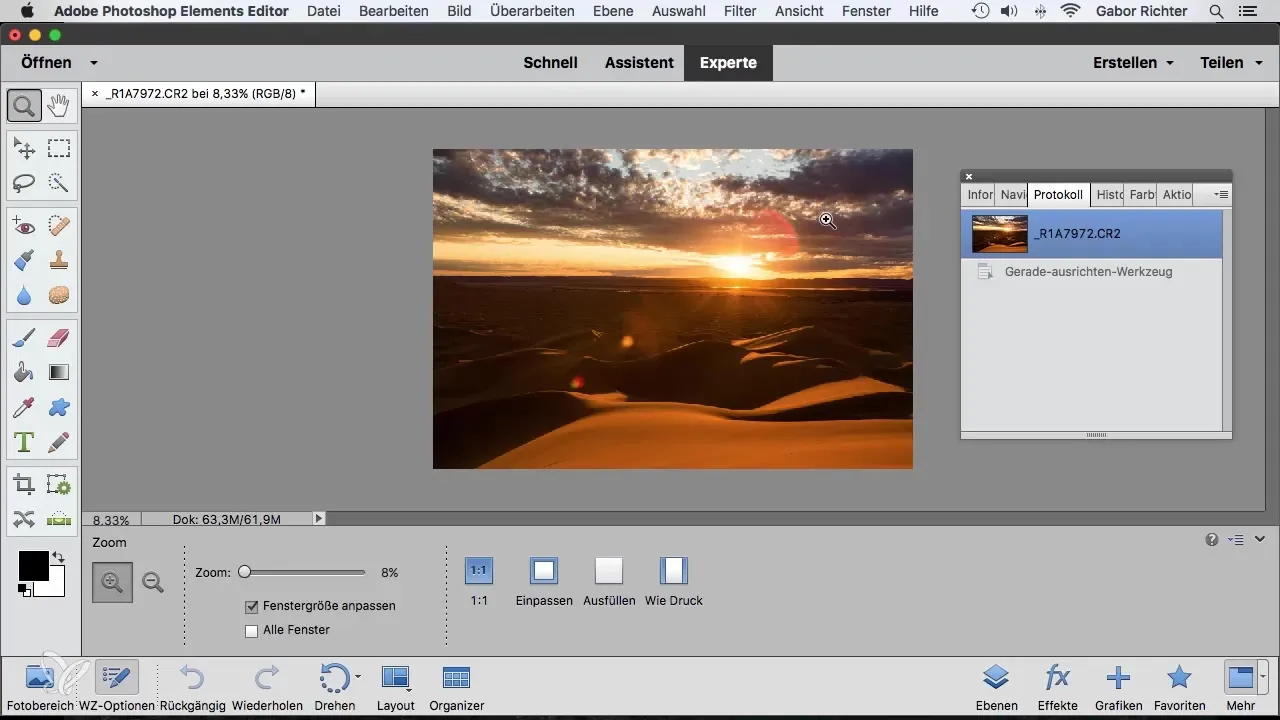
Step 2: Select the Straighten Tool
Now it's time to choose the Straighten Tool. At first, it looks like a crosshair. With this tool, determine a clear point on the crooked line. Then, drag along the line to indicate where the horizontal line in the image should actually run.
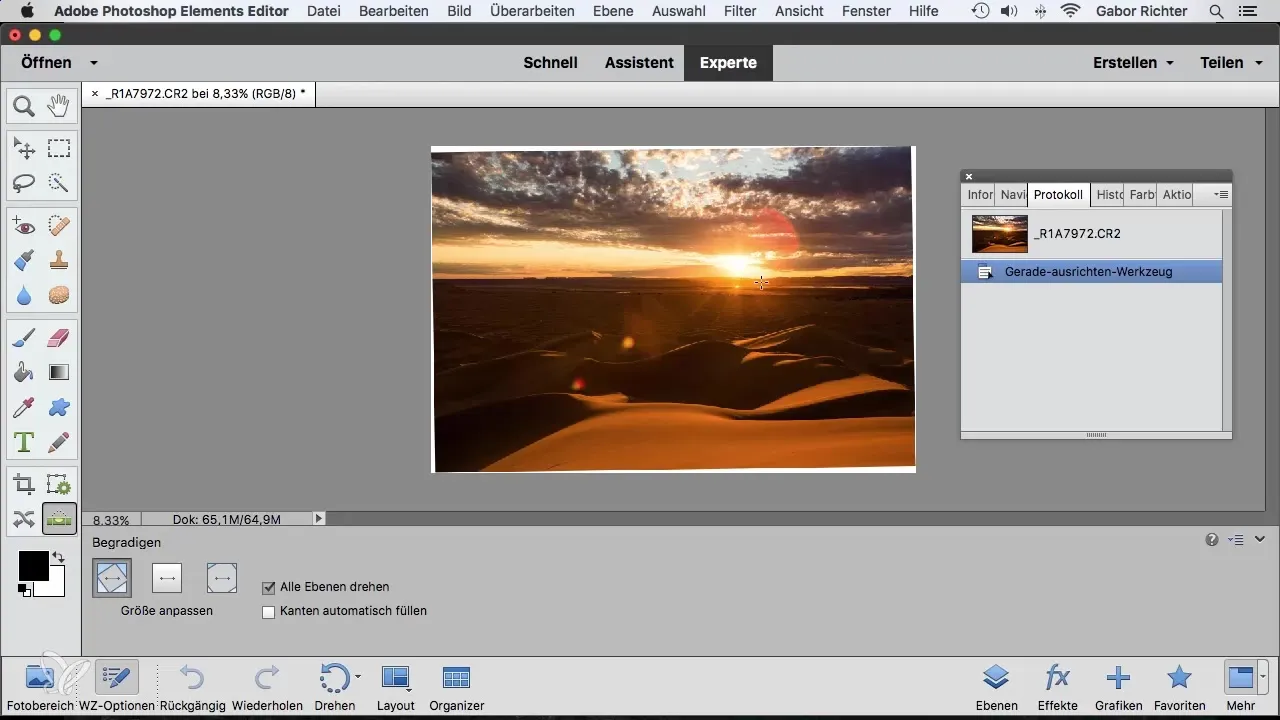
Step 3: Align the Image
Release the tool, and you will see that Photoshop Elements automatically rotates your image. After that, the image will be correctly aligned. Make sure there are no empty white edges. These edges often appear when the image is rotated.
Step 4: Remove Crop
Next, you need to adjust the crop. You can use the Crop Tool to make the selection and remove the white edges. By doing this, you ensure that the unsightly white edge disappears.
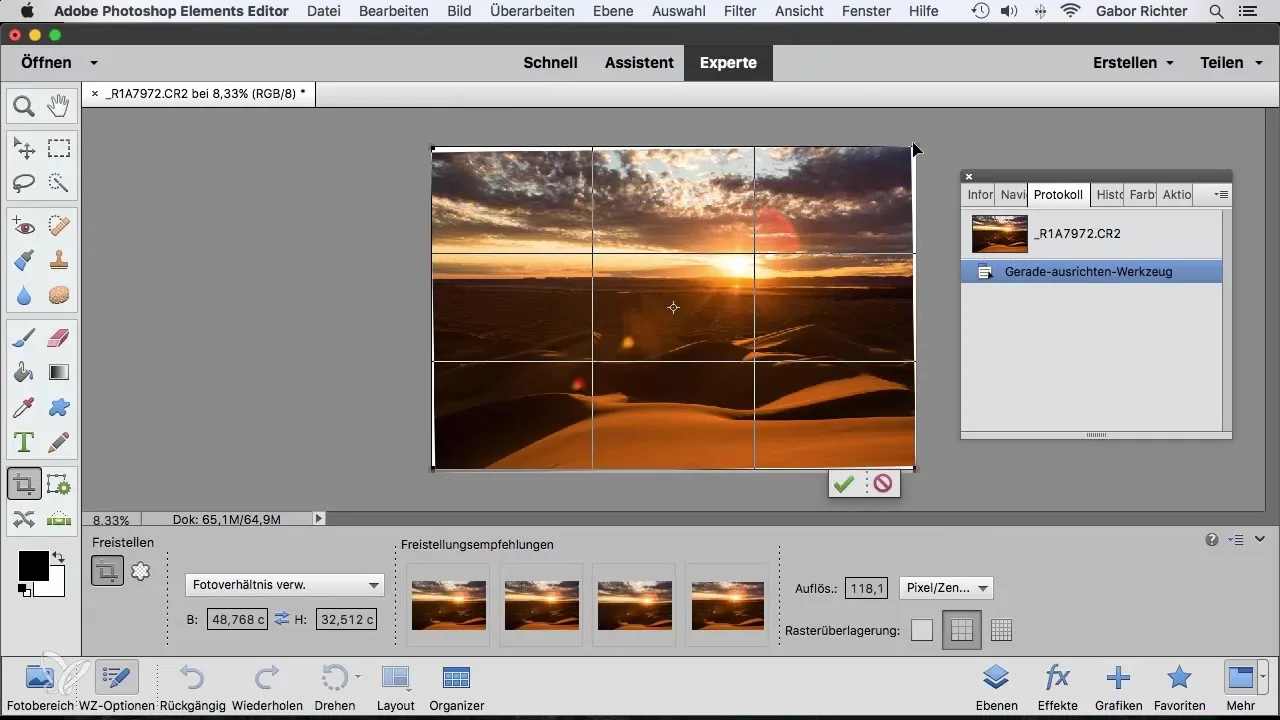
Step 5: Confirm Changes
Confirm your changes after working with the Crop Tool. Now you should see a harmonious alignment in the image without distracting white edges, making it look significantly more appealing.
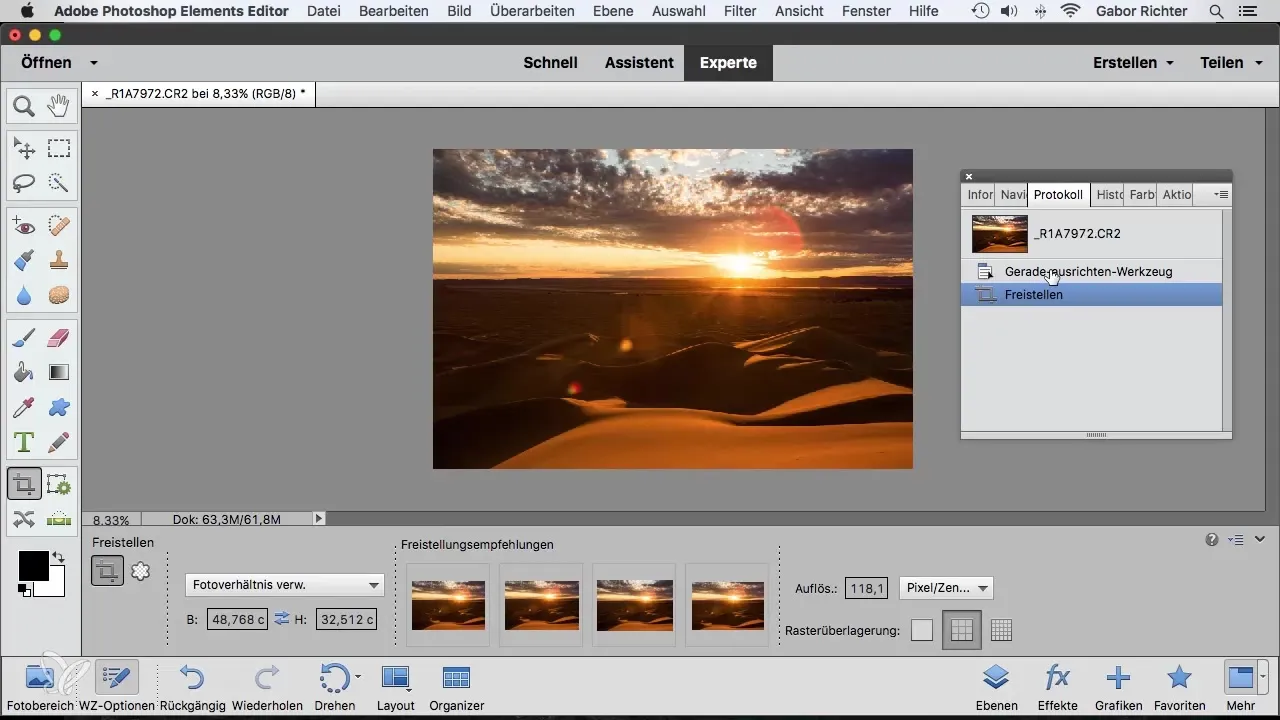
Step 6: Activate Auto Fill
If you decide to correct the edges further, go back to the Straighten Tool and select the "Auto Fill Edge" option. This helps you fill the white edges with matching pixels from the image.
Step 7: Choose Alternatives
You can also activate the Background Removal feature. This will cut the white edges directly away, resulting in a cleaner final result. Let your horizontal line be set again by the tool and confirm the changes once more.
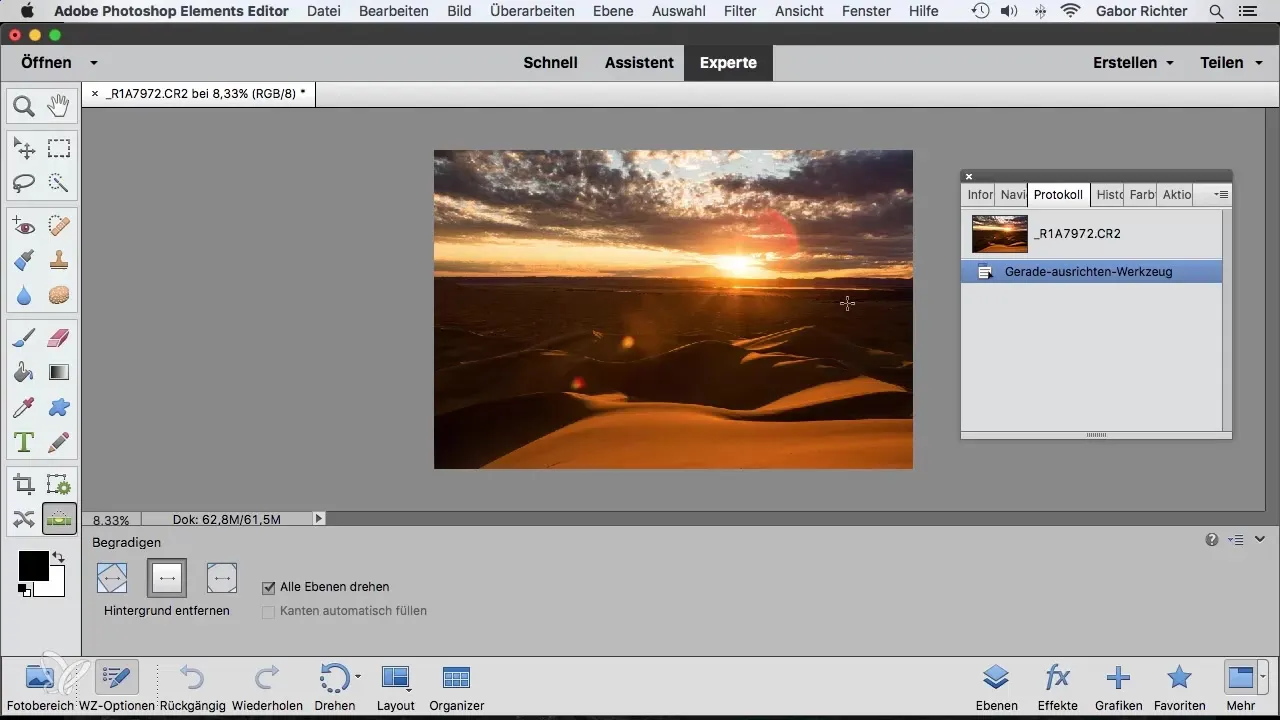
Step 8: Finish Your Editing
Your image is now straightened! Consider what works best for you: Should the white edges be digitally replaced or simply cropped away? It’s entirely up to you which method you prefer.
Summary - Straighten Images with Photoshop Elements: A Step-by-Step Guide
You have learned how to effectively align your images with the Straighten Tool in Photoshop Elements. The steps range from recognizing the crooked lines to the final confirmation of your changes. In the end, you have the choice to fill with pixels or eliminate the white edges directly.
Frequently Asked Questions
What is the Straighten Tool in Photoshop Elements?The Straighten Tool helps you easily align crooked lines in your images.
Why do crooked images seem restless?Crooked lines often convey a sense of instability and can evoke negative associations.
How can I avoid white edges after straightening?You can choose the background removal option or crop the edges using the Crop Tool.
What happens if I'm not satisfied with the Straighten Tool?You can undo any changes and try again until you achieve the desired result.
Is Photoshop Elements free?Photoshop Elements is not free but offers a trial version.


