With the new features of the eraser in Photoshop Elements, you have the ability to efficiently remove backgrounds and quickly isolate elements. The comprehensive features not only provide you with more precise results but also save you a lot of time in image editing. In this guide, I will show you how to get the best out of the advanced eraser.
Key Insights
- The background eraser allows for precise removal of distracting backgrounds.
- The tolerance setting is crucial for the quality of the results.
- The magic eraser simplifies working with complicated areas.
Step-by-Step Guide
1. Selecting the Eraser
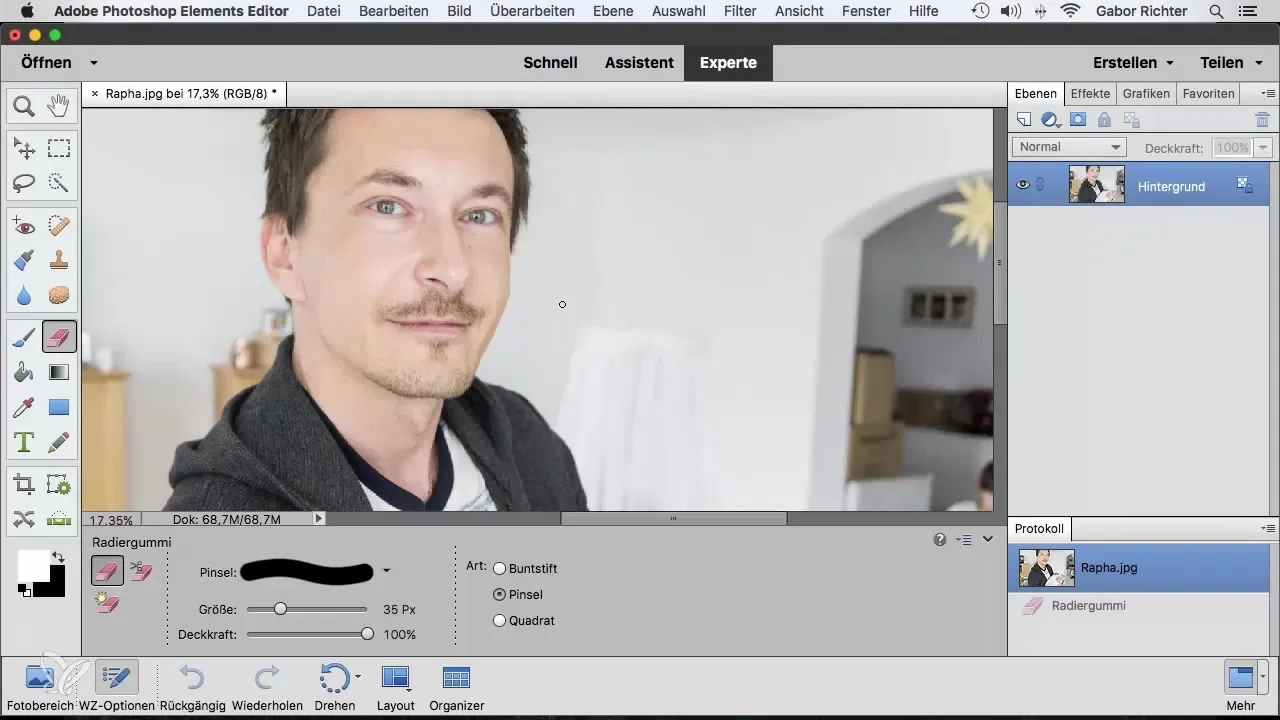
First, you need the tool that will assist in your image editing. Select the eraser from your toolbox. You can do this by either clicking on the eraser icon or using the appropriate keyboard shortcut.

2. Using the Background Eraser
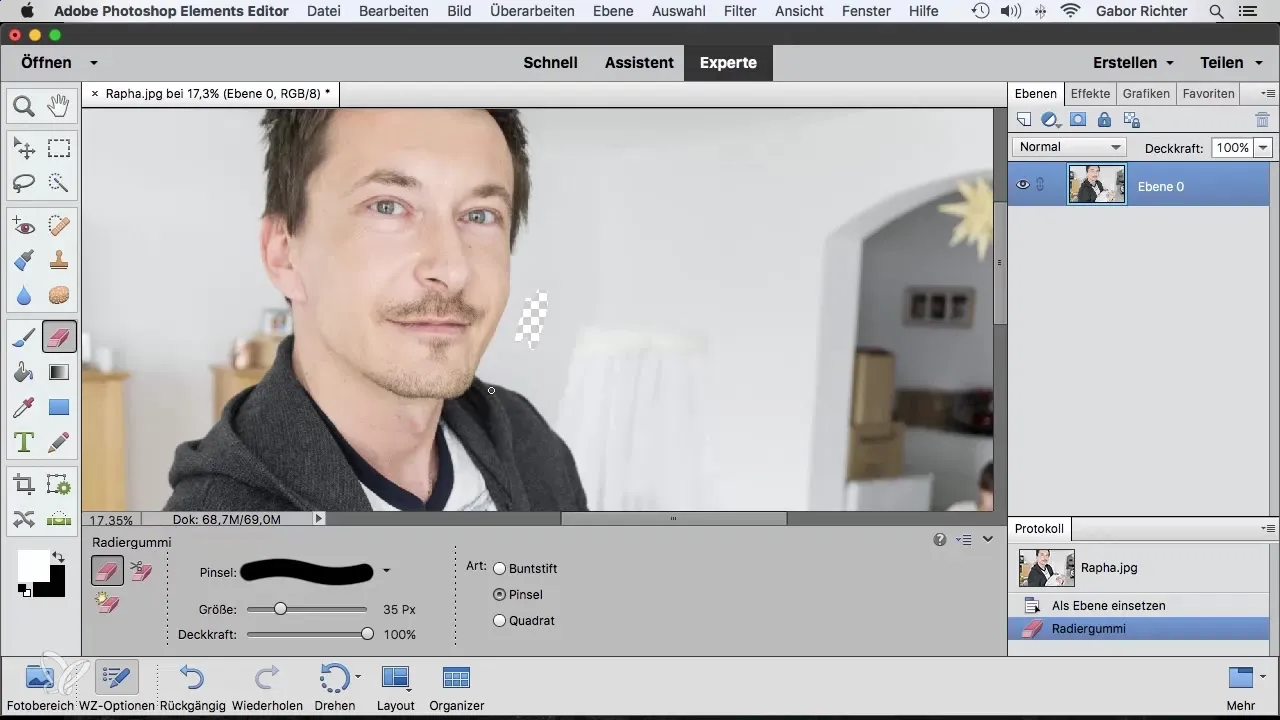
To remove the background precisely, utilize the background eraser. This works particularly well when you want to reveal areas obscured by a distracting background. You can hover the eraser along the edges of the object and see how the background disappears.

3. Adjust Tolerance
An important step is the tolerance setting. This setting defines how strongly the eraser works and how precise the selection is. Start with a value below 10 to ensure a fine selection. Adjust the tolerance as needed, depending on how clear the contours of the object are.
4. Focused Erasing
When working on the contours of the object, proceed carefully. Glide along the edge and watch as Photoshop Elements removes the background. The background eraser even recognizes fine details, such as hair, ensuring they do not blend with the background.
5. Editing Additional Areas
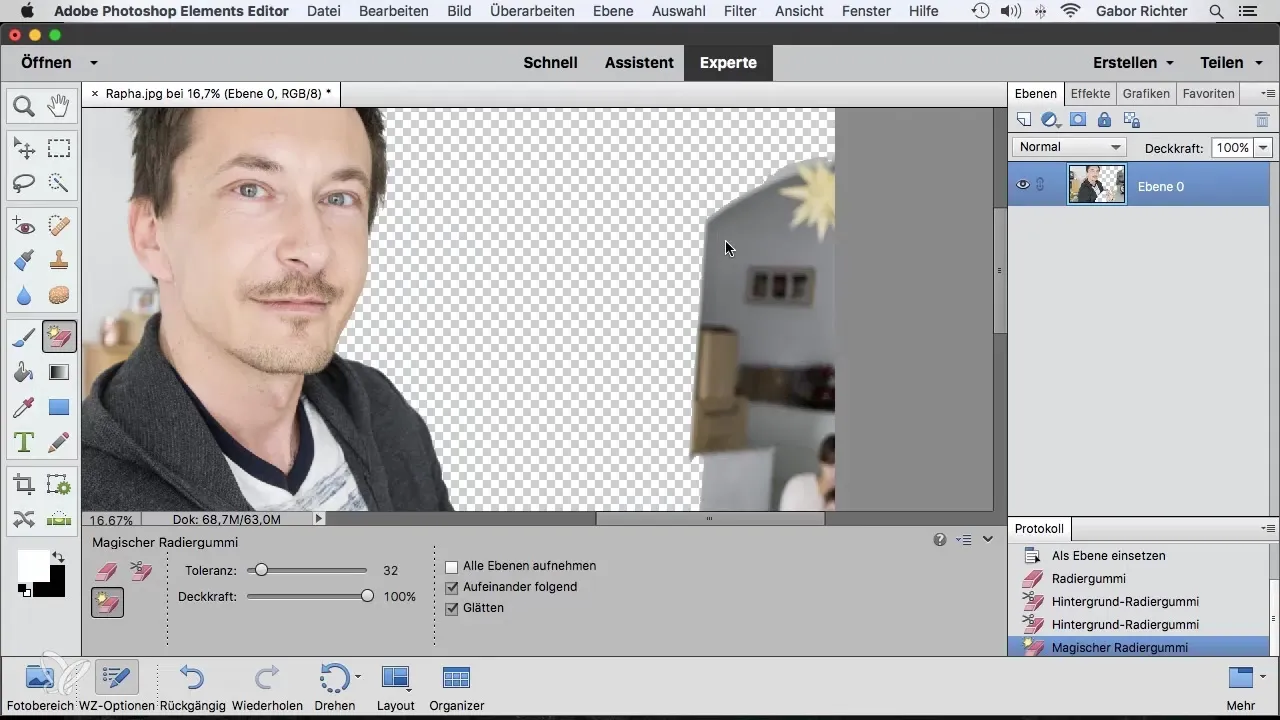
Once you have removed the contours, you may also need to edit other areas of the background. This is where the magic eraser comes into play. Simply hover the cursor over the unwanted areas and watch them disappear instantly.

6. Fine-tuning the Edit
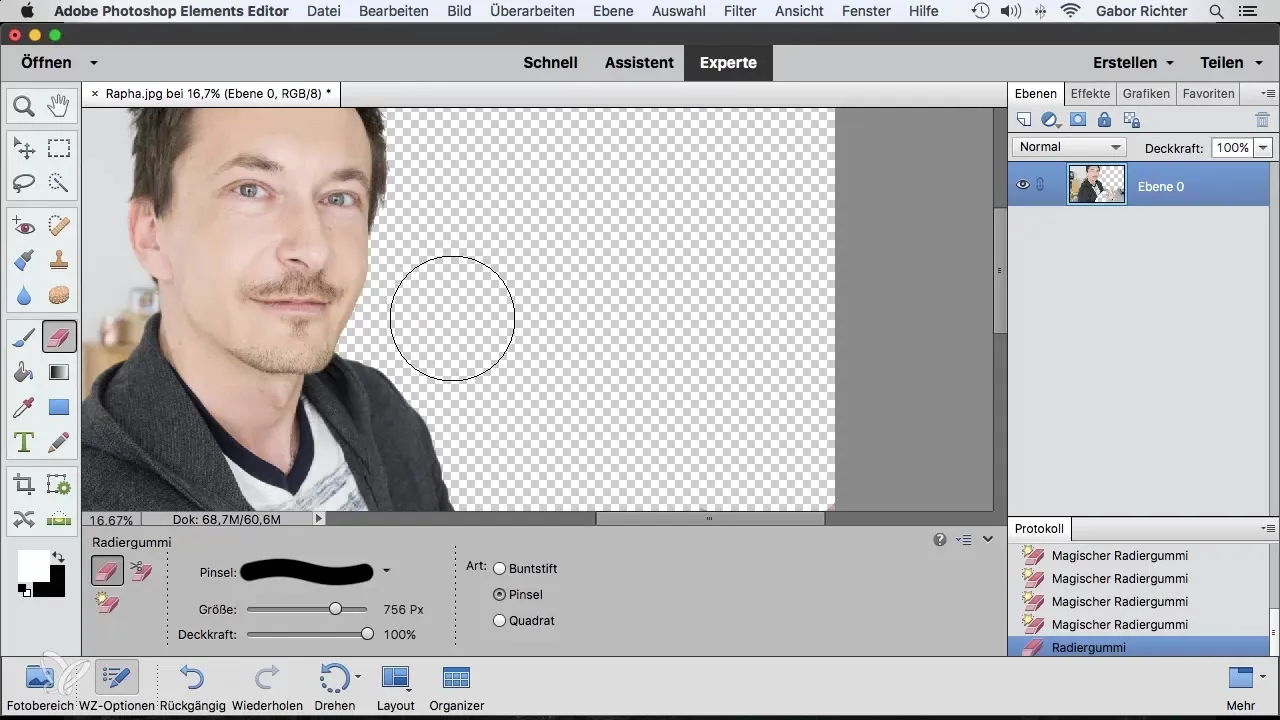
After the initial deletions, you can cautiously glide over the isolated areas to remove any final impurities or still visible remnants of the original background. This fine-tuning helps you achieve a perfect result.

Summary – Photoshop Elements: 6.3 | Effectively Used Advanced Eraser
Using the advanced eraser in Photoshop Elements allows you to efficiently remove backgrounds and professionally isolate images. With targeted settings and techniques, you can make the most of the features.
Frequently Asked Questions
What is the background eraser?The background eraser precisely removes the areas of the background you no longer need.
How does the tolerance setting work?The tolerance setting defines how strongly the eraser works, making the selection sharper or softer.
What can I do with the magic eraser?The magic eraser automatically removes unwanted areas simply by hovering over them with the cursor.


