Creating precise selections in images is one of the most important skills in Photoshop Elements. The selection brush offers you an effective way to mark and adjust specific areas of your image. In this guide, you will learn how to make optimal use of the selection brush to manipulate specific elements in your images. Whether you want to change the saturation, adjust the brightness, or improve the contrast – with the right techniques, you can achieve remarkable results.
Key Insights
- The selection brush allows for precise, selective selections in images.
- Adjusting brush size and edge softness significantly affects the result.
- It is important to work with adjustment layers to ensure non-destructive editing.
Step-by-Step Guide
Step 1: Analyze the Image
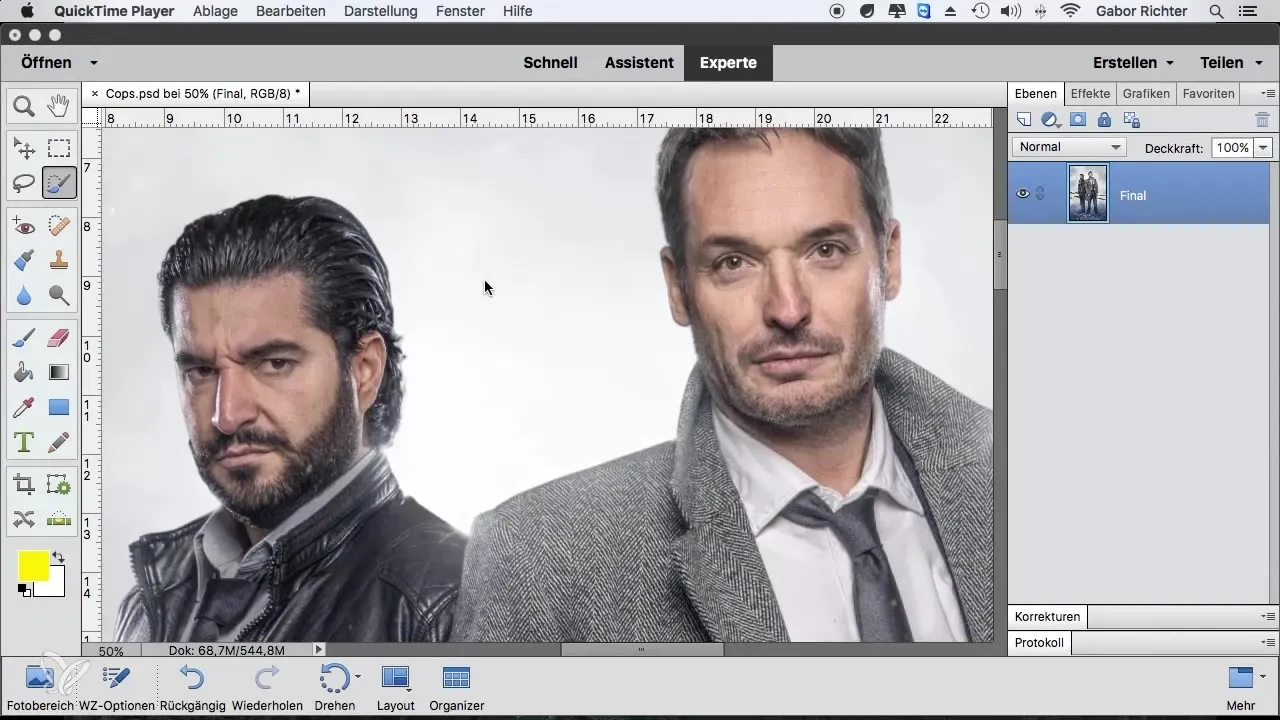
Before you start using the selection brush, you should carefully analyze your image. Look at the different elements and identify the areas you want to adjust. In this example, you will focus on the model's nose, which should be made slightly desaturated due to the cold mood.
Step 2: Activate the Selection Brush
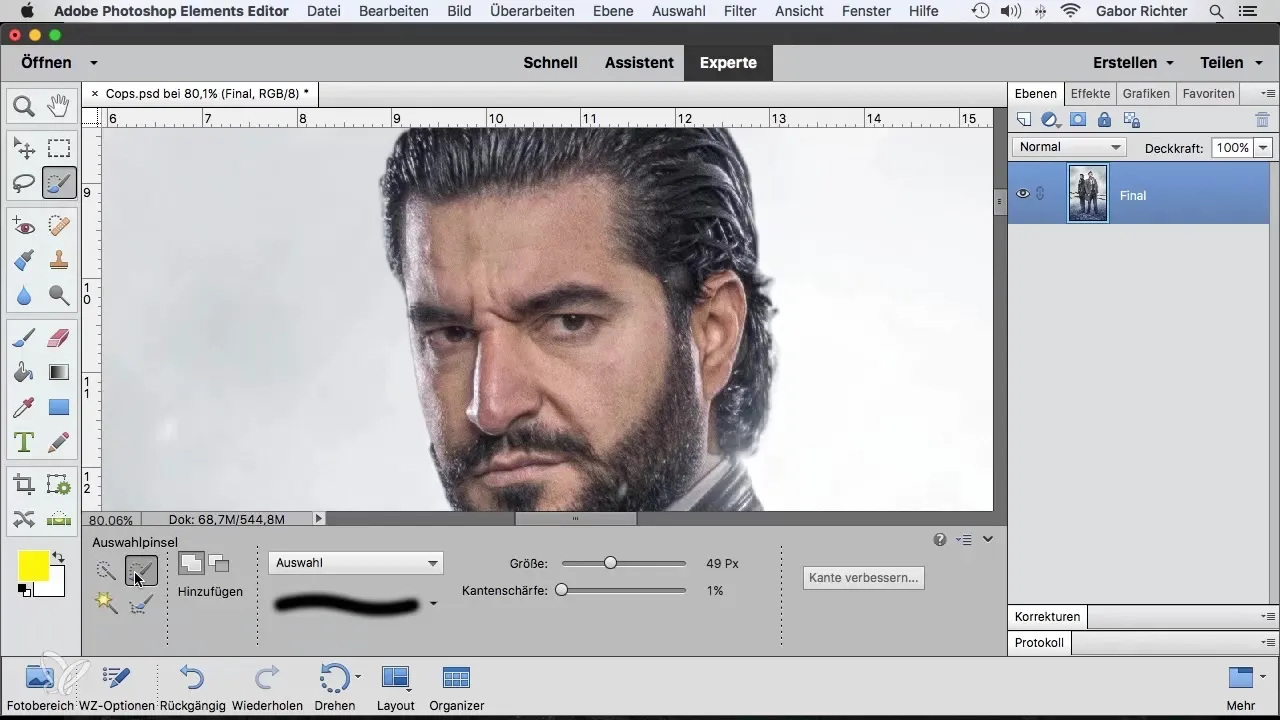
Activate the selection brush by clicking on the brush icon in the tool panel. The ability to adjust the brush size is critical for precise selection. Make sure the size of the brush is smaller than the element you want to select, in this case, the model's nose.
Step 3: Set Brush Size and Edge Softness
Choose a brush size of about 30 pixels and leave the edge softness at 1. A softer edge ensures that the transition to the rest of the image is not too harsh and thus appears more natural.
Step 4: Make the Nose Selection
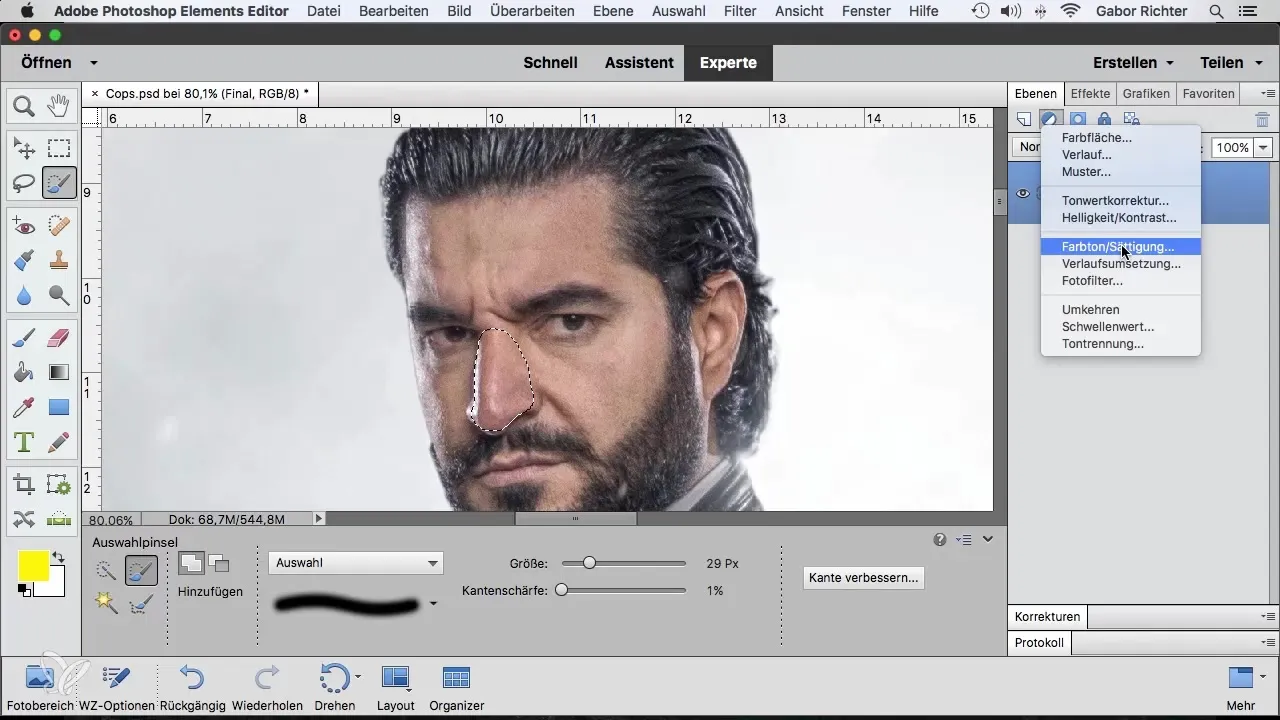
Now, start using the selection brush over the model's nose to make a selection. Make sure that the selection mode is activated. You should now have made a selection of just the nose.
Step 5: Add an Adjustment Layer
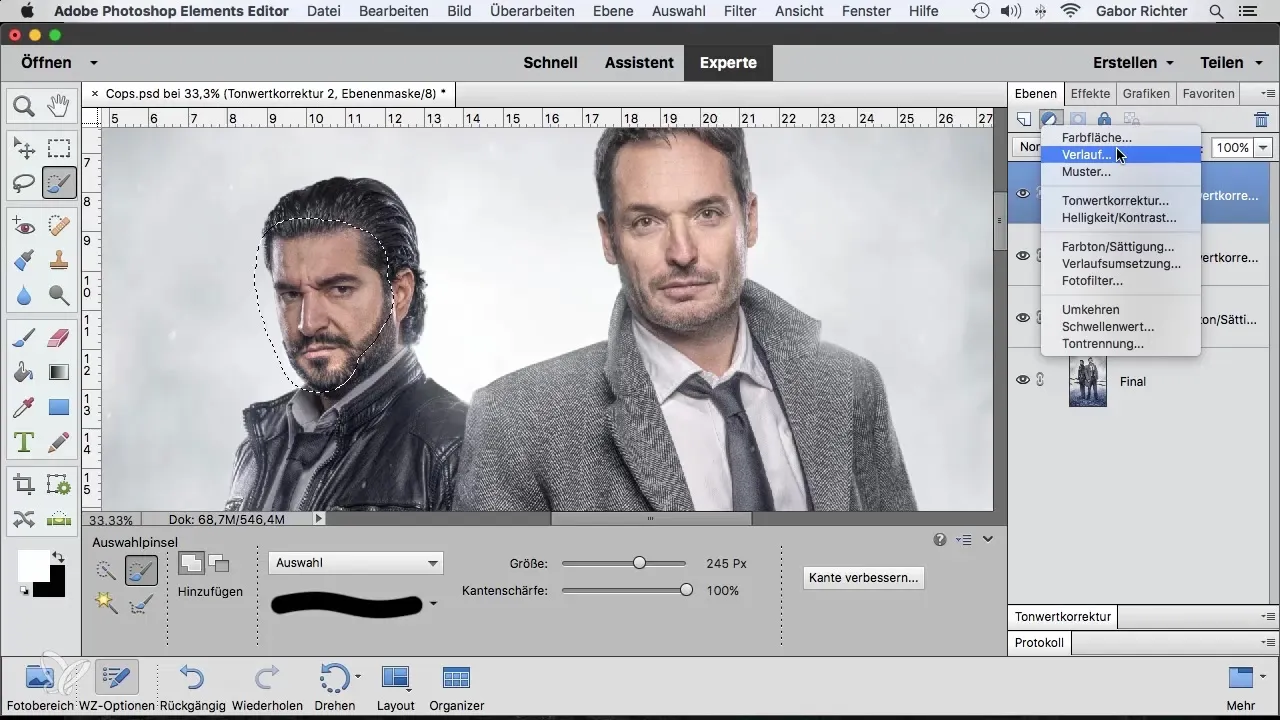
After selecting the nose, add an adjustment layer for hue/saturation. Through this layer, you can adjust the saturation of the nose to make it appear less intense. Use the saturation sliders and ensure to do this subtly.
Step 6: Adjust the Brightness of the Faces
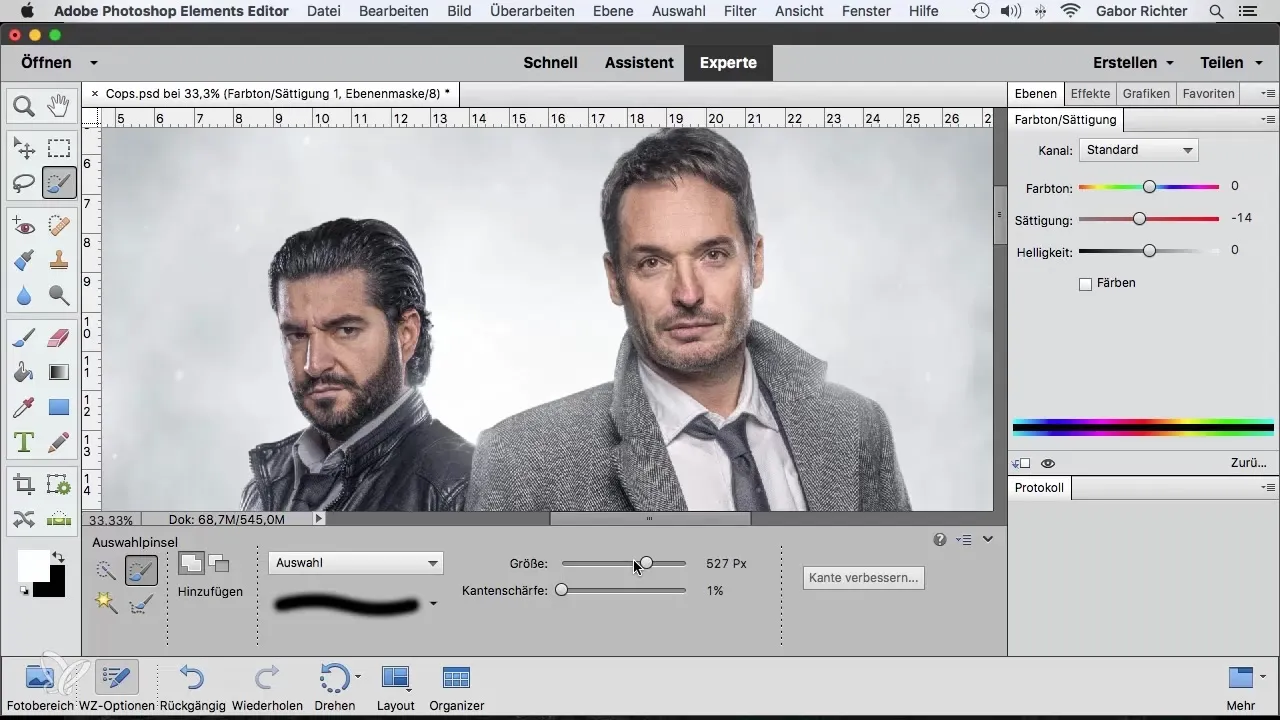
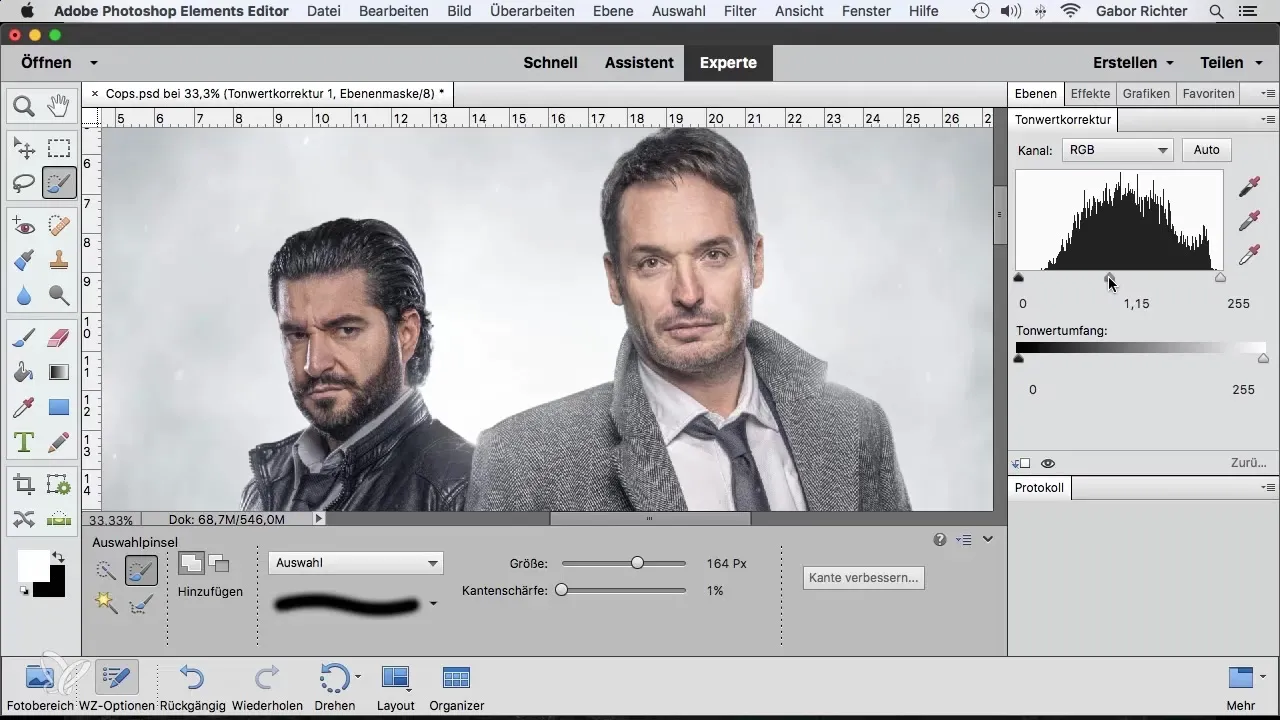
If the faces in your image appear too dark, you can make a selection here as well. Again, select the selection brush and increase the brush size to ensure you capture the entire face down to the neck.
Step 7: Adjust the Brightness Selection
Select the adjustment layer for levels. Here you can brighten or darken the face's brightness, depending on how you envision it. This will create a more harmonious overall image.
Step 8: Make Further Adjustments
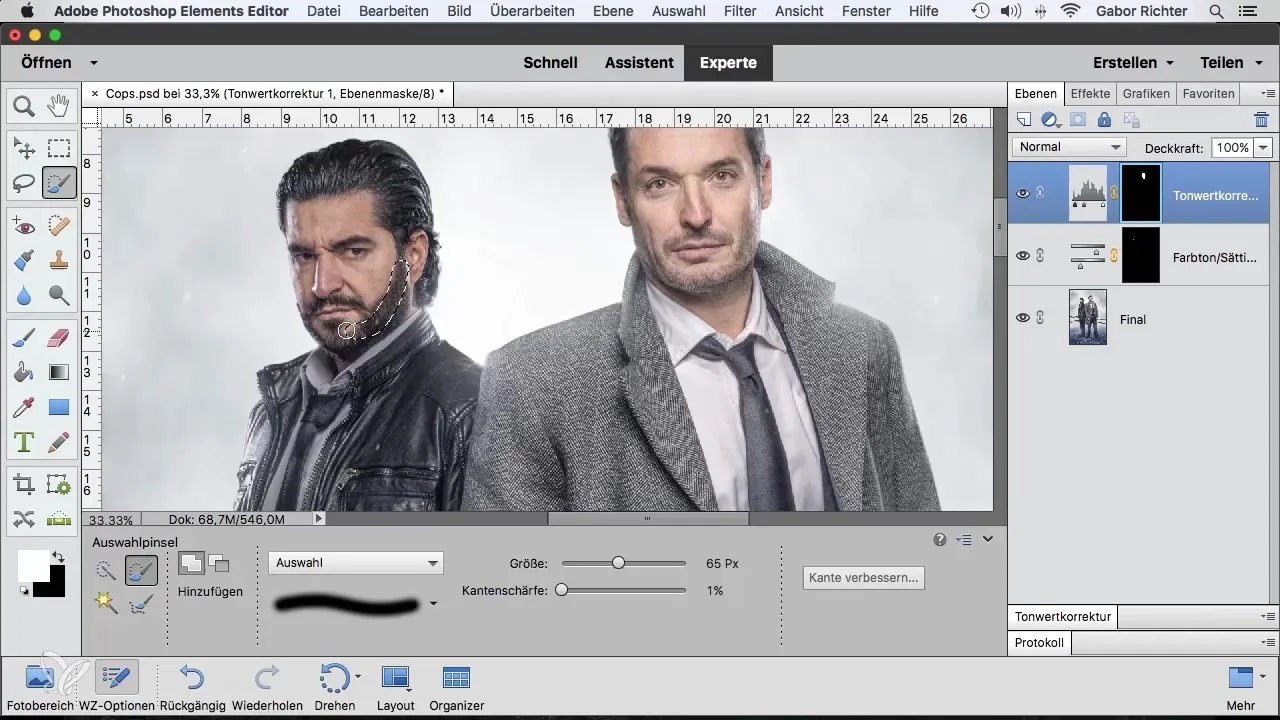
You can also continue to work with other areas of your image, such as the model's beard. Make a selection of the beard using the selection brush and reduce the contrast to avoid overemphasizing the face.
Step 9: Use Different Edges
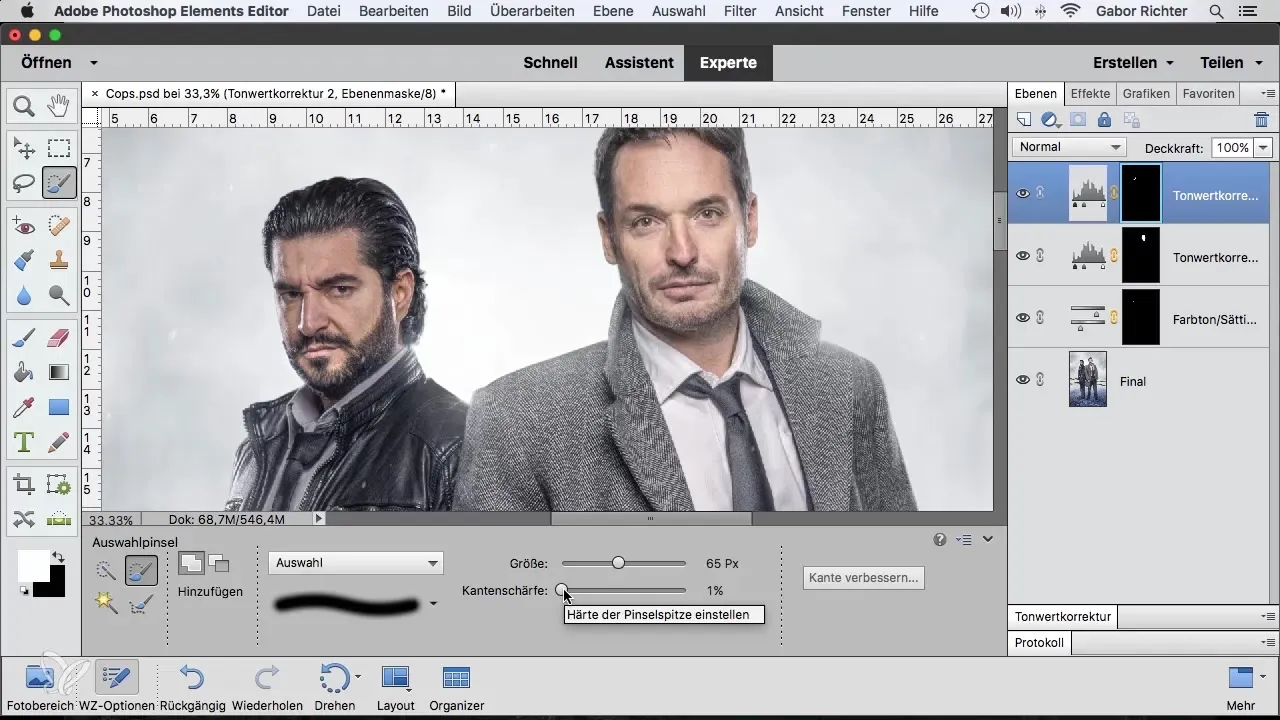
Using a soft or hard edge plays a crucial role. For most edits, a softer edge is recommended to create smoother transitions. However, if you need to work with sharp edges, you can also choose to use this type of selection.
Step 10: Check the Result
After each adjustment, it's important to check the result. Change the visibility of the layers to ensure everything appears harmonious. With the preview, you can see directly how the selection affects the image.
Summary – Effectively Using the Selection Brush in Photoshop Elements
With the selection brush in Photoshop Elements, you have a powerful tool at your disposal to make selective adjustments in your images. By carefully adjusting brush size and edge softness, as well as skillfully using adjustment layers, you can achieve impressive results. Experiment with different settings to get the best out of your images.
Frequently Asked Questions
How can I adjust the brush size?You can change the brush size in the tool panel before you start selecting.
What is the advantage of adjustment layers?Adjustment layers allow for non-destructive editing, so you can always go back and make changes.
How do I achieve a soft transition with selections?Set the brush edge softness to a lower value to obtain softer edges.


