The Smart Brush Tool offers you a fast and straightforward way to edit your images. A large range of templates is available to you, allowing you to achieve impressive results with just a few clicks. This guide will walk you through various ways to make image editing significantly more effective with this tool.
Key Insights
- The Smart Brush Tool automates many steps to facilitate image editing.
- There are various presets targeting specific issues, such as refreshing sky color or brightening skin tones.
- You can adjust the brush size and hardness to achieve precise results.
- The tool is ideal for quick adjustments but is also suitable for detailed edits.
Step-by-Step Guide
Selecting the Smart Brush Tool
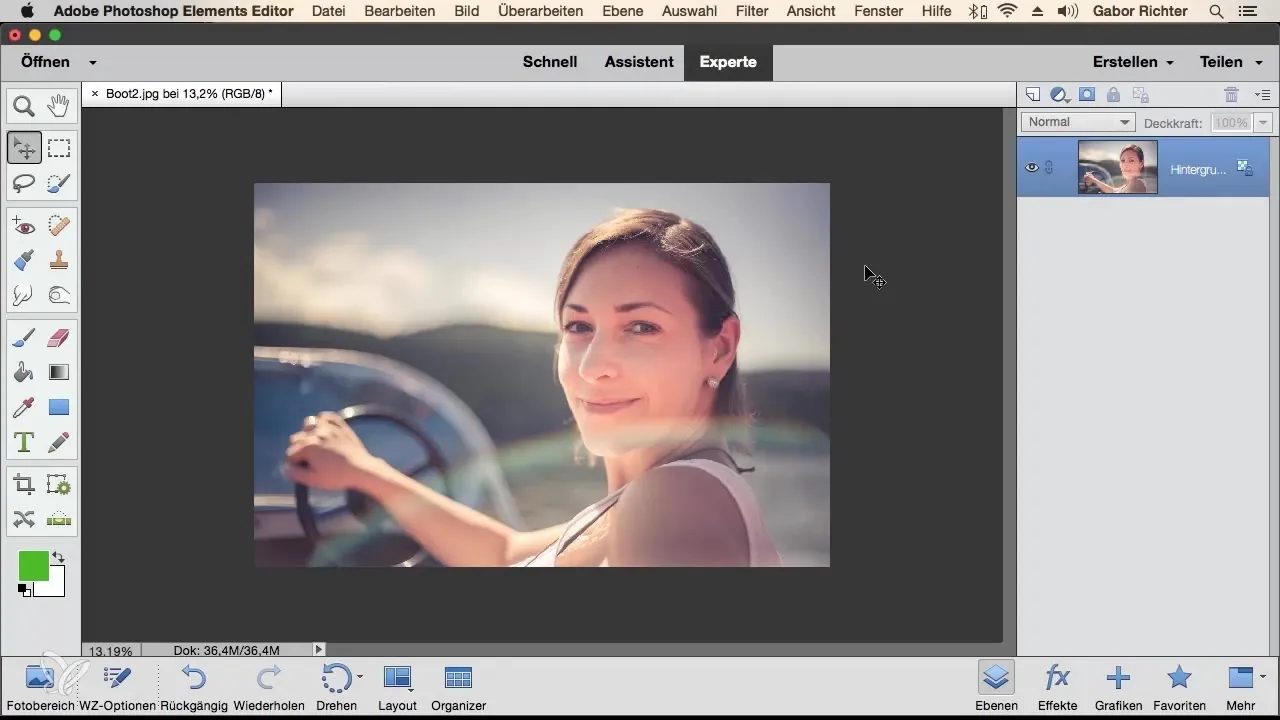
Start by selecting the Smart Brush Tool. You can find it in the toolbar of Photoshop Elements. Once selected, a new menu will appear, offering you various templates for editing your images.
Selecting Editing Presets
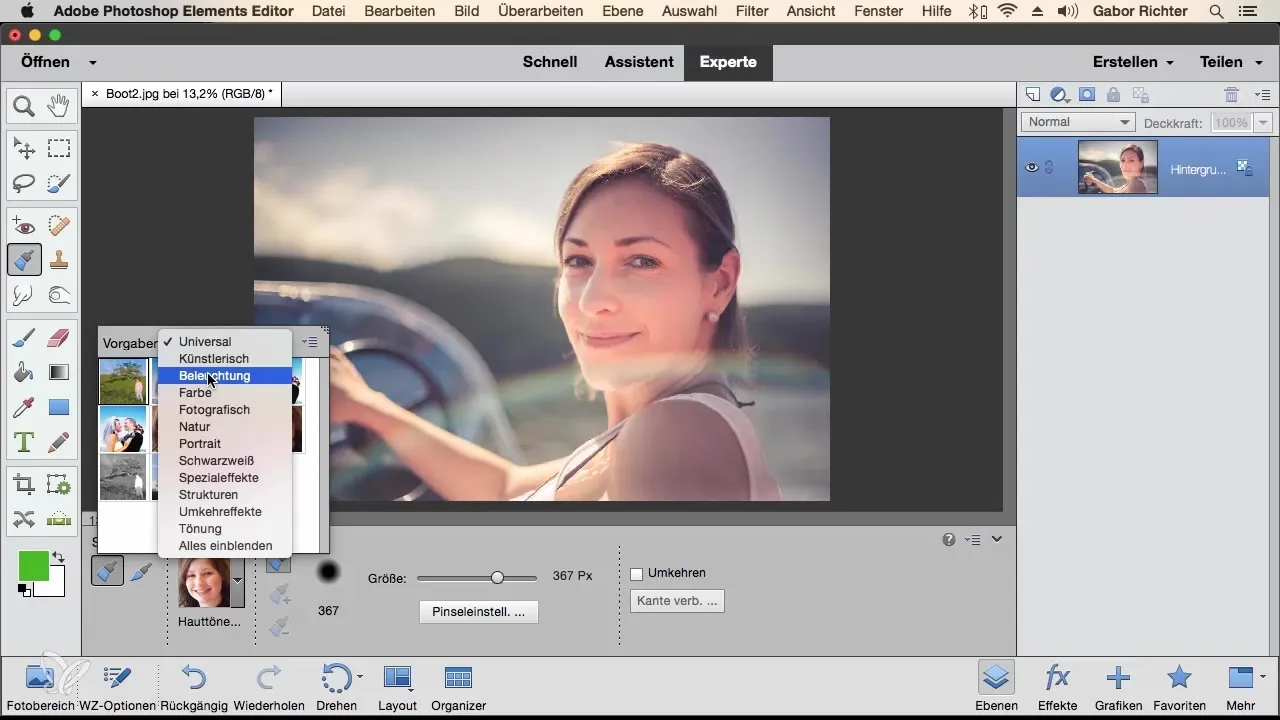
If you have a specific problem with your image – for instance, a sky that isn't blue enough – you can choose the appropriate option under "Presets" here. Look for the preset "Blue Sky" so you can target this area specifically.
Brush Over Affected Areas
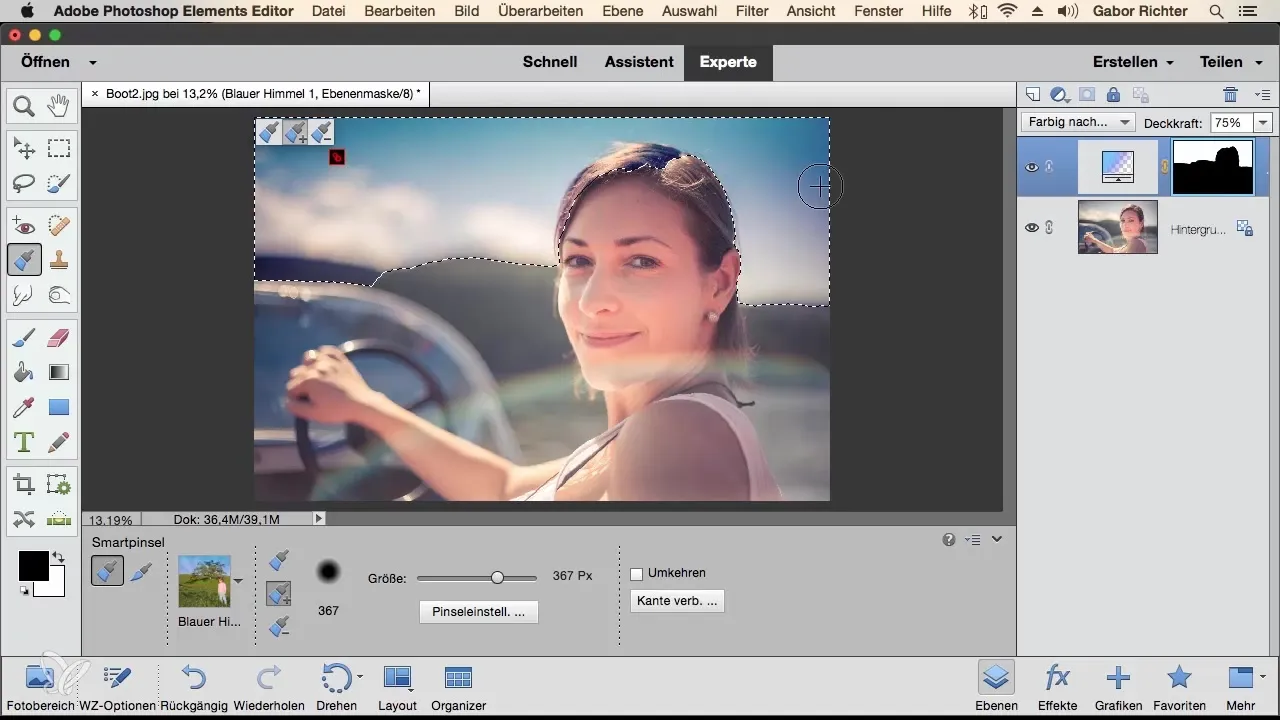
Now, brush over the areas of the image that you want to edit, in this case, the sky. The Smart Brush Tool will create an adjustment layer with a correction for this specific area, which is a very efficient method for image editing.
Adjusting the Correction
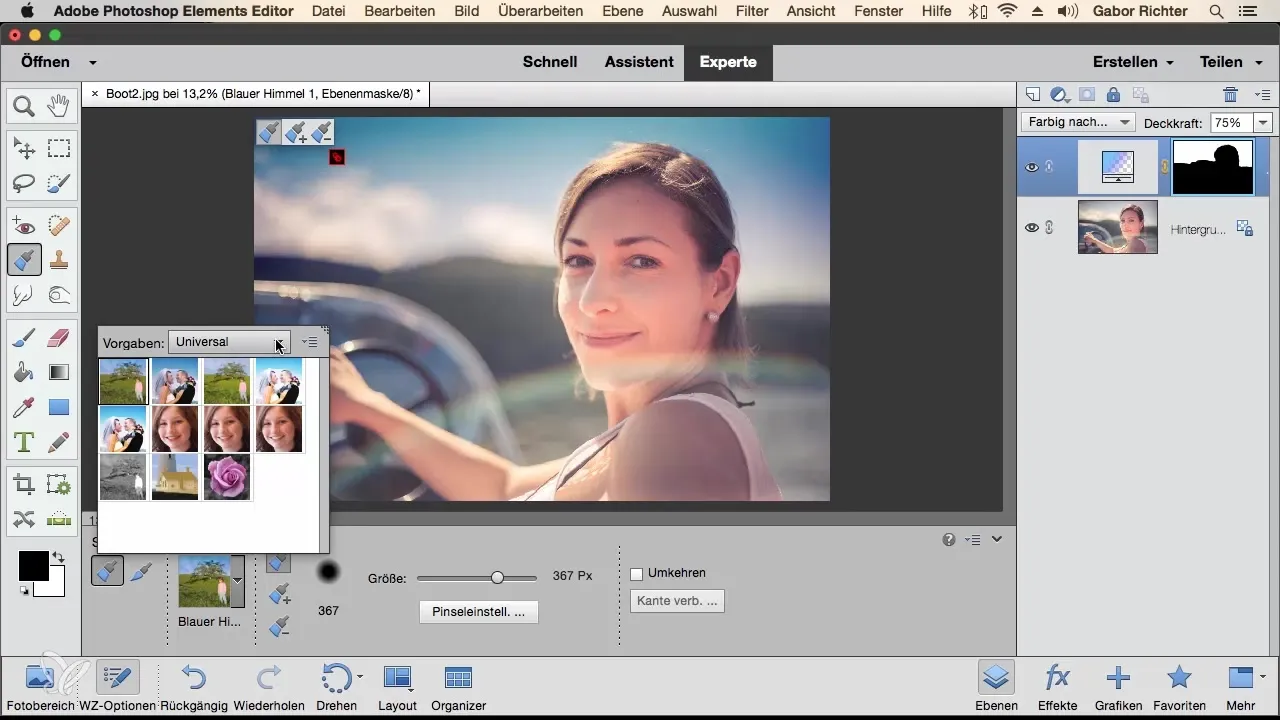
Sometimes, the automatic adjustment may be a bit too much. In this case, you can subtract this area by holding down the ALT key. Pressing CMD+D will deselect the selection. This way, you can ensure that only the desired effects are applied.
Brightening Skin Tones
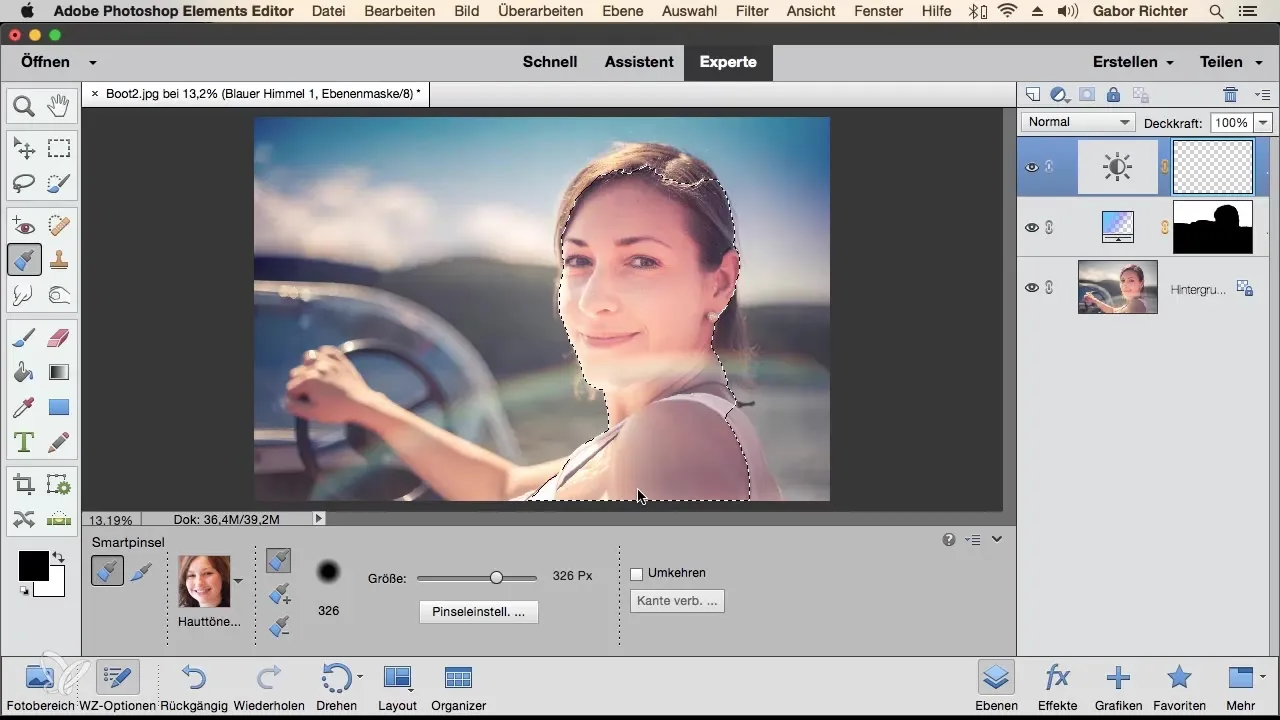
For another example, you may want to brighten skin tones. Select the preset "Brighten Skin Tones" from the menu. Again, you have the option to adjust the brush size for more precise results. A size of about 320 pixels is often optimal.
Adjust Brush Size and Hardness
Make sure that the brush hardness is not set too high. Softer edges help to create a more natural effect. Now gently brush over the facial features to brighten the skin tones. The tool works similarly to the Quick Selection Tool.
Comparing Image Results
After editing, you should compare your image with the original. You should see a significant difference between the image before editing and the result achieved with the Smart Brush.
Make Manual Adjustments
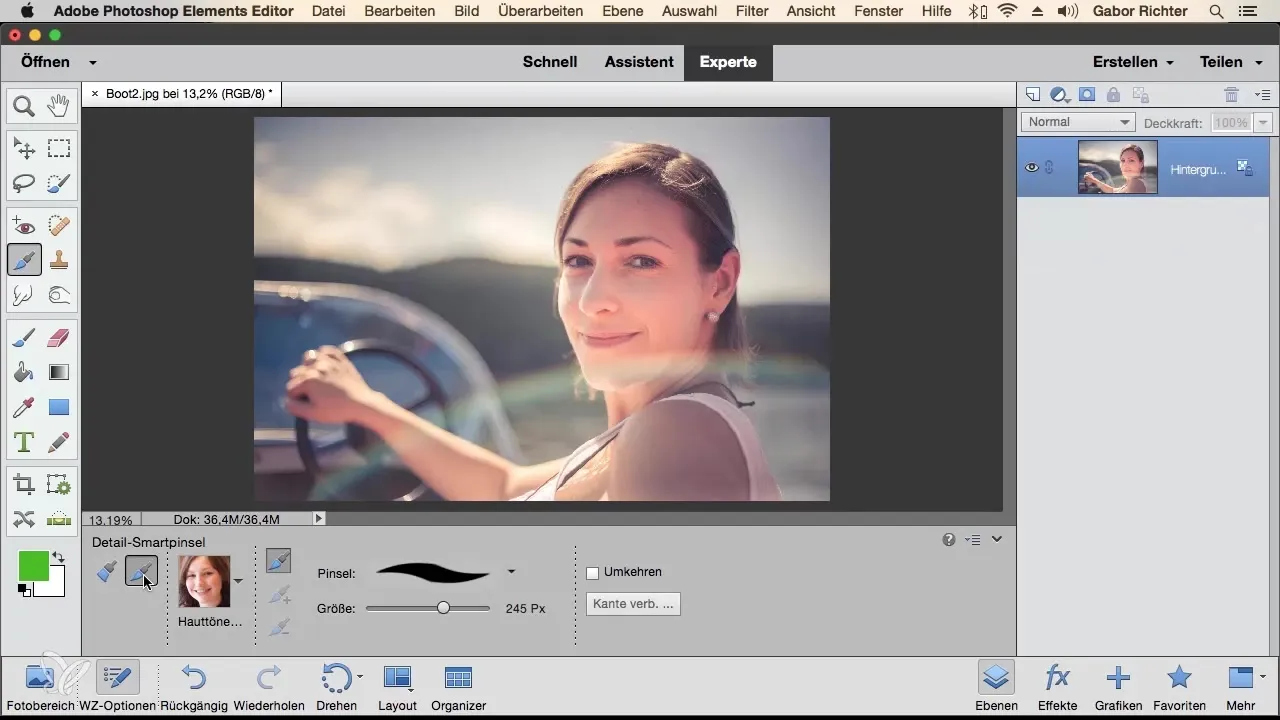
If the automatic selection of the Smart Brush does not meet your expectations, you can also adjust it manually. Delete the created adjustment layer and select the Detail Smart Brush to make a new selection.
Make More Precise Adjustments
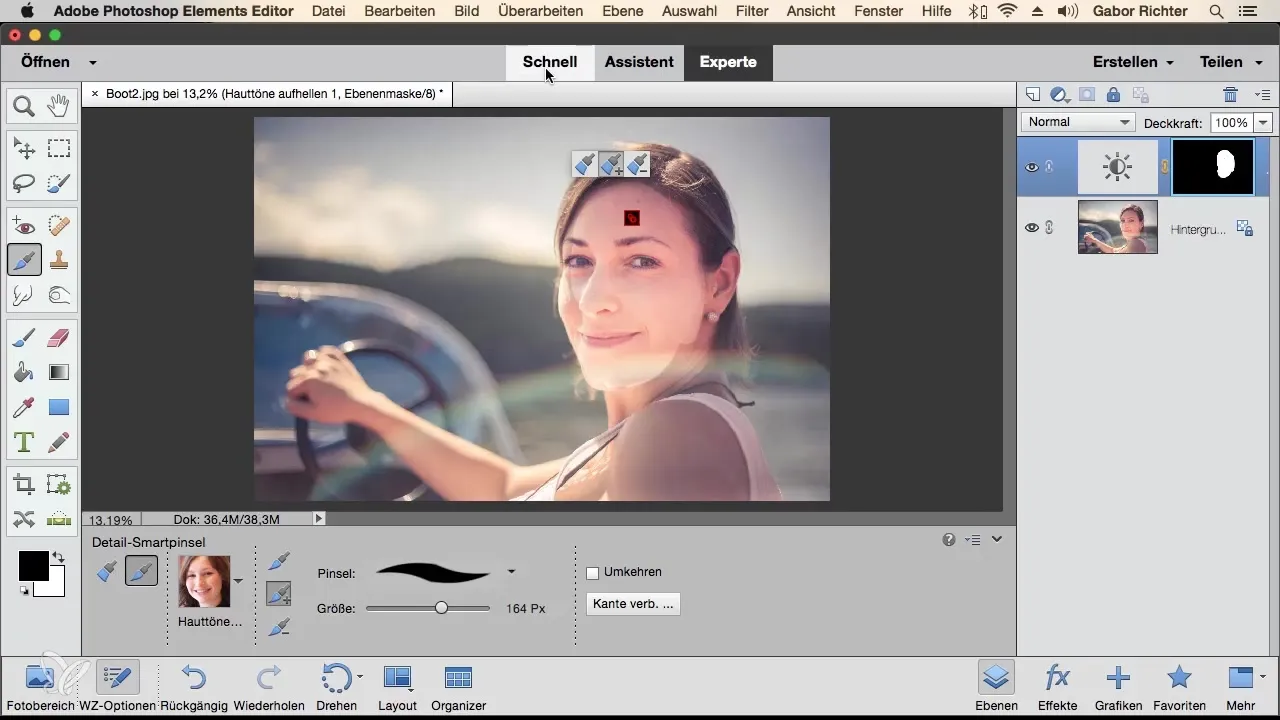
With the Detail Smart Brush, you need to work more precisely, as it does not make automatic contour selections. Here, you must draw directly into the desired area. This takes more time but provides higher accuracy in editing.
Pay Attention to Contours
It is recommended to pay special attention to the contours when using the Detail Smart Brush to avoid unwanted effects. Even though this may take a little longer, it allows for more accurate adjustments.
Benefits of the Smart Brush
Throughout the editing process, you will find that the Smart Brush Tool is an excellent alternative for quick adjustments. You have the freedom to work with presets designed to address specific problems and can achieve impressive results with just a single stroke over the desired areas.
Summary – Guide to the Smart Brush in Photoshop Elements
You have now learned all the basic steps to effectively use the Smart Brush Tool. From selecting presets to various adjustment options and detailed editing – with these techniques, you will be able to quickly and effectively enhance your images.
Frequently Asked Questions
How does the Smart Brush Tool work?The Smart Brush Tool automates image editing through various presets that target specific problems.
What presets are available?There are presets like "Blue Sky" and "Brighten Skin Tones" to make specific adjustments.
Can I adjust the brush size?Yes, the brush size can be adjusted in the Smart Brush settings for more precise results.
Do I need to pay attention to contours when editing?Yes, especially with the Detail Smart Brush, it is important to hit the contours accurately to avoid unwanted effects.
What is the importance of the ALT key?With the ALT key, you can subtract areas if the automatic adjustment was too strong.


