Do you want to deepen your understanding and skills in portrait retouching? This detailed guide provides you with a clear workflow to edit a portrait step by step, from raw development to final retouching. Whether you are a beginner or an advanced user, here are useful techniques and valuable tips that you can apply directly.
Key insights
- The raw development is crucial for image quality.
- Steps like adjusting colors, contrasts, and removing distracting elements are fundamental for a successful retouch.
- Cautious adjustments help achieve natural results without making the image look unnatural.
Step-by-step guide
First, open the raw file you want to edit. To do this, go to "File" and select "Open in Camera Raw". Find the corresponding file on your desktop and open it with a double-click. You are now in the Camera Raw area and can make your first corrections.
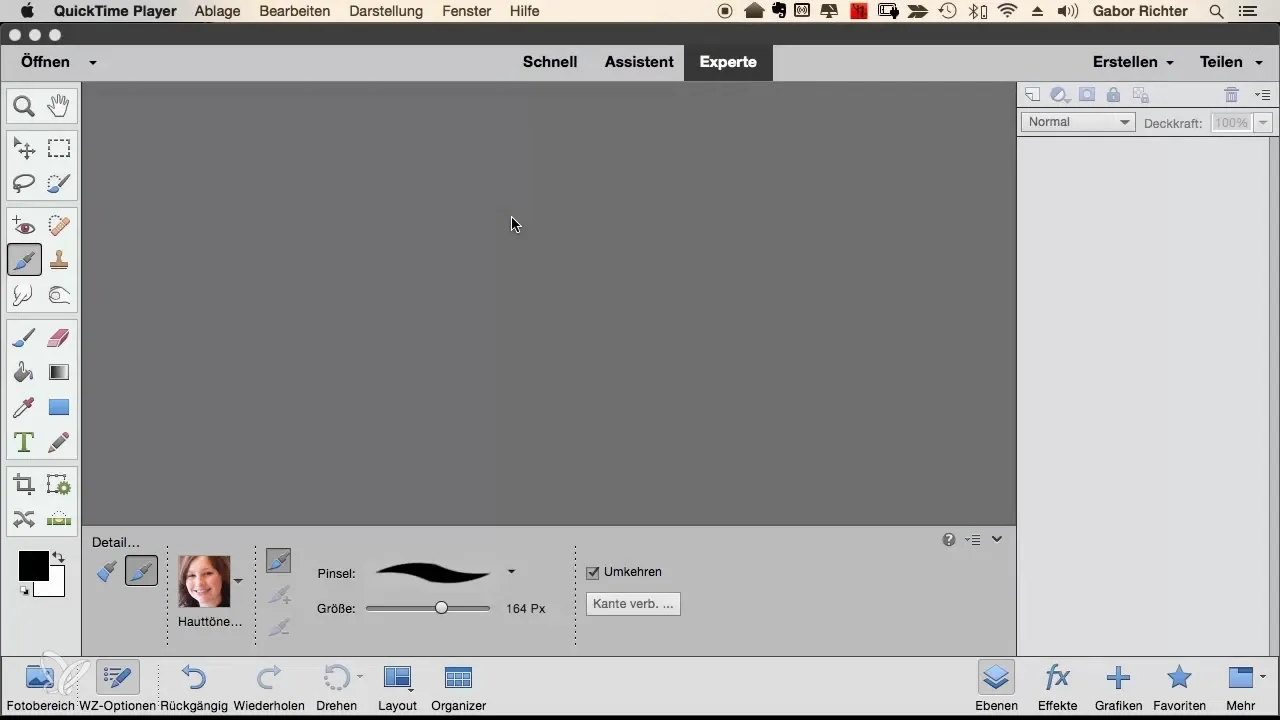
Next, ensure that the basic settings are set to "Standard". Check the color depth and select "8 Bit Channel" to avoid making the file unnecessarily large. Start adjusting the color balance by checking and adjusting the color temperature if necessary. A neutral color temperature ensures more realistic skin tones.
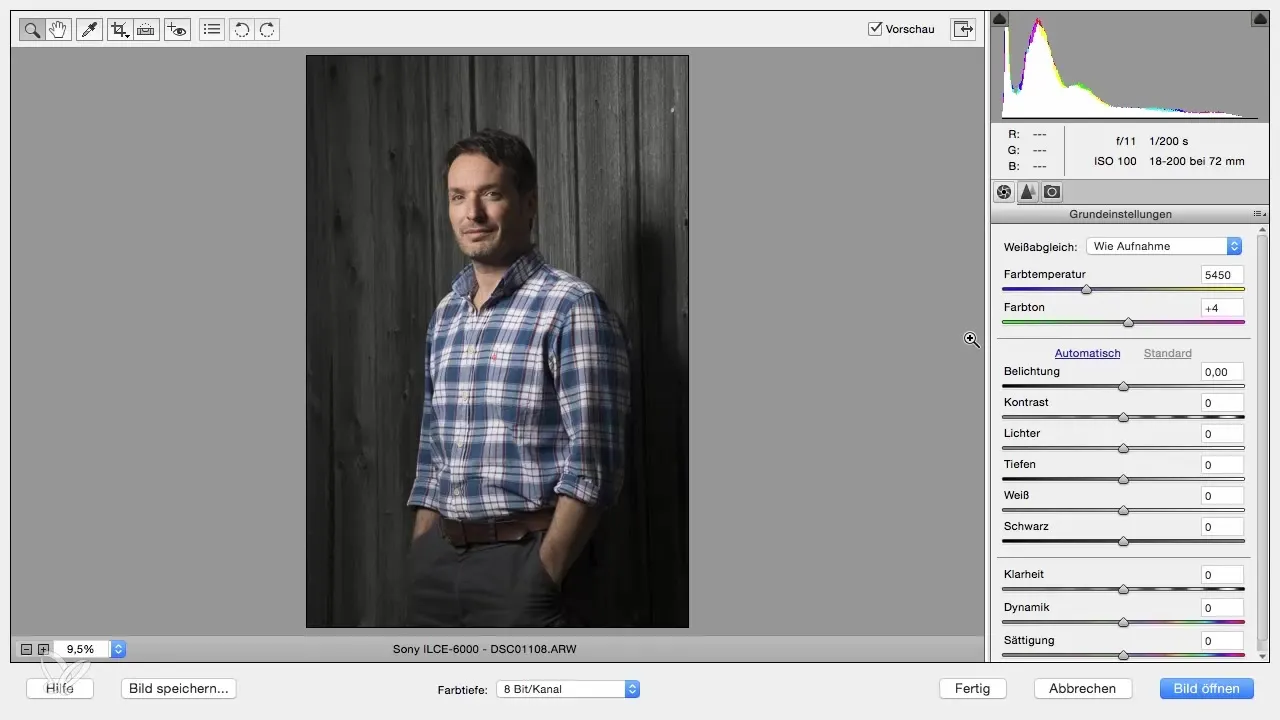
Now it's time to check the exposure. Inspect the image and adjust the shadows to bring out more details in the dark areas. This is done by slightly shifting the shadows slider to the right. Do the same with the highlights, but move this slider slightly to the left to retain the texture of the skin tones.
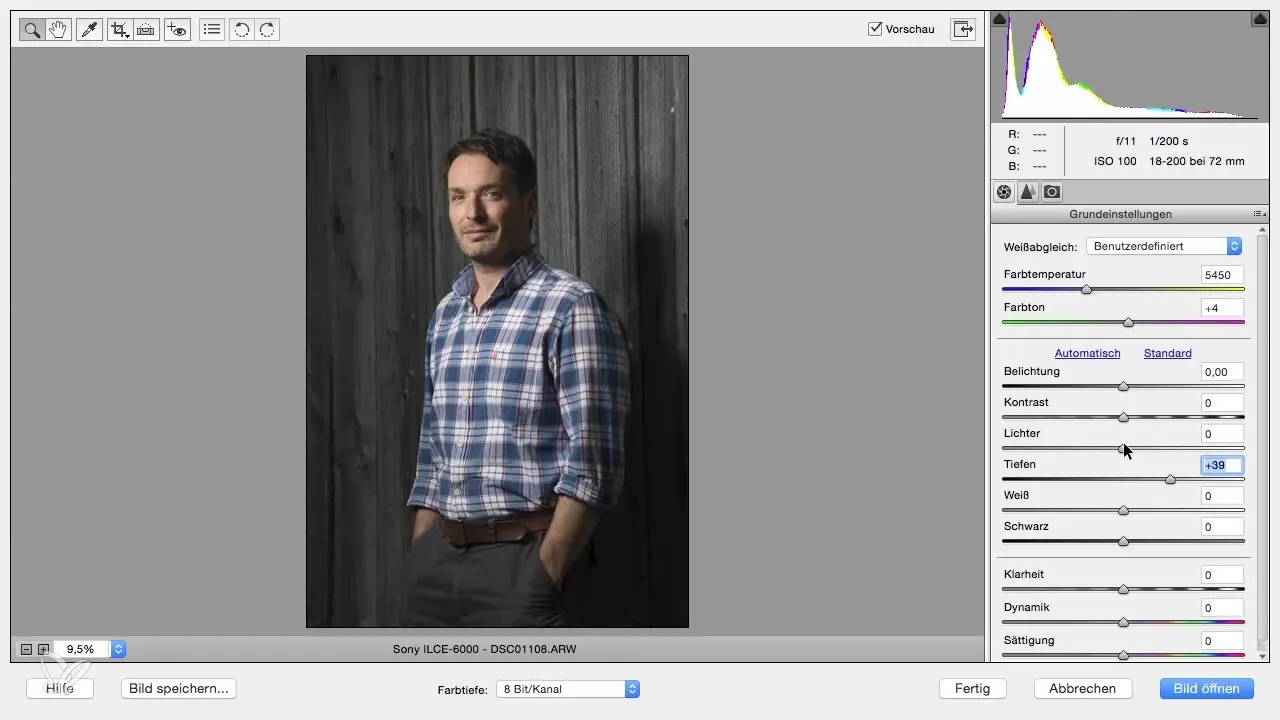
To increase clarity, move the corresponding slider up. This enhances the contours and often results in a more appealing outcome, especially in male portraits. For an optimal image, you can boost the vibrance and slightly reduce the saturation. Ideally, you should have achieved a balanced look by now.
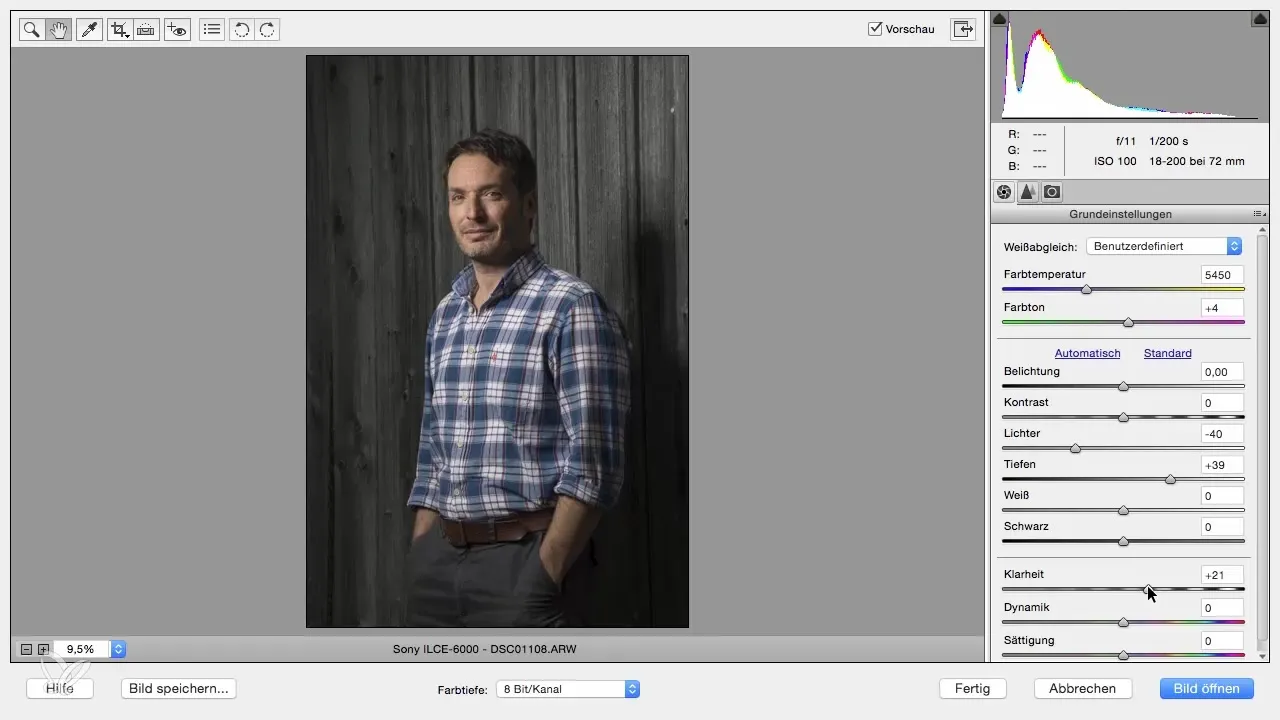
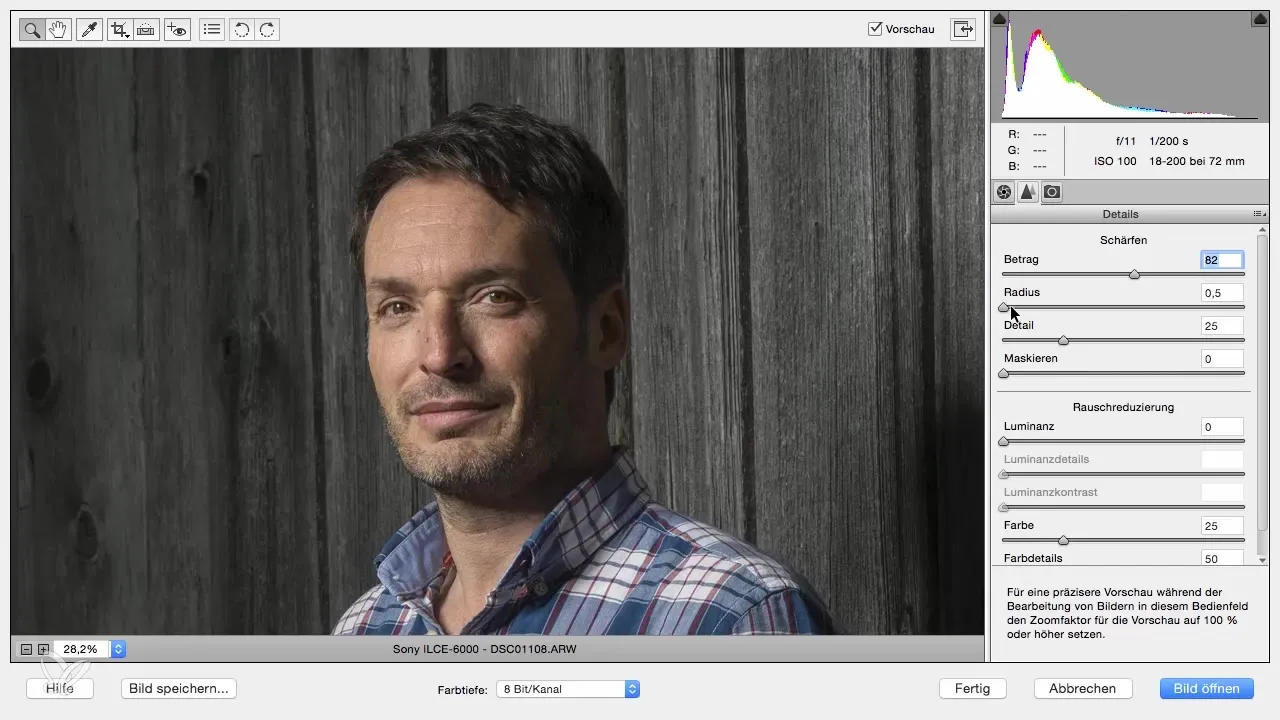
In the next step, zoom in on the face to optimize the sharpness. Go to the detail settings and increase the sharpness to about 80 with a radius of 0.5. Check again if the image needs to be leveled to align lines optimally.
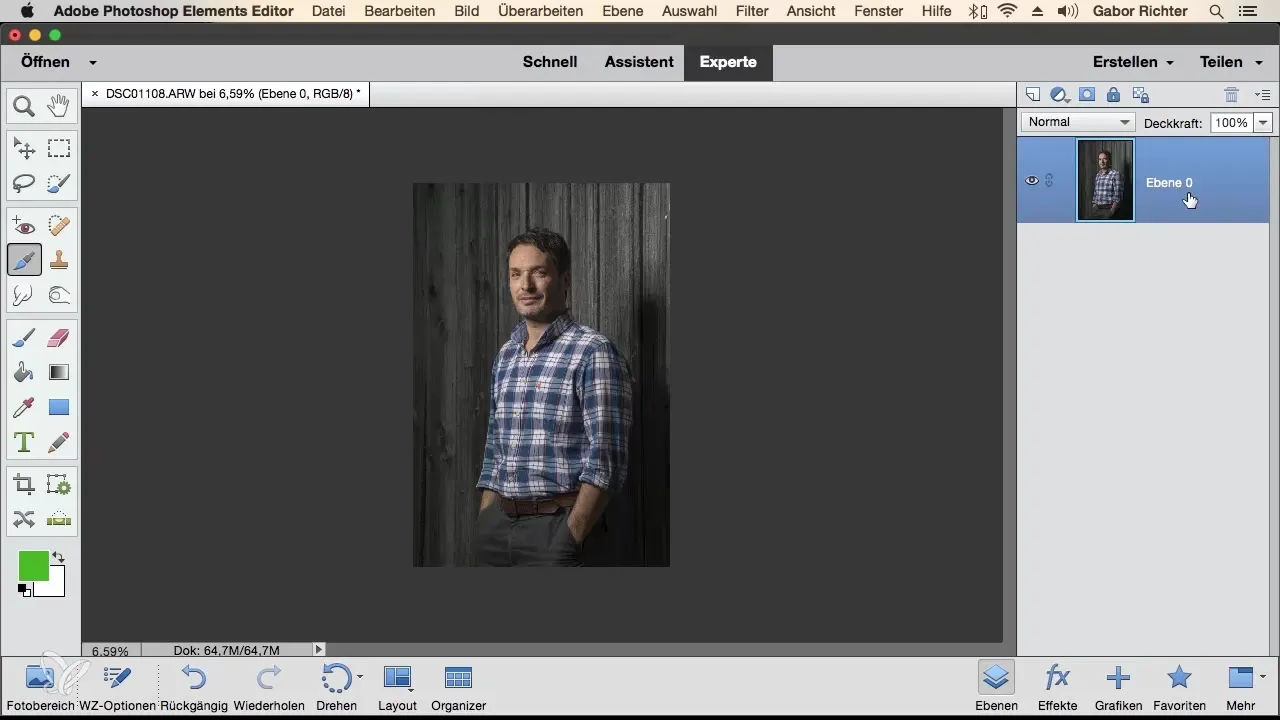
After these adjustments, open the image in Photoshop Elements. Since the original image is protected, duplicate the layer by holding down the Alt key or right-clicking on it and selecting "Duplicate Layer." Name the top layer "Edit" and the bottom one "Original." This way, you always have a reference to your original image.
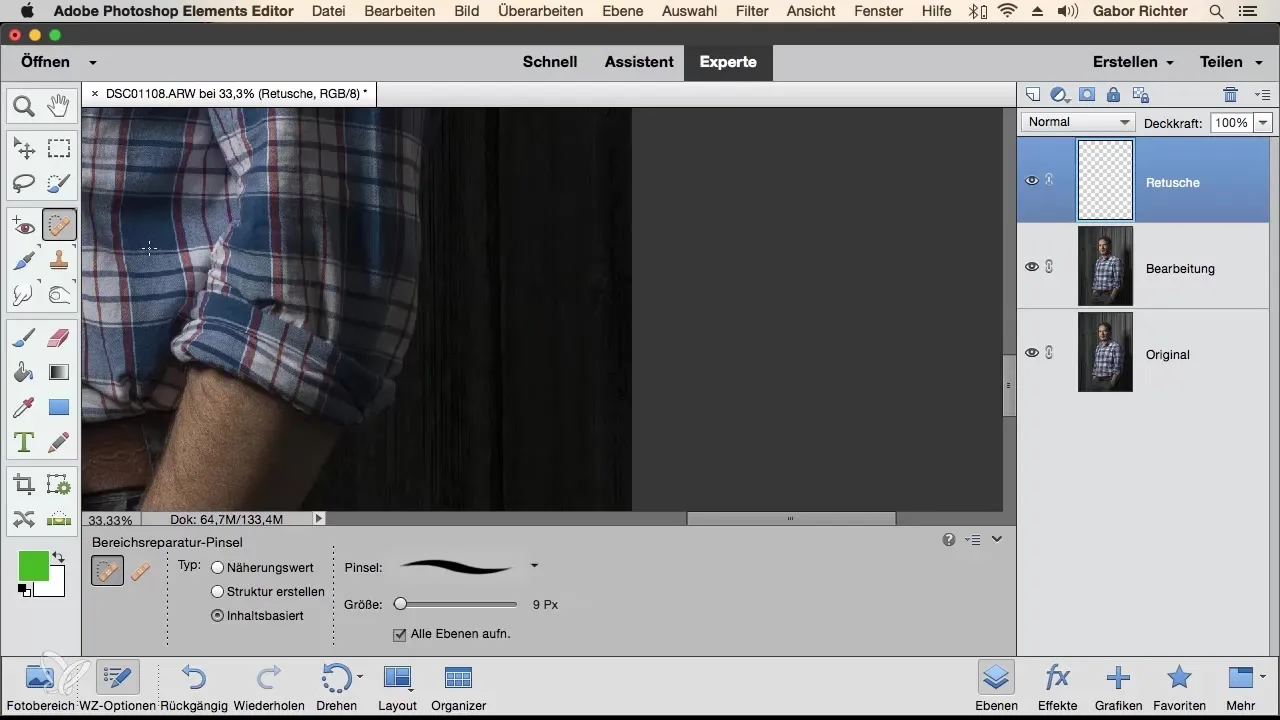
Now you start with the retouching. Select the Spot Healing Brush to remove unwanted features. Adjust the brush size to match the blemishes on the face and then work over the corresponding areas.
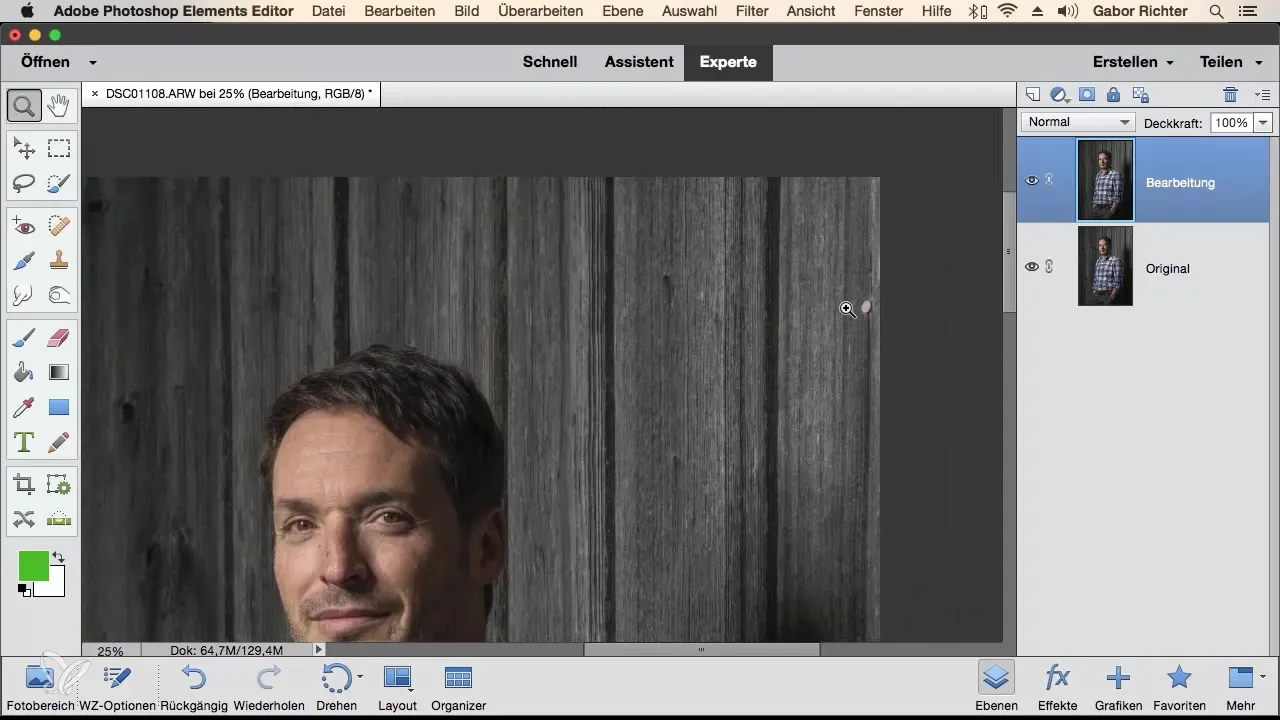
To ensure that your retouches are not permanent, create a new empty layer for your retouches, which you can call "Retouch." This allows you to make changes creatively and non-destructively.
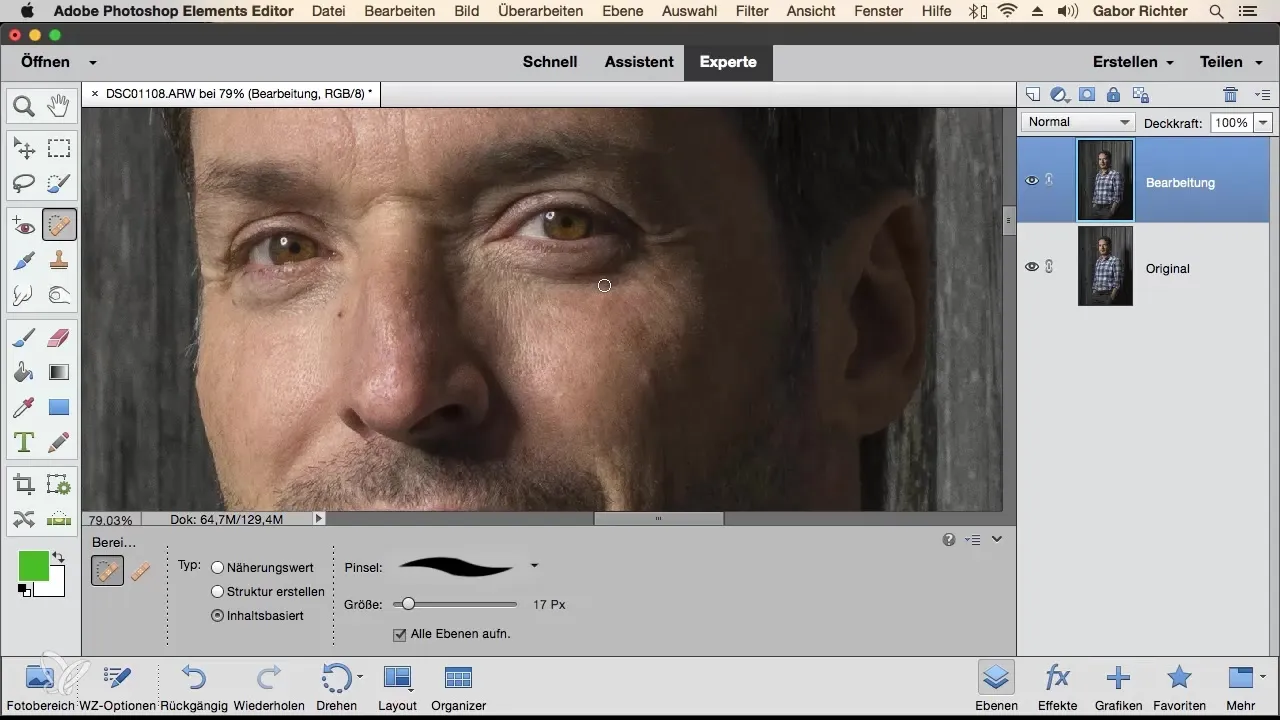
Use the Spot Healing Brush to remove skin blemishes and other small distractions. Also address distracting elements in the background to make the image appear more calm and harmonious overall.
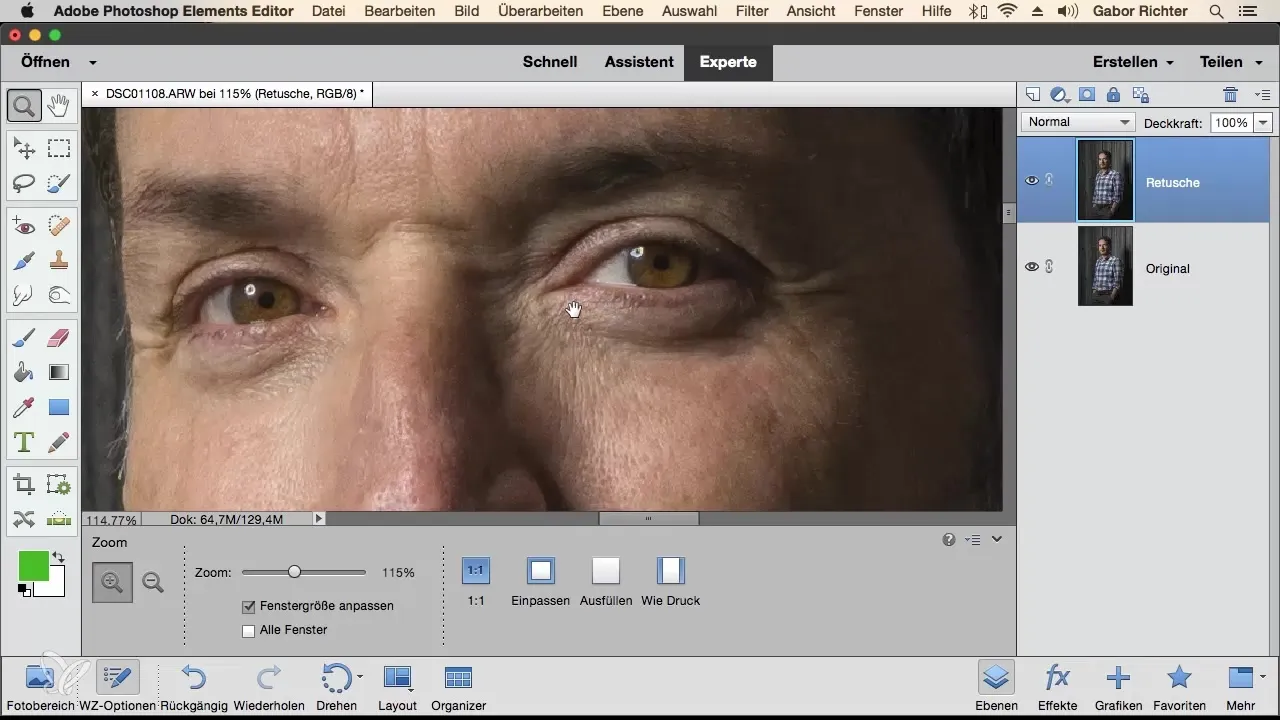
Now continue with the eyebrows and beard. Here you can use the Dodge tool for gentle brightenings to add more depth and dimension to the face. Be careful not to overdo it to keep it natural.
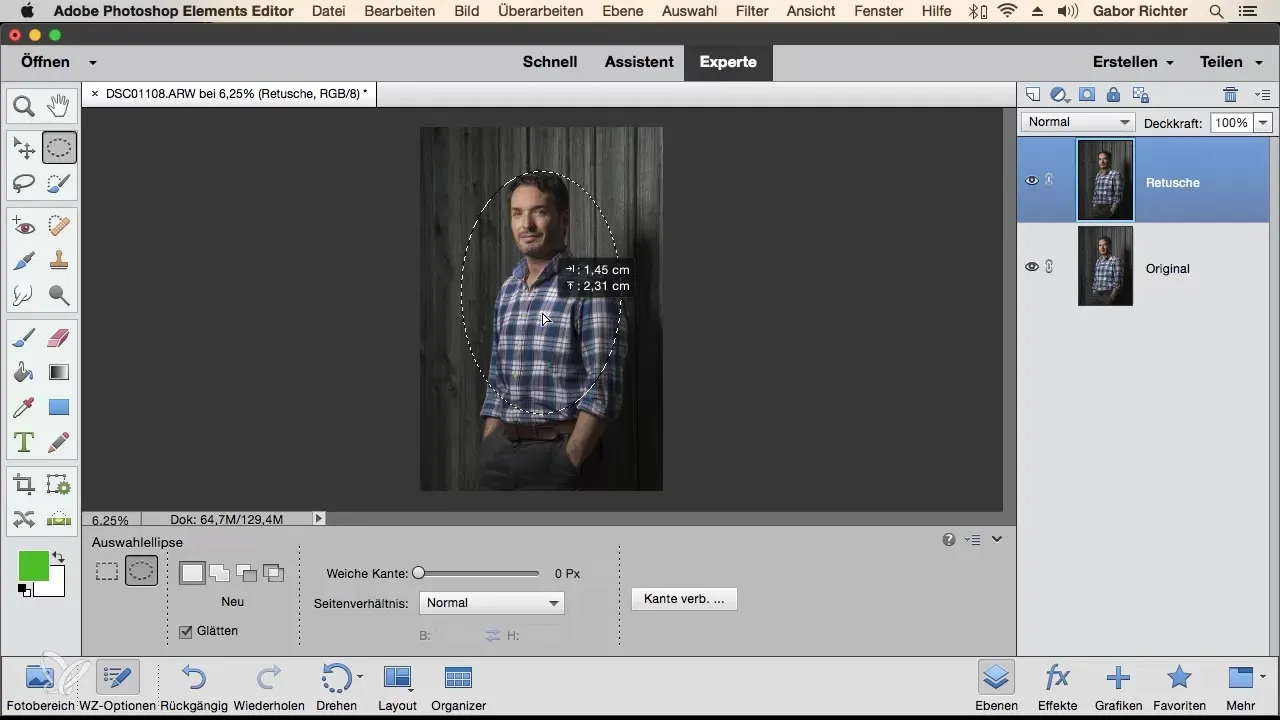
Once the main retouching processes are done, create a vignette to draw attention to the face. Select the Elliptical Marquee Tool and drag the ellipse over your subject to soften the area.
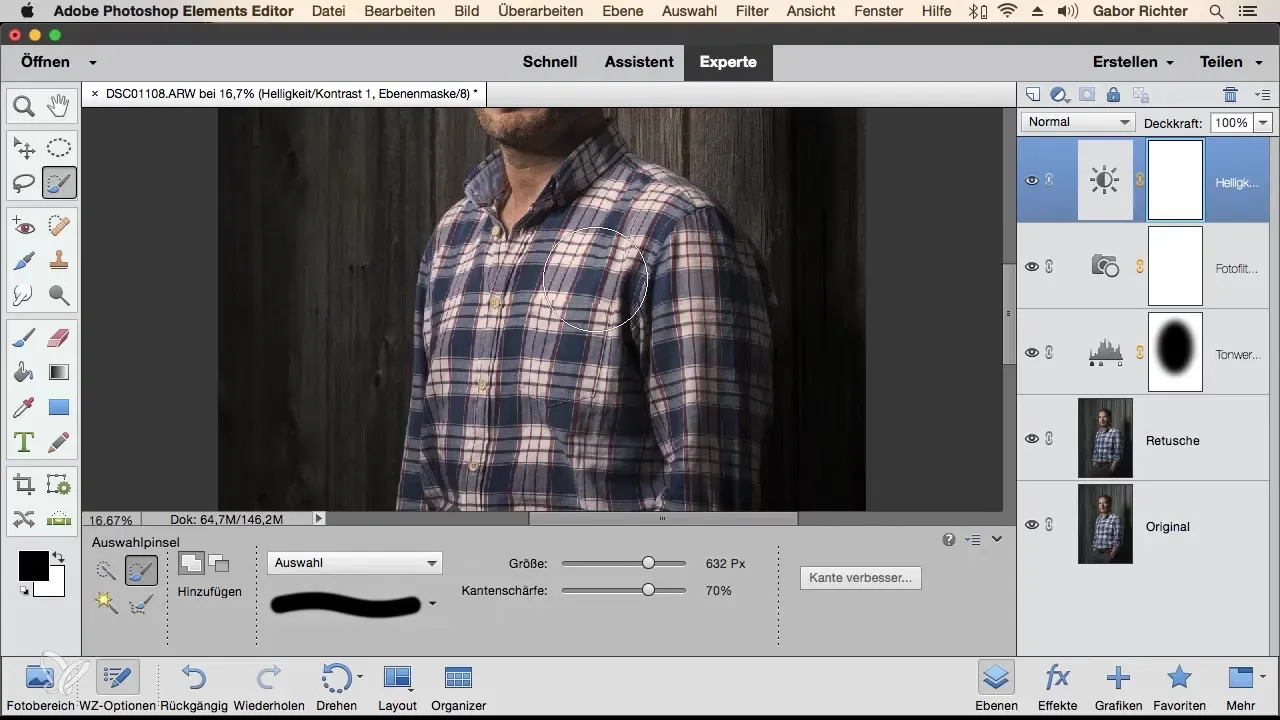
To reduce the saturation of the shirt, you can create a selection with the Selection Brush Tool and then adjust the saturation via an adjustment layer.
You should now review the finished portrait once more. Compare the previous layers with the current settings to ensure that your retouching looks harmonious.
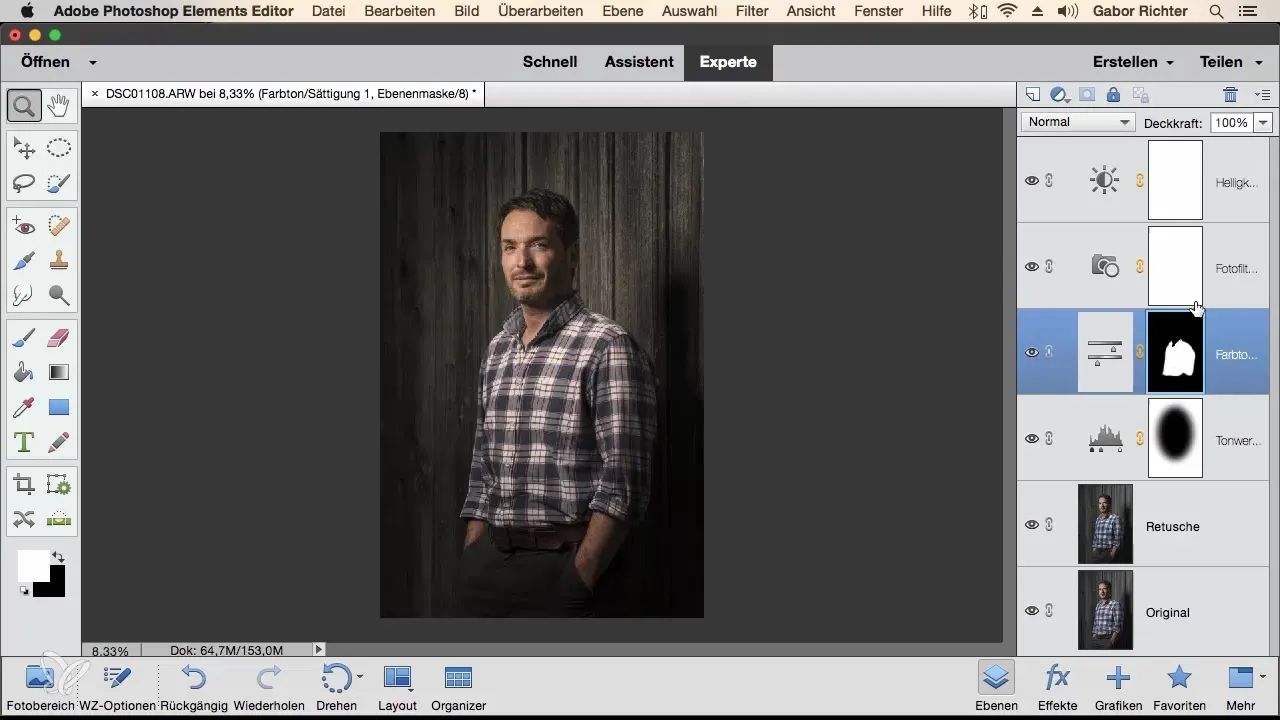
Summary - Portrait Retouching in Photoshop Elements: Workflow from A to Z
You have now learned how important raw development is for creating a healthy image base, as well as the various steps necessary to retouch a portrait from scratch. Keep the steps and techniques in your practice, and you will surely achieve impressive results.
Frequently Asked Questions
How do I open a raw file in Photoshop Elements?Select "File" and go to "Open in Camera Raw".
How can I improve the sharpness in my image?Use the Detail tab and increase the sharpness by a value of 80.
What is the advantage of the Spot Healing Brush?It removes unwanted features by applying intelligent fills from surrounding areas.
How do I create a vignette in Photoshop Elements?Use the Elliptical Marquee Tool, drag an ellipse, and adjust the brightness with a Levels adjustment.
Can I undo my work?Yes, with Command + Z you can undo any step.


