In the world of image editing, it is crucial to work creatively with the right tools. Adjustment layers in Photoshop Elements provide you with an excellent way to alter your images and give them a more graphic flair. In this guide, you will learn how to use three different adjustment layers to transform your subjects into a more abstract style.
Key Insights
- Adjustment layers take up little storage space and allow for creative freedom.
- The color separation is ideal for artistic effects.
- With the threshold, you can create black-and-white images.
- Inverting colors can be used for special graphic effects.
Step-by-Step Guide
1. Using Color Separation
Start with the bottom adjustment layer, color separation. This layer reduces the number of colors in the image and gives the subject a comic-like or graphic representation. To activate the color separation, go to the adjustment layers in your Photoshop and click on “Color Separation.” Once the layer is active, you will already see a change in the image. The portrait of Martin Buschman is now displayed in a reduced color palette. The color combinations appear significantly more abstract. Experiment with the slider for the color separation value; the lower the value, the more abstract the image becomes. A value of 2 might seem somewhat eerie, while a value of 4 would be suitable for a photo album.

2. Applying the Threshold
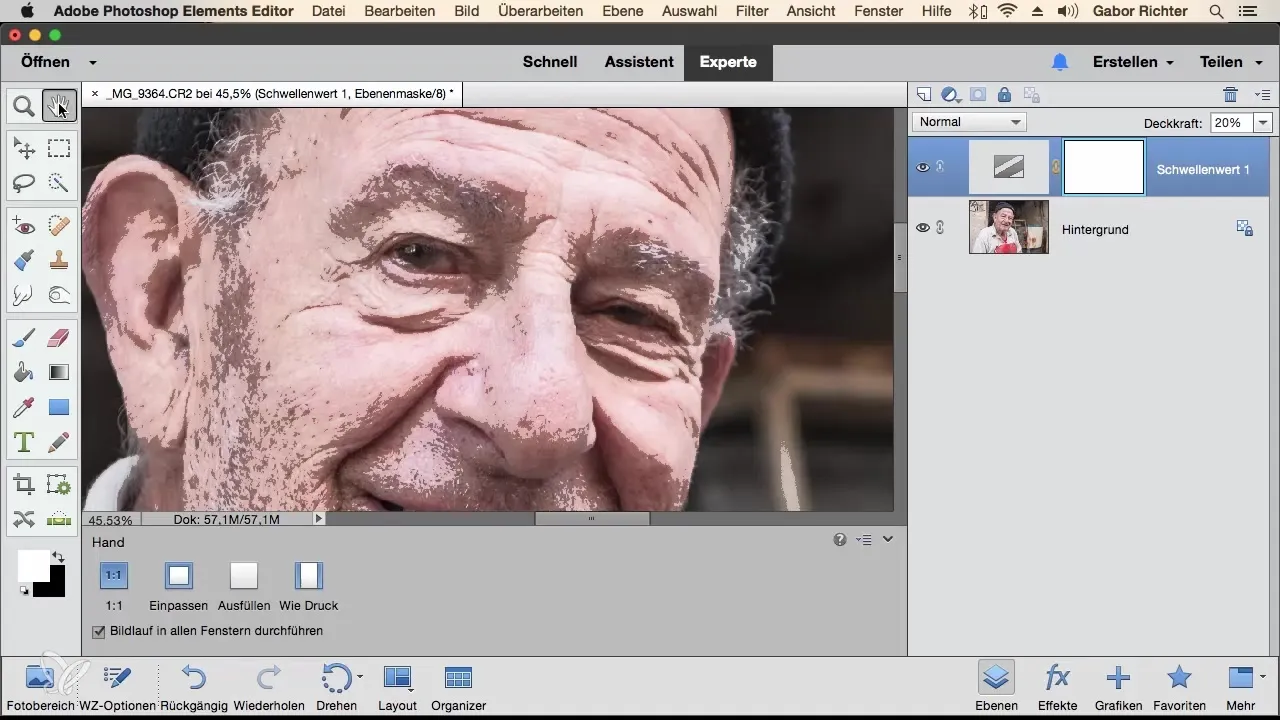
The next adjustment layer you should explore is the threshold. This layer is particularly suitable for creative edits, as it transforms your image into a black-and-white image. When you slide the slider to the right, you get an almost completely black subject. Move the slider to the left to recover more details. It can be fun to reduce the opacity of the threshold adjustment, such as to 50% or even 20%, to achieve interesting results. This flexibility allows you to tailor the image effect to your preferences. You can always double-click on the layer to return and change the settings, thus elevating your acquaintance with black-and-white image editing to a new level.

3. Inverting Colors
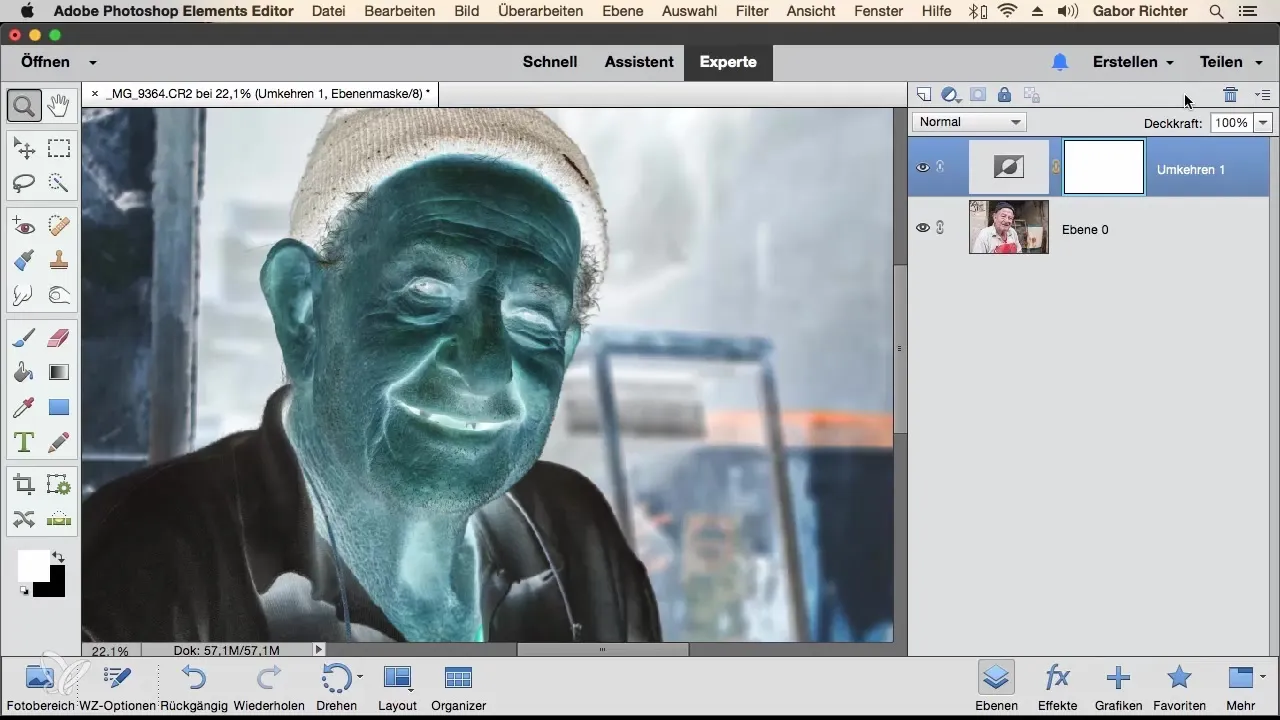
The third adjustment layer you should try is inversion. This layer causes the colors to be displayed in their counterparts, resulting in a very unique and possibly eerie effect. If you take the original image and invert it with “Command + I,” you will achieve the same result as with inversion as an adjustment layer. Although there are not many customization options, you can reduce the opacity of the inversion to achieve a subtler effect. Secondary use for special graphic applications, such as rock covers or eerie images, is an interesting option. Even though the application of inversion is not everyone's taste, it shows the flexibility that adjustment layers provide you with.

Summary – Creative Graphic Effects in Photoshop Elements: Effectively Using Adjustment Layers
By purposefully using adjustment layers in Photoshop Elements, you have the opportunity to creatively shape and alter your images. Whether through color separation, the threshold, or color inversion – each technique offers you different creative possibilities. You can make adjustments at any time and further develop your works to find your individual style.
Frequently Asked Questions
How can I add adjustment layers in Photoshop Elements?You can add adjustment layers by clicking on the adjustment icon in the layers panel and selecting the desired layer.
Can I edit adjustment layers at any time?Yes, adjustment layers can be edited at any time. Just double-click on the layer to change the settings.
How can I adjust the opacity of an adjustment layer?You can adjust the opacity in the layers panel under the properties of the corresponding adjustment layer using the slider.
When should I use color inversion?Inversion is great for creative projects where you want to achieve a negative effect, such as for album covers or artistic photography.


