If you want to enhance an image in Photoshop Elements, the Gaussian Blur is one of the best options to create a targeted blur. This way, you can gently bring the subject to the forefront and stylishly blur the background. This method is not only stylistically appealing but also excellent for highlighting or concealing certain areas of the image. Here, I will explain step by step how to effectively use the Gaussian Blur to achieve impressive results.
Key Insights
- The Gaussian Blur is ideal for creating targeted blurs and stylistically editing images.
- A duplicated layer allows you to keep the original image intact.
- A brush mask helps keep certain areas of the image sharp while the background is blurred.
Step-by-Step Guide
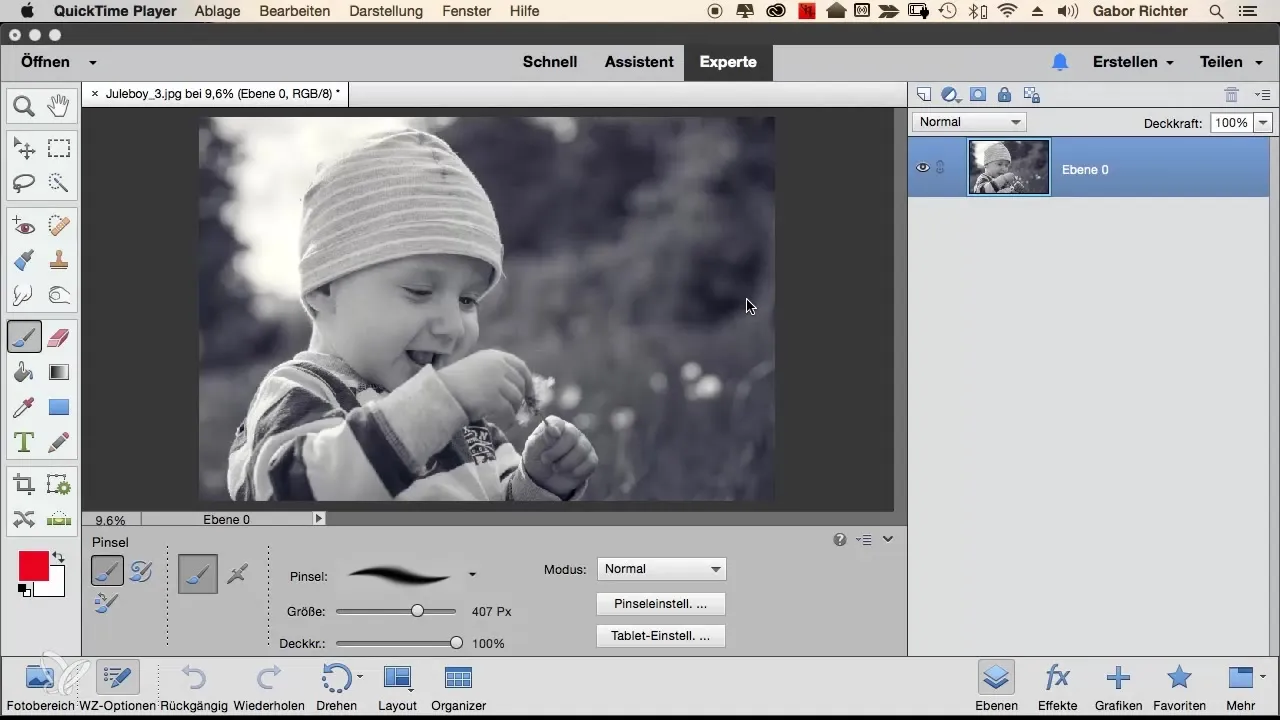
First, open Photoshop Elements and load the image you want to edit. To protect your original image, it’s advisable to duplicate the layer. This is straightforward: right-click on the layer in the Layers panel and select "Duplicate Layer." This way, you will always have a backup of your original.
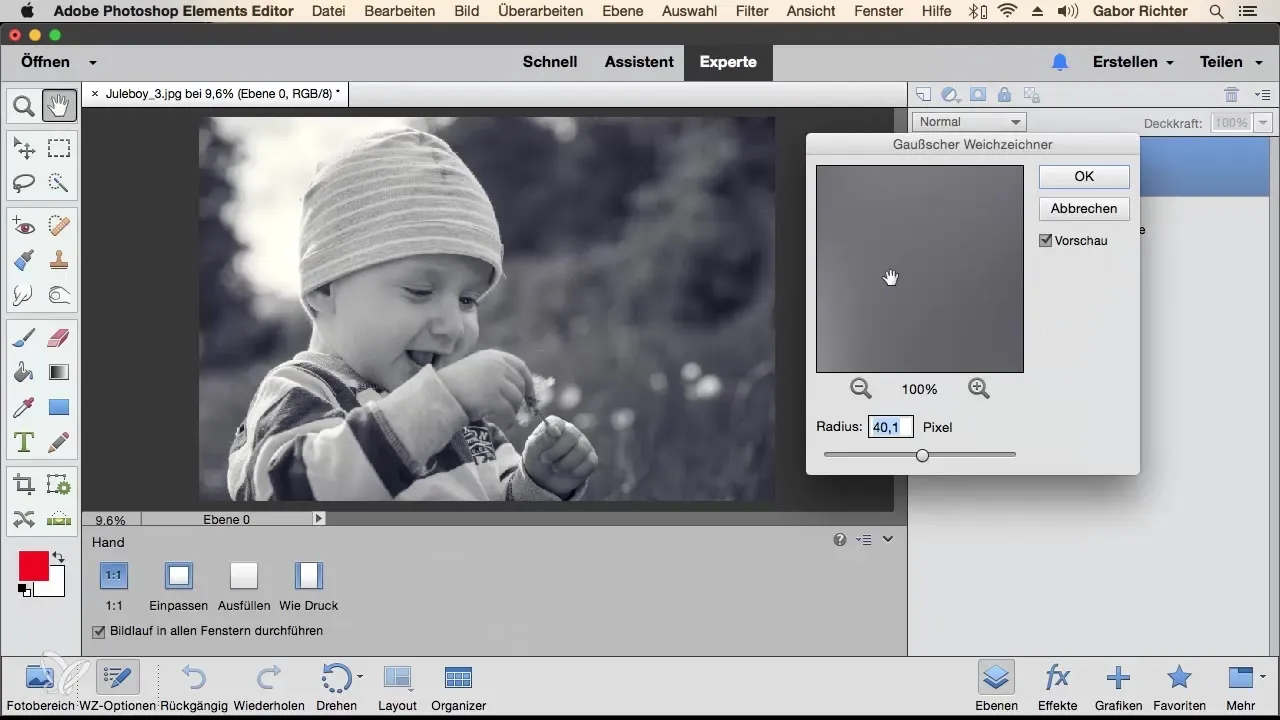
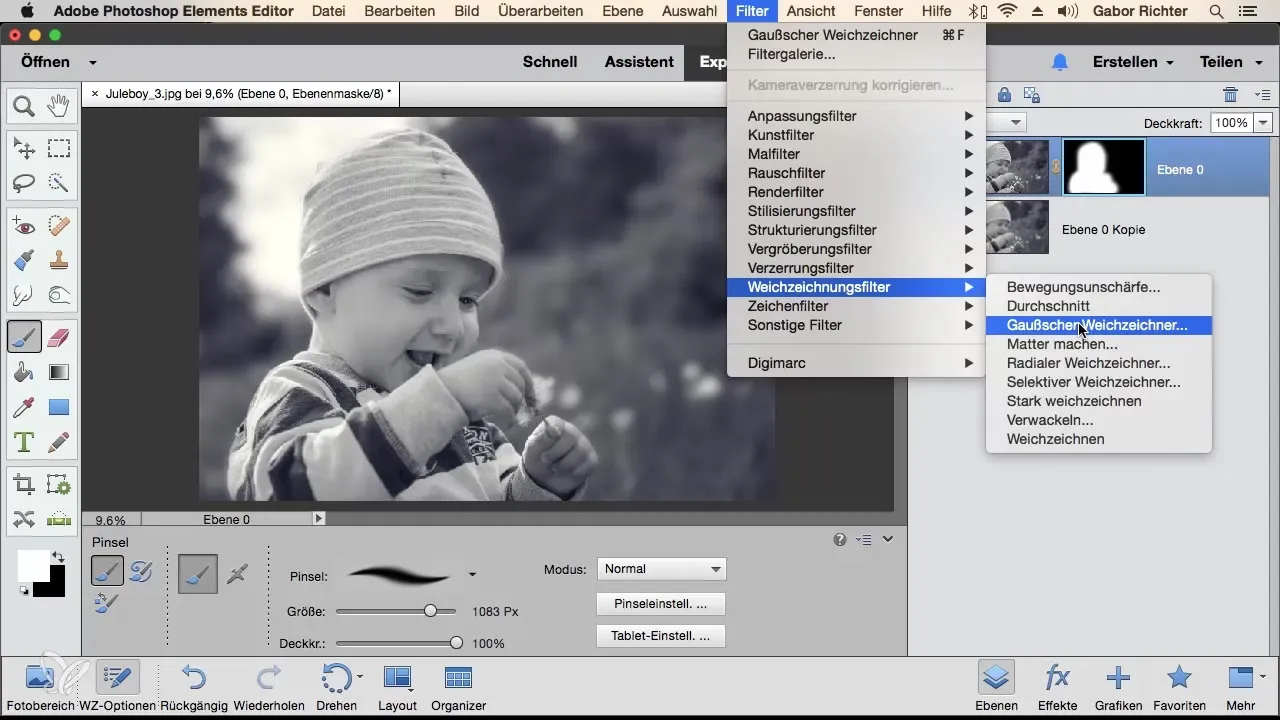
Now let’s focus on the Gaussian Blur. Go to the top menu > “Filter” and select “Blur Filter.” In the submenu that opens, you will find various blur filters. Choose the “Gaussian Blur.” Adjust the radius value in the lower bar. A value of 30 already provides a significant blur and makes the background appear heavily blurred.
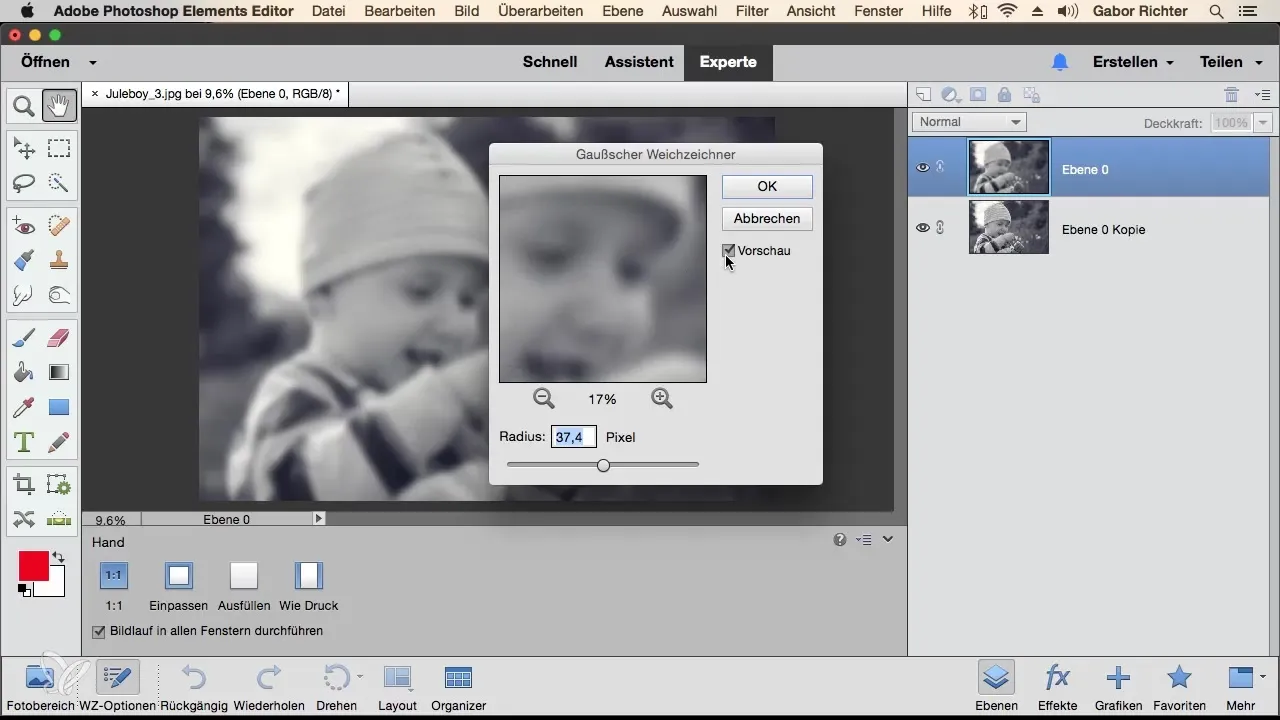
To better evaluate the changes, you can activate or deactivate the preview. Hold down the Alt key and click on the image to switch between the original view and the blur effect. This way, you can see if the desired effects have been achieved.
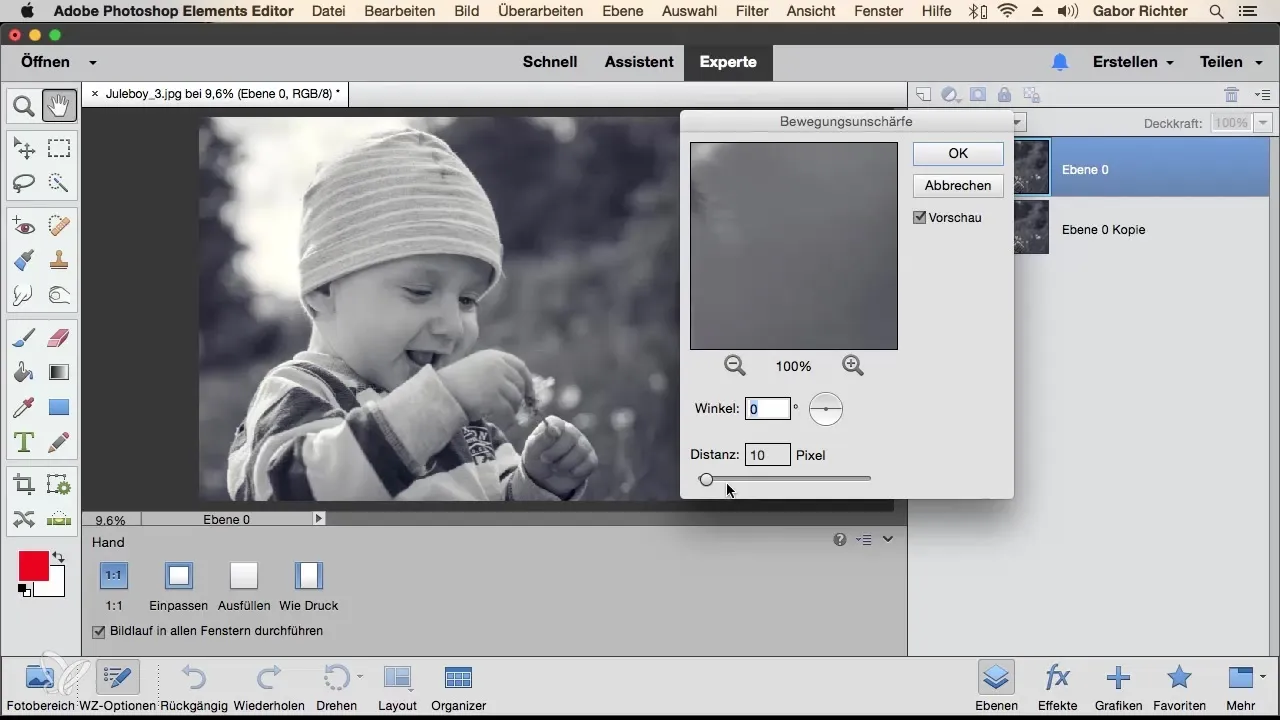
If you want to work creatively, try out the other blur filters as well. For example, the "Motion Blur" if you want to achieve a dynamic effect. Here, you can adjust the angle of the motion blur and increase the distance to create the desired look.
Another interesting option is the “Radial Blur,” which allows you to create a circular blur. You can make it more controllable by adjusting the settings. Experiment with the different options to see how they affect your image.
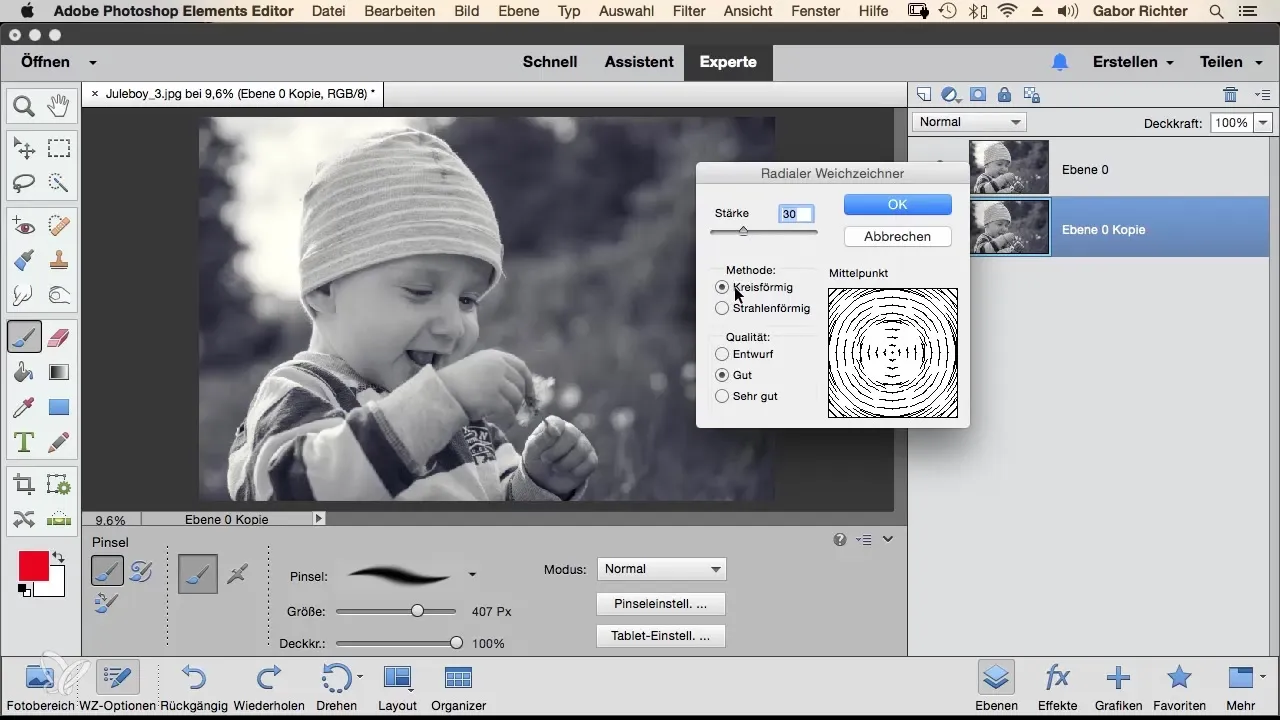
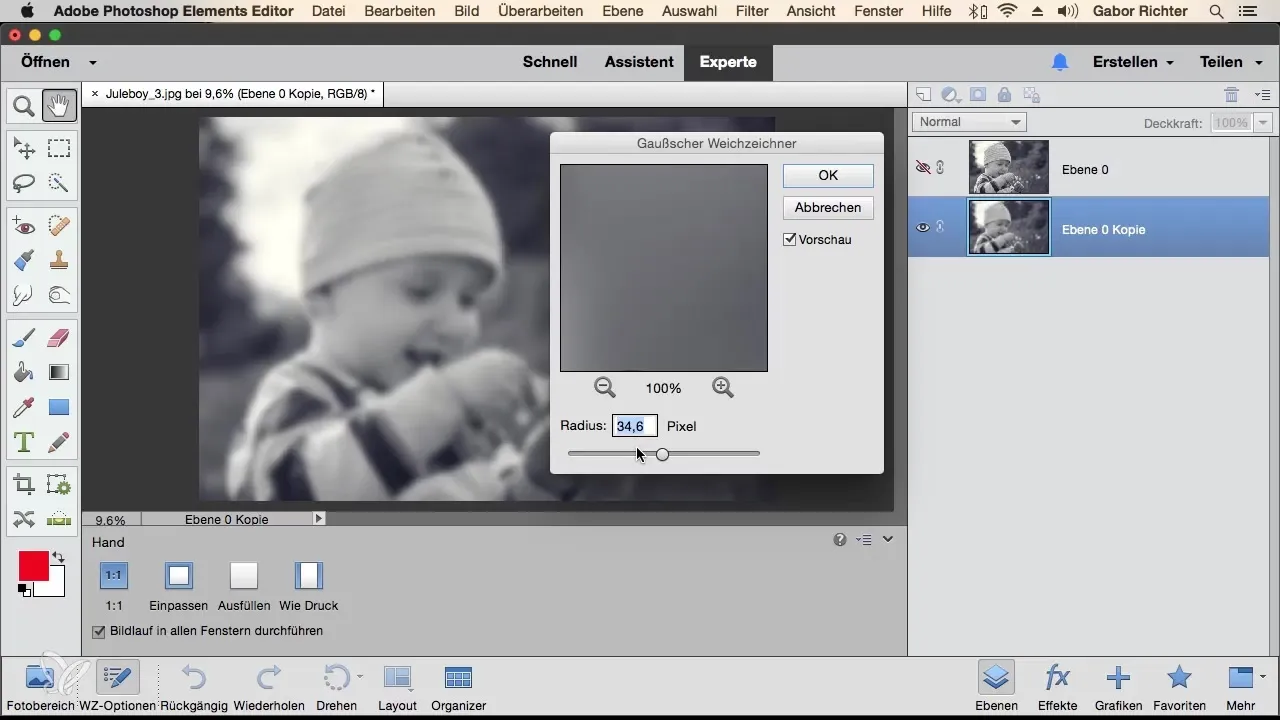
Back to your original plan of blurring the background. Go again to “Filter,” then to “Blur Filter” and select the Gaussian Blur again. This time, set the radius value to about 35. This will give the image the desired softer appearance, while still maintaining the details in the foreground. Please note that the blur is particularly effective when you find the right balance between the sharpness of the subject and the blur of the background.
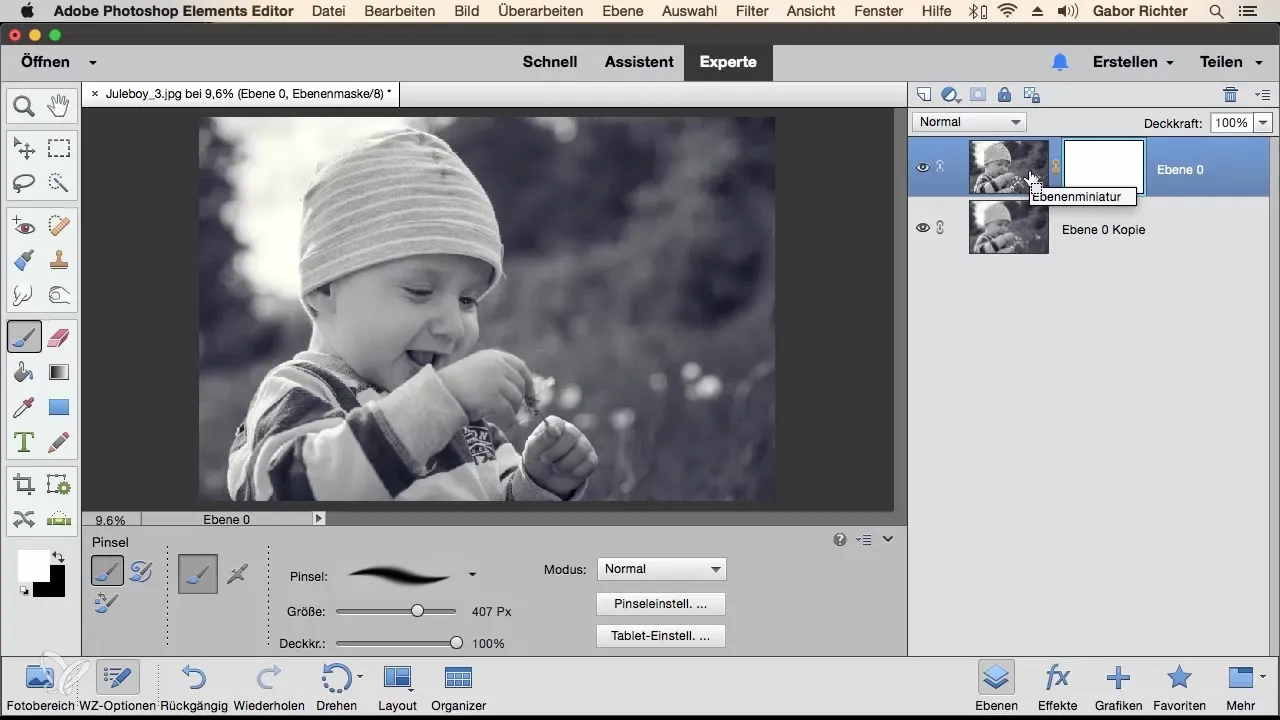
To blur only the background and keep the subject in the foreground sharp, using a mask is the next step. You can select the current blur layer and apply a mask by clicking on the mask icon. In many cases, you’ll need to invert the mask so that only the background is visible. You can do this by using the shortcut Command + I (Mac) or Ctrl + I (Windows). Now you have a mask that allows you to work on specific areas.
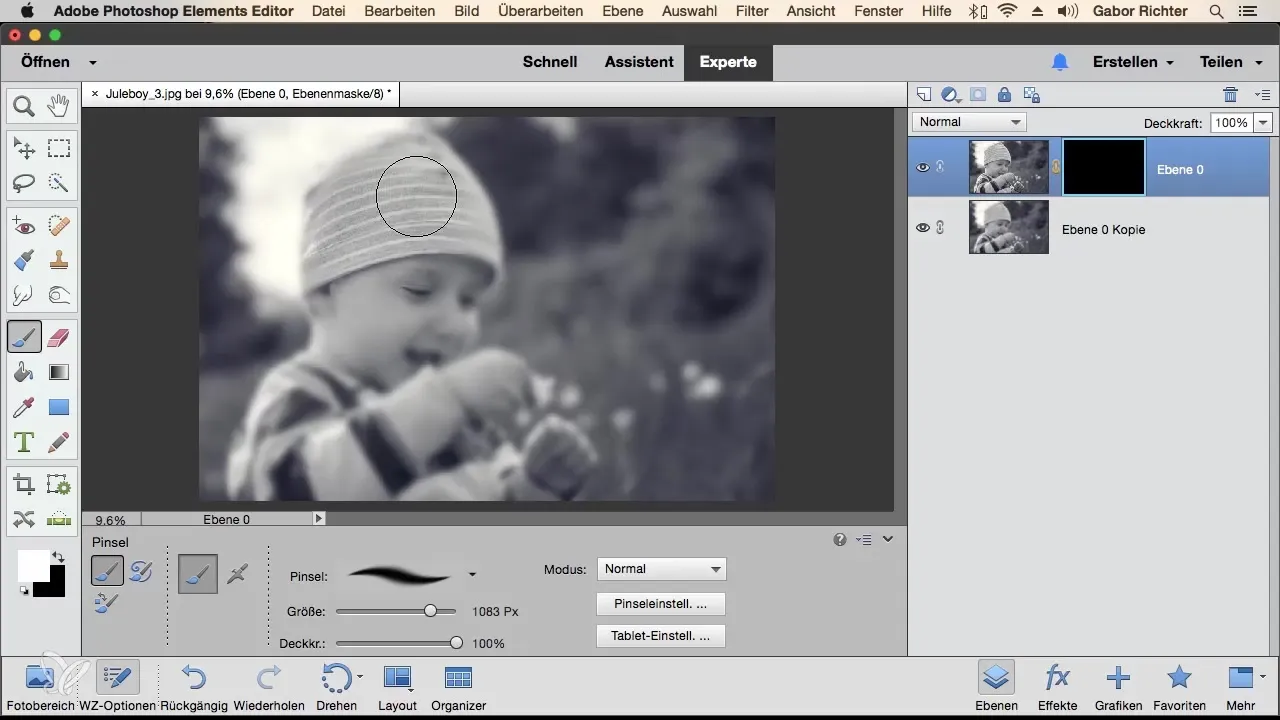
Take the brush and adjust the size to mask the areas that should remain sharp. You can work quite coarsely with this technique. The targeted selection of the subject makes the background even blurrier while keeping your main subject clear. This creates a professional look and directs the viewer's eye directly to the essentials.
Once you are satisfied with the mask and brush, save your work. This ensures that all adjustments are preserved and you can refer back to them at any time. Remember that adjusting sharpness and blur is a creative decision. Experiment frequently with different values and settings to find the perfect look for your image.
Summary – Photoshop Elements: Effectively Using Gaussian Blur
The Gaussian Blur in Photoshop Elements is a powerful tool that helps you focus on your subject and create an appealing blur. With the right technique and a bit of creativity, impressive results can be achieved.
Frequently Asked Questions
What is the Gaussian Blur?The Gaussian Blur is a filter in Photoshop Elements that blurs selected areas of an image.
How do I duplicate a layer?Right-click on the layer and select “Duplicate Layer.”
How can I use the preview in the filter?Hold the Alt key and click on the image to switch between the original view and the blur effect.
What do I do to blur only the background?You can use a mask to keep selected areas of the image sharp while blurring the background.
How do I choose the right radius value?The radius value can be adjusted depending on the desired effect—start with 30 and experiment with higher values for more pronounced blurs.


