Photoshop Elements offers a variety of workspaces to support your creative work. Nothing enhances your workflow more than a customized user interface. In this guide, I will show you how to set up your workspace in Photoshop Elements so that you can work efficiently.
Main insights
- Customizing workspaces allows for more efficient use of the software.
- Important panels such as Log, Histogram, and Adjustments should be optimally placed.
- Customization is the key to improving your workflow.
Step 1: Select a custom workspace
To start setting up, first select a custom workspace. You can do this by clicking on "Workspaces" in the menu and making the appropriate selection. Once you do this, your workspace will appear simpler and more clearly structured.

Step 2: Add panels
Click on the PLUS symbol (PIL) to add new panels. Be careful not to choose the wrong symbol, as it opens a different function. Adding necessary panels helps you create a clean and functional workspace.
Step 3: Add the log panel
A valuable panel that you should have in your workspace is the log panel. It allows you to track the history of your actions, so you can undo steps. Drag the log panel into your workspace to always have an overview of your recent workflows.
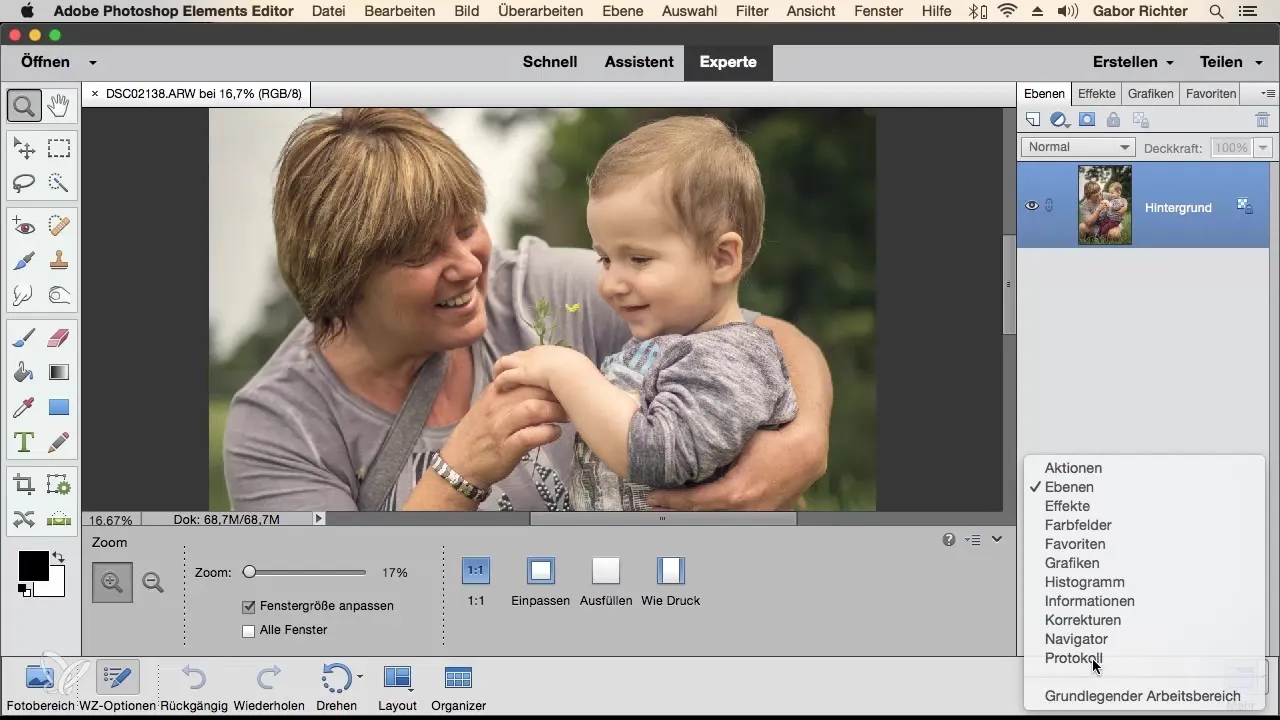
Step 4: Customize panel arrangement
The arrangement of panels is crucial for an efficient workflow. You can customize the panels as you wish and change their position. For example, if you don’t need the "Layers" or "Effects" panels, simply drag them out and close them. This creates more clarity.
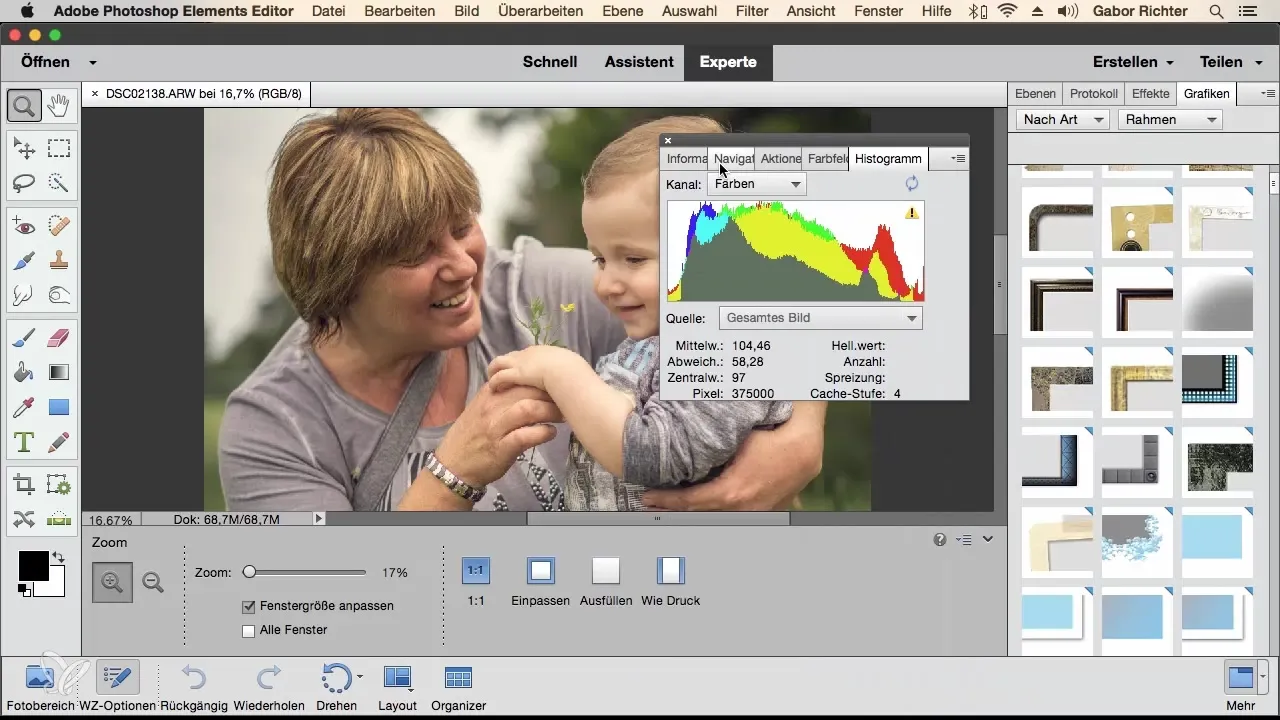
Step 5: Add histogram
The histogram is particularly helpful for viewing the brightness and color information of your image. Be sure to place the histogram in your workspace, as it provides insights into the adjustments you make.
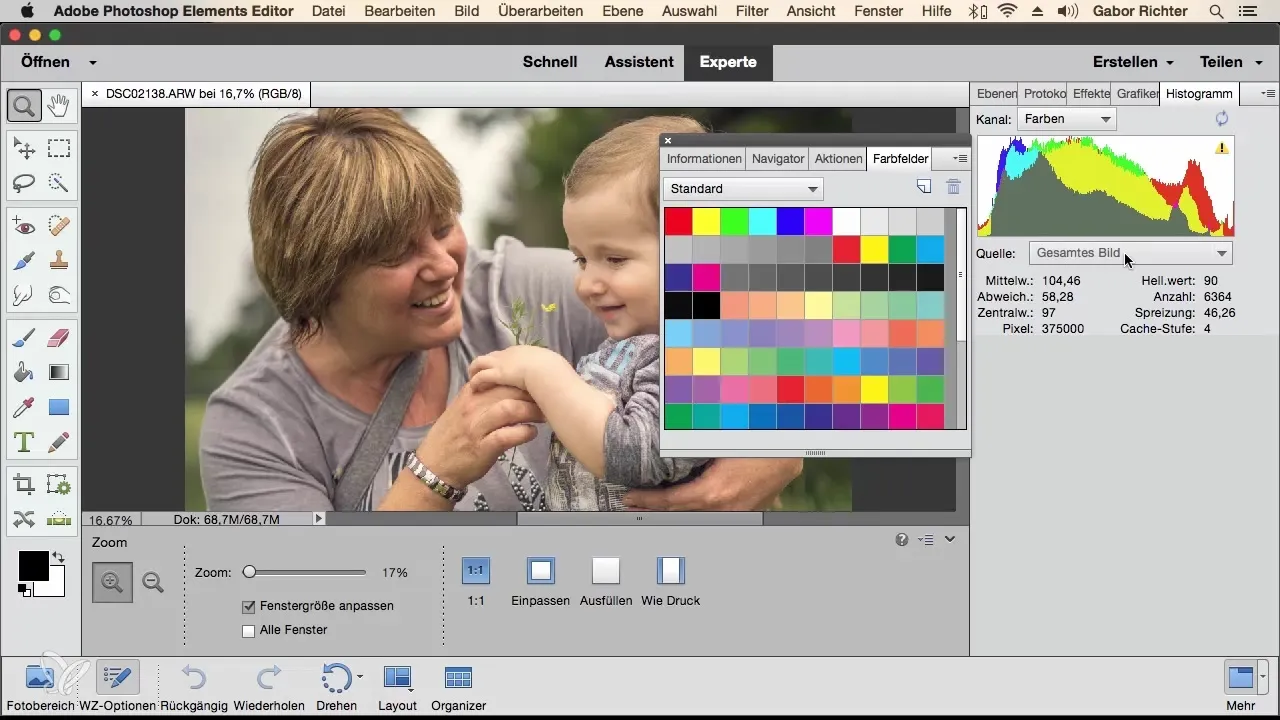
Step 6: Integrate the adjustments panel
The adjustments panel is another important tool in your workspace. It allows you to make changes after the initial adjustment and optimize them. Move the adjustments panel to incorporate it into your visual workflow.
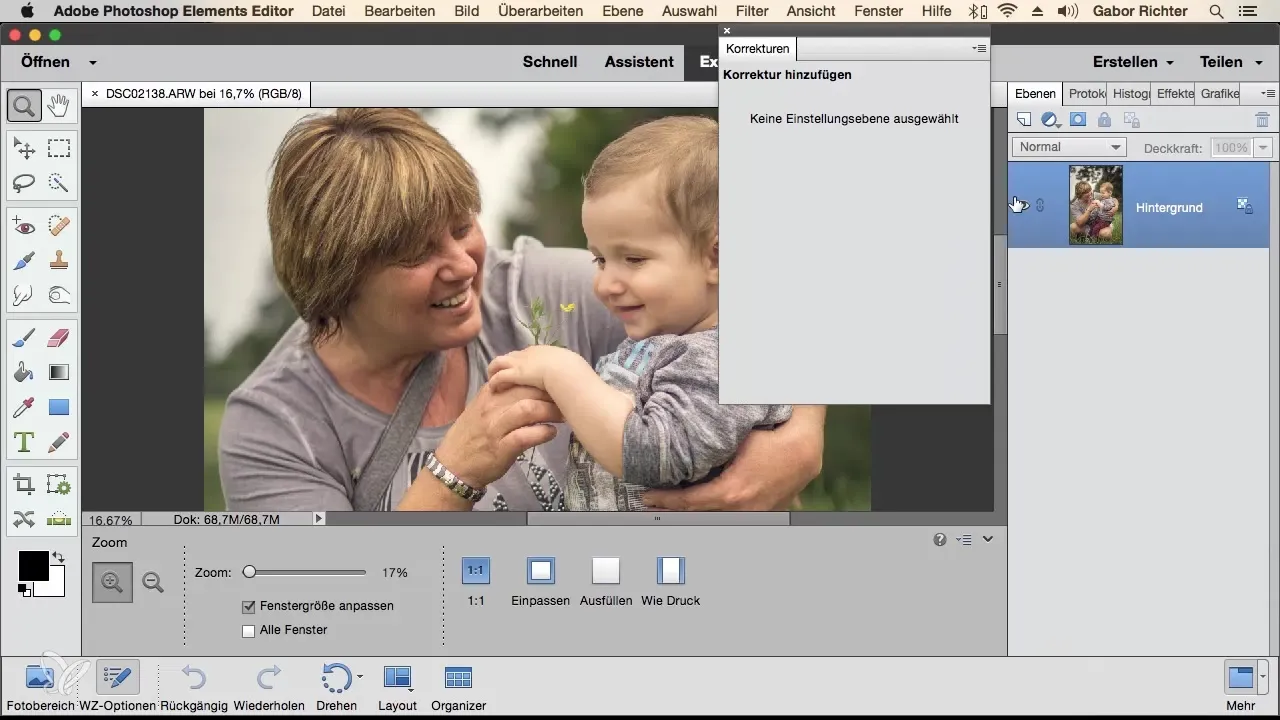
Step 7: Dock and adjust panels
An essential step is docking panels. You can attach panels like the histogram at the top so they take up less space while working and provide more clarity. This functionality creates room for other panels that are important for your creative work.
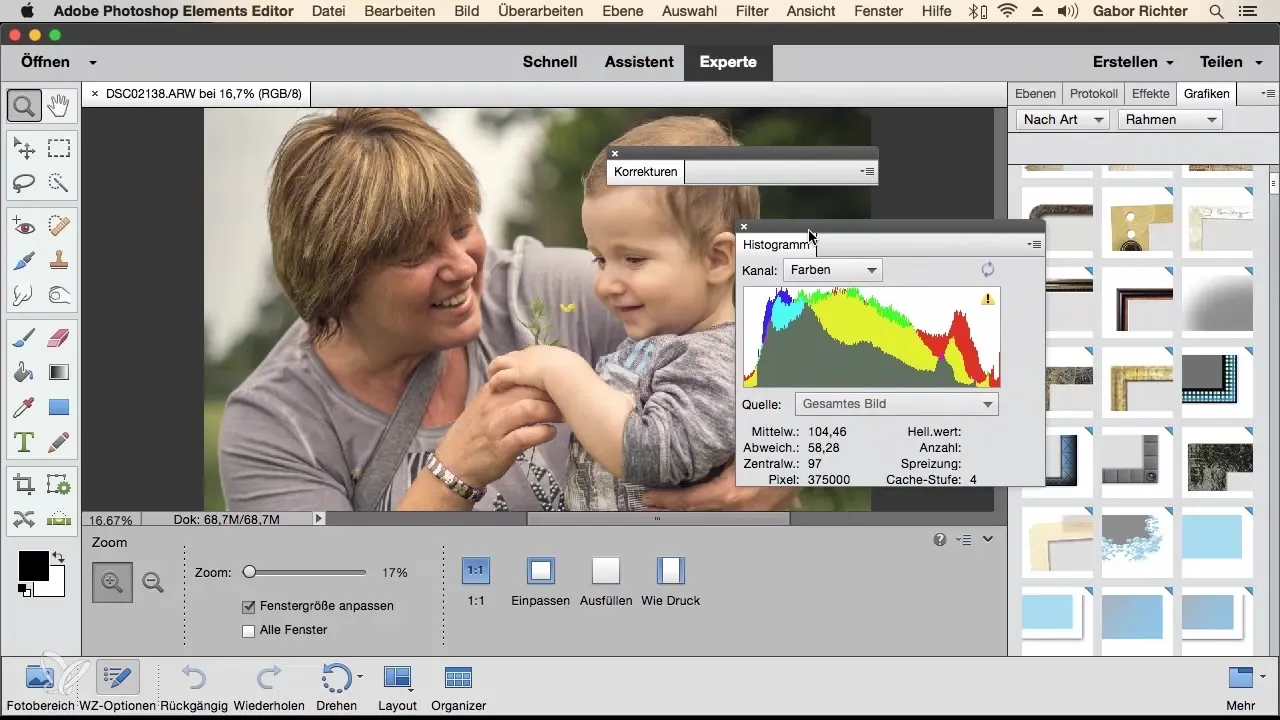
Step 8: Rearrange panels
If you still find your panels messy, you can reset them through the “Window” menu. This brings everything back to the default settings, which may be simple but can also help you gain a better overview.
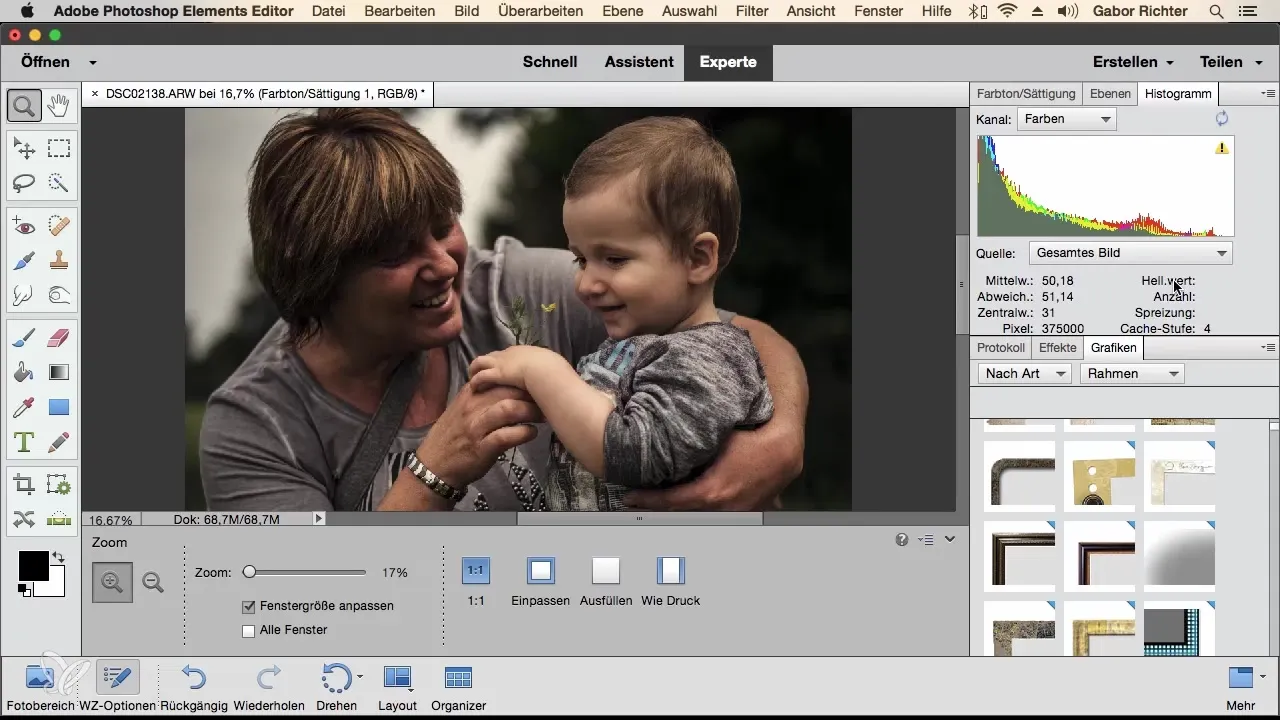
Step 9: Add more panels
If you are missing additional panels, you can again search for new panels through the window menu. Adding different elements gives you more flexibility and allows you to customize your workspace optimally for your individual needs.
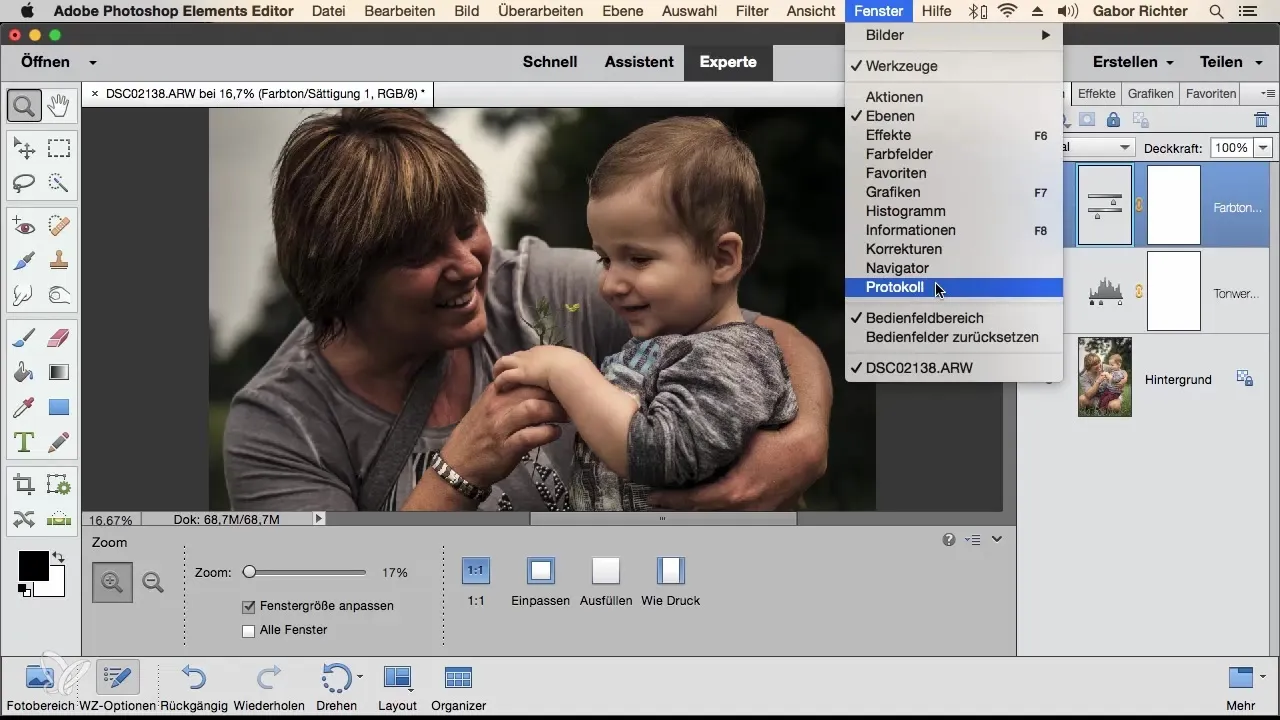
Step 10: Explore the options
Finally, you should take the time to explore different workspaces and their arrangements. Photoshop Elements offers many options for customization that will help you express your creativity better. You are now able to adjust your workspace to perfectly match your style.
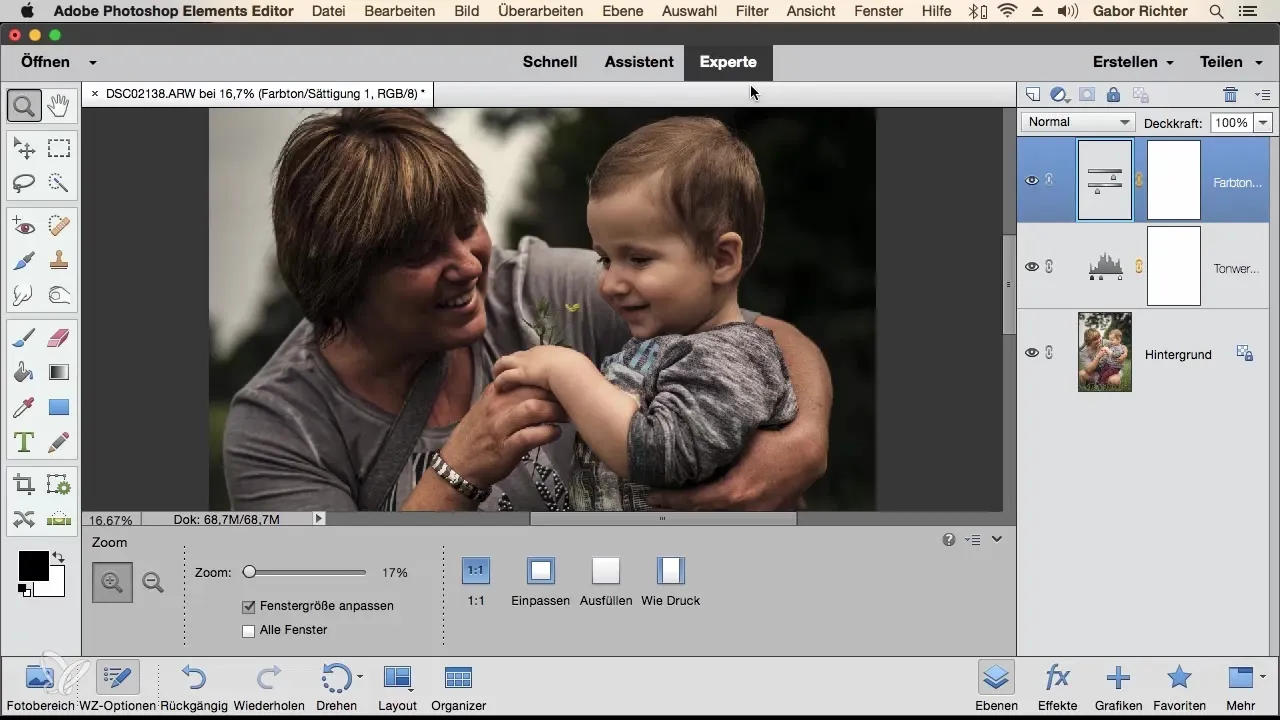
Summary – Optimize your workspaces in Photoshop Elements You have learned how important it is to customize your workspace in Photoshop Elements. With these steps, you can work more efficiently and boost your creative output.
Frequently asked questions
How can I reset my workspace in Photoshop Elements?You can reset your workspace via the “Window” menu to bring all panels back to the default settings.
What panels should I have in my workspace?Important panels are Log, Histogram, and Adjustments, as they provide you with essential information for your work.
Can I move panels in my workspace in Photoshop Elements?Yes, panels can be moved, arranged, and even docked to optimize your user interface.


