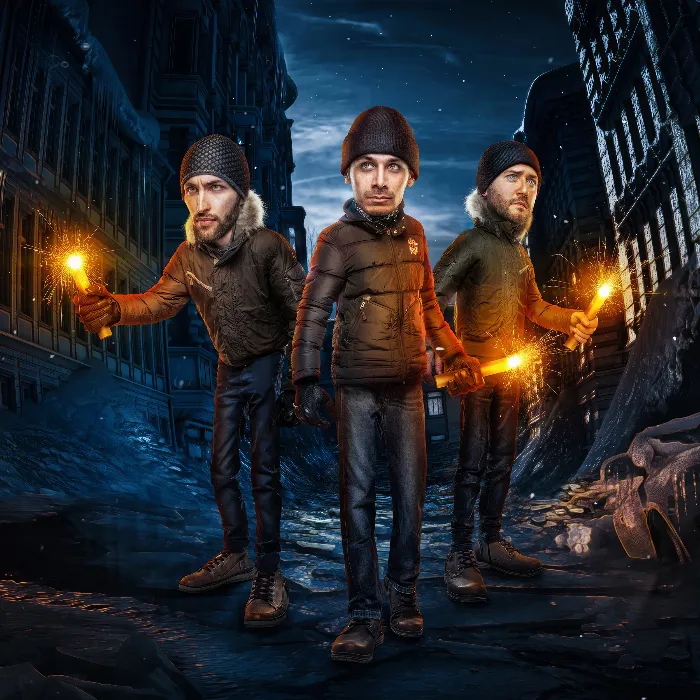
Before you start retouching images in comic-style, it is important to understand the photographic fundamentals that are essential for the desired look. In this tutorial, I will show you what the source images should look like and provide valuable tips on lighting, image composition, and craft tricks to help you optimally prepare your photos for post-processing.
Key Insights
- The use of rim lights creates a plastic effect that is crucial for comic style.
- A neutral background, such as gray, facilitates post-processing.
- Ensure that the hands of the depicted person are well placed to facilitate liquefying.
- A good image needs sufficient material around the main subject to make adjustments.
- Test on site whether the captured images are suitable for comic style.
Step-by-Step Guide
Step 1: Lighting
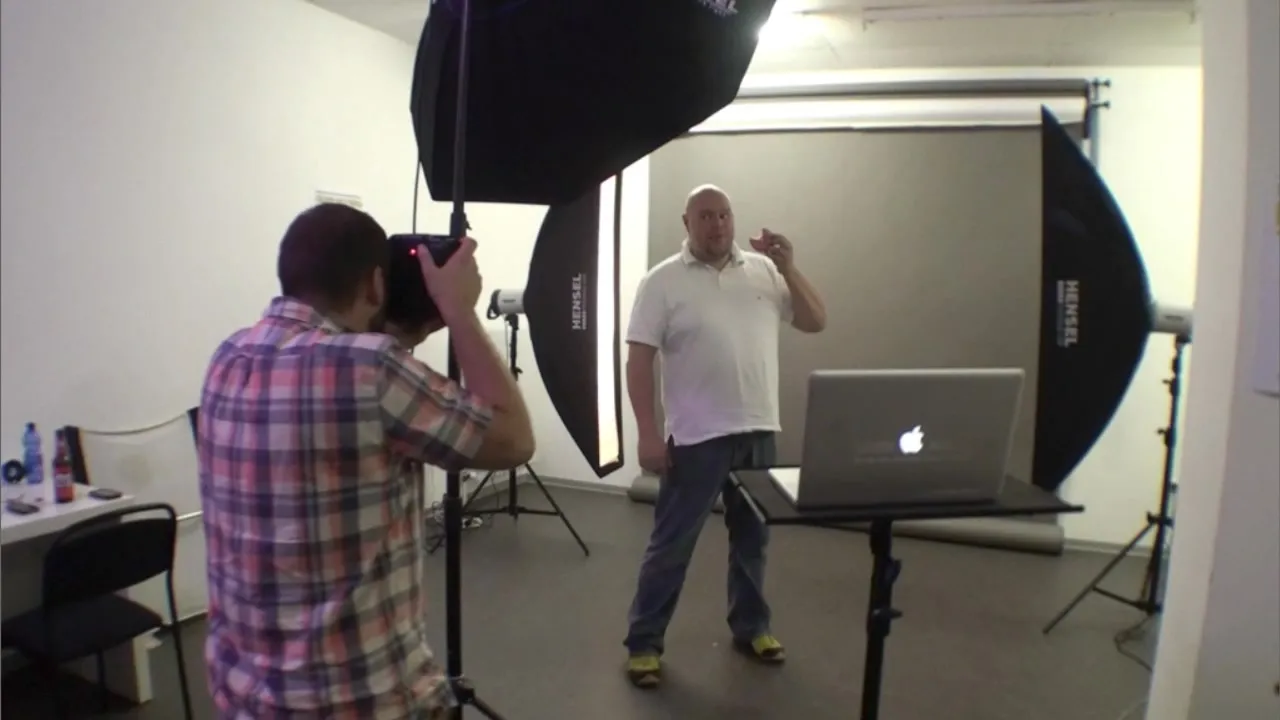
An important factor in photography for comic style is the type of light. In my example, I illuminated the photographer Daniel Bö with rim lights. Skeptics might think this is unnecessary, but these rim lights provide an interesting plastic effect on the face and arms. This technique highlights the contours and contributes to the desired dynamics. Make sure that the rim lights are not directed directly at the person to avoid overexposure.

Step 2: Background Selection
The background should always be neutral, ideally in gray. Such a neutral background ensures that the contours of the depicted person are more recognizable and facilitates subsequent color adjustments. If you choose a white or black background, it may be more difficult to recognize the contours, which can become problematic during editing.
Step 3: Positioning the Subject
Place your subject at a distance from the lights so that an even illumination of the background is achieved. Avoid positioning the person directly between the lights, as this may affect the lighting. Instead, the lights should be placed in the middle between the background and the subject to avoid excessive light on the person while evenly illuminating the background.
Step 4: Using an Octabox
To brighten the image and create softer lighting conditions, use an octabox coming from the front. It provides even illumination of the face and creates a pleasant lighting atmosphere while photographing. Make sure the light source is large enough to illuminate the face extensively and softly.
Step 5: Choosing the Lens
I recommend a 50 mm lens for portrait shots. This gives you a nice framing of the subject without distorting the proportions. Wide-angle lenses can lead to distortions that are not desirable in comic style. A neutral image is optimal for changing the shape of the subject during post-processing according to your preferences.
Step 6: Attention to Hands
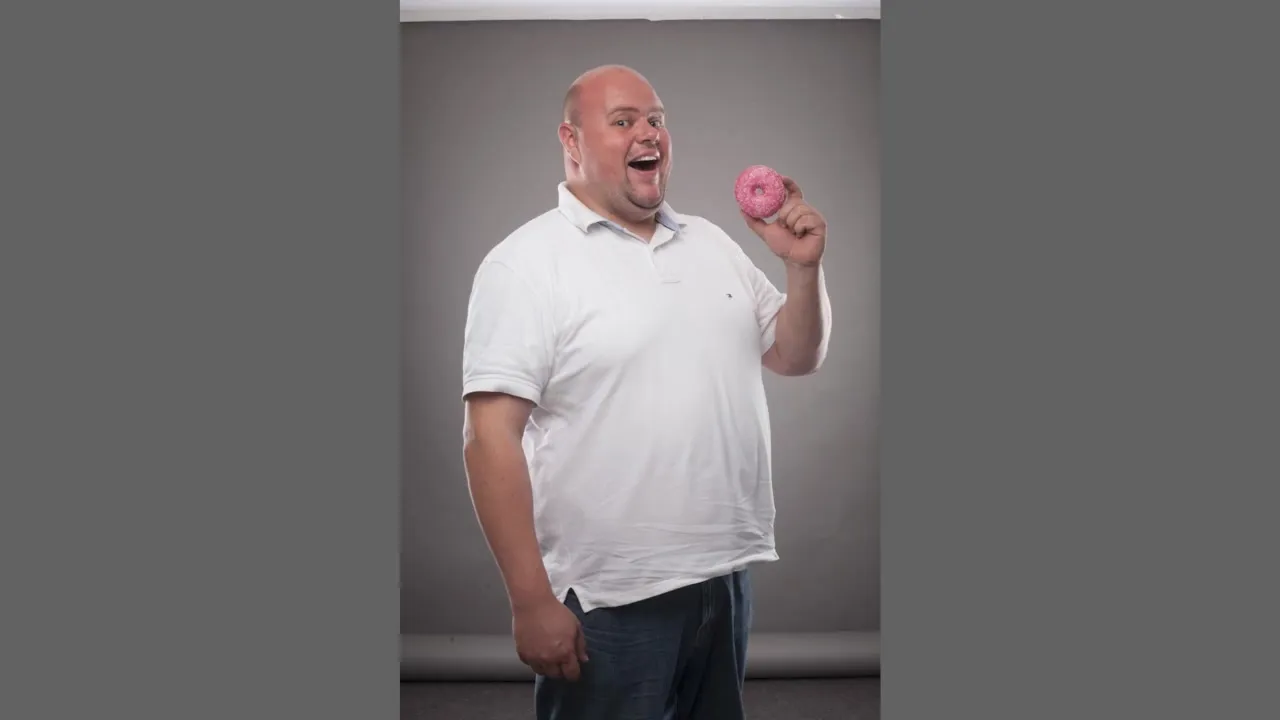
Make sure that the subject's hands are clearly visible and ideally not placed against the body, as this facilitates later editing such as liquefying. However, if the hands are cropped, the image will not be optimal. Ensure that the hands are not too close to the body and that there is enough space around them.
Step 7: Handling the Crop
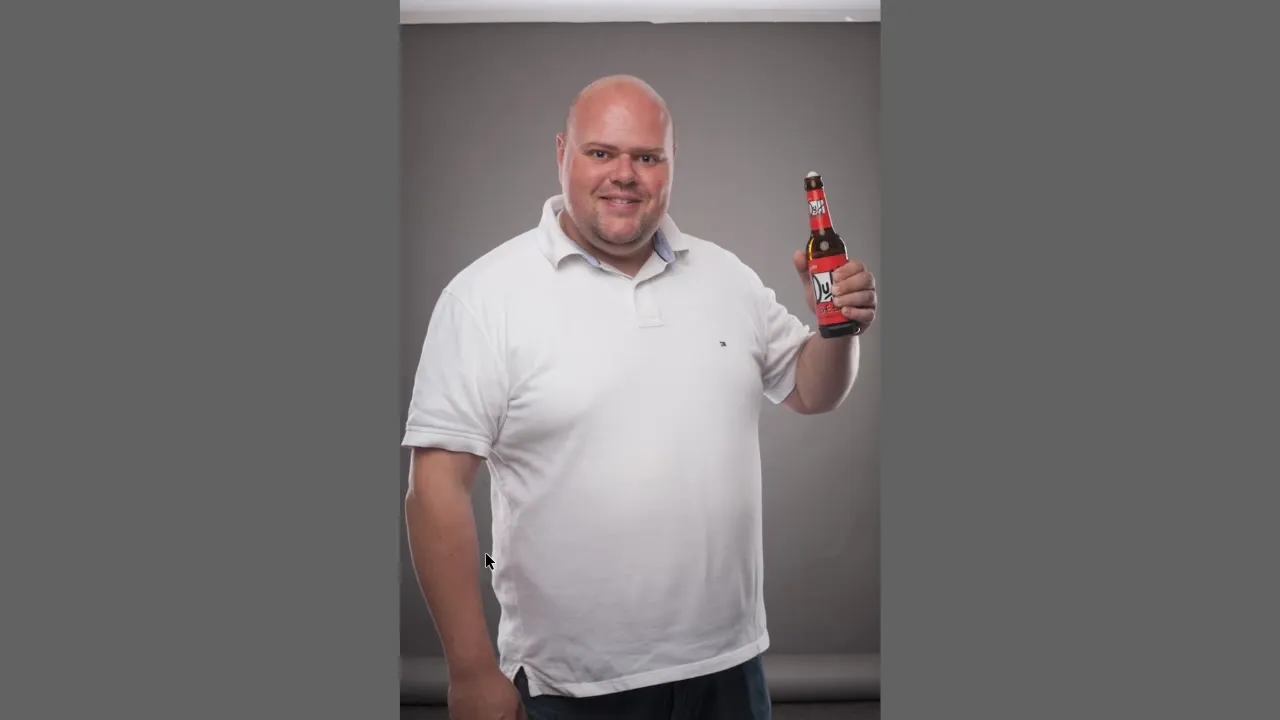
When taking your photos, make sure there is enough material in the corners. Sometimes an image that is too tightly cropped can make editing difficult. A more generous crop gives you the freedom to make adjustments during editing without making the image appear squished or cropped.
Step 8: Pre-Checking the Images
Take the opportunity to roughly review your images during the shoot. Upload the RAW files directly into Photoshop and perform initial tests with liquefying to see if the style works as desired. This will save you a lot of time and frustration later when you discover that certain aspects are not as you wanted.
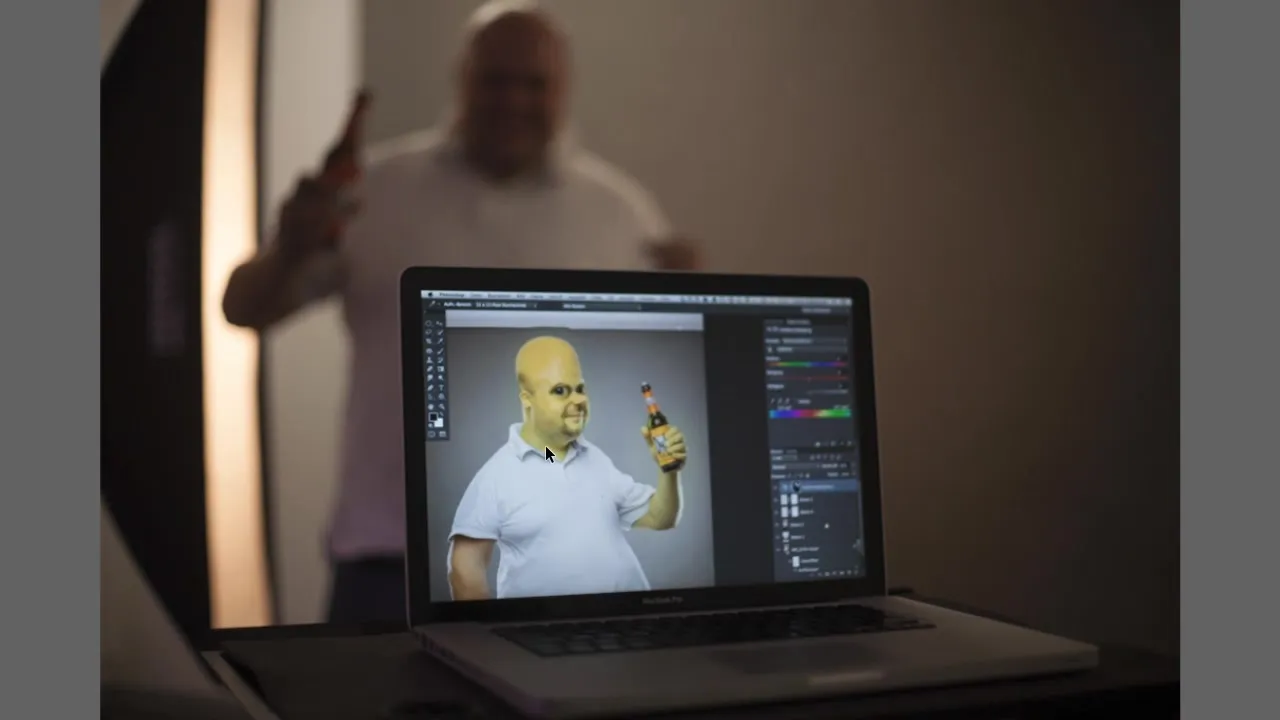
Summary – Comic Style Photoshop: Photographic Fundamentals and Tips
The right photographic choices are crucial for a successful comic-style image. Pay attention to the lighting, the background, and the positioning of your subject. Keep the hands of the depicted person clearly visible and experiment right after photographing to identify and fix potential problems early.
Frequently Asked Questions
How do I choose the best background for my photos?A neutral background, preferably gray, is ideal for post-processing in comic style.
Why are rim lights important for comic style?Rim lights create plastic effects that highlight the contours better and make the image more interesting.
What can I do if my hands are cropped when photographing?Make sure the hands are always clearly visible and that there is enough space around the subject.
How can I ensure that my images are suitable for post-processing?Test the images immediately after photographing in Photoshop to check important aspects like lighting and composition.
Why is a 50 mm lens recommended for portraits?It avoids distortions and provides an appealing framing of the subject for a clean and clear representation.
