Digital painting in Photoshop offers countless possibilities to give your characters the desired look. One technique that is particularly valued in the world of digital art is frequency separation. It allows you to separate the color and detail layers of your images to ultimately achieve impressive results. In this guide, I will show you how to adjust the skin tones of your characters using frequency separation while achieving a three-dimensional effect.
Key Insights
- Frequency separation allows for an effective separation of color and details.
- A separate layer for painting with colors makes it easier to adjust skin tones.
- By using lower opacity, you can achieve subtle changes in the coloration.
Step-by-Step Guide
To successfully implement the technique, follow these steps:
Step 1 – Create Layers
To start your frequency separation, you must create a blank layer between the detail and color layers. Name this layer "Magic." This is where the magic really begins.

Step 2 – Set Up Brush
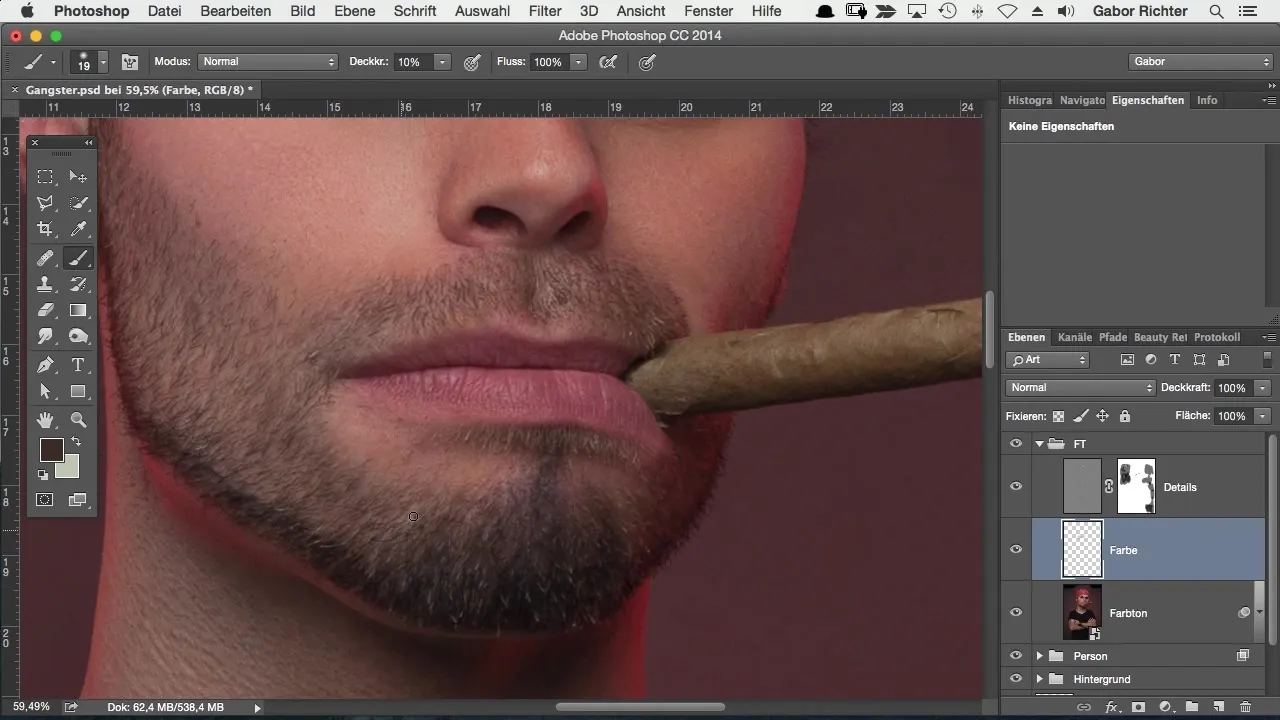
Select a brush with a hardness of about 20. Too hard edges can make your image look unnatural, while a soft brush helps you create smoother transitions. Set the opacity to around 10 to 15% to paint the colors gently into the skin.

Step 3 – Select Color
Pick a color that tones down the reddish skin tones. Hold down the Alt key to activate the color picker and click on the desired hue. This choice is crucial for achieving a harmonious overall image.
Step 4 – Paint and Adjust
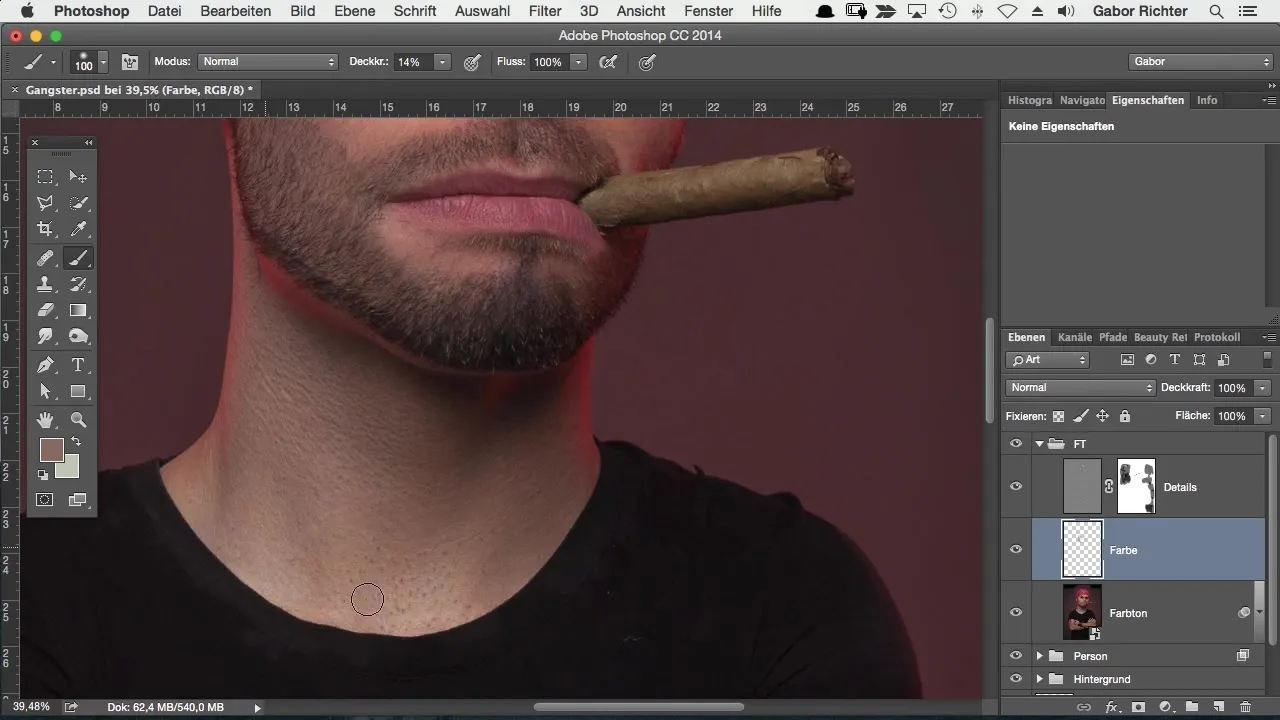
Paint with the selected color over the desired skin areas. Make sure you don't paint too precisely but instead use flowing movements over the corresponding areas to avoid creating spots. If necessary, go over strong redness multiple times until you achieve the desired effect.
Step 5 – Compare Results
Compare your results with the original image. The goal is to create a more harmonious overall image while retaining the details. Look at the color layer and see how the color complements the existing tones.

Step 6 – Beard and Other Details
To enhance the beard and other details, you can apply the same technique to fill in gaps or darken the color. Find the color that matches the beard and paint over the lighter areas to achieve a more uniform appearance.

Step 7 – Final Touches
Don't waste time on unevenness or small errors – just go over the corresponding areas with the selected color or fill in bright spots that you don't like. The goal is to work as precisely and efficiently as possible.

Step 8 – Retrieve Shadows
If you no longer like a shadow or if it is too prominent, you can also tone it down. Carefully paint over the affected areas to soften the shadow and achieve a better balance in the image.
Step 9 – Final Adjustments
The details should still be visible while you adjust the colors. This allows you to produce an image that is both harmonious and detailed. Consider if there are any open areas or spots you would like to adjust.

Step 10 – Final Review
Review the entire image and make final adjustments. Make sure that all elements work well together and that the details are not lost.
Summary – Perfecting Skin Tones with Frequency Separation in Photoshop
By strategically applying frequency separation and painting on a blank layer, you can give your characters' skin tones a three-dimensional depth. The result shows not only an impressive transformation but also remains rich in detail and vibrant.
Frequently Asked Questions
How does frequency separation work?Frequency separation divides the image information into colors and details so that you can edit them independently.
Can I use the technique for other areas as well?Yes, this technique is suitable not only for skin tones but also for any areas of your image where you need color and detail adjustment.
What should I consider when setting the opacity?A lower opacity between 10% and 15% allows for smoother transitions and prevents spot formation.


