Do you want to spice up your photos in a comic style and correct awkward body positions in your shot? In this guide, I will show you how to optimize a model's posture with the help of montages and create a typical comic look. You will also learn how to cleverly design image crops and swap visual elements without permanently defining how the final product looks.
Key Insights
- Reassemble parts of a photo to achieve a more appealing pose.
- Use masks to target edited areas specifically.
- Ensure harmonious integration of new elements into the image.
Step-by-Step Guide
Start by loading the image you want to edit. If you didn't pay attention to certain details while photographing, you might find another image where the pose looks better.
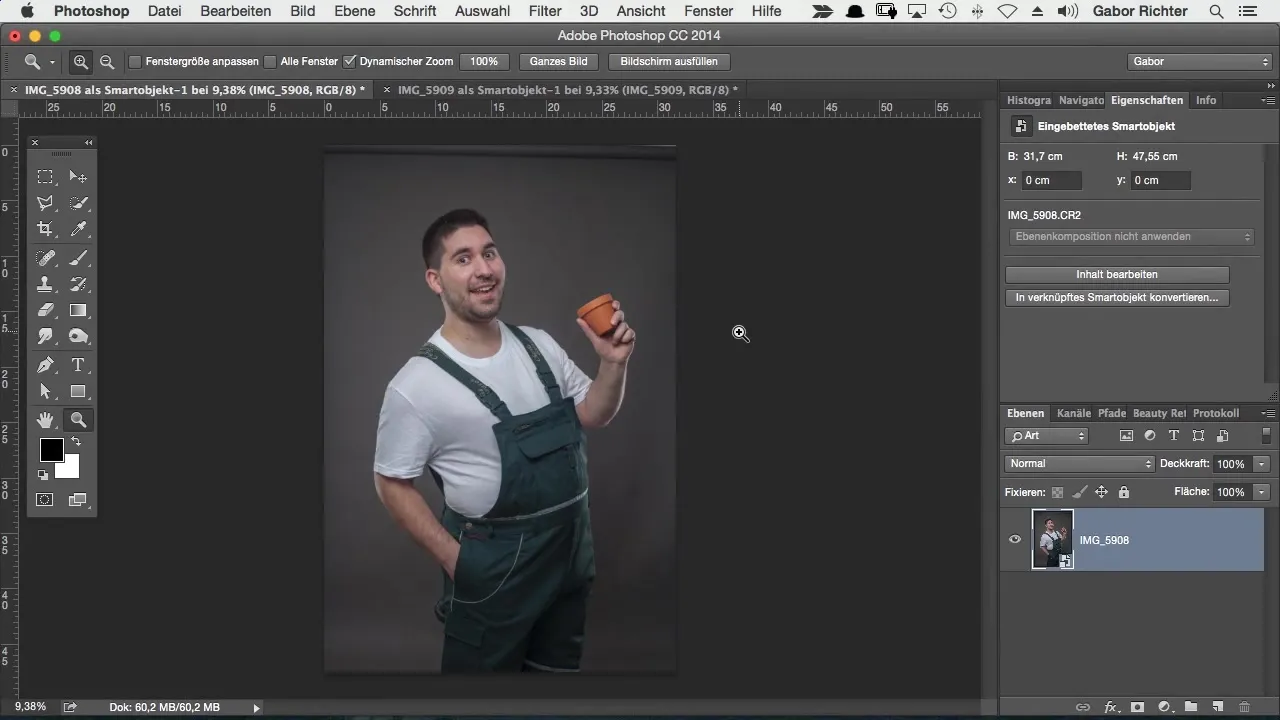
Transfer the image where the pose suits you better to your current workspace. You use the Move Tool for this. Make sure you are working on the correct layer. Click and drag the image into the canvas of your main project.
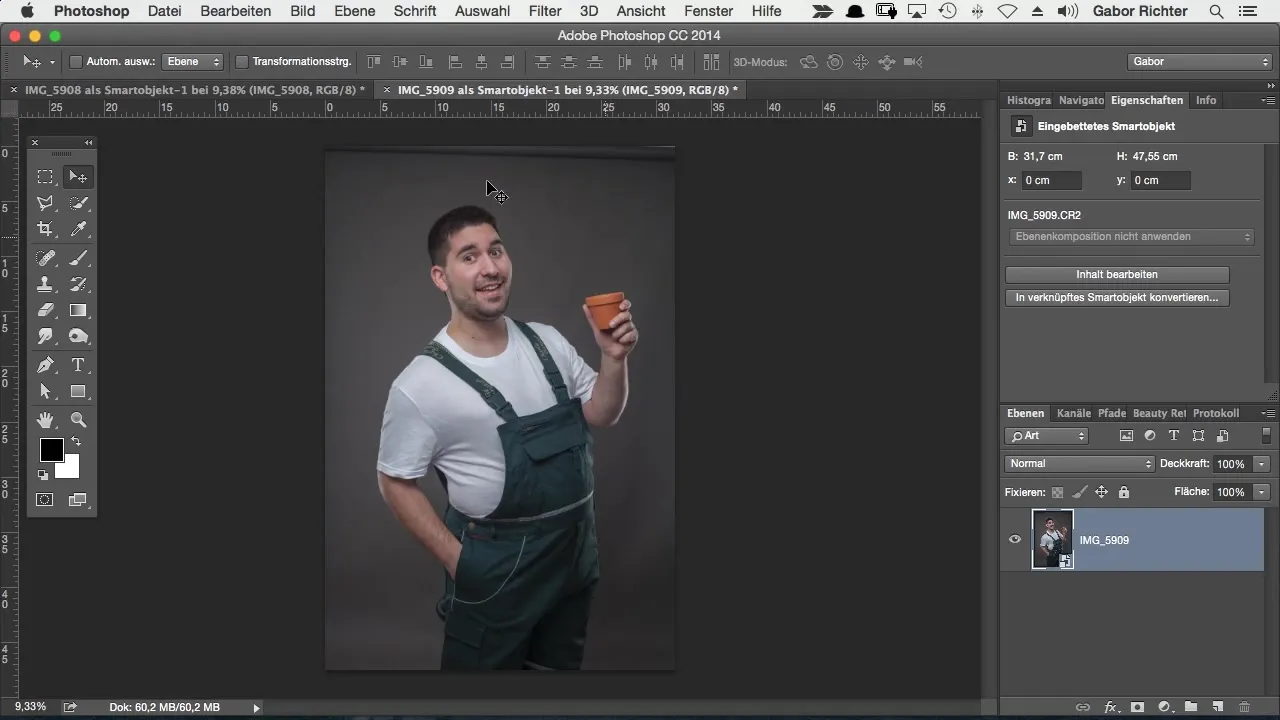
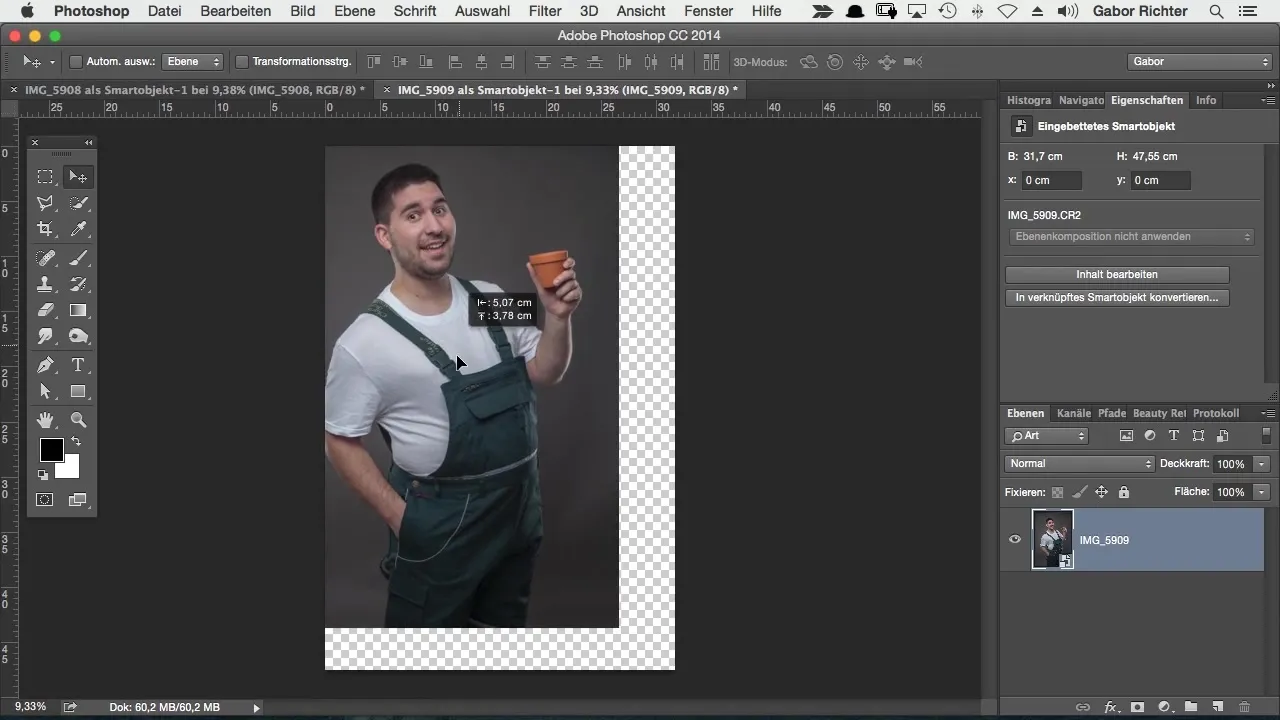
Sometimes the image will not be perfectly centered. In such cases, you can align the image by moving it a little or holding the Shift key while dragging the image. This will place it more accurately.
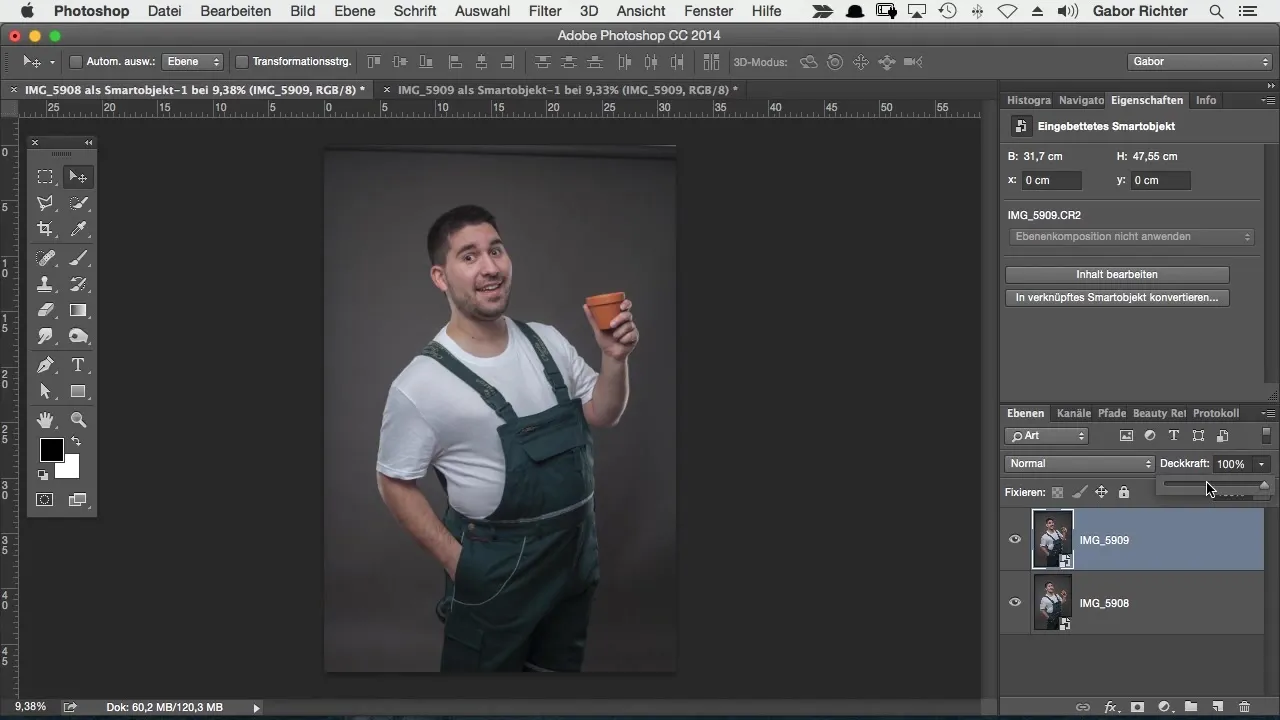
To facilitate integration, reduce the opacity of the top layer to about 50%. This way, you can see the contours better and adjust the elements precisely.
If the guidelines for alignment are distracting, you can simply hide them. Go to "View" and disable the guides. Now you can merge the elements much more easily.
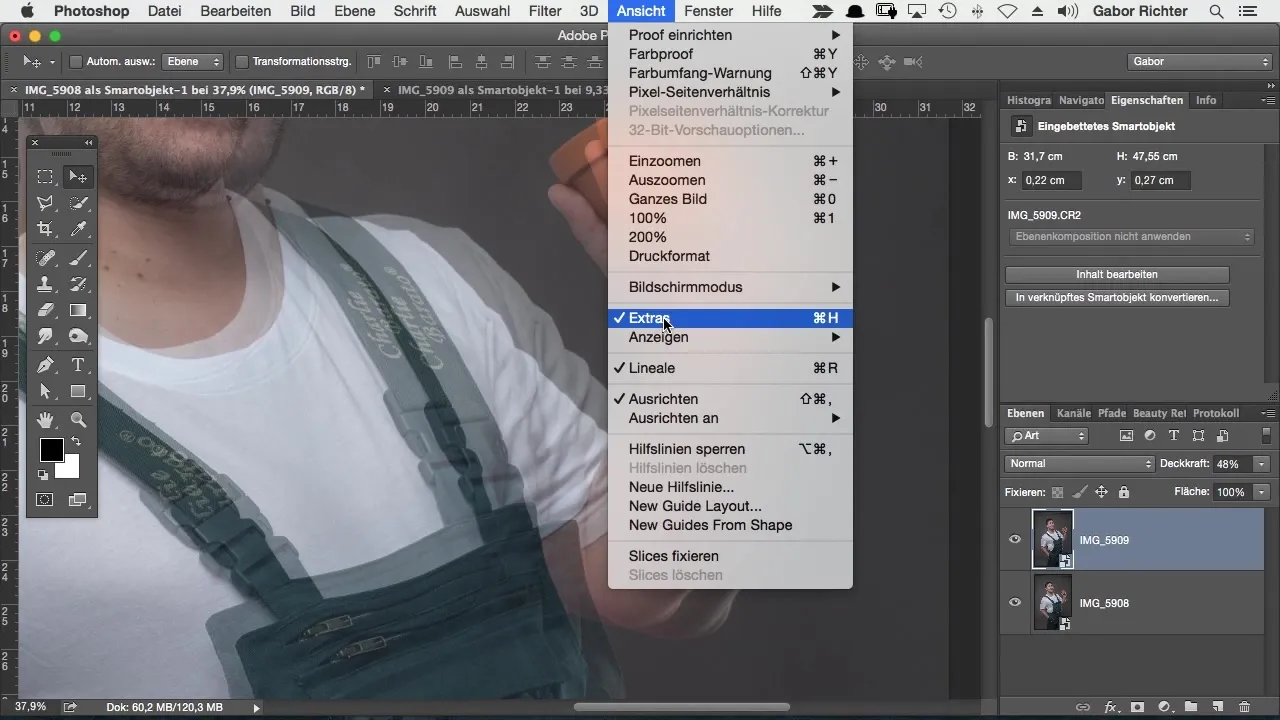
Use the arrow keys on your keyboard to move the elements pixel by pixel, if necessary. Adobe Photoshop allows for precise positioning, which can be particularly helpful for complex transitions.
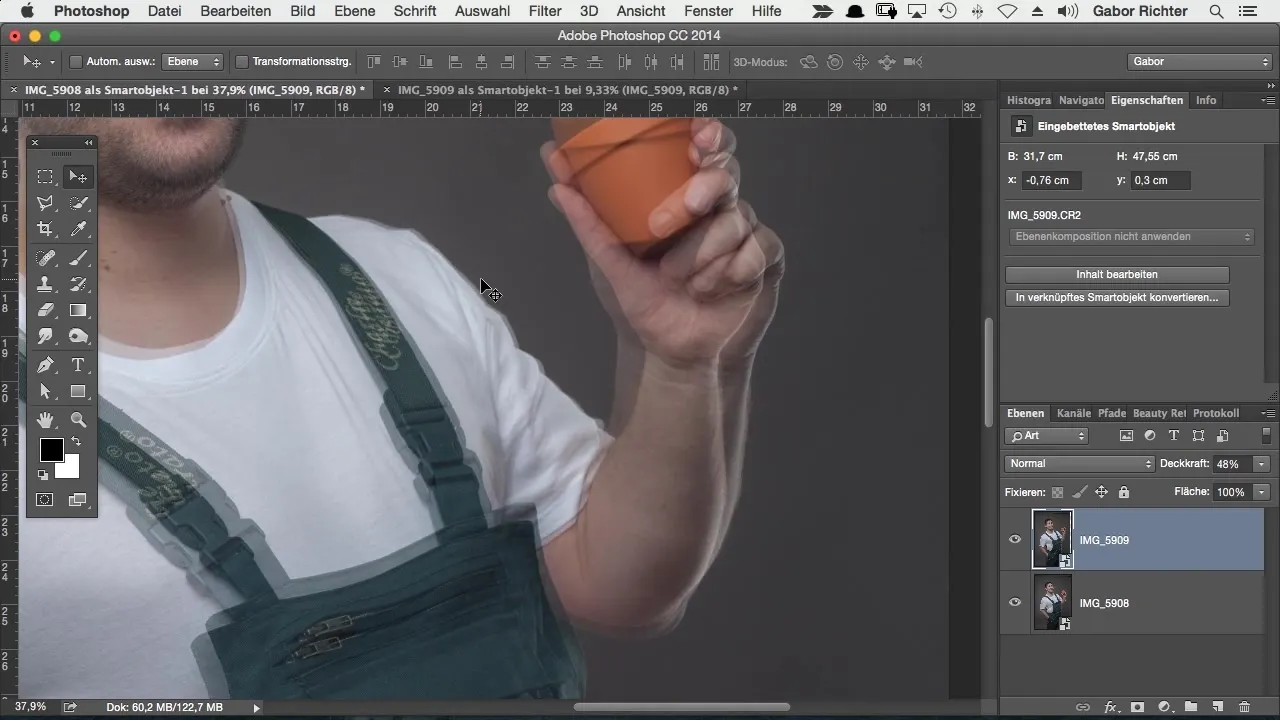
Now that the hand is in an acceptable position, you can set the opacity of the top layer back to 100%. To make the transition smooth, lay a mask over this layer. The mask is initially fully visible – this way, you can see exactly what you are editing.
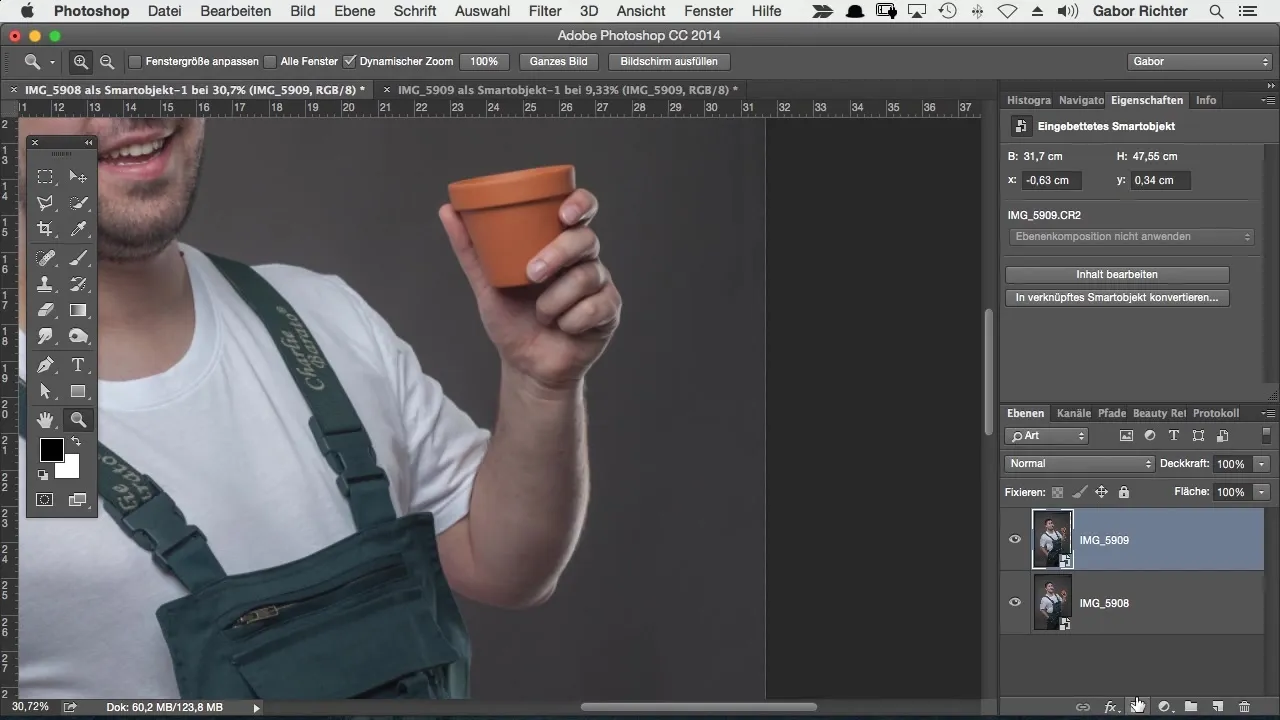
Now invert the mask by pressing “Command + I” or “Ctrl + I” for Windows. This will make the underlying image visible, allowing you to re-mask the hand.
Select a brush with white foreground color and a hard edge. Start masking the hand back by painting over the relevant area.
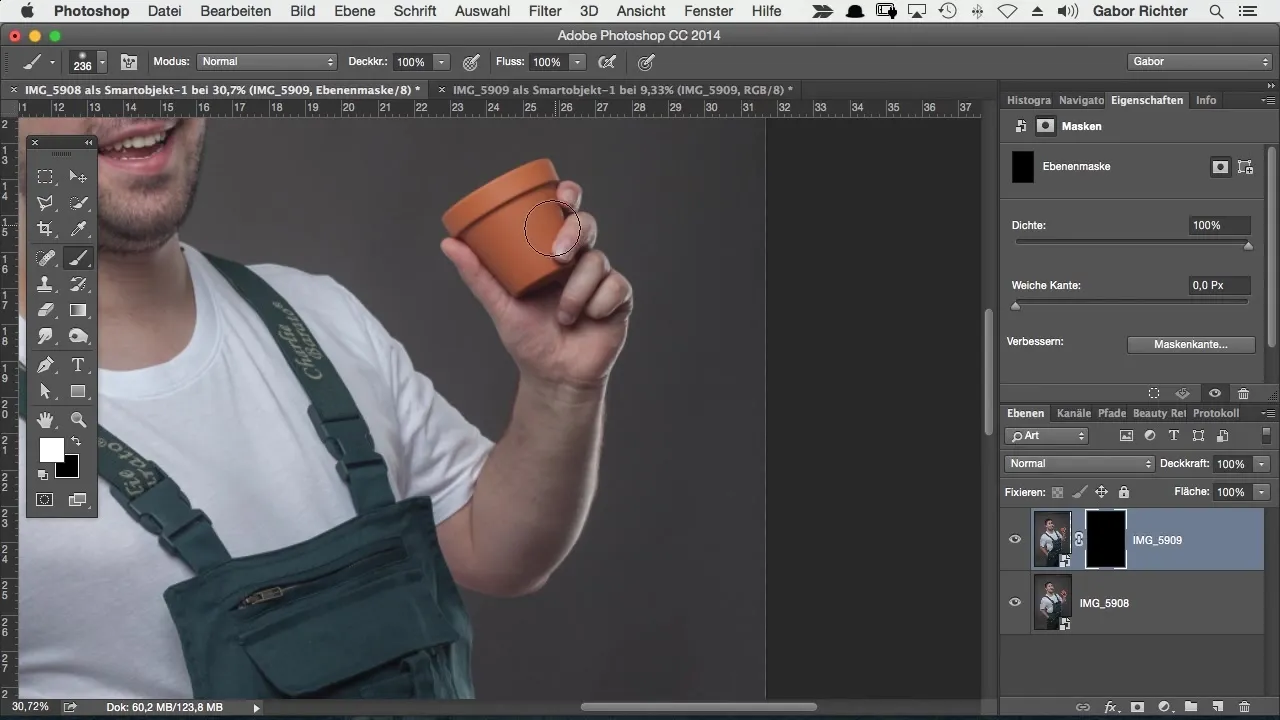
If you find any further errors or hard transitions, you can adjust the brush hardness. A soft transition makes the montage appear more natural.
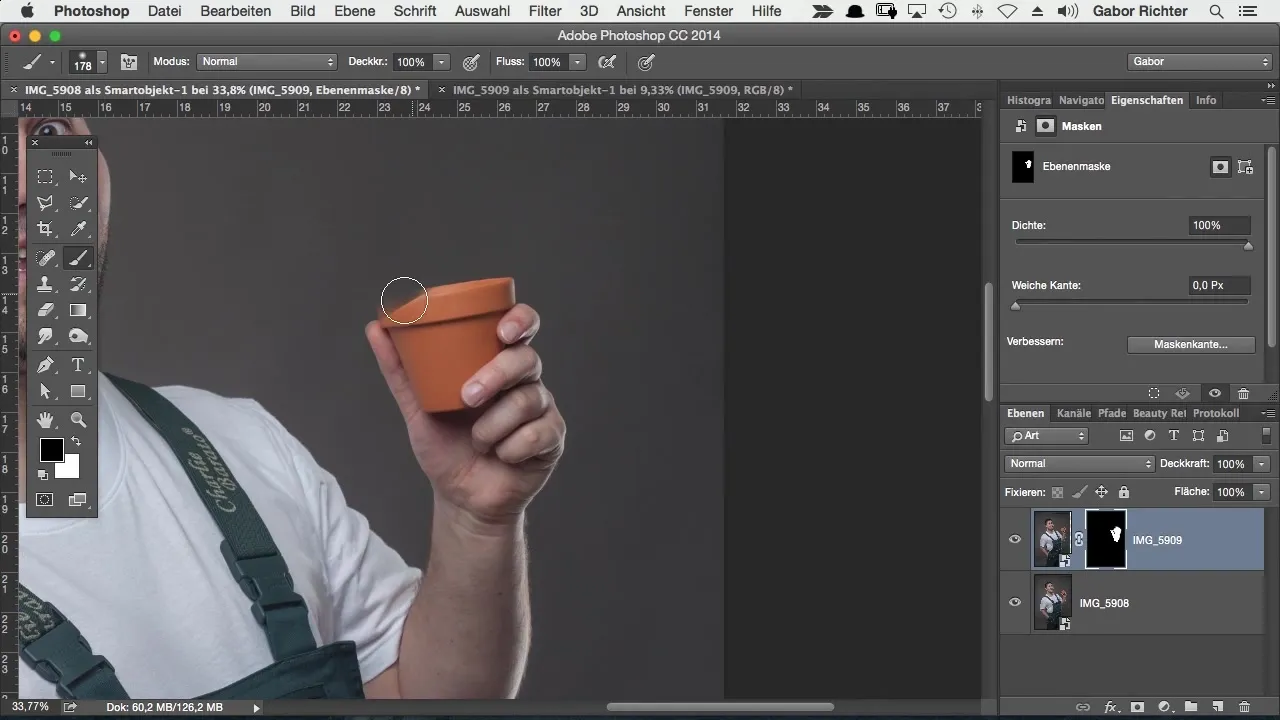
In the final step, carefully check the mask to ensure everything looks good. You will be amazed at how easy it is to replace a hand or another body part – it will hardly be noticeable.
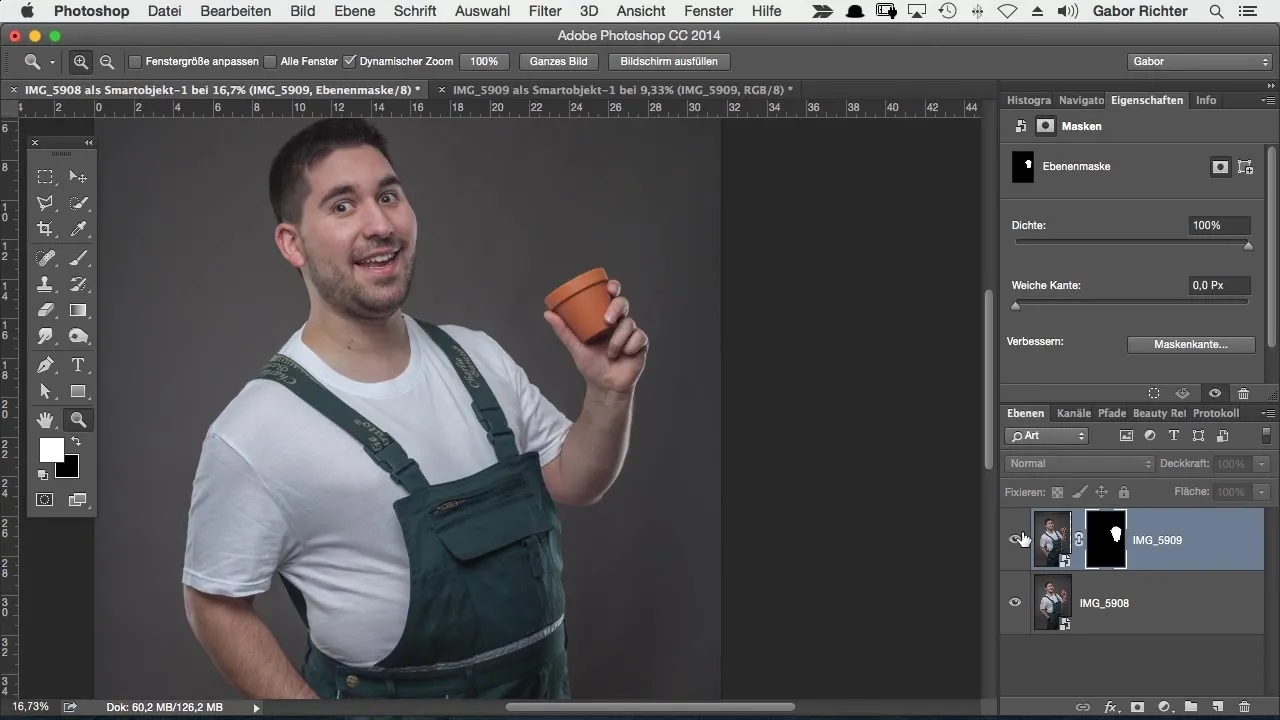
Now you have completely replaced a hand in a short time and achieved the desired look. If you continue to experiment with different poses, you will encounter many creative possibilities.
Summary – Comic-Style Photoshop: Easily Replace Hands
Creating body montages in Photoshop can be done easily and effectively. By using masks and the Move Tool, you can quickly and comfortably optimize your images.
Frequently Asked Questions
How can I adjust the opacity of a layer?Click on the layer in the layers panel and adjust the opacity using the slider.
How do I create a new mask in Photoshop?Select the layer and click the mask icon in the layers panel.
How can I move parts of the image pixel by pixel?Use the arrow keys on your keyboard to make precise adjustments.
How do I ensure that the transitions look natural?Use different brush hardnesses and play with the masks to create seamless transitions.
Can I replace multiple body parts at the same time?Yes, you can select different parts from other images and insert them just as shown in the tutorial.


