If you want to enlarge eyes in comic style, you are in the right place. Large eyes are a central element in many cartoons and comics, as they give characters expression and character. In this guide, you will learn how to enlarge eyes using various techniques in Photoshop to achieve the desired artistic effect.
Main Takeaways
- Enlarging the eyes significantly contributes to the comic style.
- Selection tools and masking are essential steps in the process.
- Working with layers allows flexibility and easy adjustments.
Step-by-Step Guide
Start by opening the image in which you want to enlarge the eyes in Photoshop. To achieve the best results, it is important to get a good overview of your main subject first.
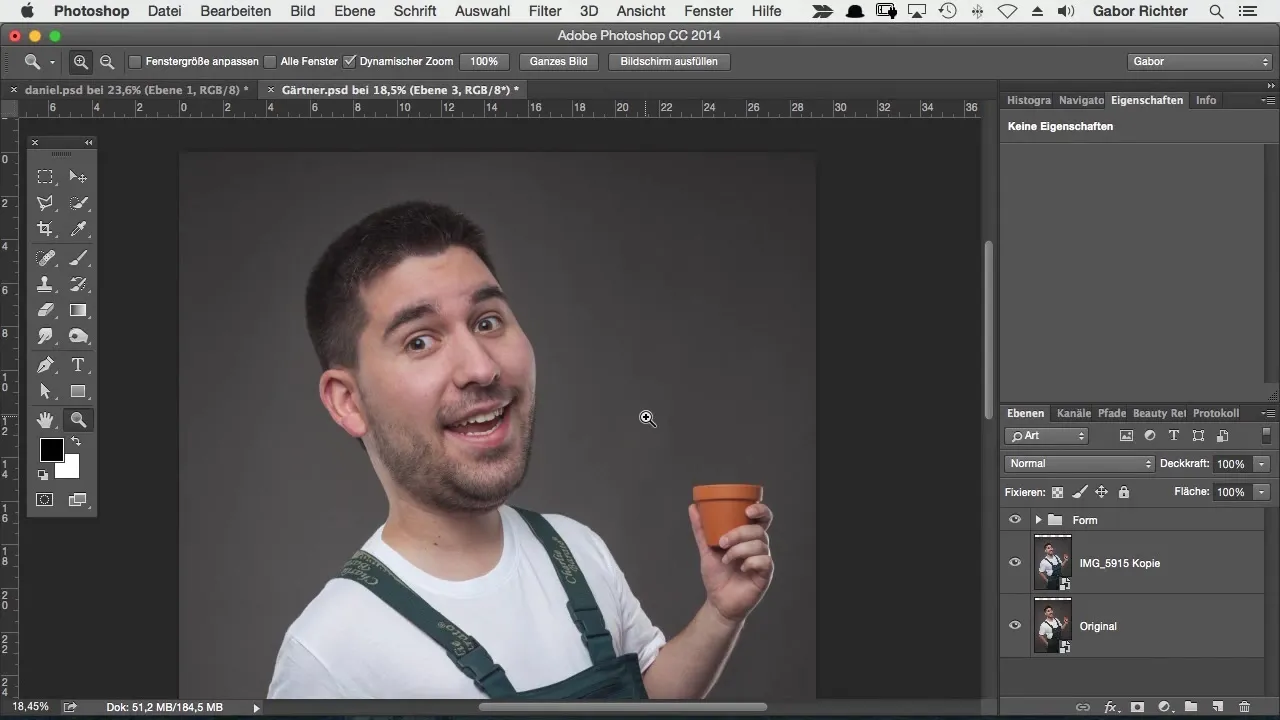
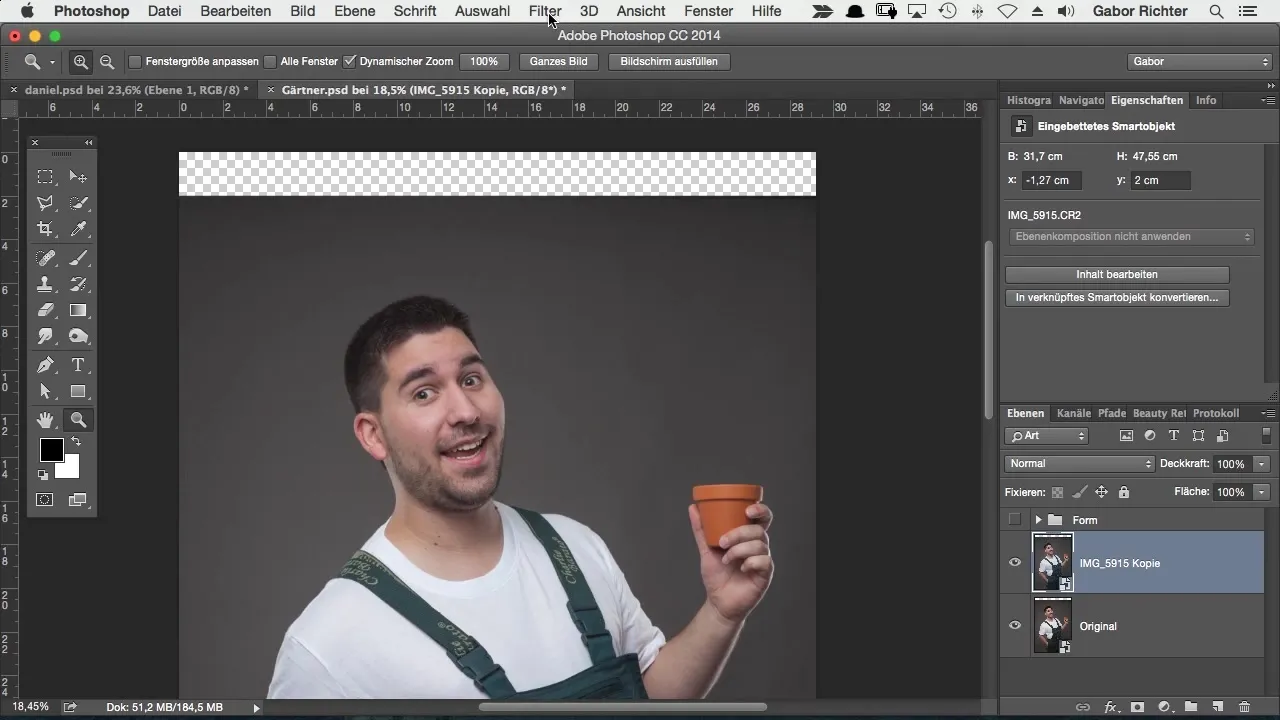
You have several methods to choose from for enlarging the eyes. A common technique is using the Liquify filter. You can invoke and work with this filter to enlarge the eyes, but I will show you a more effective method.
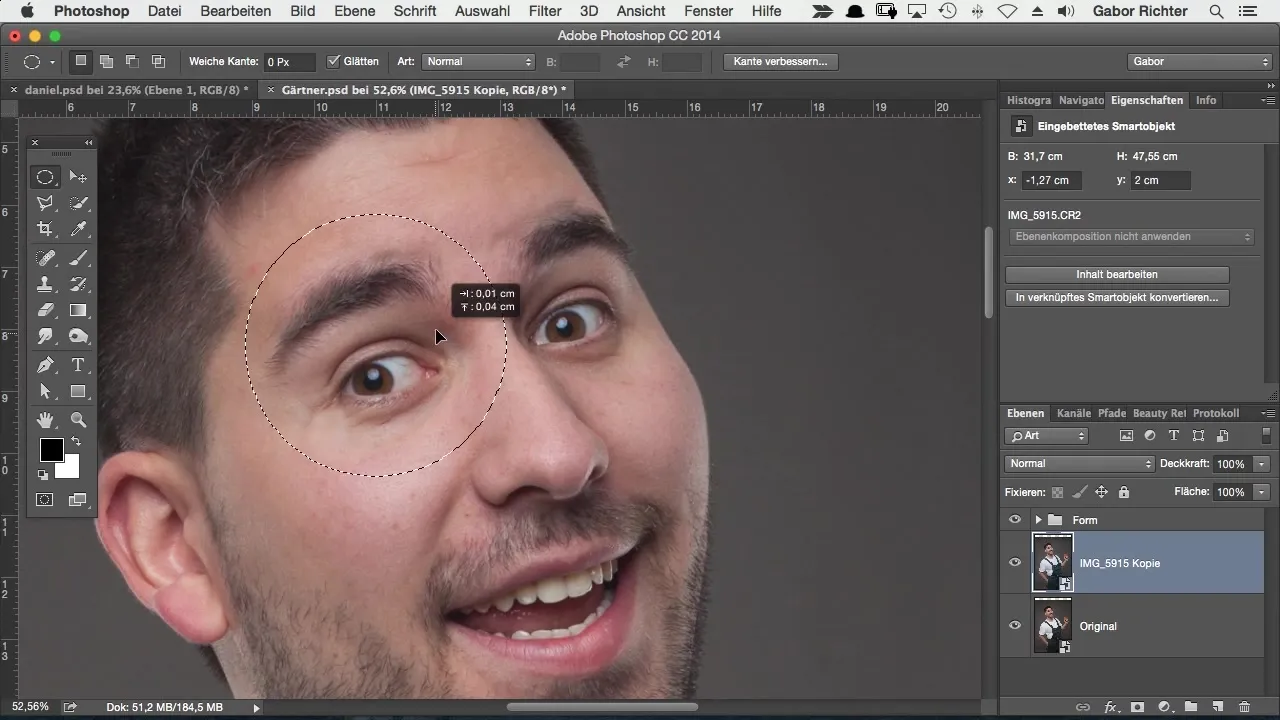
The first step is to make a selection of the eyes. Use the Elliptical Marquee tool for this. Select a nice oval area around the eye. This selection is the foundation for the subsequent editing.
Once you have made the selection, you can duplicate it onto a new layer. To do this, simply press Command + J (Mac) or Ctrl + J (Windows). This separates the eyes onto their own layer, apart from the rest of the image.
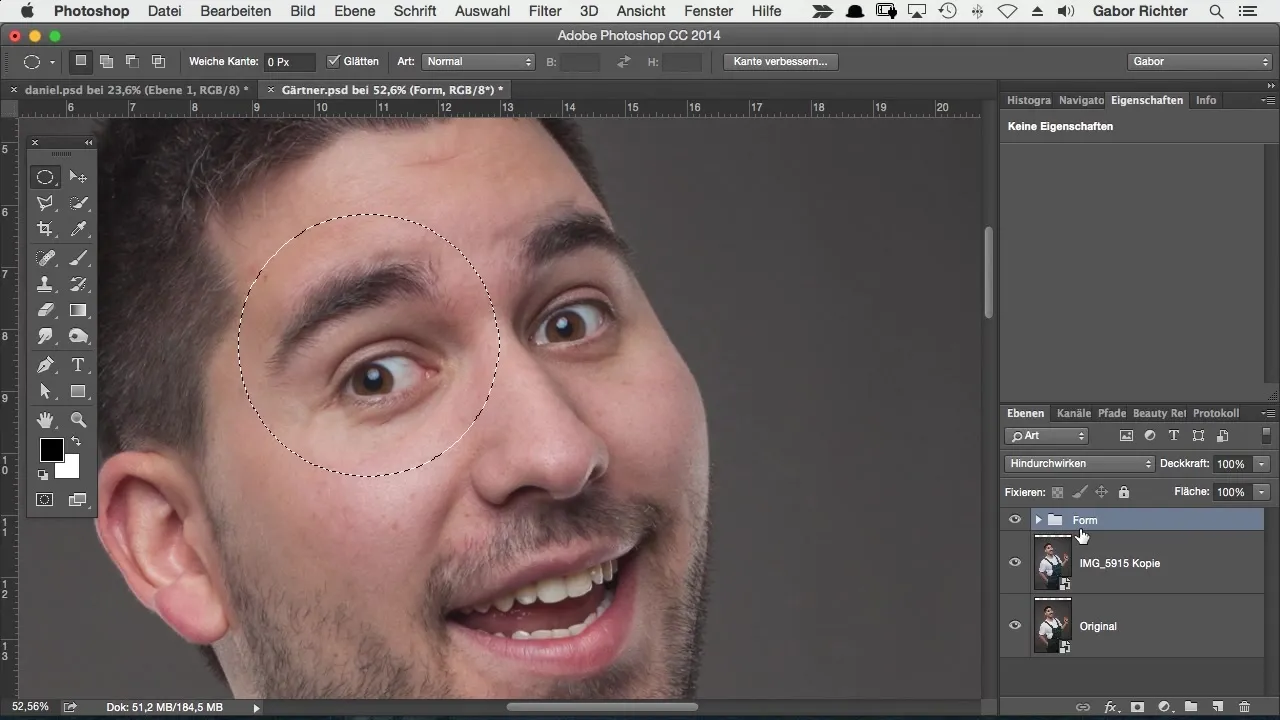
Make sure that the eyebrows are also included in the selection, as they will play an important role in adjusting the eyes later. Zoom out a bit to ensure everything looks good.
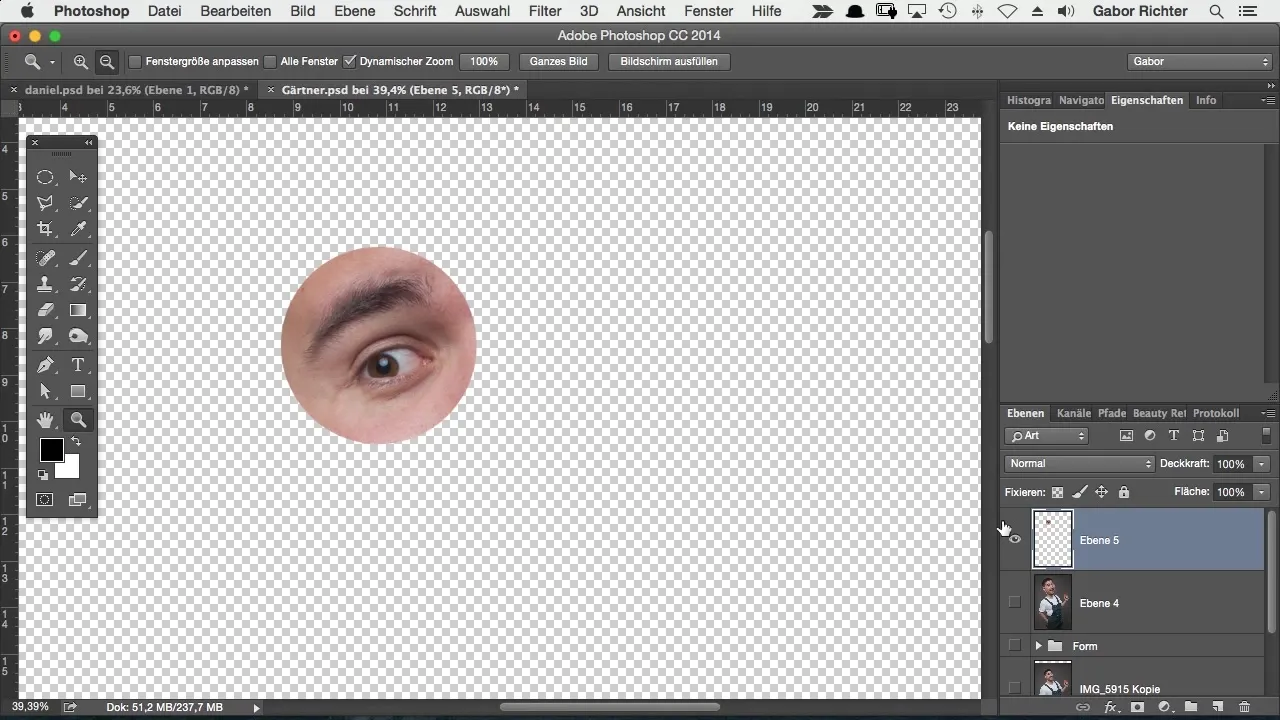
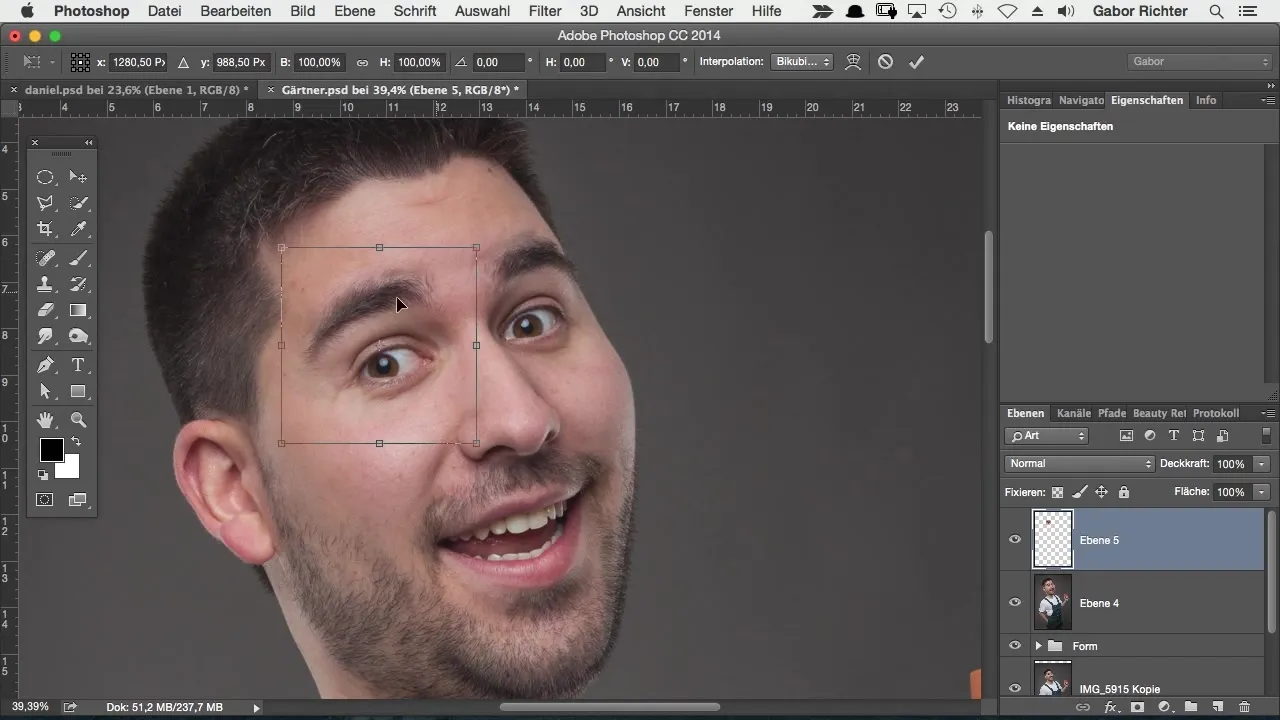
Now it's time to transform the eyes. You can do this with Command + T (Mac) or Ctrl + T (Windows). Before you start scaling, move the anchor point so that you scale the eyes proportionally.
Hold down the Alt and Shift keys and scale the eyes to the desired size. It’s okay if the eyes look extremely enlarged, as long as the comic style is maintained.
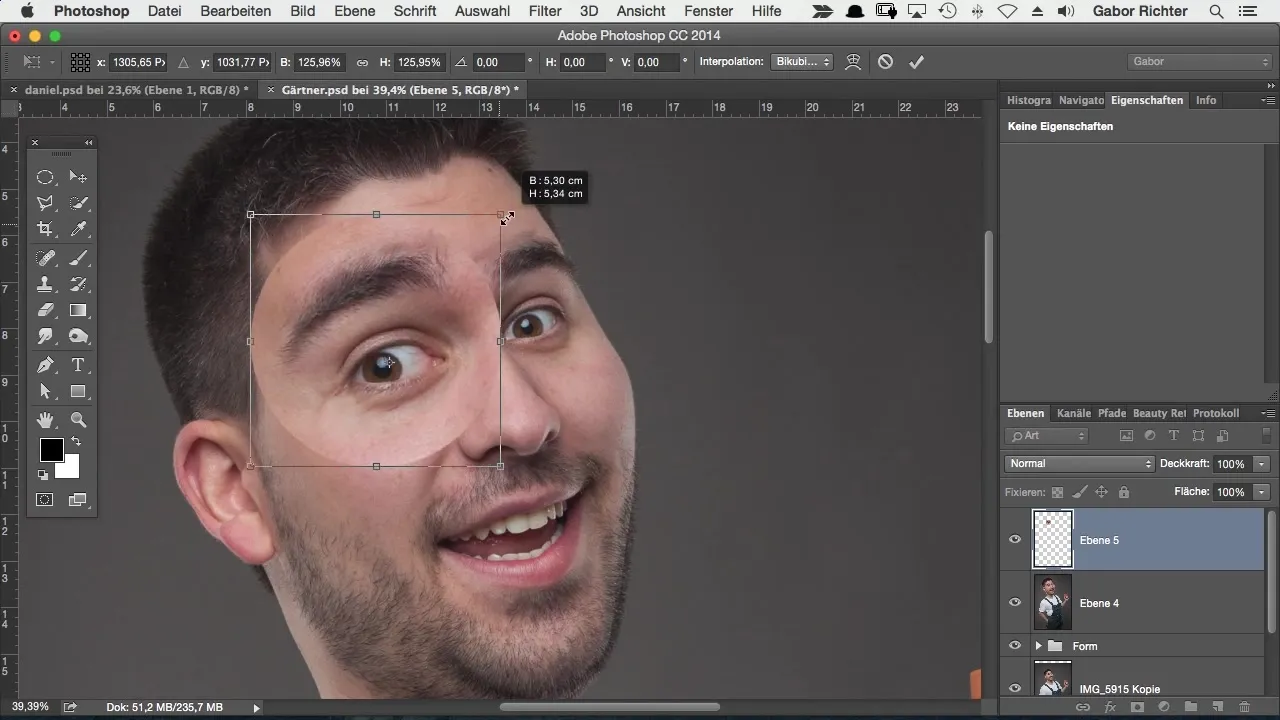
After enlarging the eyes, it should look good, but it is important to edit the edges to ensure they harmonize with the other facial features. Name the layer something like "Left Eye" to maintain clarity.
Now apply a mask to the layer with the eyes and choose a soft brush with reduced opacity (about 30-40%) to soften the hard edges around the eyes.
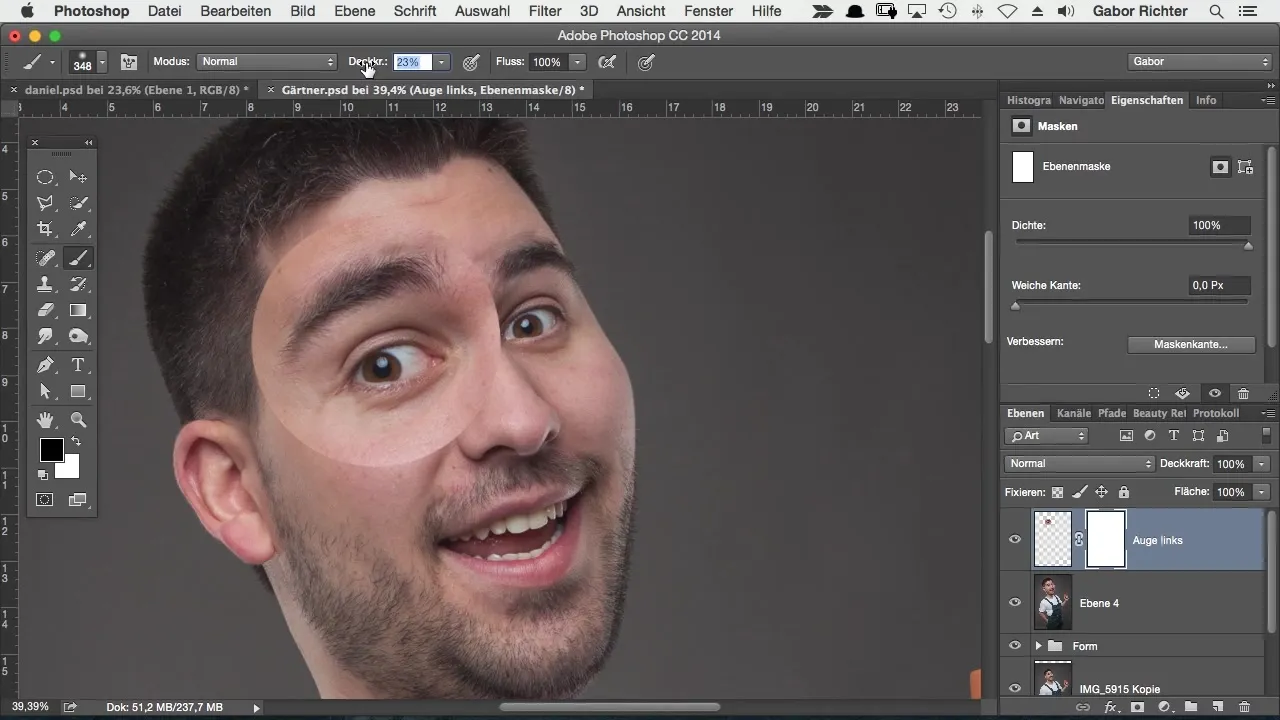
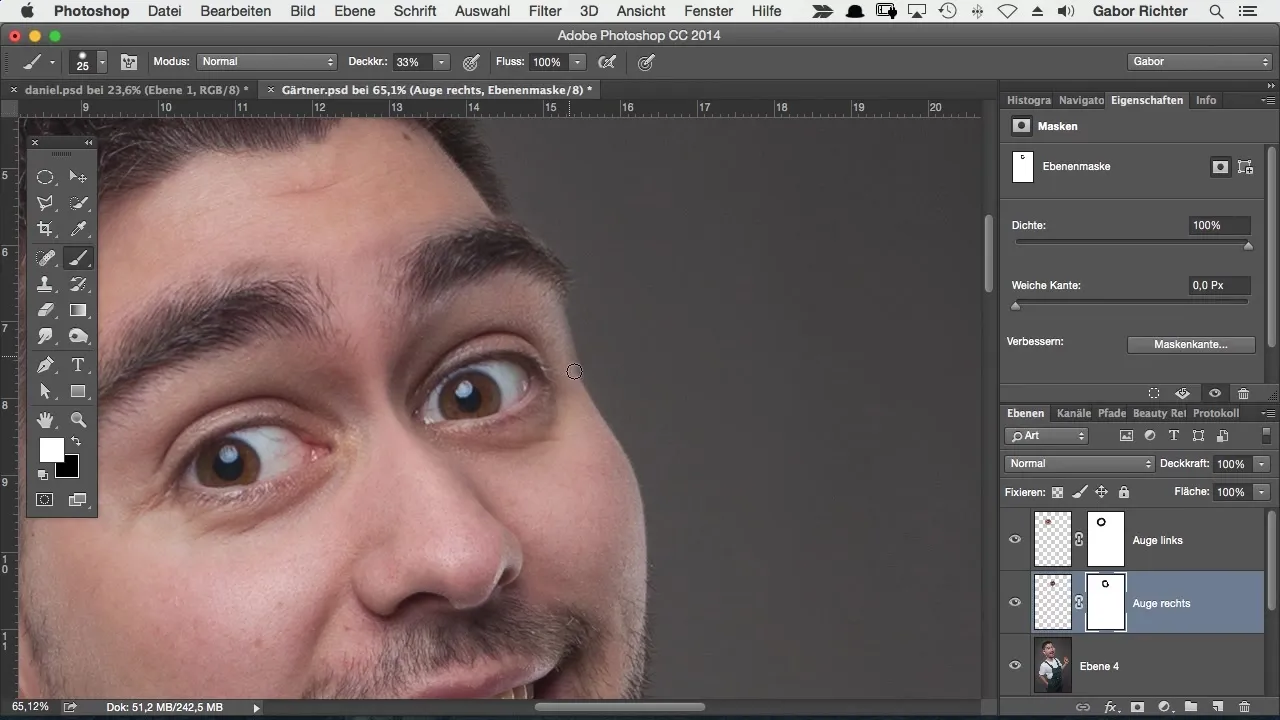
Carefully paint along the edges of the mask to achieve a natural look. Be careful not to go too heavily into the soft areas, as it could make the effect look unnatural.
If you are satisfied with the transition, go to the right eye and repeat the same process. Similarly, select the eye generously, duplicate it into a new layer, and name it "Right Eye".
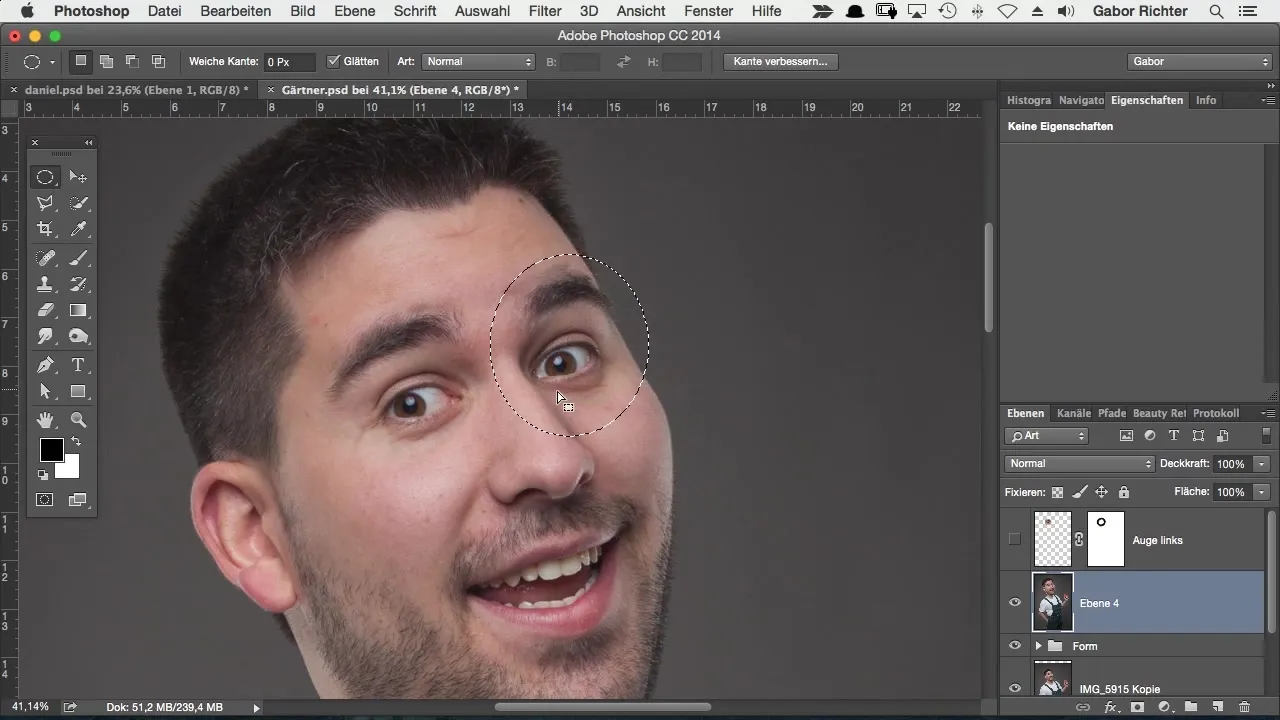
To ensure everything looks soft and harmonious, a mask should also be applied here. Use the same brush and settings and work carefully on the contours.
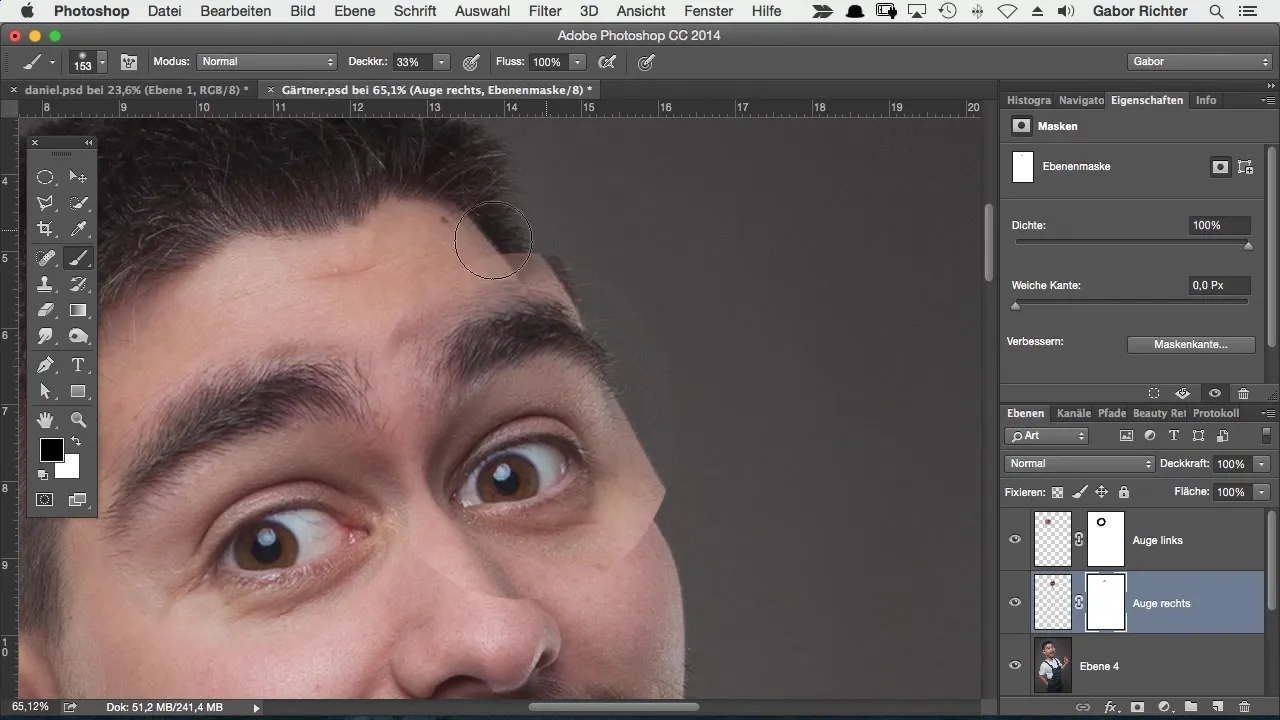
If necessary, you can increase the hardness of the brush to make finer adjustments. Pay special attention to the contours of the eyebrows, as they play an important role in the overall image.
Once you are satisfied with the overall image, you can make a before-and-after comparison. You will clearly see the difference – the larger eyes give the character more expression and energy.
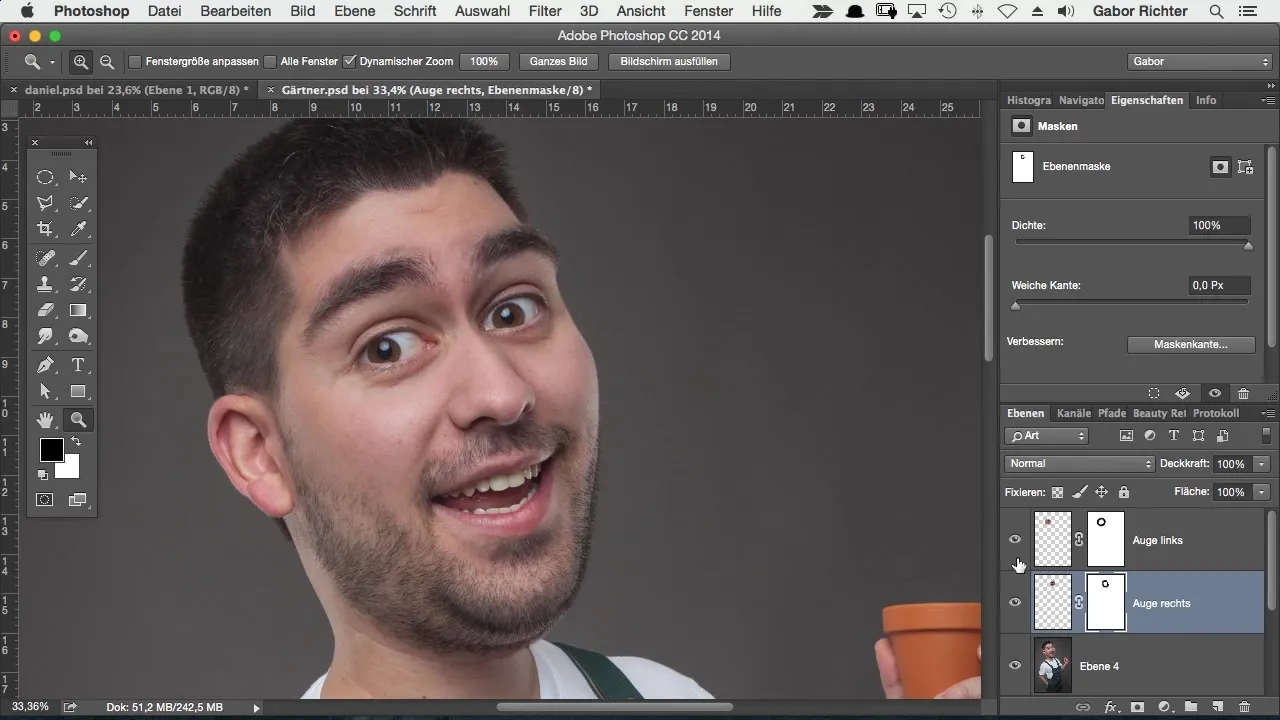
In summary, enlarging the eyes using selection tools, working in layers, and the masking process is a powerful way to achieve a comic effect.
Summary – Enlarging Eyes in Comic Style with Photoshop
This guide provides you with an effective method to enlarge eyes in a comic style while preserving the delicate facial features. With patience and precise work, you can achieve impressive results.
Frequently Asked Questions
How can I further adjust the eyes?You can adjust the shape or color of the eyes to make them stand out.
What is the advantage of a separate layer?Layers allow you to make adjustments without affecting the original image.
Can’t I use the Liquify filter?Yes, the Liquify filter is an option, but the method shown here provides more control.


