If you work in a comic style, you know that the right sharpness is crucial for an impressive image effect. It often happens that especially the eyes and hair need to be sharpened again at the end of the editing process to achieve the desired effect. This guide will show you step by step how to effectively sharpen your images in Photoshop without looking unnatural.
Key Takeaways
When sharpening in Photoshop, it's important to proceed deliberately and pay attention to natural results. The eyes and hair are usually the main focal points that require special sharpness. With the Unsharp Mask filter, you can make precise adjustments and use a mask to selectively edit certain areas of your image.
Step-by-Step Guide to Sharpening
1. Check Your Image
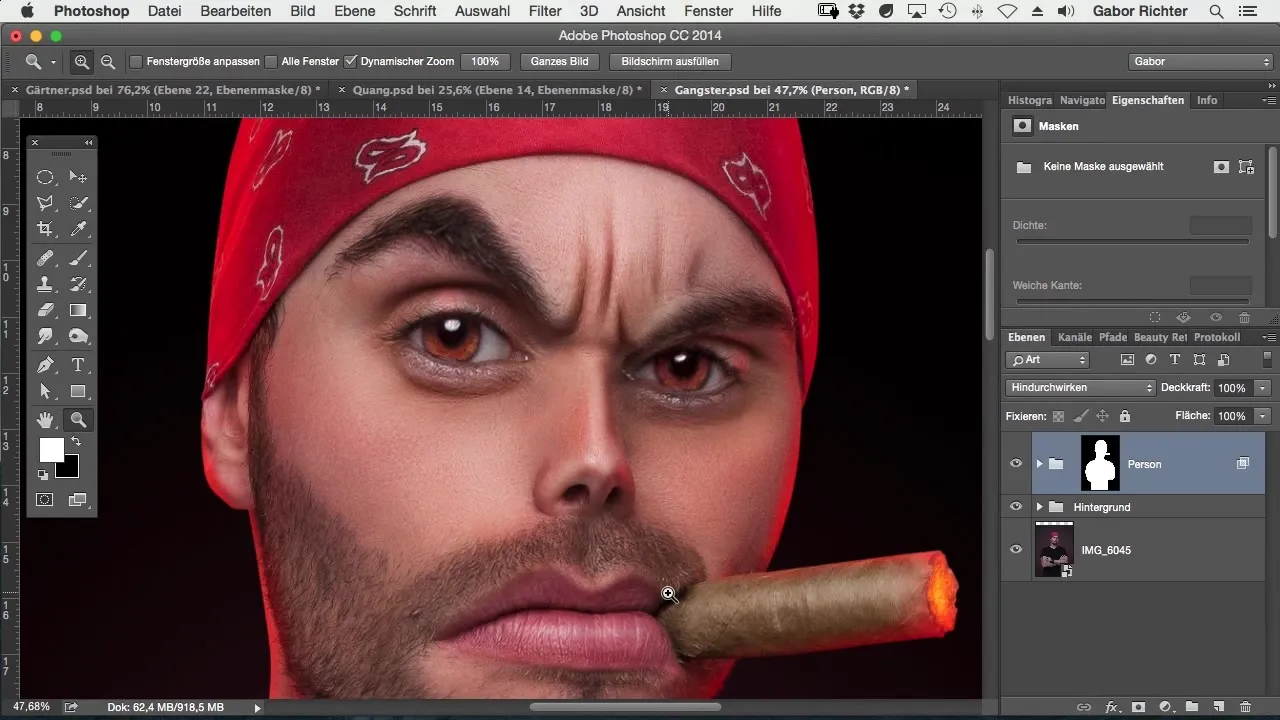
Before you start sharpening, take a detailed look at the image you want to edit. Are the eyes and hair sharper than the rest of the image? Do you want to increase the overall sharpness or just touch up specific areas? Think about your desired outcome beforehand.
2. Applying the Unsharp Mask Filter
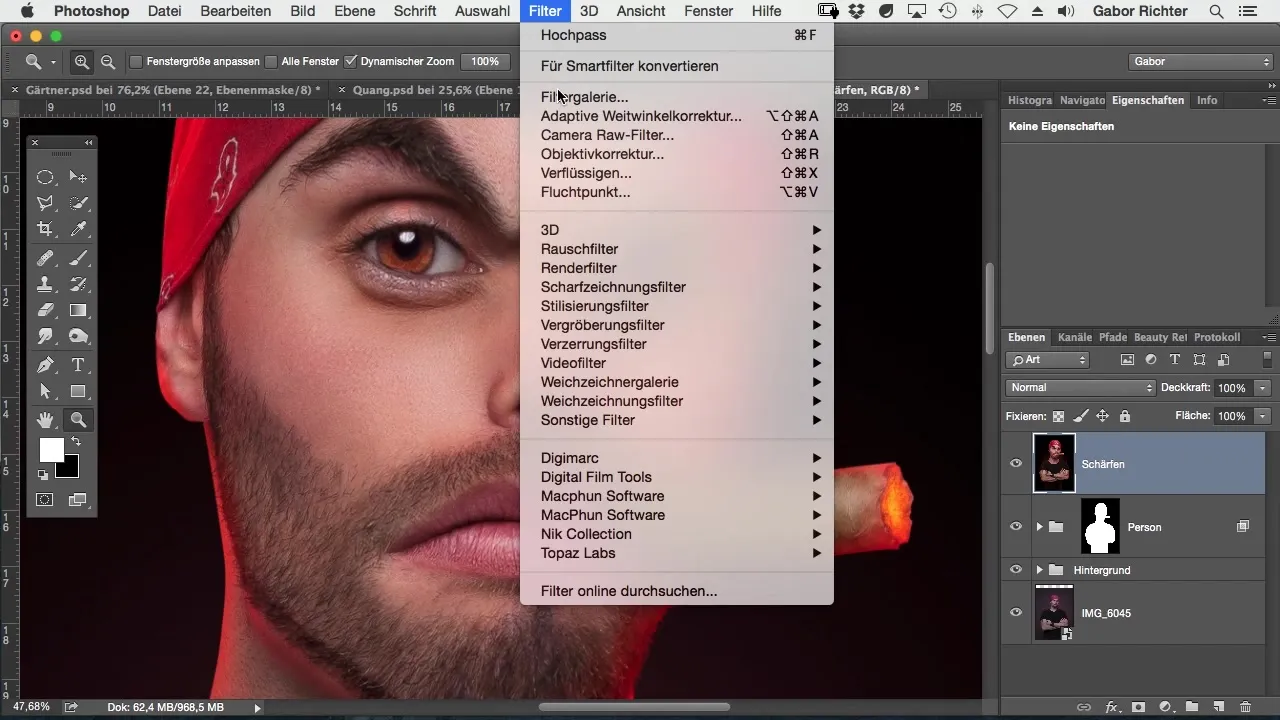
Start by applying the sharpening filter. Go to Filter and choose Sharpen, then Unsharp Mask. Here you will find various options that you can adjust to tweak the sharpness.
3. Setting the Parameters
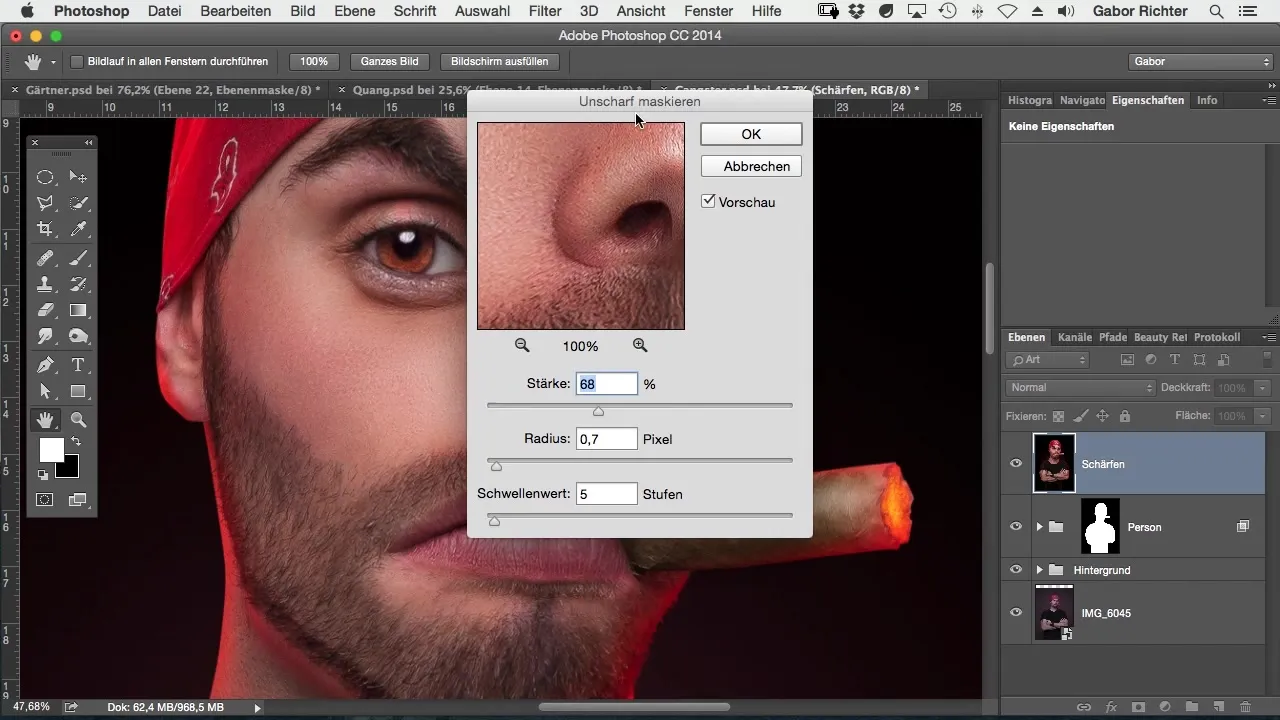
Now comes the critical part: Set the radius to about one pixel, as this provides the best effect for the eyes. Increase the strength to about 100% to see how the image reacts. Make sure not to add too much sharpness, as this can lead to an unnatural appearance.
4. Refining the Sharpness
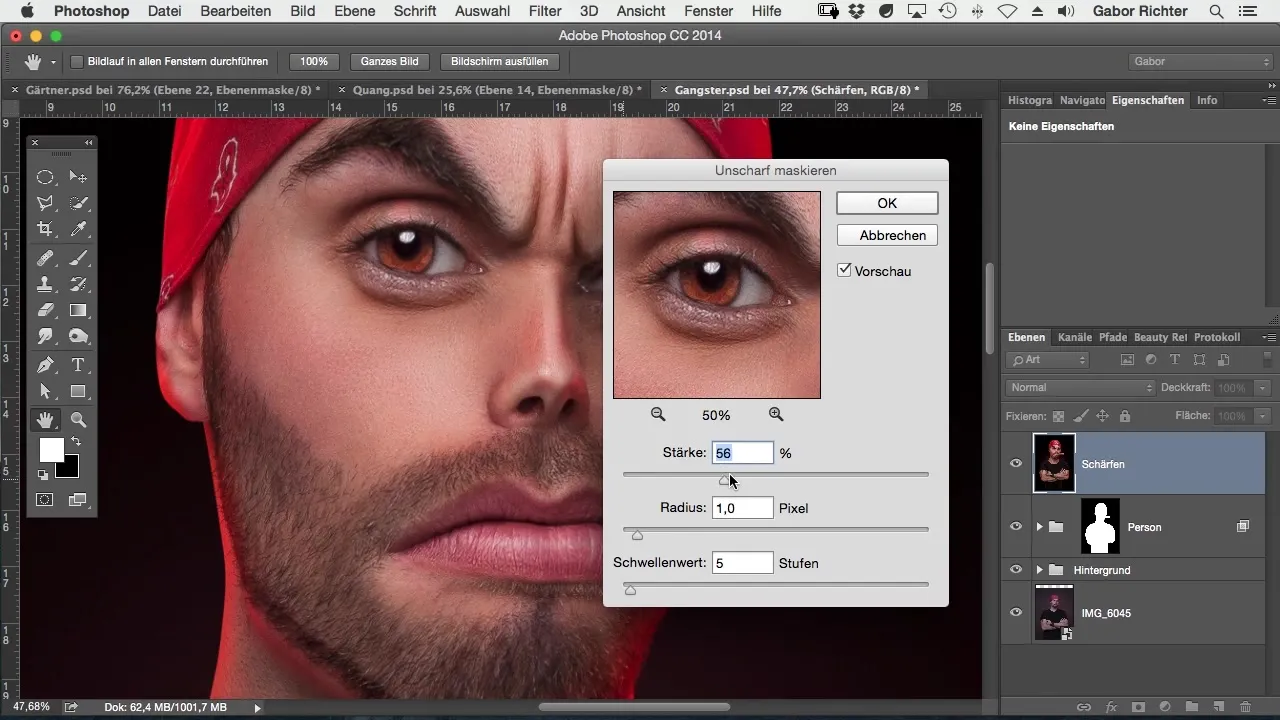
Take the time to adjust the sharpness in detail. A value of around 130 might work well for most image areas. Zoom into the image to see the changes directly and ensure that the sharpness remains natural.
5. Using a Mask
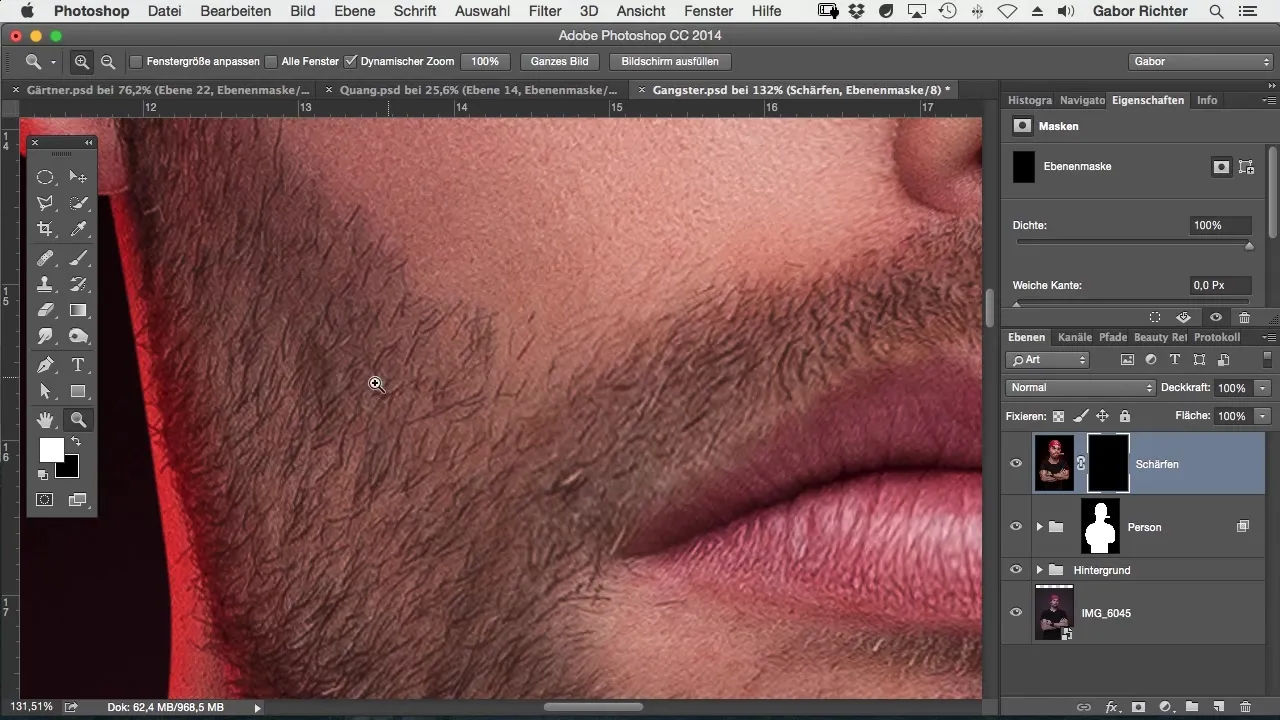
To apply the sharpening filter only to specific areas, using a mask is advantageous. You can lay a mask over the image to selectively apply sharpness to the stubble or other details.
6. Touch-ups with the Brush
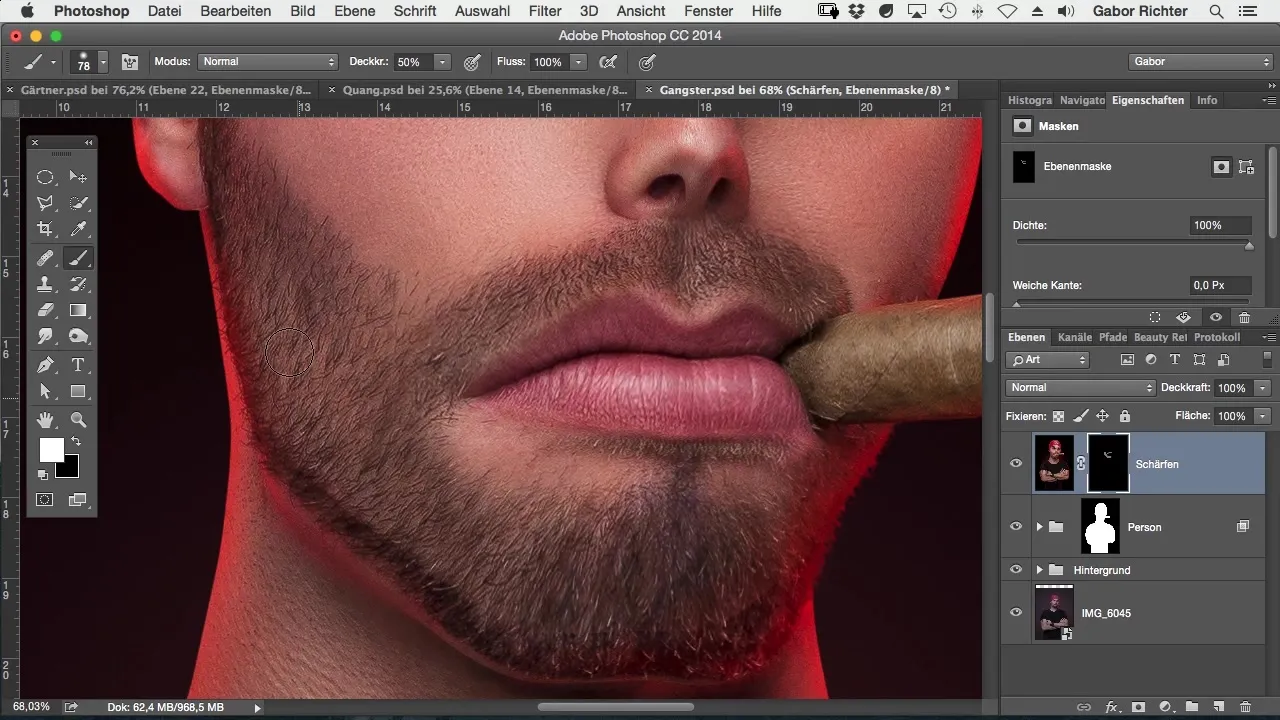
With the brush tool and a white foreground color, you can selectively sharpen the masked areas. You should consider regulating the intensity of the mask. Almost 100% is indicated in this case to clearly highlight the stubble.
7. Focusing on the Eyes
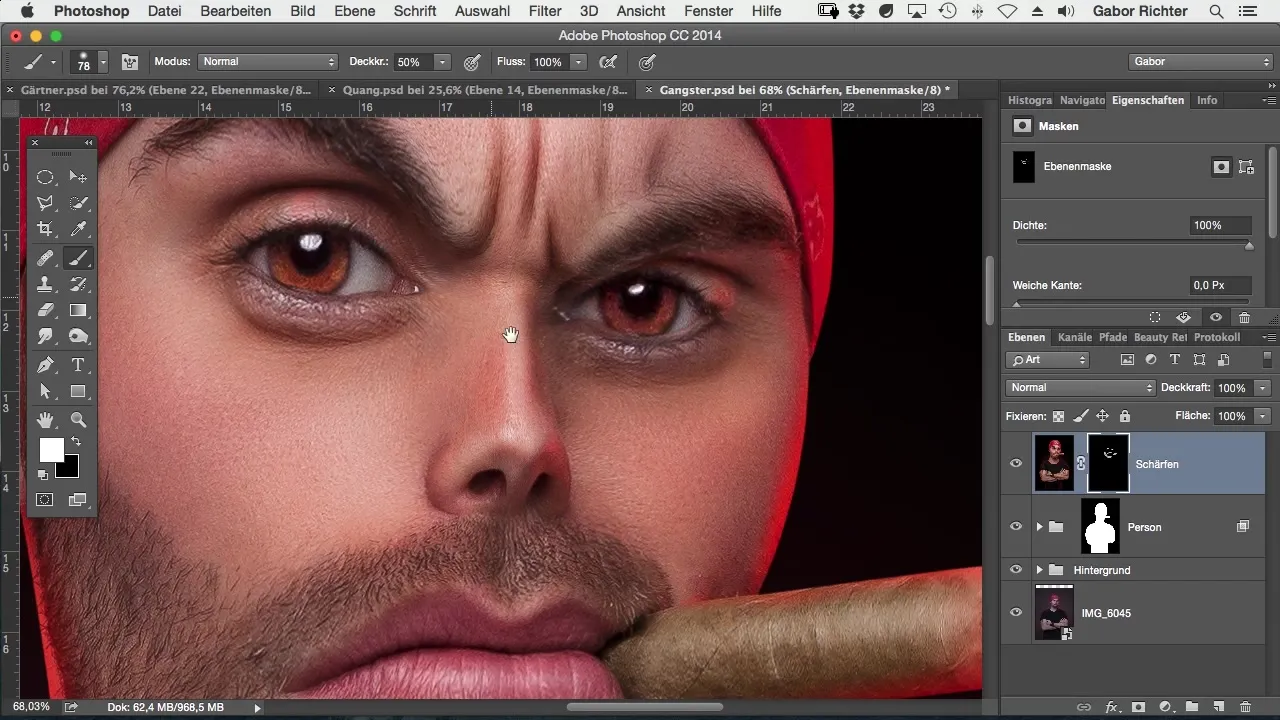
The eyes are very important as they are often the main focal point in a portrait. Sharpen them well to ensure they catch the viewer's attention. Here, you can also lightly sharpen the hair to create a harmonious overall impression.
8. Assessment and Final Adjustments
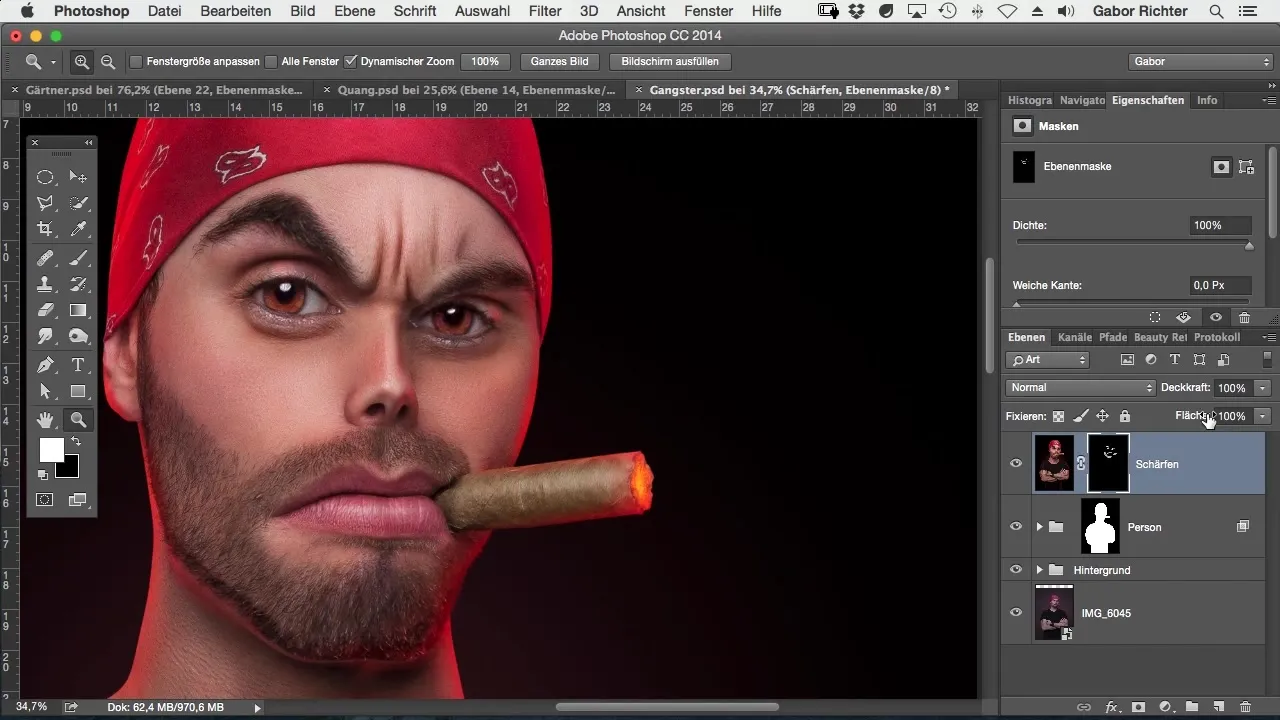
After you've edited the eyes and hair, assess the entire image. Sometimes it can be helpful to reduce the sharpness to 50% to achieve a smoother transition between sharp and blurry areas. Ensure that the face still looks harmonious.
Summary – Sharpening Comic-Style Portraits in Photoshop
With this guide, you can learn how to specifically sharpen eyes and hair in your comic-style images. By applying the Unsharp Mask filter and creating a mask, you achieve a balanced image quality that gives your work the necessary finish.
Frequently Asked Questions
What tools do I need for sharpening?You need Adobe Photoshop and the brush tool.
How much sharpness should I apply?Adjust the strength of the sharpening filter depending on the image; 100% is often too much.
Why should I use masks?Masks allow for selective sharpness adjustments to avoid editing the entire image.
What do I do if the sharpness looks too strong?Reduce the sharpness to about 50% or use a mask to control the sharpness.
Can I sharpen other areas as well?Yes, you can apply sharpness to various parts of the image as needed.


