When it comes to cropping images flexibly, it is helpful to know the right tools and techniques. Often, the cropping tool is considered the first choice, but there are alternative methods that are not only time-saving but also allow more room for the creative process. In this guide, I will show you how to effectively adjust the crop of an image in Photoshop using a mask.
Main Insights
- Using a mask allows you to crop images flexibly without altering the original image.
- By using color as a background, you can create the impression of a cropped image, giving you more freedom for adjustments.
- This technique is more time-efficient than traditional cropping and enables you to change the crop at any time.
Step-by-Step Instructions
Step 1: Viewing the Image and Identifying the Crop
Before you start editing, take a close look at your image. Consider where cropping would make sense and whether there are elements you want to retain in the final image. For example, you may notice there is a lot of space in some areas while other parts of your image should be cropped.
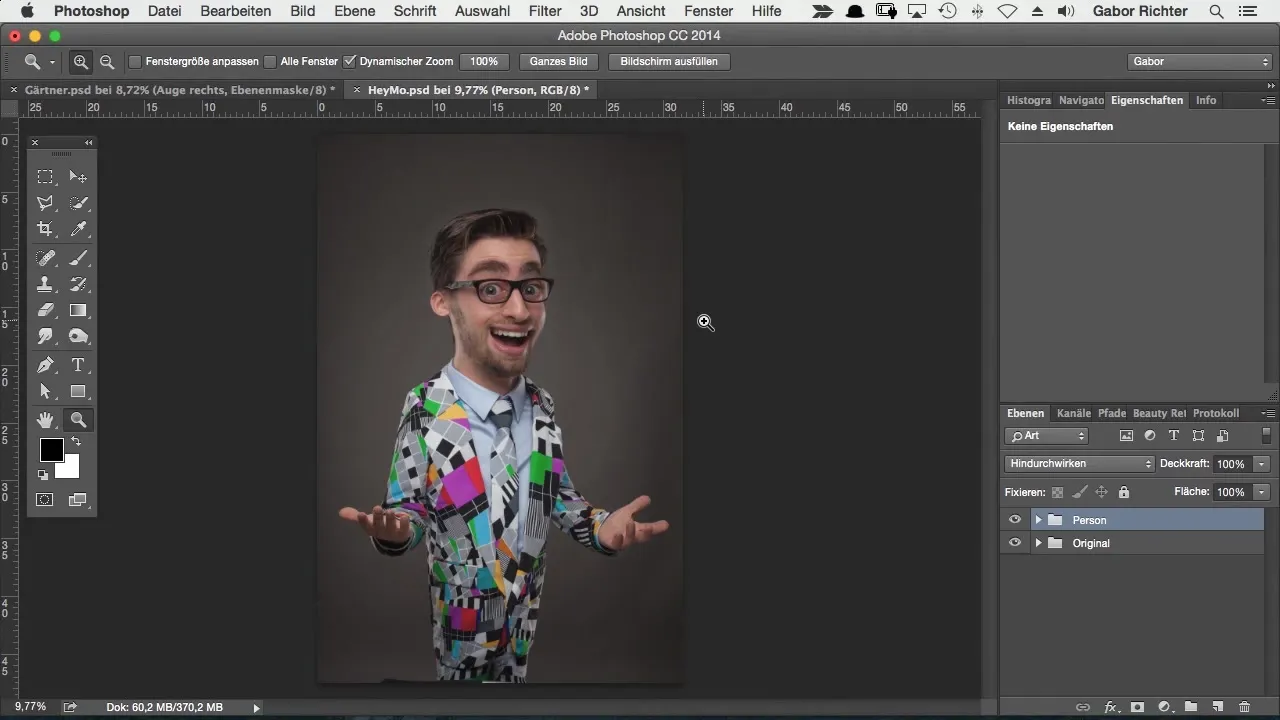
Step 2: Selecting the Image with the Rectangular Marquee Tool
Select the Rectangular Marquee Tool in Photoshop and create a selection around the desired area of your image. Make sure to choose generously enough to give the image more dynamism later.
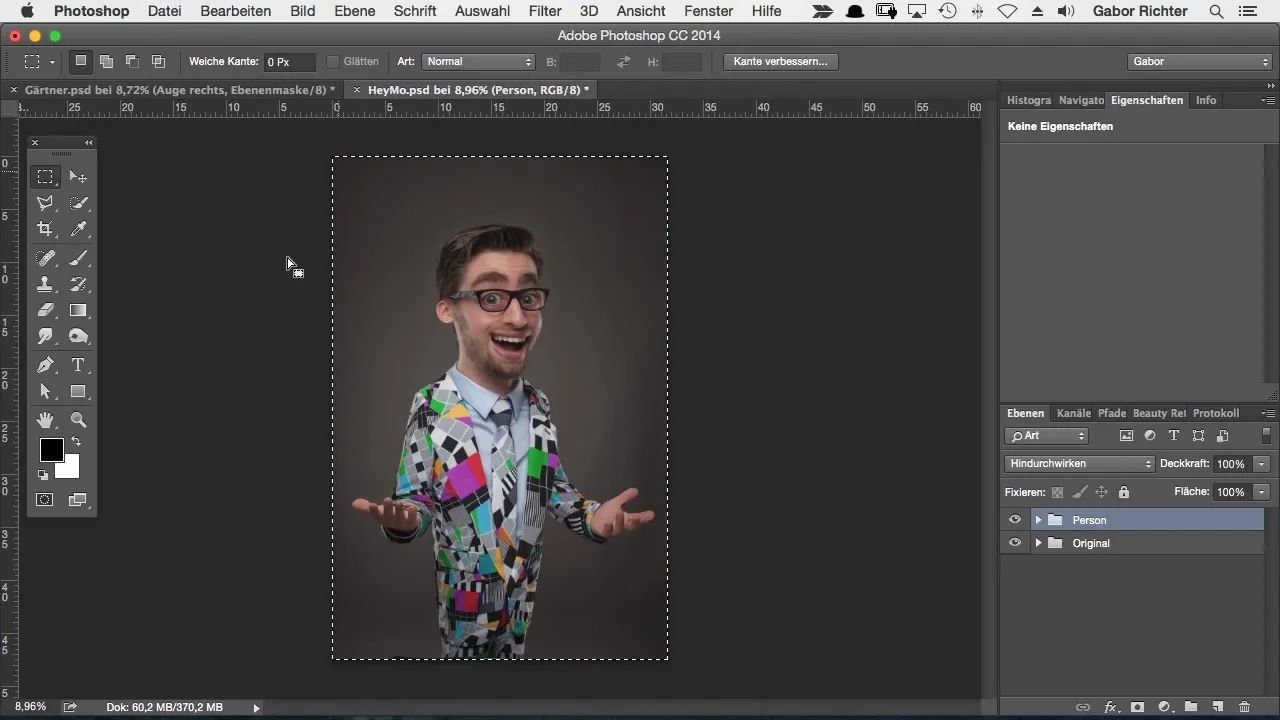
Step 3: Adding an Adjustment Layer
Once the selection is made, go to the adjustment layers and choose a solid color. This can be any color; in this tutorial, we will use black. This adjustment layer gives you the necessary background to effectively use the mask.
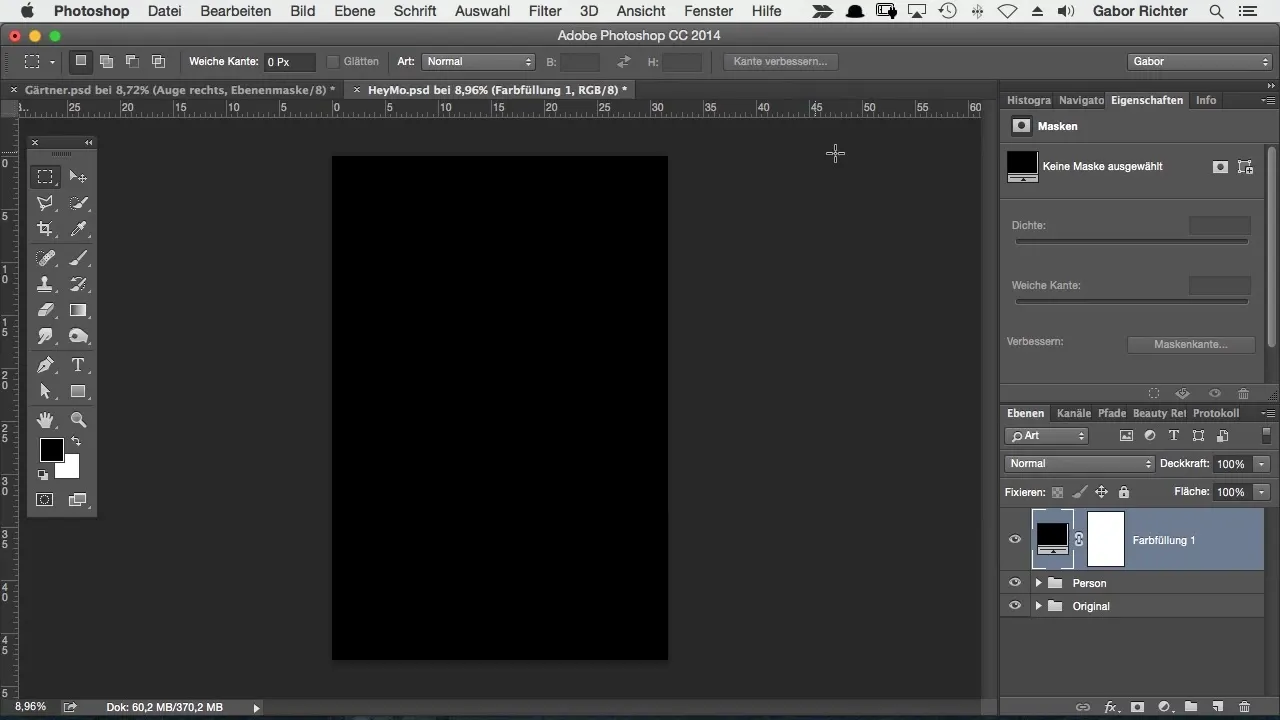
Step 4: Creating a Mask
An interesting aspect of using a solid color is that Photoshop automatically creates a mask. This is crucial as it allows you to easily change and adjust the visible area of your image. Press the shortcut Command + I (Mac) or Ctrl + I (Windows) to invert the mask so that everything is initially invisible.
Step 5: Adjusting the Mask
Now it gets creative! Select the mask, press Command + T (Mac) or Ctrl + T (Windows), and start transforming the mask. Hold the Shift key while dragging the corners to maintain the aspect ratio. This allows you to comfortably adjust the image crop.
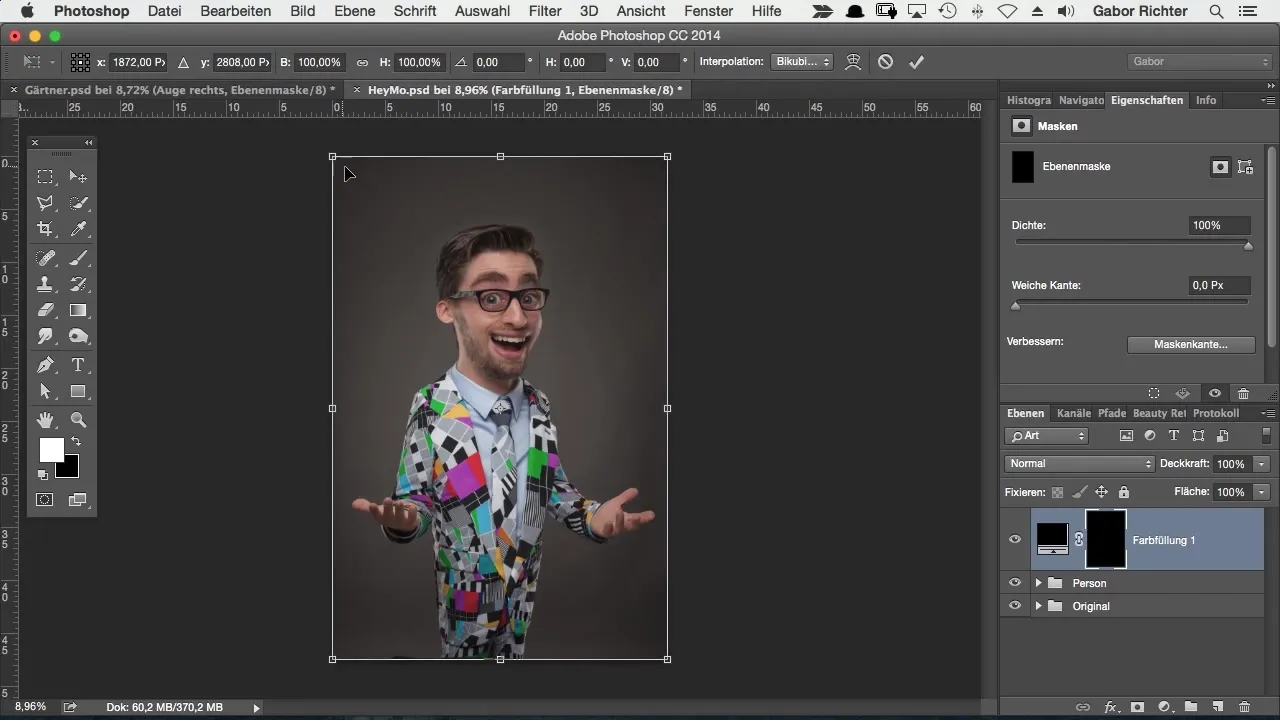
Step 6: Make Initial Adjustments
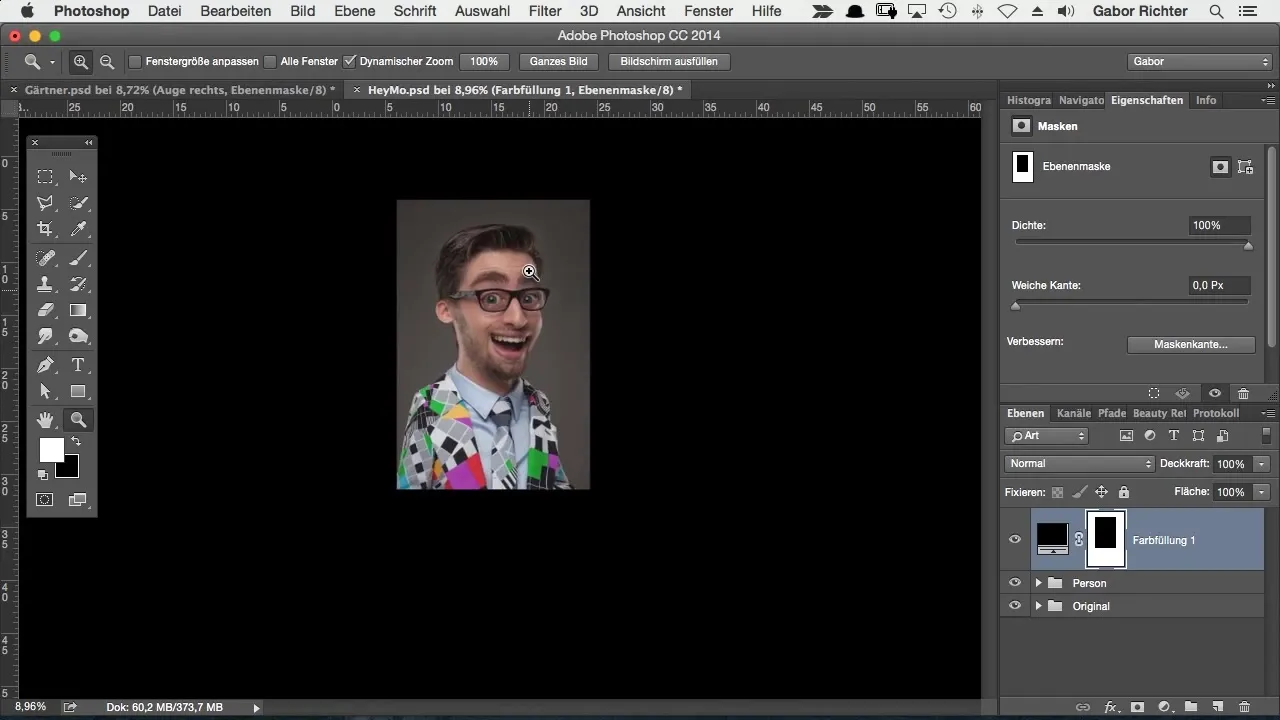
As you move or change the mask, keep in mind to imagine the black in the mask being removed. This method gives you much more leeway in your work since you don't have to constantly readjust the crop. This gives you freedom and results that can be designed flexibly.
Step 7: Preview and Change Background Color
To see how your image might look after cropping, you can adjust the background color. Right-click on the background and choose the color black. This gives you a better idea of the final effect.
Step 8: Make Final Crop
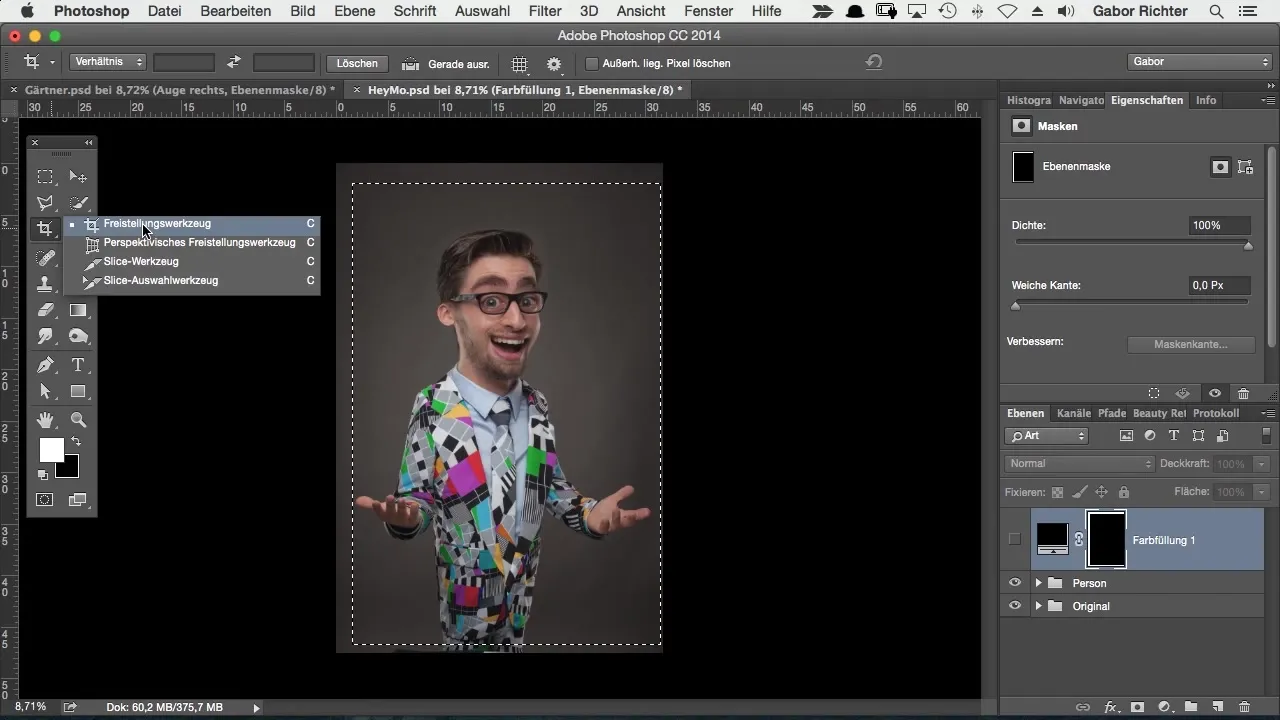
Once you are satisfied with your image crop, click with the Command or Ctrl key on the mask to create a selection. Then go to "Select" and choose "Inverse." Now you can adjust the crop relatively easily and definitively.
Step 9: Use the Cropping Tool
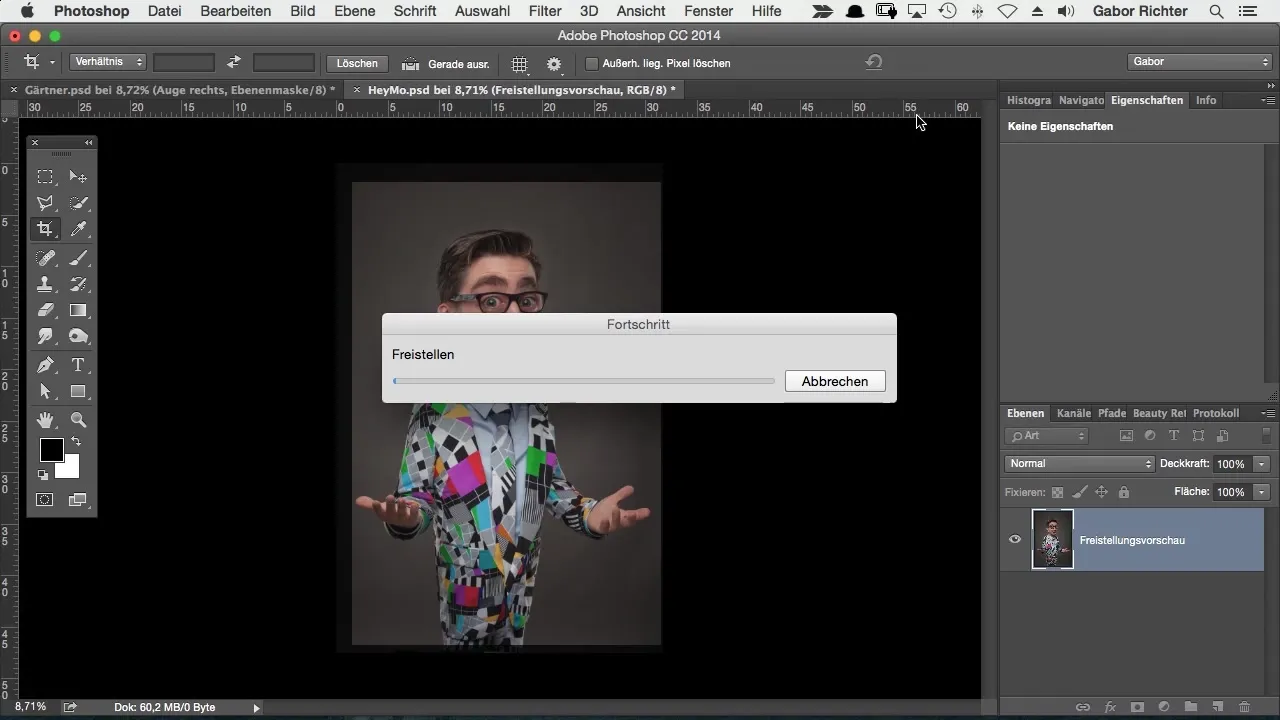
Now that you have your selection, choose the cropping tool and crop your image in one go according to your ideas. A quick click on Enter confirms the crop, and you have now achieved the perfect result.
Summary – Flexible Image Cropping in Photoshop: Here's How This step-by-step guide has shown you how to design the image crop in Photoshop more efficiently and flexibly. With the help of a mask and a solid color, you can make versatile adjustments and are not bound by the limits of the cropping tool. This method saves time and gives you the freedom to work creatively.
Frequently Asked Questions
What is the advantage of using masks over the cropping tool?Masks allow you to change the image crop flexibly without affecting the original image.
Can I use any color for the adjustment layer?Yes, you can choose any color that helps you visualize the image better.
How can I apply the crop definitively?First, make a selection with the mask, inverse the selection, and then use the cropping tool.


