Creating a perfect image can require many steps in image editing. Sometimes you just want to quickly change the color of a specific clothing item or a large color area to create a different mood. Below, I explain how to effectively change the color of clothing in Photoshop so that your image looks exactly as you envision it.
Key Takeaways
- Changing the color of clothing is a simple technique that can be implemented with basic Photoshop tools.
- A precise selection is not required. Rough selections are sufficient.
- Using the Hue/Saturation adjustment, you can quickly and directly adjust the desired colors.
Step-by-Step Guide
To change the color of clothing or large color areas in Photoshop, follow these simple steps:
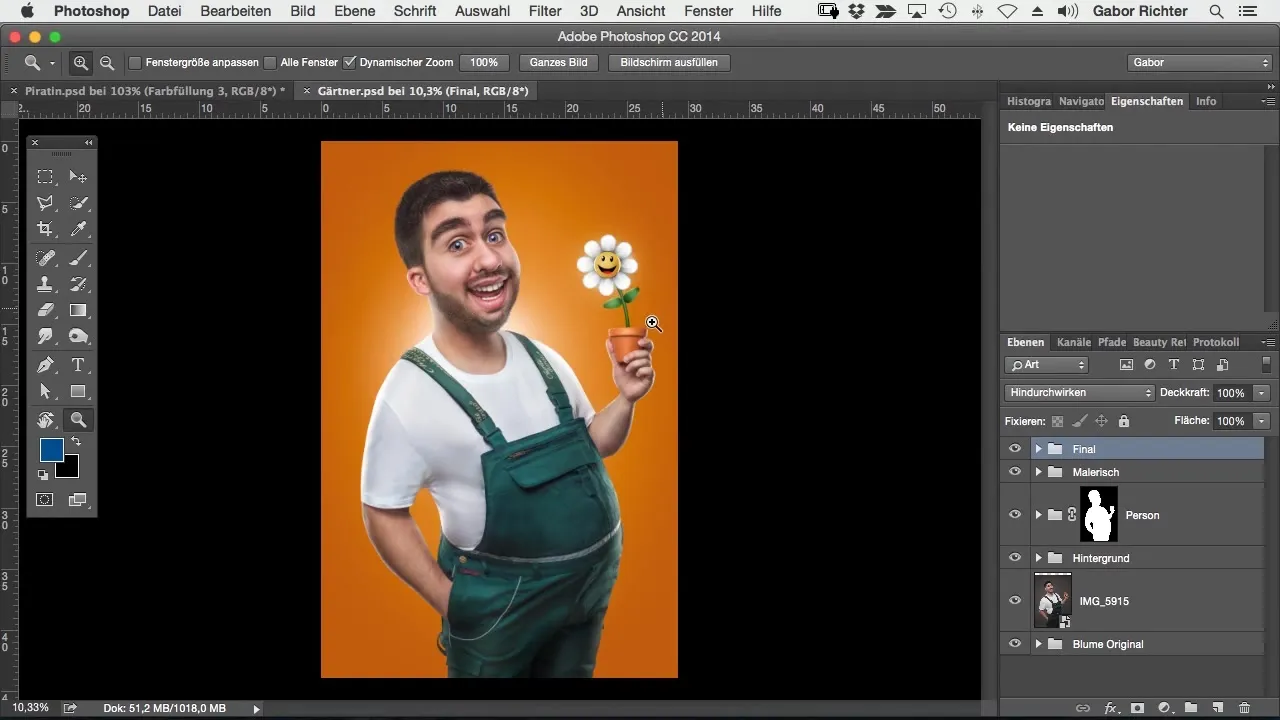
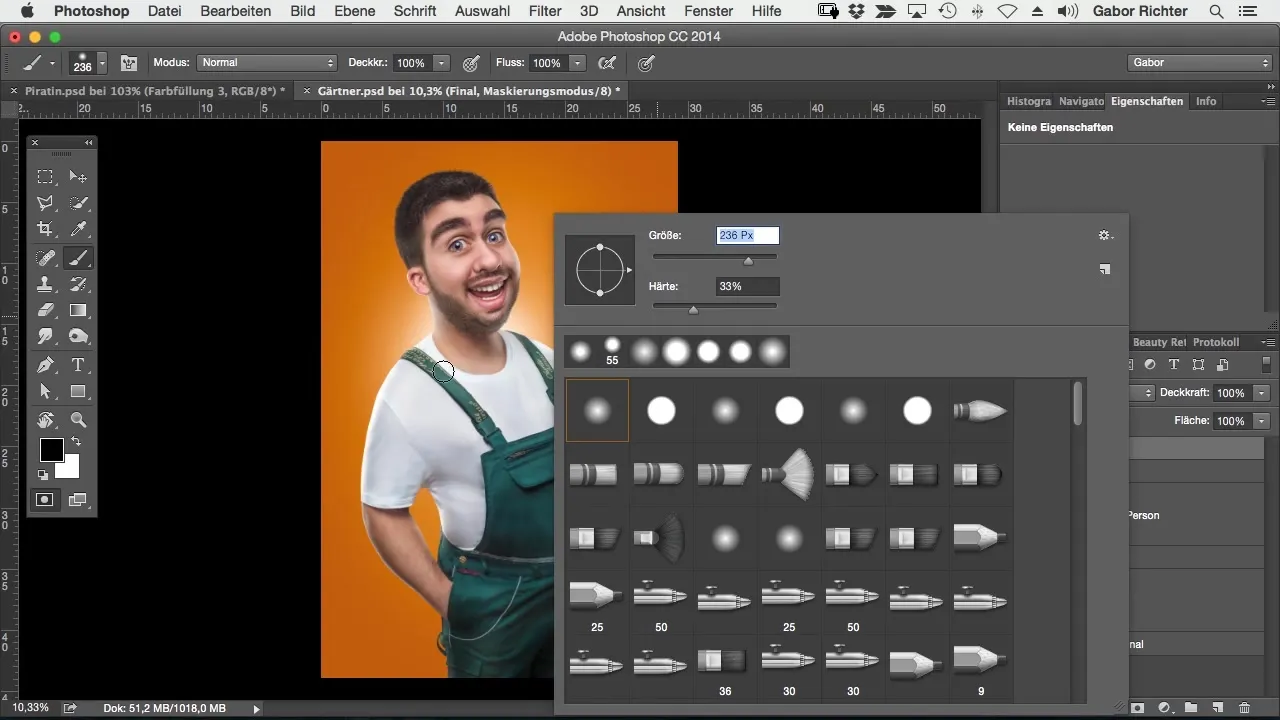
First, open your image in Photoshop and check which areas you want to modify. One of the best tools for this task is the brush, which allows you to select the areas you want to change the color of. You can activate this brush and select the mask option to paint into the image and create a selection.

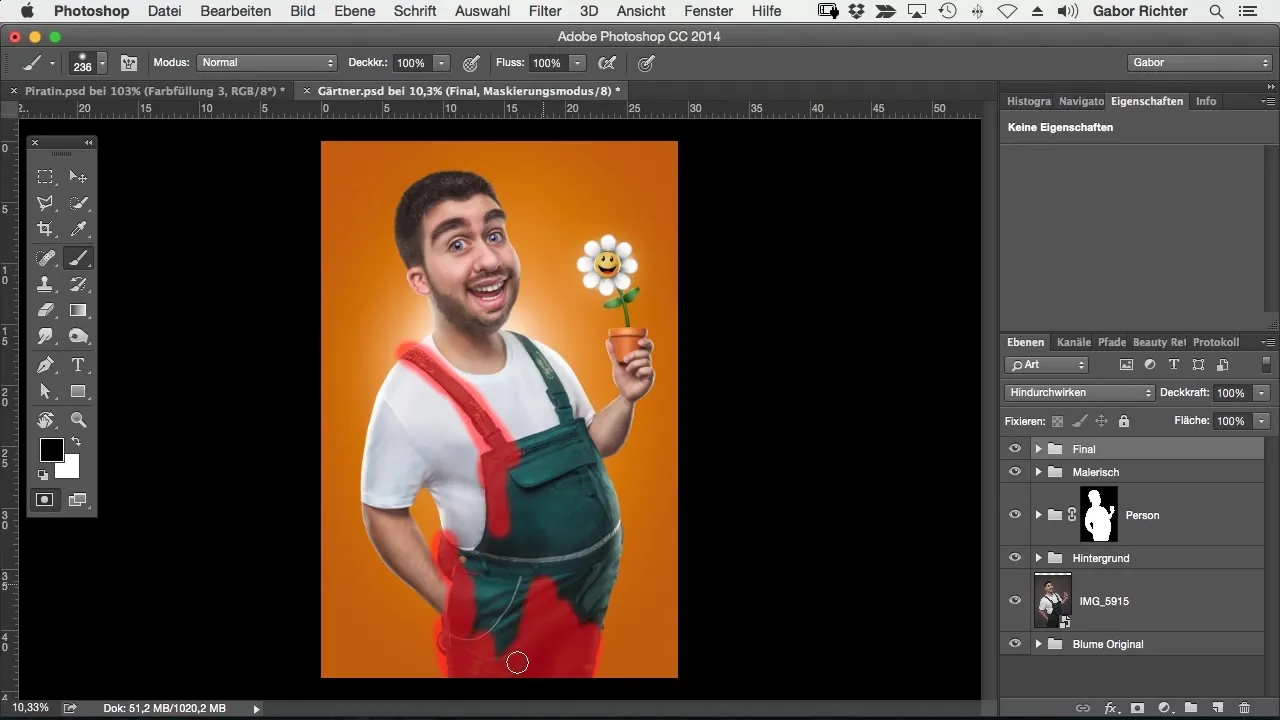
The next step is to create a selection of the clothing item you want to change the color of. In this case, that's the green suit. It's important to emphasize that your selection does not need to be perfect. With this technique, it's enough to roughly select the hue you want to change. Click on the mask options icon to display the selection.
Now, it is necessary to add an adjustment layer. You can do this by selecting the appropriate adjustment layer icon at the bottom of the panel. You will need the specific adjustment layer "Hue/Saturation." This will help you change the color of the suit to your liking.
Now you can experiment with sliding the hues. You may want to adapt the original colors, but you will find that the result does not look perfect right away. There may be unwanted breaks and color overlaps that do not match your desired effect.
To better define the desired color, you can now click on the dropdown menu and select the hue you want to change. In my case, I choose the green hue. With the eyedropper, click on the area of the suit you want to change the color of. This action gives you a reference color that helps you accurately control the adjustments.
After you have established the reference color, you can adjust the hue to your liking. Move the slider to the right and watch as your selection transforms into a blue suit. You will find that the results are impressive, especially since the selection was done roughly. It shows that you can achieve very appealing results with little effort.

Additionally, you have the option to further adjust the saturation. You may want to make the image more vivid and bright by increasing the saturation. Or perhaps you prefer a muted color palette, which is also doable. You have these settings available in your adjustment mask.

Now take a step back and look at your image. The blue suit looks quite good in this new color scheme. Compare it with the original image and appreciate the transformation you have now achieved. Even if your initial selection wasn't perfect, the final result now aligns exactly with what you wished for.
Summary – Changing Clothes Colors in Photoshop Made Easy
Changing the color of clothing in Photoshop can help you quickly and effectively modify images to achieve the desired mood. With the steps described above, you will be able to make quick adjustments anytime.
Frequently Asked Questions
How can I refine the selection?You can improve the selection with the lasso tool or the magic wand if necessary.
Can I apply this technique to other objects as well?Yes, this method also works for other objects and color areas in your image.
Do I have to choose a specific gradient for the colors?Not necessarily. You can experiment with all hues and saturations to achieve the desired effect.
Does this work in older versions of Photoshop?Yes, the "Hue/Saturation" function is available in most older versions of Photoshop.


