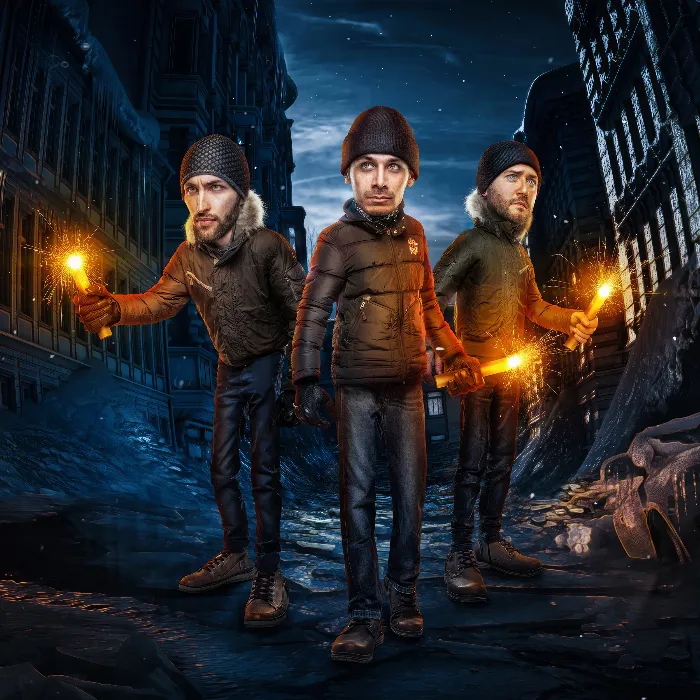
The painting of hair in Photoshop can be a real challenge, especially when it comes to integrating it into a comic style. While many try to represent hair perfectly by cutting it out, I find that the results are often unsatisfactory. This guide focuses on efficient techniques for painting hair. Here, you will learn how to improve the cutout of your comic character through simple and effective hair painting.
Key Insights
- Painting hair is often easier than cutting it out.
- Use a graphics tablet for more precise results.
- Pay attention to brush settings: hardness, pressure, and opacity are crucial.
- Vary colors and techniques for a more natural look.
Step-by-Step Guide
Step 1: Create a New Layer
First, create a new empty layer in your Photoshop document. Name this layer "Hair". This is important to separate hair editing from other image components and to ensure better visibility later.
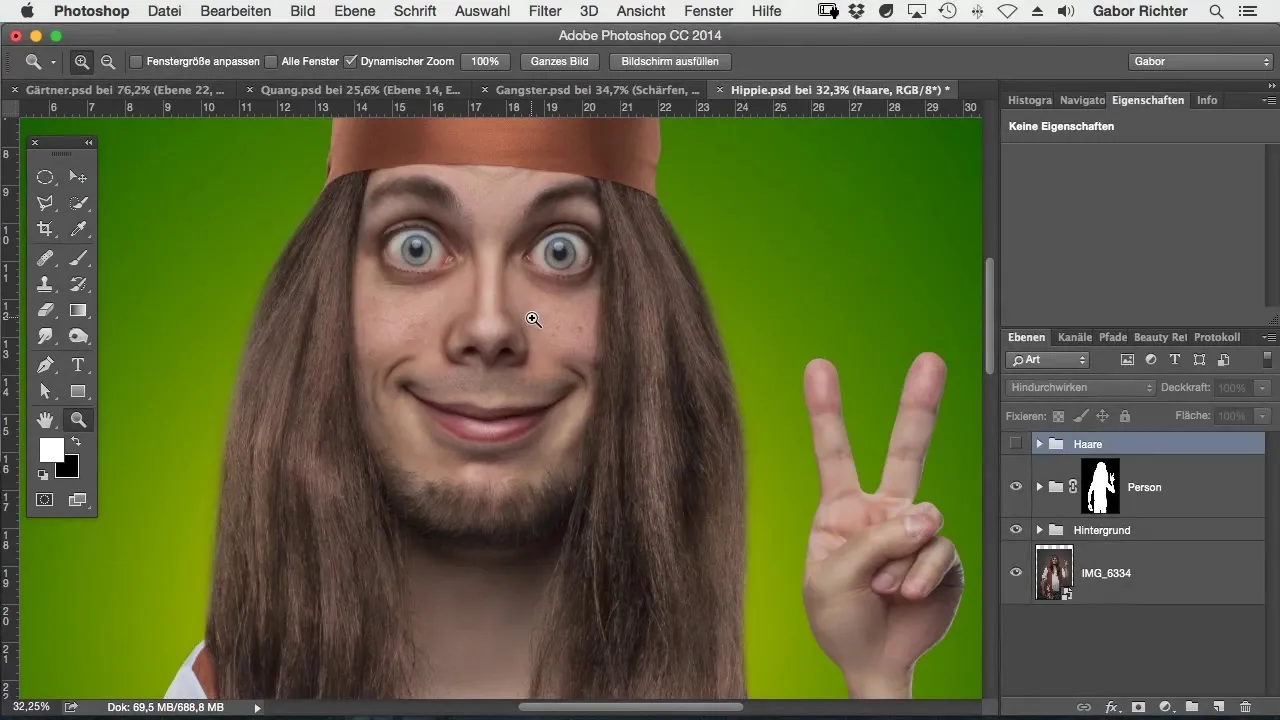
Step 2: Select a Brush
Select a brush and set the hardness to almost 100%. The brush size should vary between one and three pixels depending on the zoom level, with two pixels being the most common setting. This allows for fine, precise strokes.
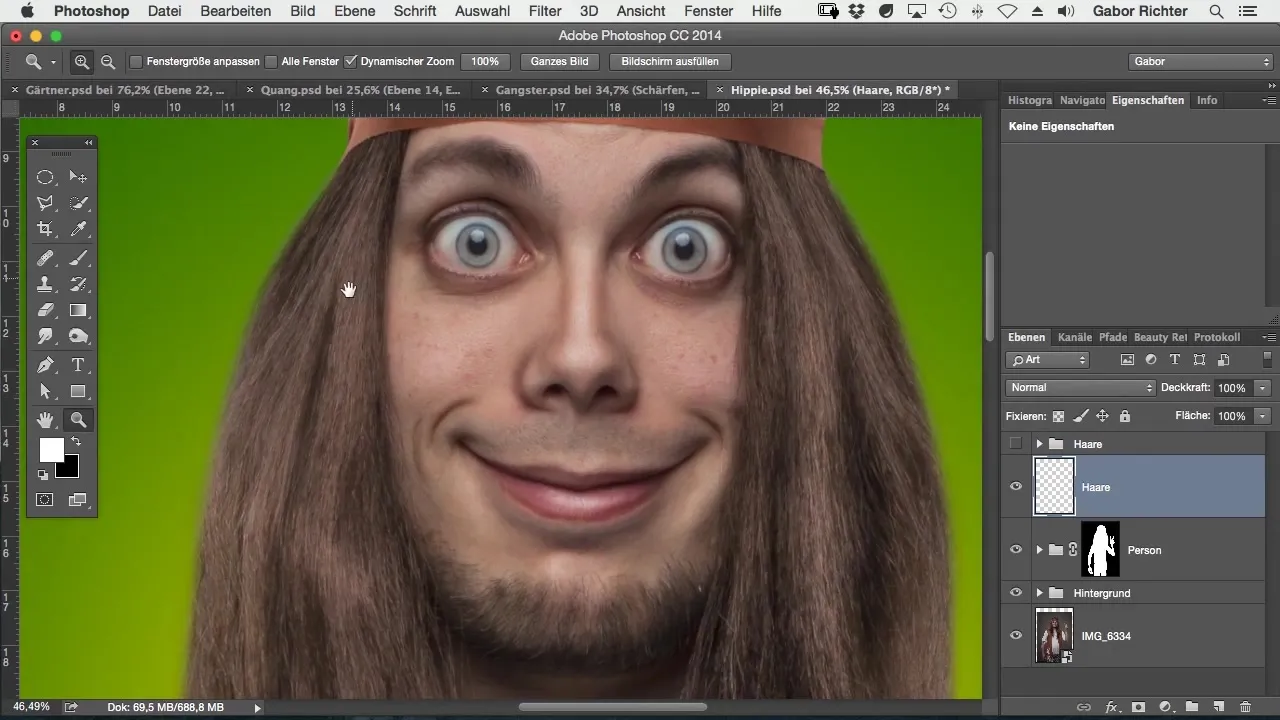
Step 3: Enable Pressure
Enable pressure for your brush to increase the variability of the lines. This will soften the ends of the strokes and make them appear more natural. Try it out by painting a line and noticing the difference between active pressure and static painting.
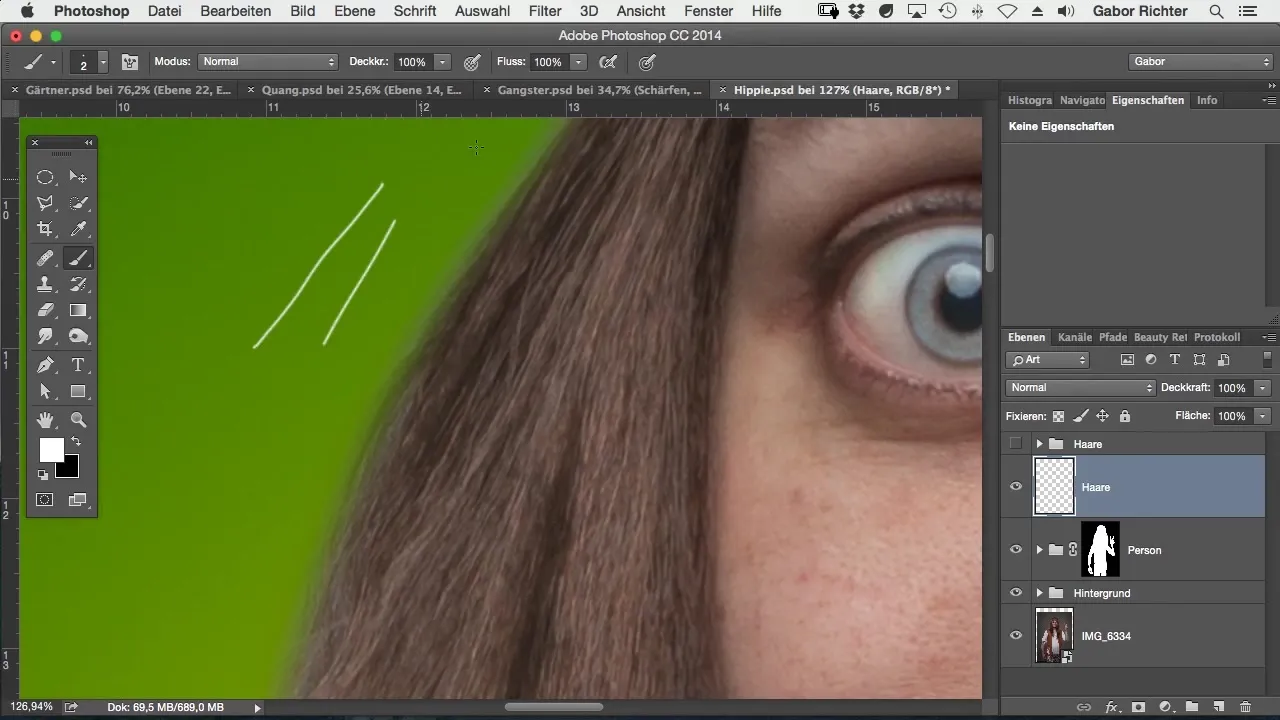
Step 4: Adjust Opacity
Reduce the opacity of the brush to 20%. A higher opacity may make the hair appear too stiff, while a reduced opacity allows for soft transitions. Paint the hair in multiple layers to create a realistic appearance.
Step 5: Sample Color and Paint
Use the eyedropper tool to sample colors from other areas of the image to ensure a harmonious integration of the hair. Sweep loosely over the contours without working stiffly. This requires practice, but the goal is for the hair to look loose and natural.
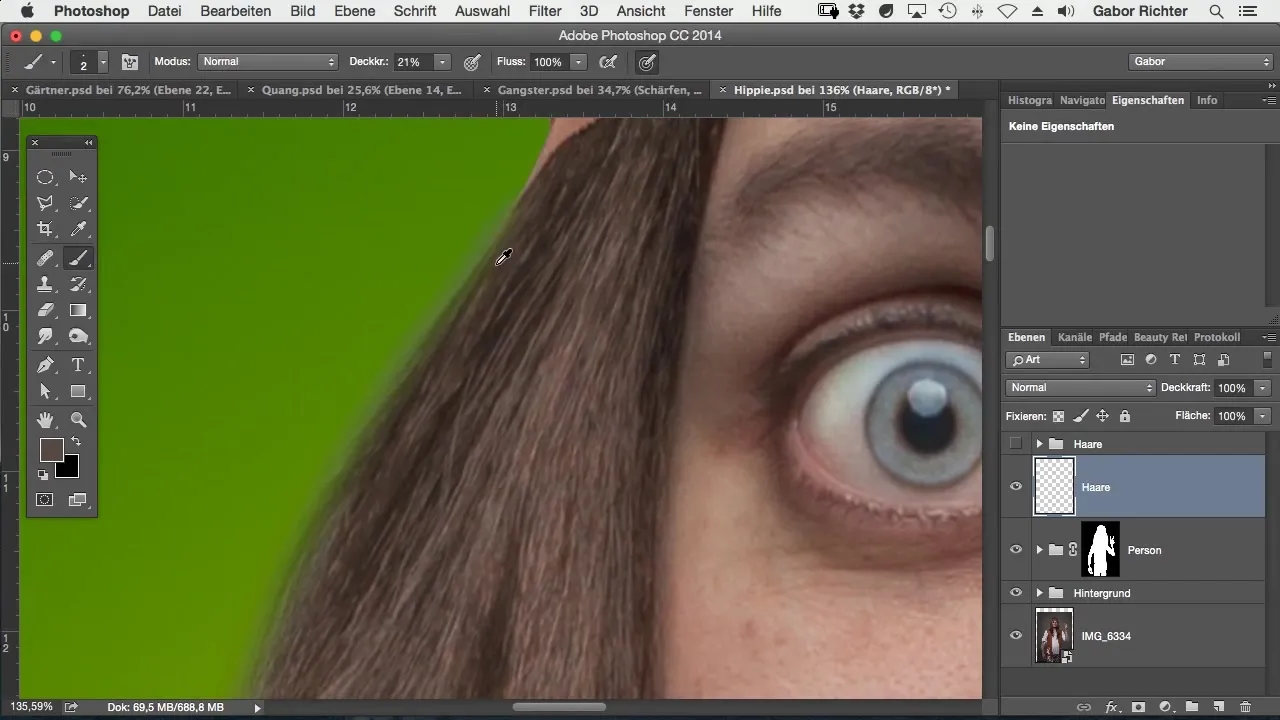
Step 6: Vary Colors
To give the hair more depth, occasionally switch colors while painting. This results in a more vibrant look and can help the hair appear more natural.
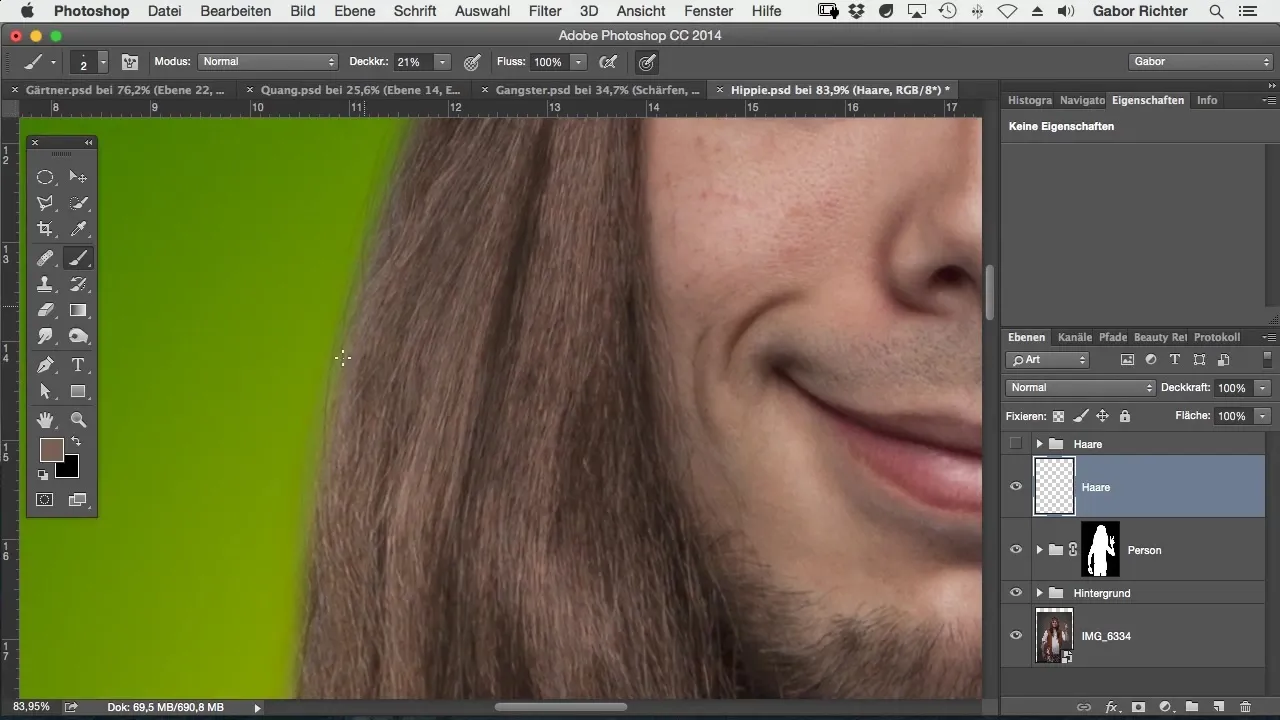
Step 7: Add Surface Texture
Add some stray hairs to make the overall image appear even more realistic. Make sure these small details are integrated into the volume structure of the hair and are not perfectly positioned.
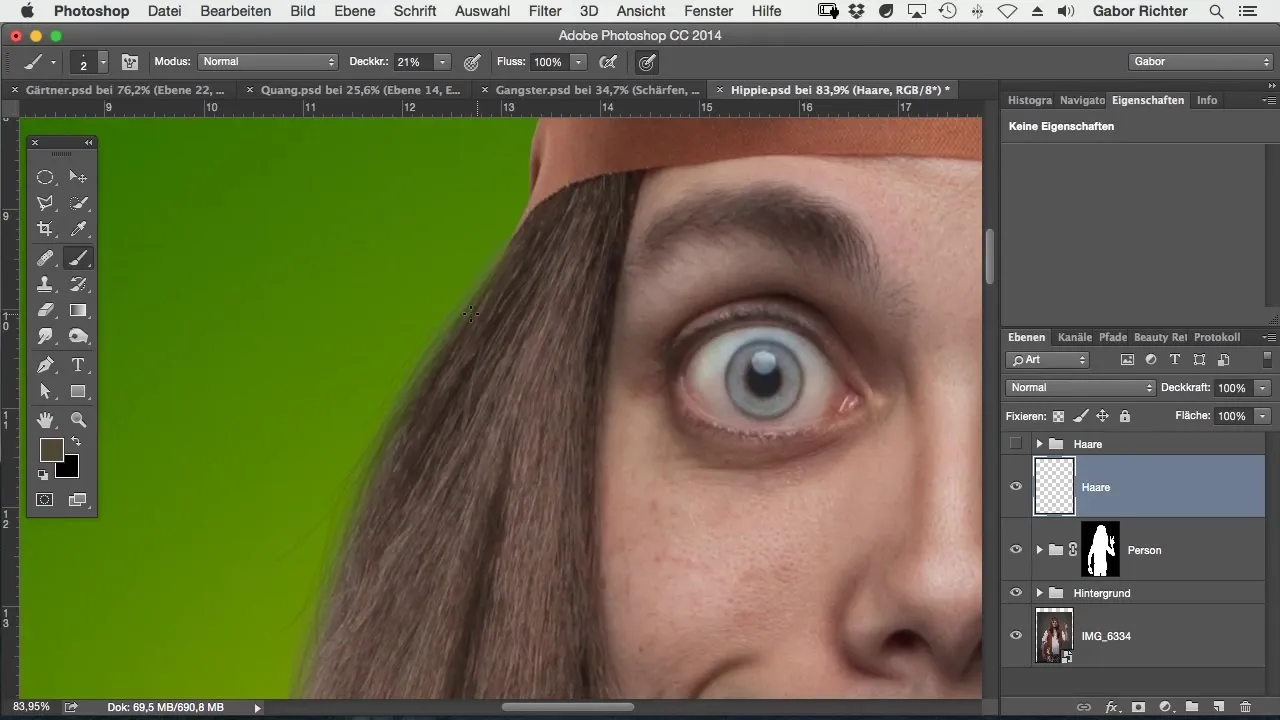
Step 8: Review Your Work
Review your work by rotating the image regularly. This gives you a better overview of whether your hair painting looks sensible.
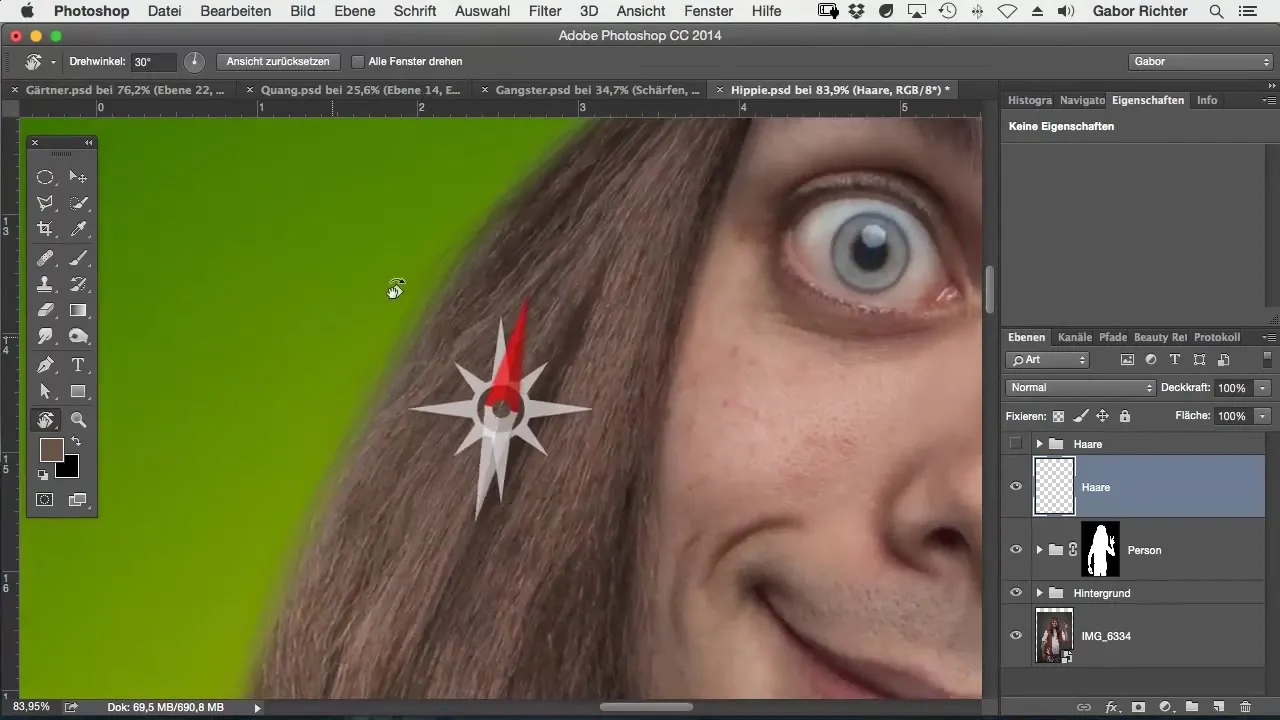
Step 9: Detailed Painting
Repeat the previous steps until you are satisfied with the result. This requires patience but is crucial for the end result. If necessary, you can also prepare the image and make changes.
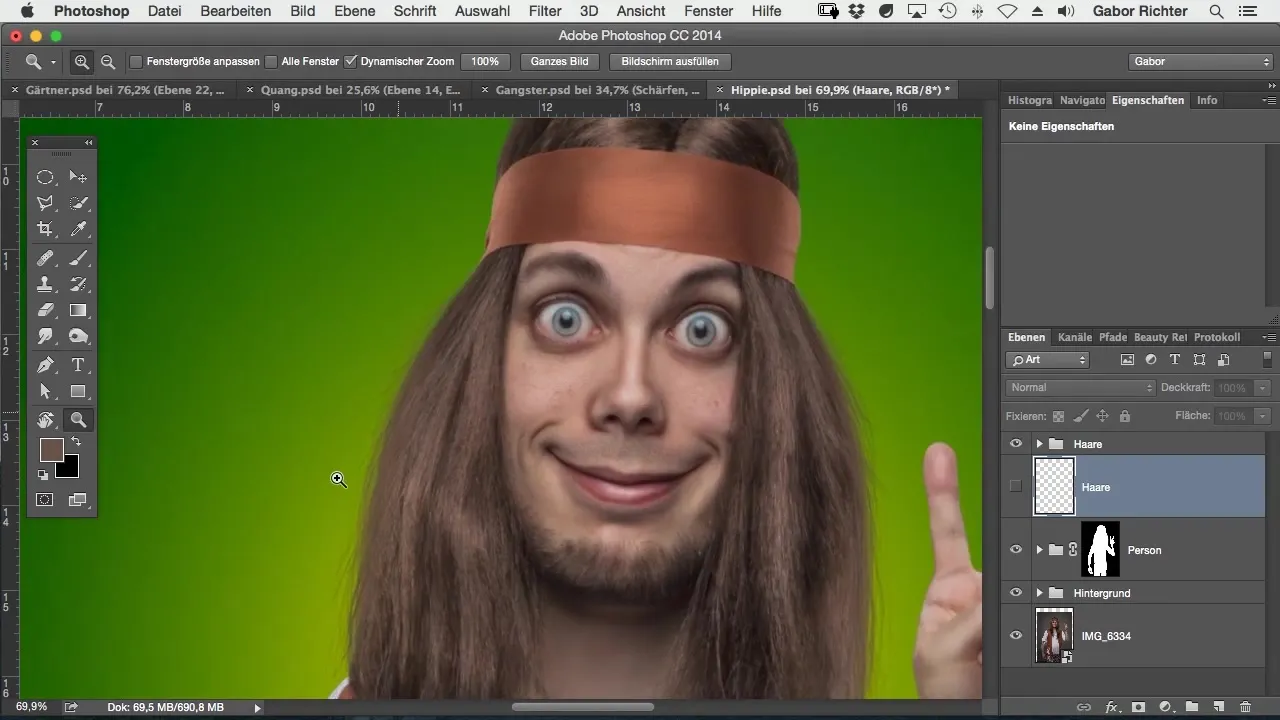
Step 10: Apply Blur Filter
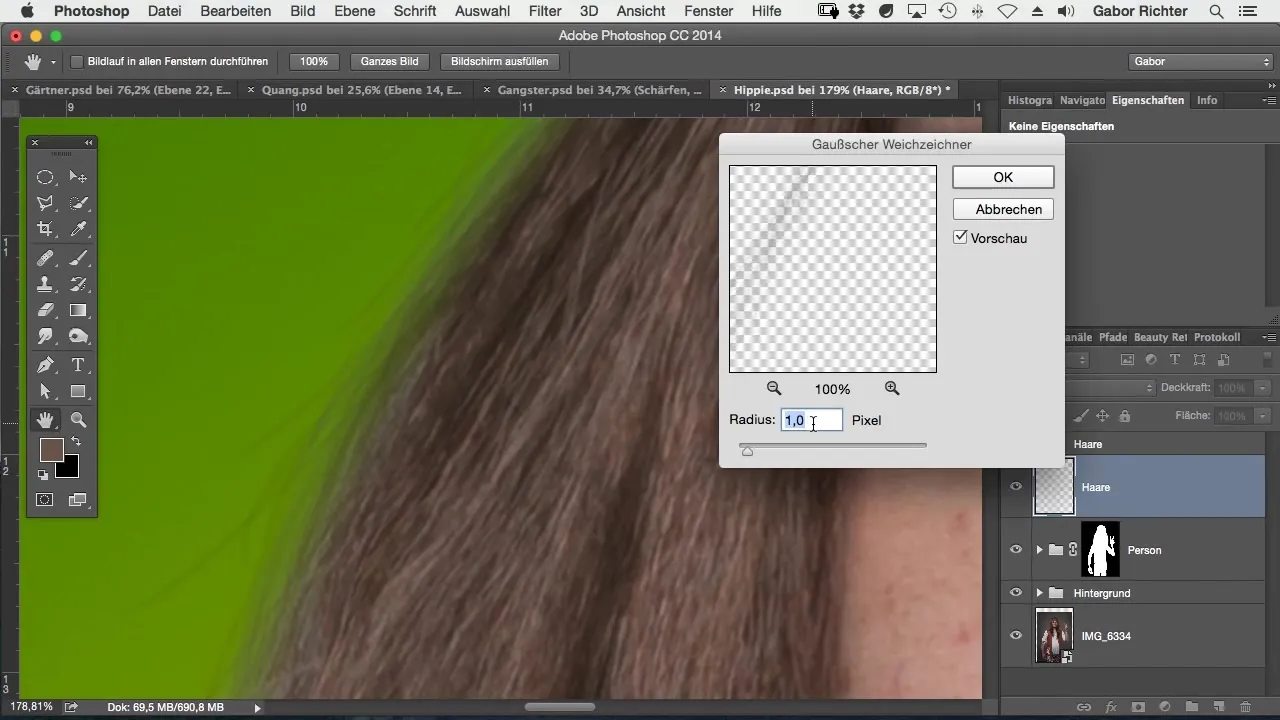
If the hair strands appear too sharp at the end, you can soften them. Use the Gaussian Blur with a low value to ensure that the hair appears softer and more harmonious.
Step 11: Duplicate the Layer
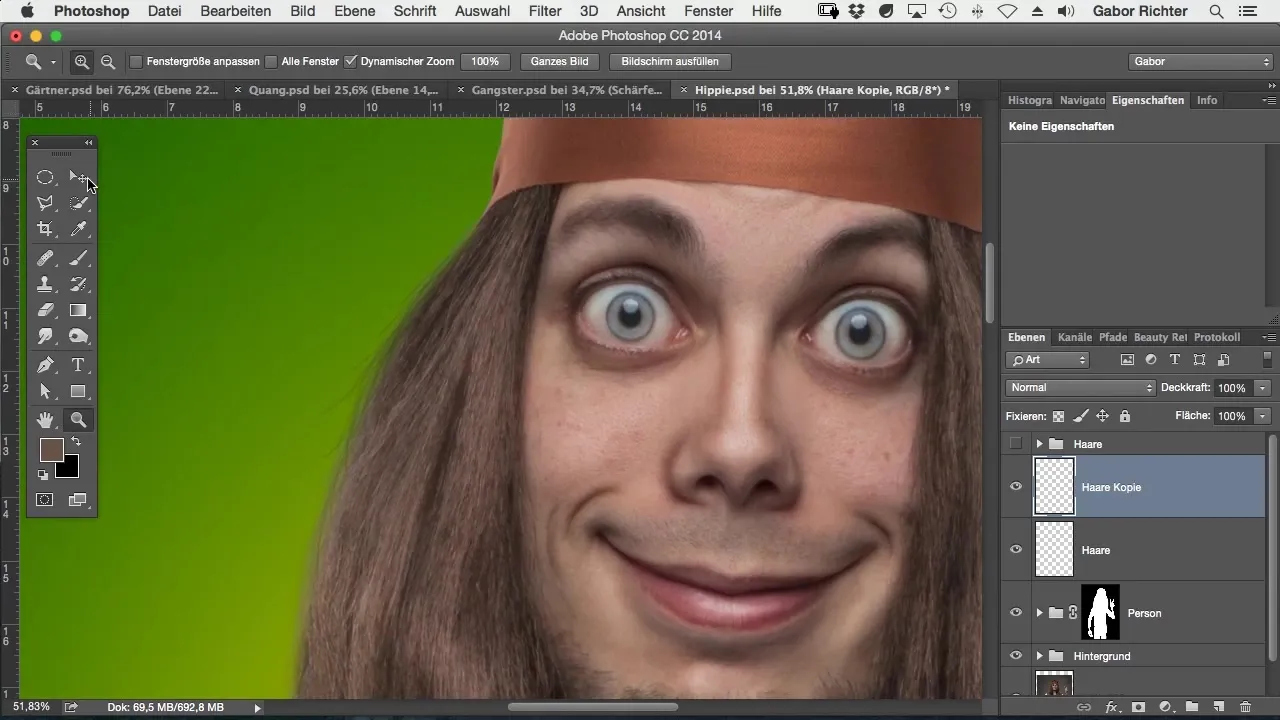
If you don't feel like detailed painting, you can duplicate the hair layer and increase the visibility. This gives the image more color and visibility without needing to repaint each strand.
Step 12: Final Appearance
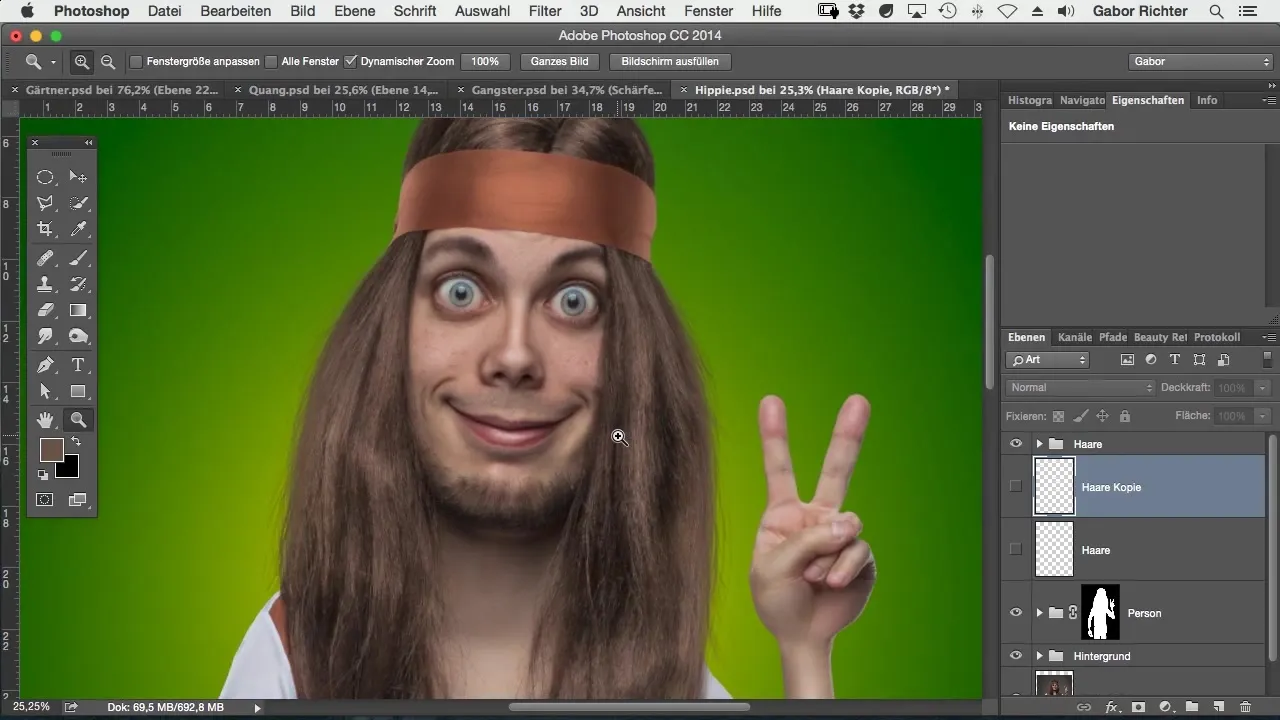
Check the overall image to ensure that the hair is well integrated. You should achieve a result that you are satisfied with, which also contributes to the overall harmony of your comic style.
Summary – Painting Hair in Comic Style: A Detailed Guide
Painting hair in Adobe Photoshop can be a challenging but rewarding task. By applying these efficient techniques, including the use of a graphics tablet and careful selection of brush and color settings, you can give your comic characters a realistic and appealing look.
Frequently Asked Questions
How can I make hair painting look more natural?By varying colors and staying loose while painting, you can create a more realistic texture.
What brush settings are best suited?A hardness of 100% and a size of 2 pixels with 20% opacity are ideal.
Should I cut out or paint the hair?Painting is often easier and leads to better results.
Can I duplicate the hair layer?Yes, duplicating the layer can help increase the visibility of the hair.
How can I make the hair softer?Use the Gaussian Blur with a low value.
