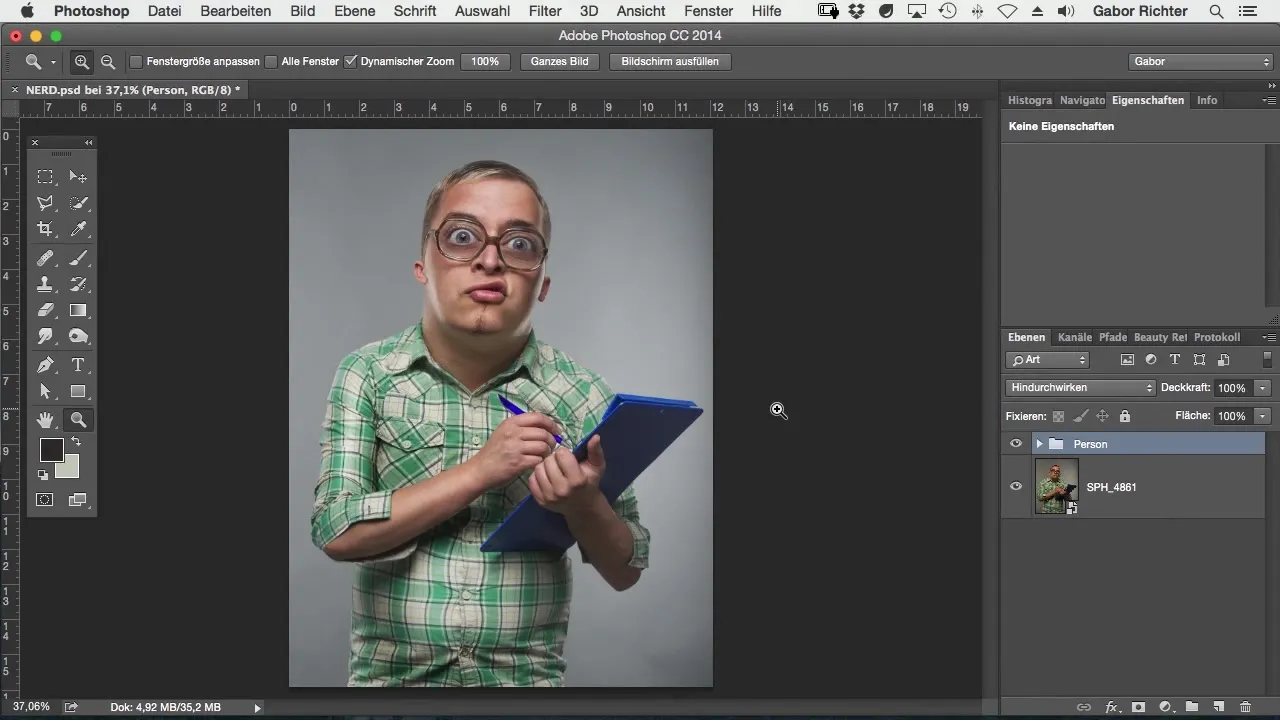
Especially in the world of digital art, the right background is crucial to bring the entire image to life. A gray background can often appear uninspired and stand in the way of your creative ideas. In this guide, I will show you how to transform a boring gray background into an appealing colored background in just a few steps. It’s not just about changing the color, but also how to harmoniously match the new shade with your subject. Let's get started!
Key Insights
- Simple way to change the background color
- Use of color overlays in Photoshop for harmonious results
- Step-by-step guide to masking and adjusting colors
Step-by-Step Guide
Start by opening the image you want to edit in Photoshop. It’s important that your background is neutral, such as gray. This will make the color overlay easier later on.

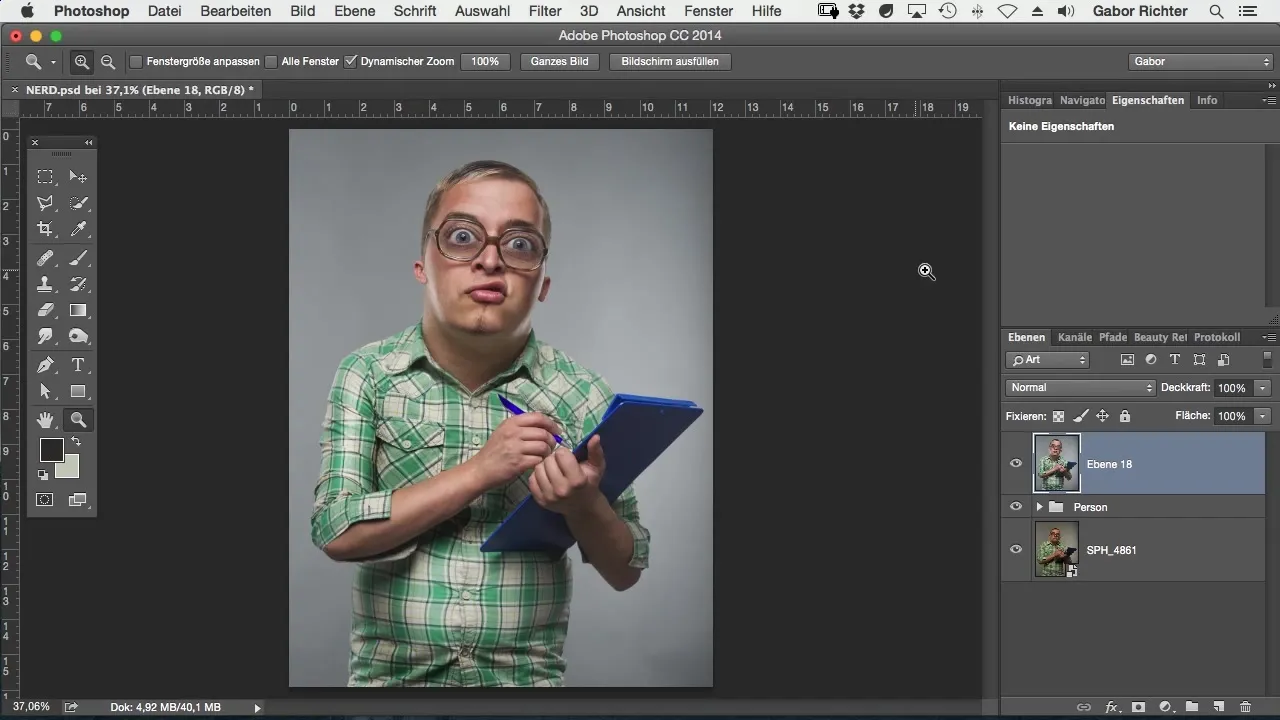
To start with the color overlay, first go to the top layer of your image and merge all layers. You can do this by pressing Cmd + Alt + Shift + E (or Ctrl + Alt + Shift + E on Windows). This will create a new layer that combines all currently visible layers.
The next step is to create a color fill for the background. Click on the “Adjustment Layer” menu and select “Solid Color.” In the window that opens, you can now choose a shade of blue. Blues are ideal because they have a fresh and harmonious effect and pair well with skin tones in the image.
After selecting the blue shade, we will change the blending mode of the color fill from “Normal” to “Color.” This allows only the color to shine through while keeping the details of your subject visible. This way, you’ve already created a good base.
To further refine the background, it’s time to broadly mask our subject. I recommend using the Quick Selection Tool. Go around your subject and make a rough selection. It’s okay if unwanted areas are included.
If you find areas where the selection isn’t perfect, hold the Alt key while subtracting those areas from the selection. This process can be a bit tricky here and there, but it is significantly easier and less time-consuming than traditional masking.
Once you have roughly created the selection around your subject, apply a mask to your image. To do this, press Cmd + I (or Ctrl + I on Windows) to invert the mask. Now your image already looks much better, and the color fill will only be shown around your target object.
Now that the mask is created, some areas may not be represented perfectly. You can easily fix this by painting over these areas with a white brush at 100% opacity.
Be patient, especially at the edges of the subject. It is often easier to work on the smooth areas since they cause fewer problems. Make sure everything looks good.
If you want to make adjustments to the hair or other details, go to the mask and select the “Refine Mask” option. With the brush, you can work very precisely to optimize the edges. Photoshop will take care of the rest for you.
Once these adjustments are made, you have the option to change the background color as you wish. This is a significant advantage of this technique. For example, you can change the color to green or mix your own shade. Just select the eyedropper tool and click on the desired colors in the image.

We can also choose a nice sky blue tone to make the background appear even more vibrant. Adjust the color and click “OK.” It’s truly amazing how a few minutes of work can make such a significant difference in the overall impression of the image.
And lo and behold! Changing the background color makes your image look much more appealing and harmonious. You can adjust the colors at any time and experiment until you achieve the perfect result.
Summary - Comic Style Photoshop: Adjusting Background Color
In this guide, you learned how to quickly and effectively transform a gray background into a colored background that harmonizes with your subject in Photoshop. The steps from color overlay to masking make the editing efficient and creative.
Frequently Asked Questions
How can I change the color of the background?Select the color fill and change the blending mode to “Color.”
What is the best method for masking complex images?The use of the Quick Selection Tool is fast and easy, especially for rough selections.
What do I do if the selection is inaccurate?Hold the Alt key to subtract areas from the selection.
Can I change the background color as many times as I want?Yes, you can change the color at any time as long as the fill exists.
How can I improve the edges of my subject?Use the “Refine Mask” function and work with the brush tool on the edges.


