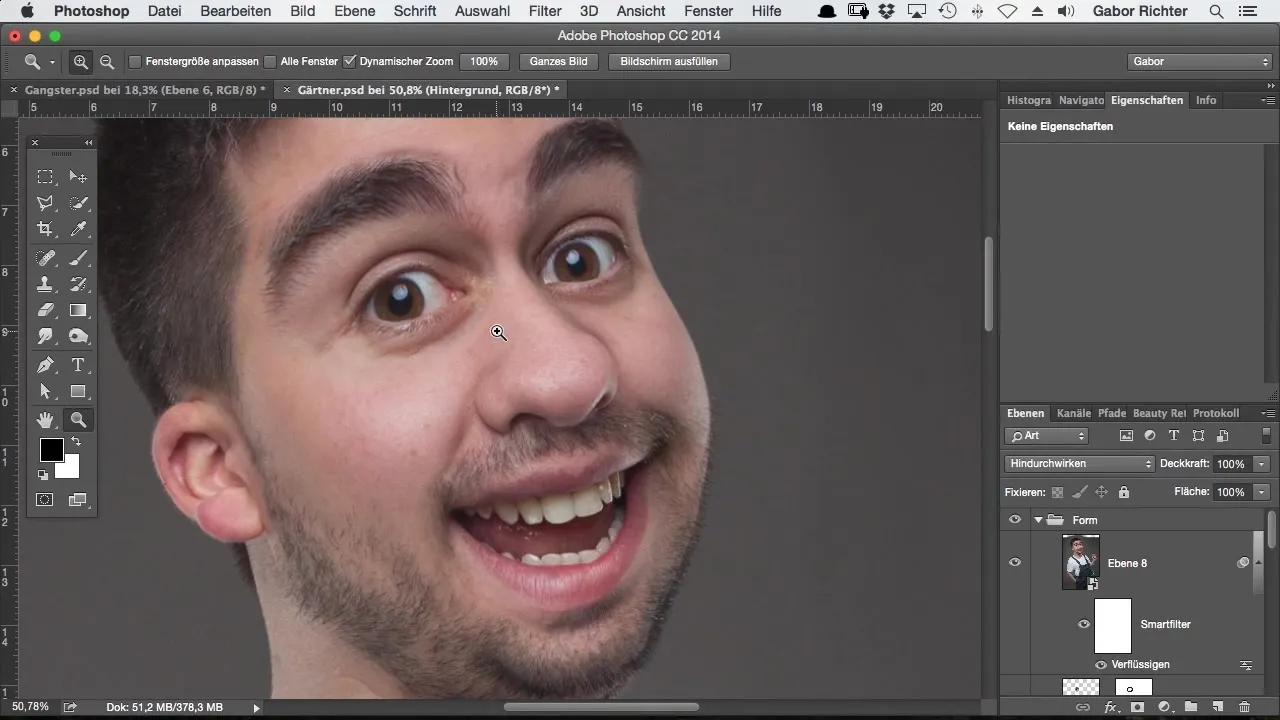
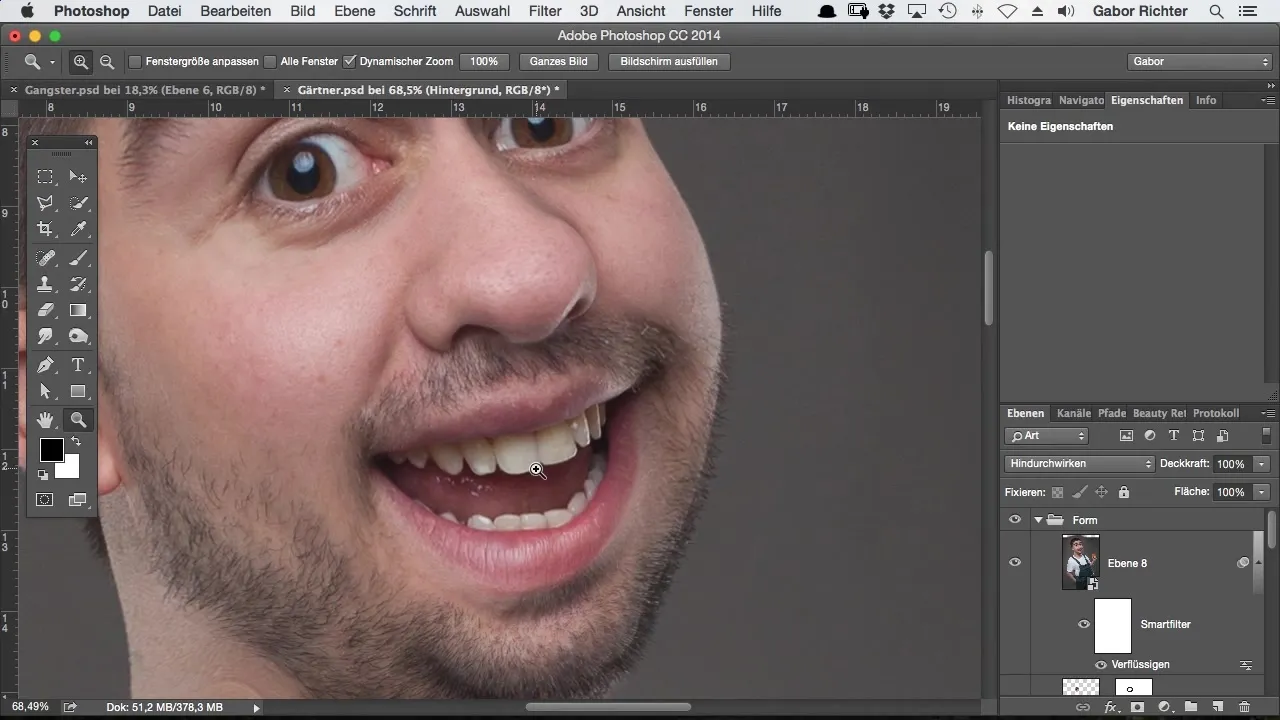
Liquefying teeth in Photoshop can give your images a unique comic look. Teeth often appear more vivid and expressive when they have a smooth and rounded shape. With the right technique, you can maintain naturalness while achieving an exciting artistic effect.
Main insights
- The teeth should be designed to be rounder and more even to enhance the cartoon effect.
- Use the Liquefy function purposefully to change and adjust the shape of the teeth.
- When working on the teeth, ensure that you only make small and precise adjustments.
Step-by-step guide
Start your project by opening the image you want to work on. You should ensure that your image shows the teeth well, as they are the focus of your editing.

Once you have opened the image, I will explain the first step: We will tackle the Liquefy function to gently and effectively edit the teeth. The transformation of the teeth begins here.
Although the teeth are appealing in their natural state, I decided to bring a little more shape to them. I prefer a curved, round shape that goes beyond the typical look.

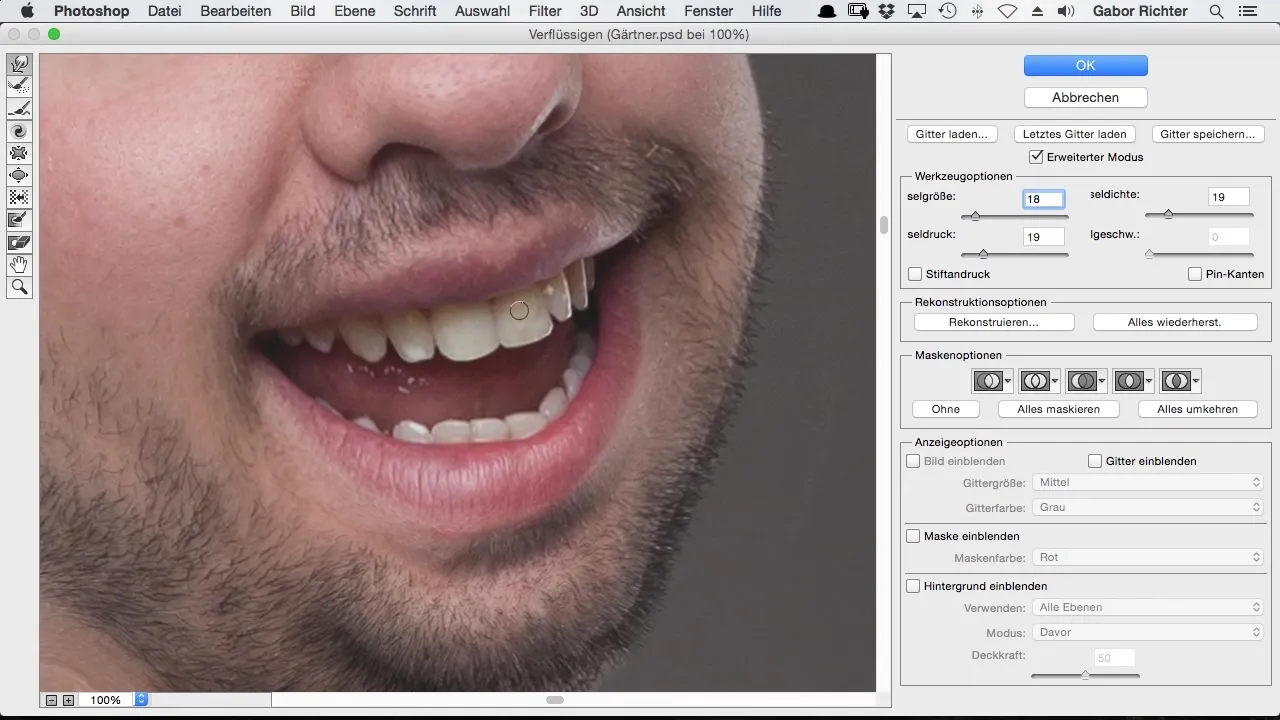
Now that the basic Liquefy filter has been applied, I will specifically focus on the teeth. Use your brush tool to make precise adjustments.
I select my warp tool to slightly round the edges of the teeth. It is important to adjust the brush size. In this case, I set the brush size to about 18 pixels, but this may vary depending on the image.

Start with the front incisors. Gently pull the teeth down to achieve a less pointed and more harmonious shape. Make sure to process each tooth evenly to maintain a natural look.
Sometimes, a tooth can appear like a rabbit's tooth if you edit it too much. The goal should be to shape the teeth attractively and evenly. Unedited teeth do not need to be considered in the structure; that comes later in the retouching.
Now, I will continue with the adjacent tooth. Here, I will also round the shape and make it wider to harmonize the form. This reduces the "rabbit effect" and transforms the teeth into cohesive but interesting shapes.
When editing the teeth, it is advantageous to keep the characteristics of each tooth in mind. Ensure that they all maintain a similar proportion. Width and height play an important role.
Now I go over the back teeth; I will make sure to only make slight adjustments there since they are usually not as prominent in the image. This will also help focus attention on the front teeth, which need more attention.
The final check addresses the edges and transitions between the teeth. I look over each tooth to make sure nothing appears too sharp or unnatural. Sometimes, there can be sharp edges in the corners that you want to smooth out.
If you are satisfied with the results, you can zoom back out to ensure that the overall image is coherent and that the teeth fit together in form.
I hope you are as pleased with the results achieved in the end as I am. The balanced and rounded shape of the teeth gives your image a unique comic touch that works.
Summary – Liquefying Comic-Style Teeth in Photoshop
Liquefying teeth in Photoshop is a creative way to give images an artistic comic look. You have learned how to effectively use the Liquefy function to make the teeth more even and round. With care and precise adjustments, you can achieve impressive results.
Frequently Asked Questions
How can I access the Liquefy function in Photoshop?Go to "Filter" and select "Liquefy" from the dropdown menu.
How do I choose the right brush size for editing teeth?The brush size should be adjusted to the image size; typically, a size of 18-25 pixels is effective.
Could this technique also be used for other areas of the face?Yes, liquefying can also be applied to lips, noses, and other facial features to adjust and harmonize them.
Are the teeth fully realistic after editing?The result depends on your editing; the technique supports creative, artistic effects that go beyond the natural appearance.


