Souvenir from a creative process – a comic image that you have created with dedication and passion. It's the final touches that determine whether your work has the desired impact. Many details play a role in this. Often, an image stays on the hard drive for a few days before you publish it. This is sensible because, with fresh eyes, you often see little flaws. In this guide, I will show you how to give your image the final touch using Adobe Photoshop and the Camera-Raw-Filter with just a few steps.
Main insights
- Camera Raw Filter as an effective tool for fine-tuning
- Let the image rest for a few days to sharpen your perspective
- Adjust the filter settings to achieve the desired look
Step-by-step guide
Step 1: Create working file
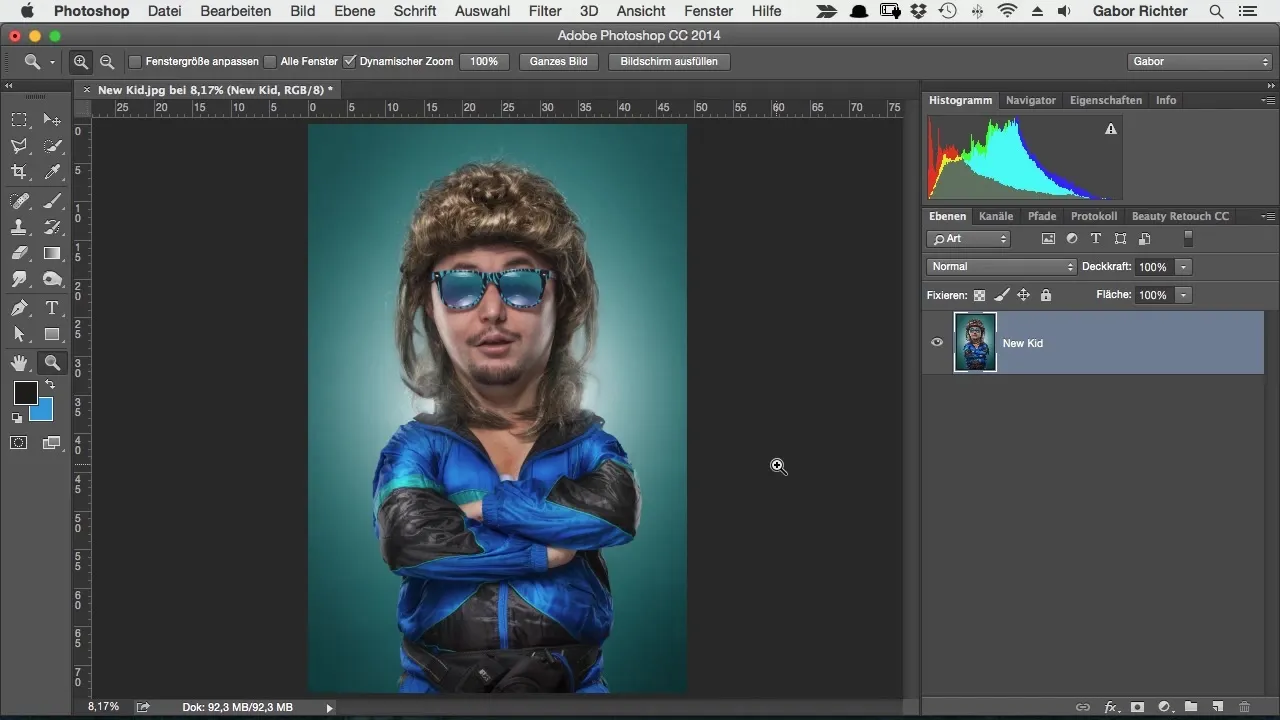
To start editing the image, create a duplicate of your finished comic image. You can do this by grabbing the layer and dragging it upward while holding the Alt key. This way, you always have your original image on hand.
Step 2: Create Smart Object
Now convert your duplicated layer into a Smart Object. Right-click on the layer and select "Convert to Smart Object." This allows you to revert and adjust the changes at any time.
Step 3: Apply Camera Raw Filter
Now comes the exciting part – apply the Camera Raw Filter. Go to "Filter" and select "Camera Raw Filter." A new workspace will open up, providing you with all the necessary options to make your adjustments.
Step 4: Adjust hue and exposure
Now experiment with the hues. A warm hue can work particularly well for skin tones. Change the hue slider and observe the effect on your image. Make sure the skin doesn't appear too cool.
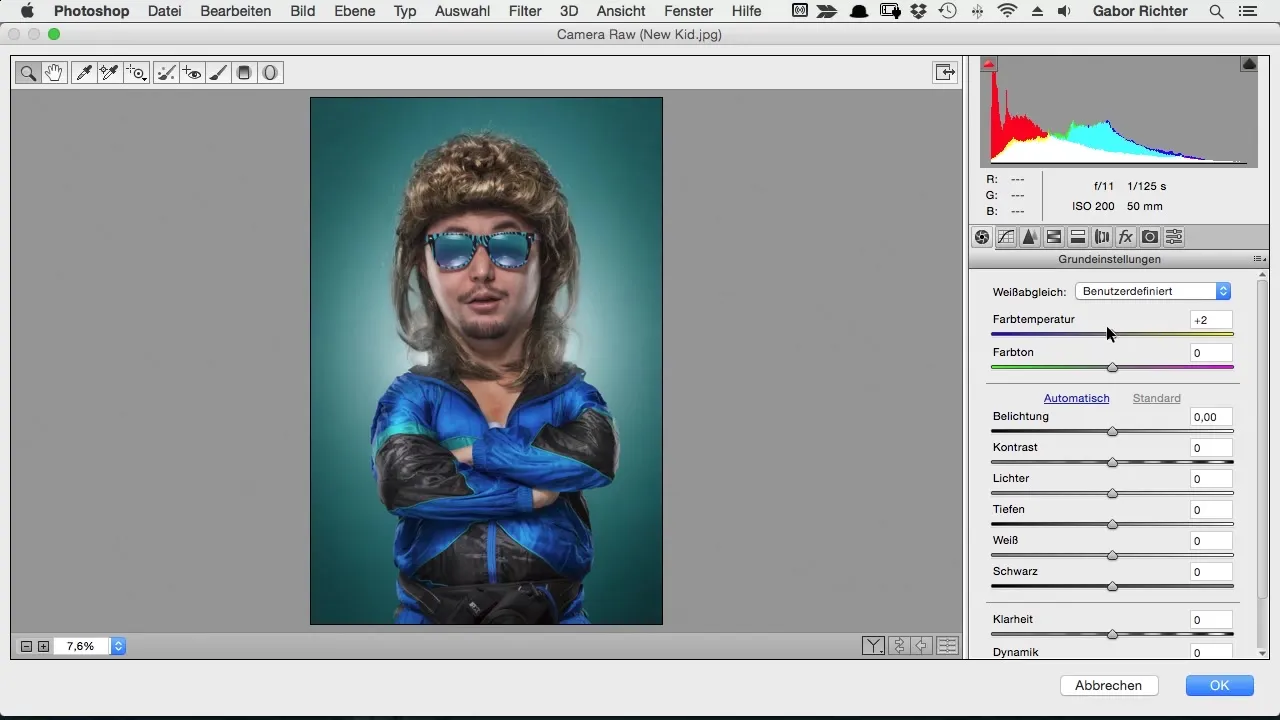
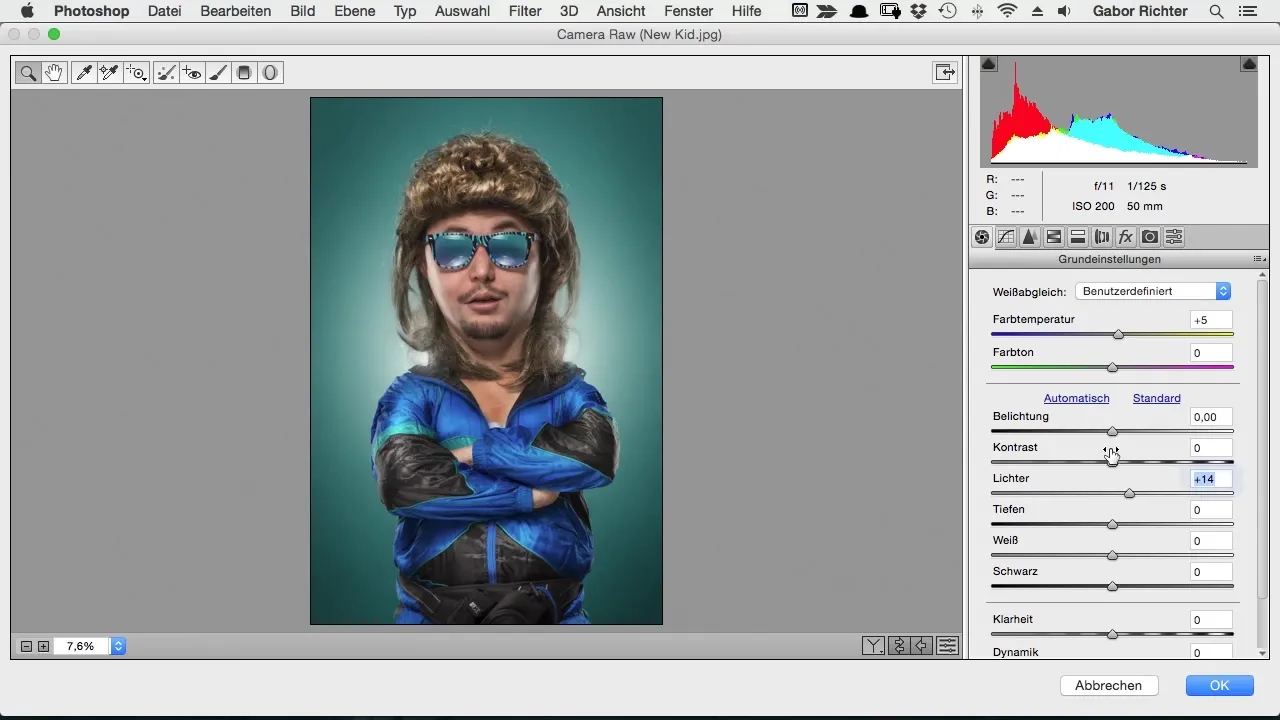
Also look at the exposure. Bright areas should be highlighted, so you can increase the contrast to intensify the image effect. Adjust the "Highlights" slider to make the brightly lit areas stand out even more.
Step 5: Optimize clarity and vibrance
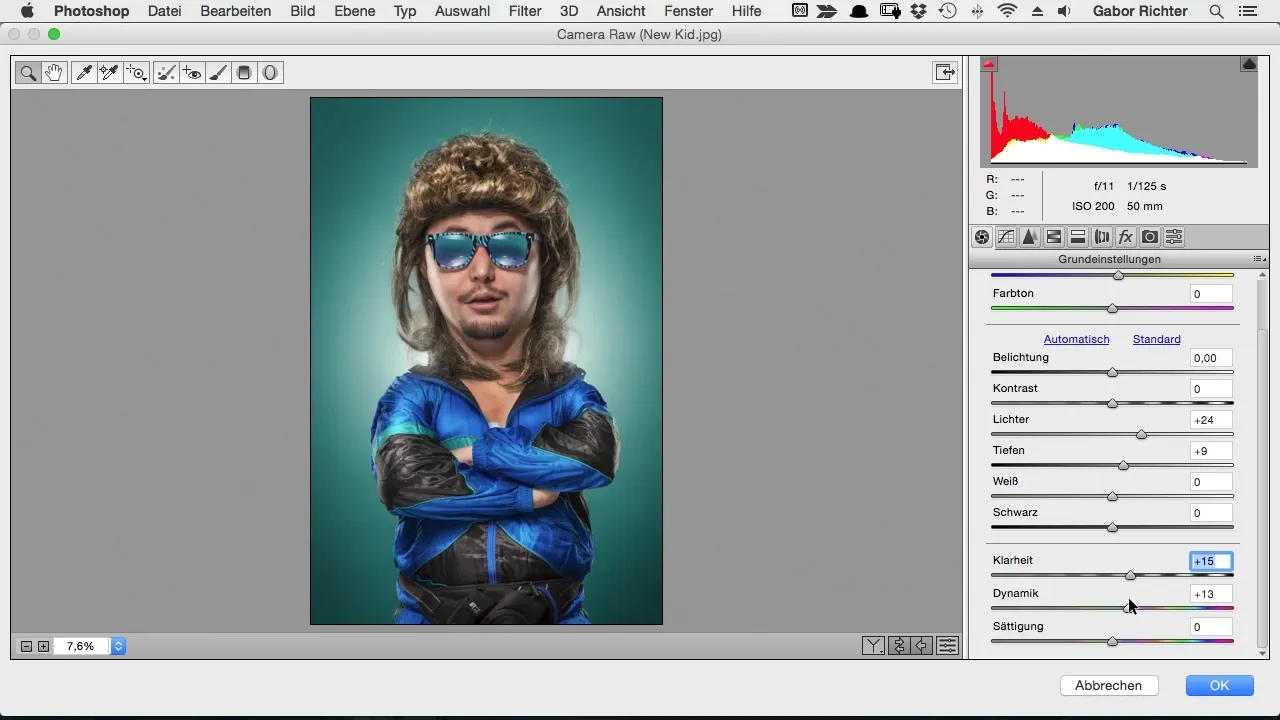
The clarity slider is important for a crisper representation. Set this to about +15 for a subtle effect without making the image look over-processed. You can also increase the vibrance to bring more liveliness to the colors.
Step 6: Add sharpness
Zoom in to assess the details more sharply. When sharpening, adjust the radius. Increase it moderately to about 0.5 to optimize the sharpness of your image. Once you have achieved the desired sharpness, you can finalize the settings.
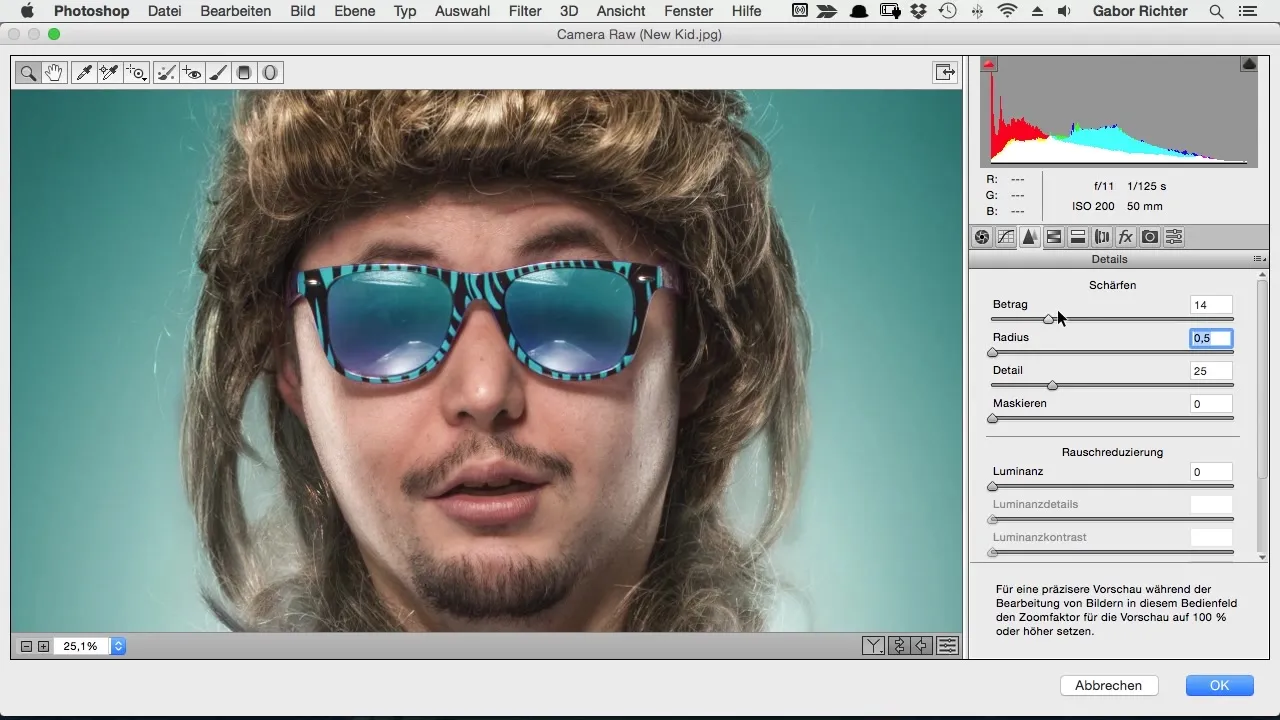
Step 7: Use HSL view
To further adjust the skin tones and other color nuances, go to the HSL (Hue, Saturation, Lightness) settings. Here you can increase the saturation of the skin tones to give them more expression. You can also adjust the hue of the background using the same principle.
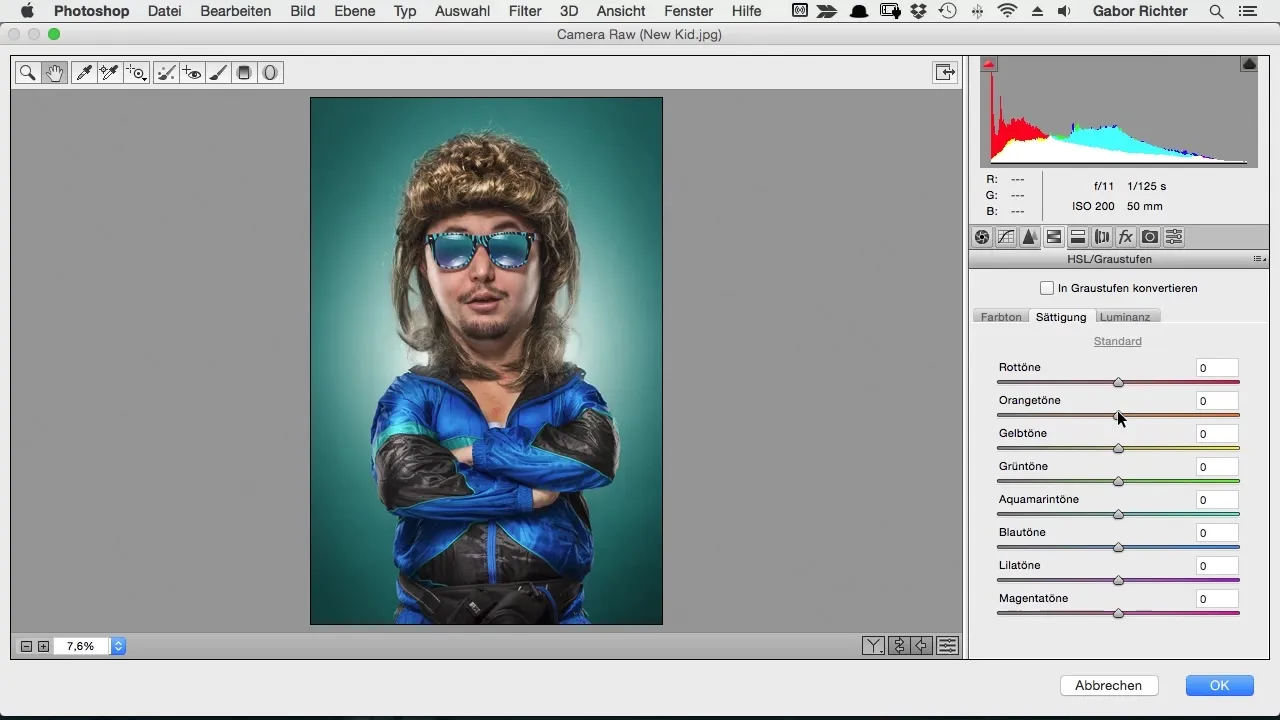
Step 8: Add vignette
If you want, you can also add a vignette now. Make sure the focus remains on your subject, so you can apply the vignette at the outer edges of the image to draw more attention to the main motif. Set the exposure of the vignette so that it does not darken the image excessively.
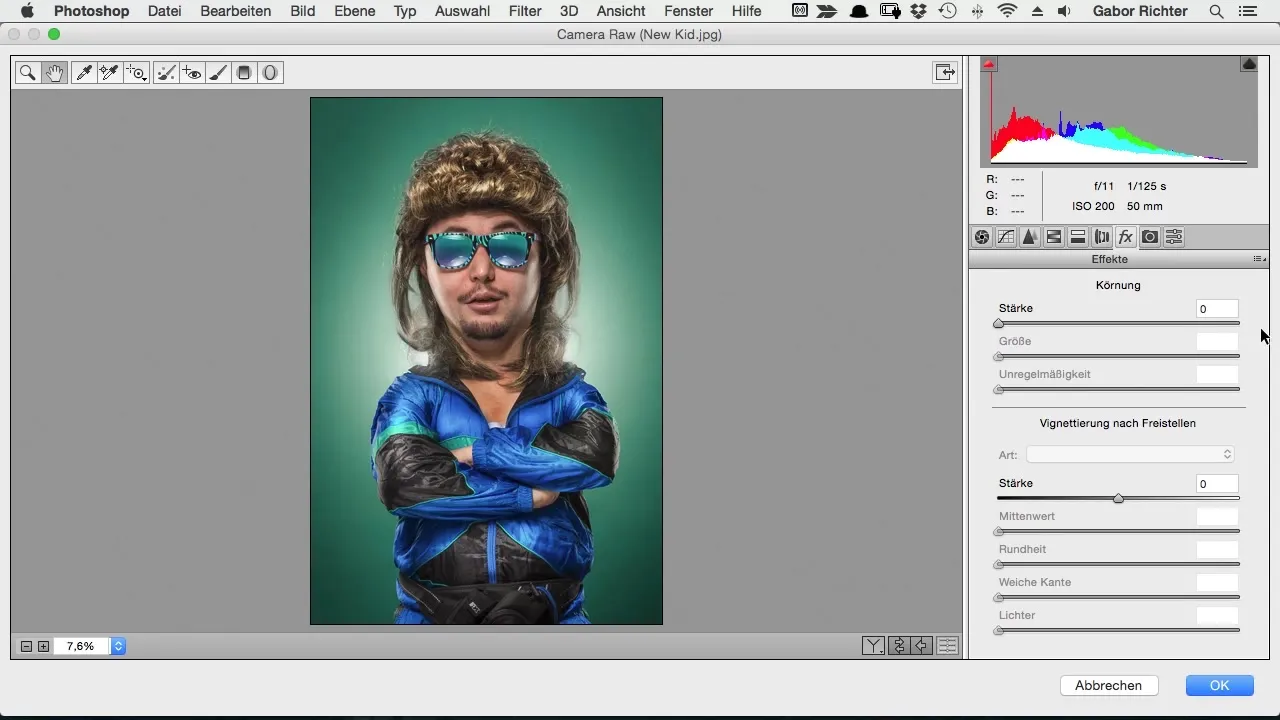
Step 9: Final adjustments and finalization
Now there is just one final check before you are satisfied with the result. Compare the image before and after editing. If you like the final result, save the image. You now have full control over it, and the adjustments can be changed at any time.
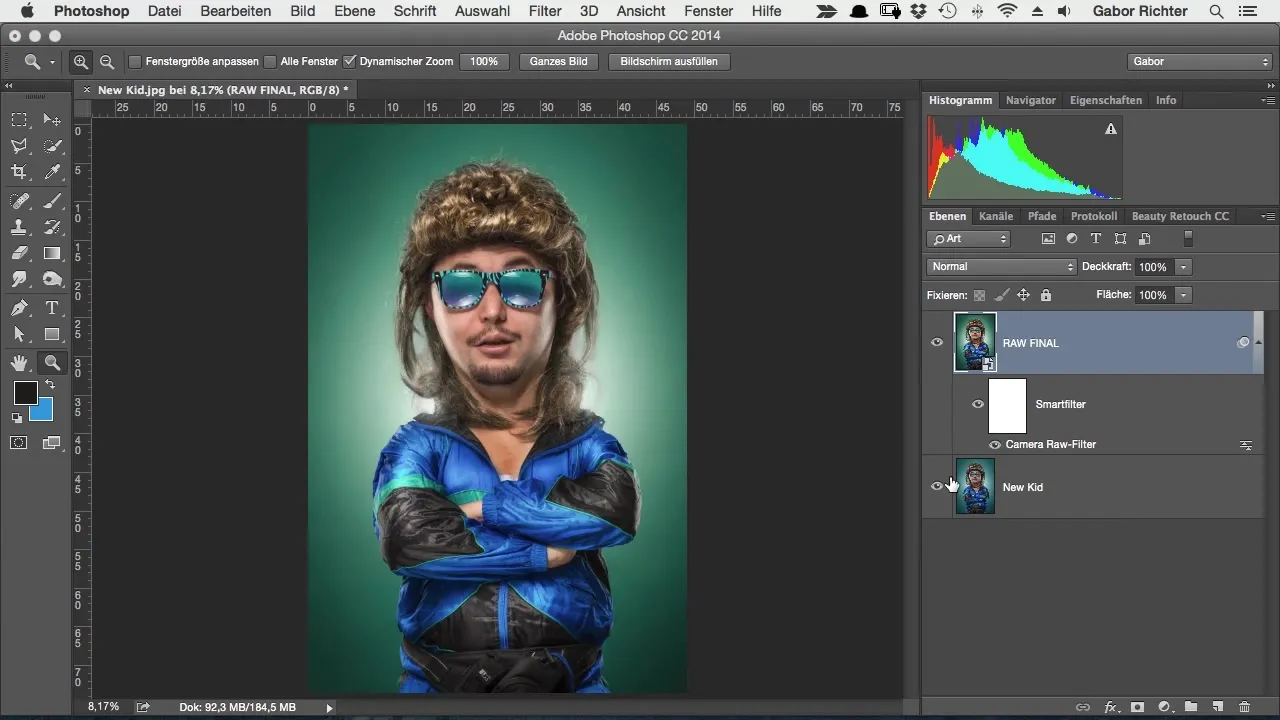
Step 10: Export for publication
Export your image for publication on social media or other platforms. Now you can proudly show your final comic image that you have created with great attention to detail.
Summary – Comic Style Photoshop: Camera Raw Filter for the final look
With the Camera Raw Filter in Adobe Photoshop, you can give your comic image impressive fine-tuning. From creating a Smart Object to adjusting colors and exposure, to final sharpening and vignette adjustments – you have the tools to make your image shine.
Frequently asked questions
What is the advantage of Smart Objects?Smart Objects allow you to revert changes to your image at any time.
How can I highlight the highlights in my image?Use the exposure slider in the Camera Raw Filter to emphasize the highlights.
How often should I revisit my images?Let your image rest for a few days before editing to recognize any flaws with fresh eyes.


