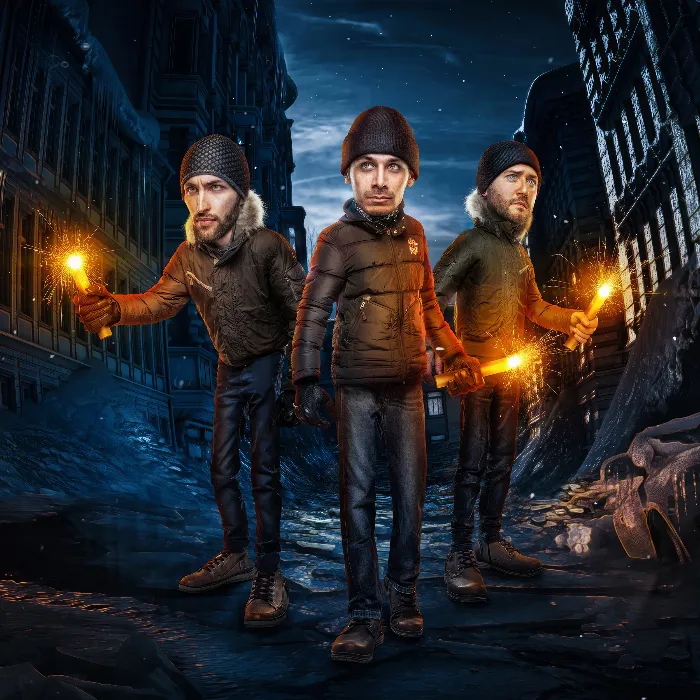
If you are working on creating comic-style images in Photoshop, you can achieve impressive results with the right techniques. This guide shows you how to master the steps from the original shot to the final editing of an image to achieve the desired comic look.
Main insights
- Cutting out the person is crucial, especially for heavily edited images.
- A clean folder structure and well-named layers help with clarity.
- Retouching, color overlays, and targeted techniques like frequency separation significantly contribute to the final result.
Step-by-Step Guide
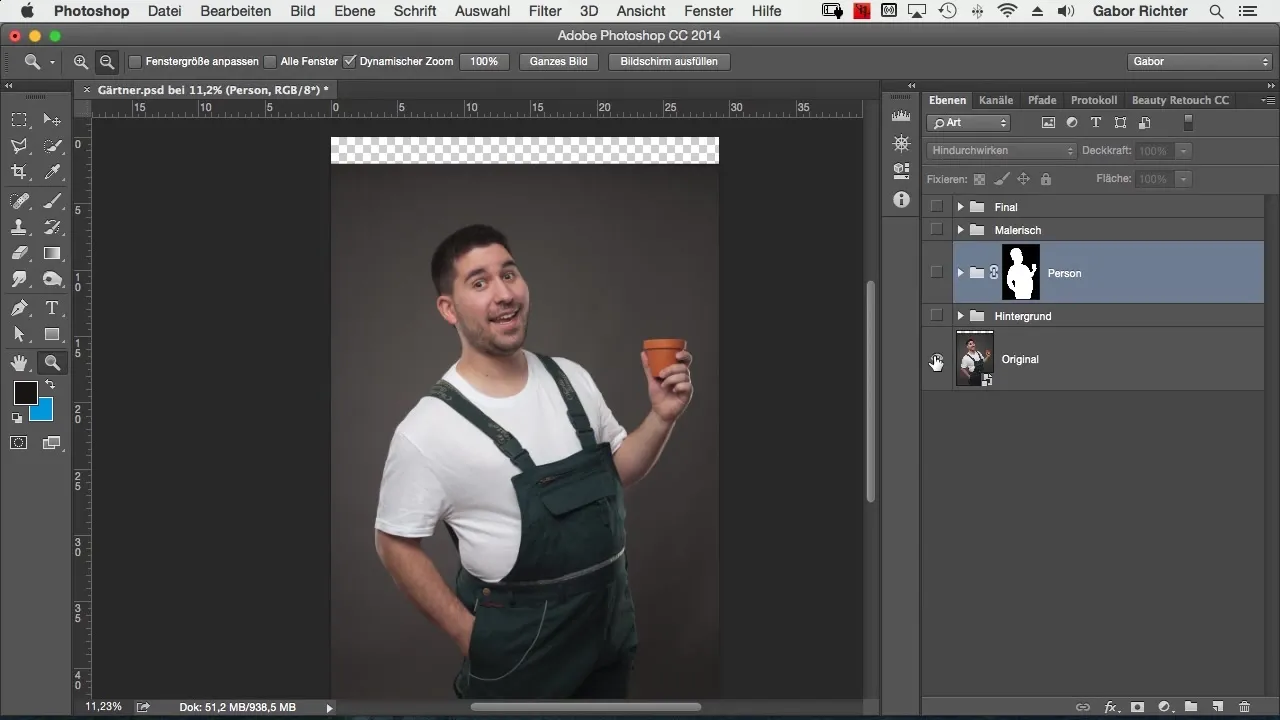
At the beginning, it's important to review the original image. Without post-processing, the source material is often not very appealing. In my case, I will show how the image looks after photography and what steps I have taken to improve it.
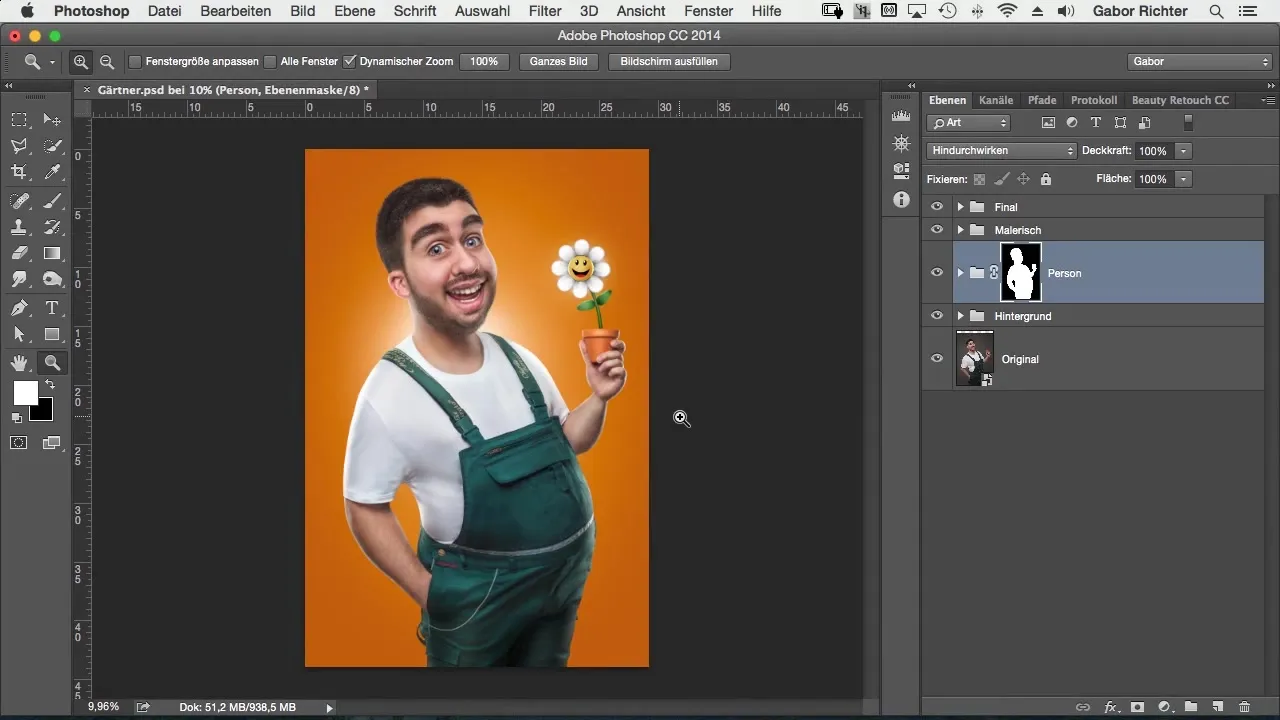
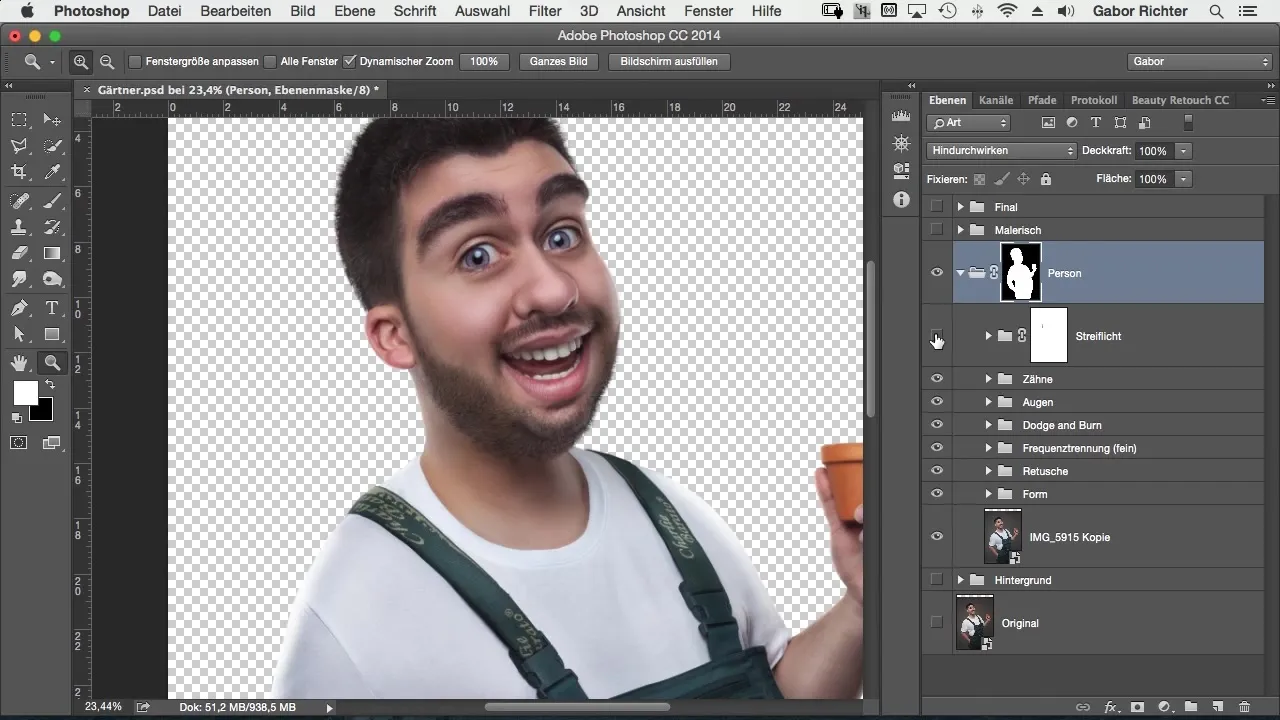
The first step in this process is cutting out the person in the image. The decision for a classic cut was easy for me, as the image was heavily distorted due to various liquefy techniques, and the background was no longer usable. This ensures that the main subject stands out well.
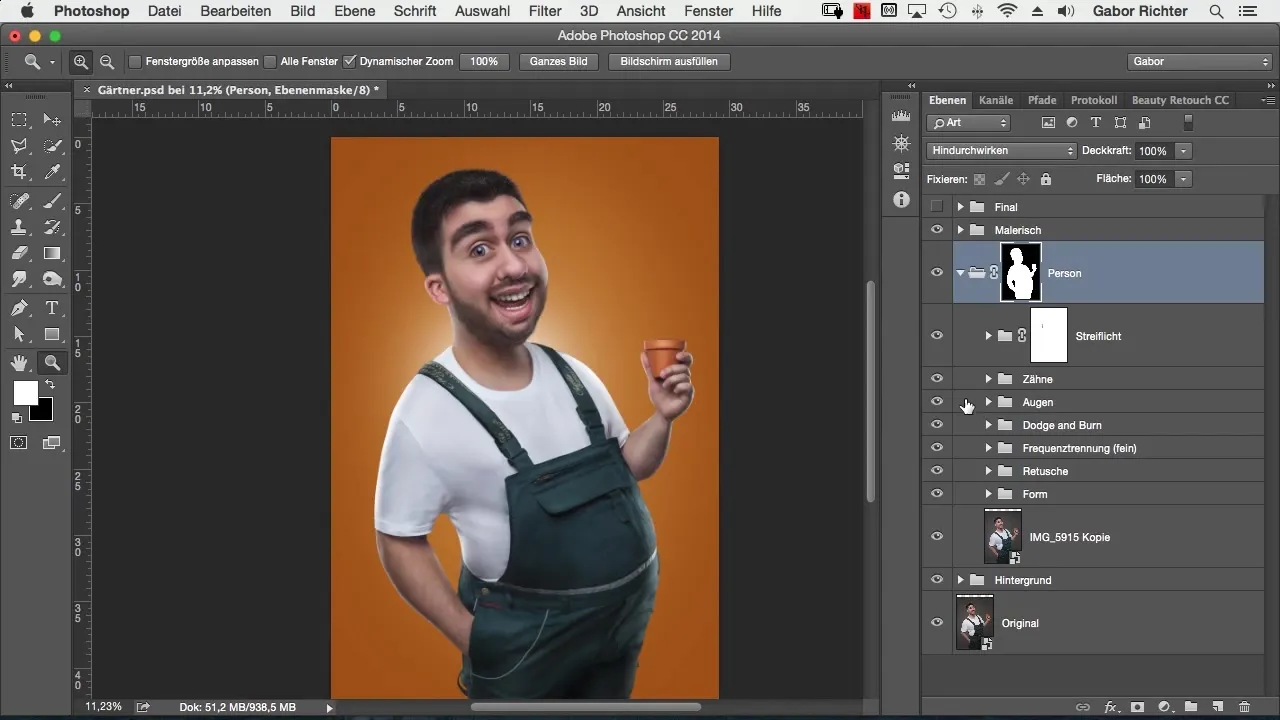
After I removed the background, I start structuring in Photoshop. I organize all layers into groups, which significantly simplifies keeping track of my edited elements. This is an important step that will help you when you work on this or similar projects in the future.
A crucial element in this image was retouching. Here, I removed smaller distractions that could divert attention from the image. On a separate layer mask, I performed retouching that I will also present in this tutorial.
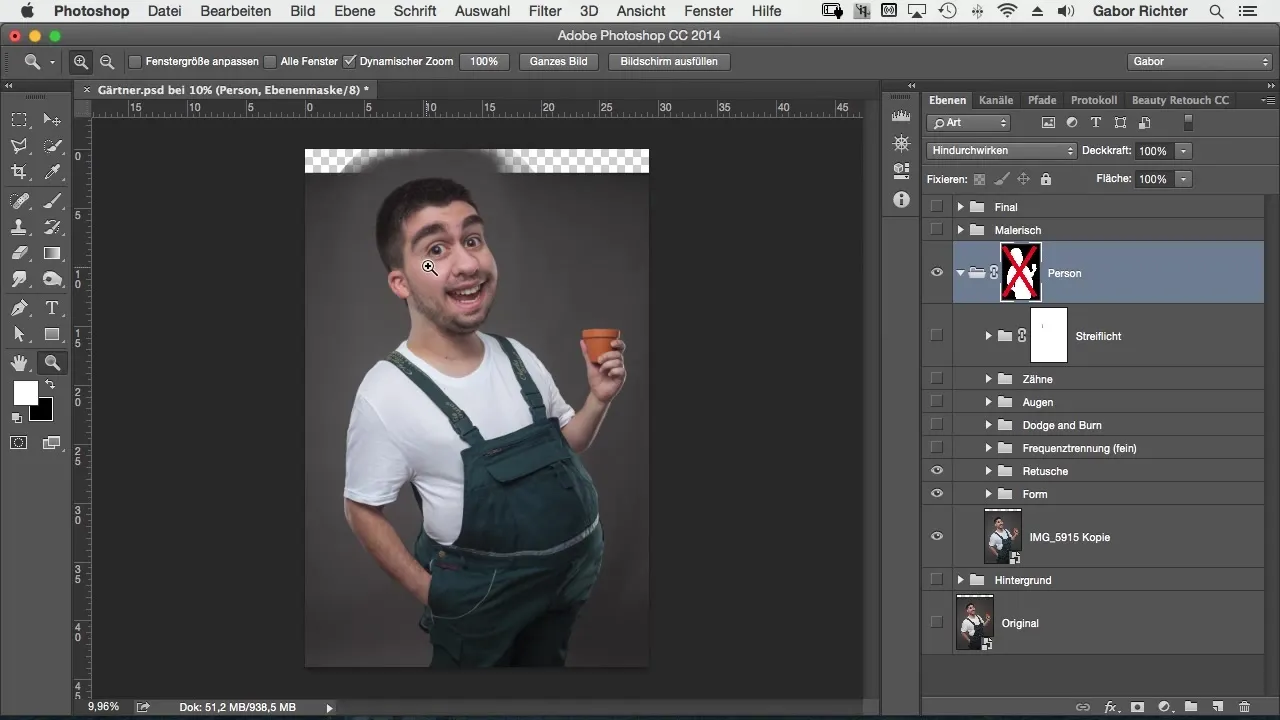
Frequency separation was another important technique in my workflow. With this method, I was able to make targeted color adjustments and give the image a painterly look without losing the textural details of the skin and other surfaces.
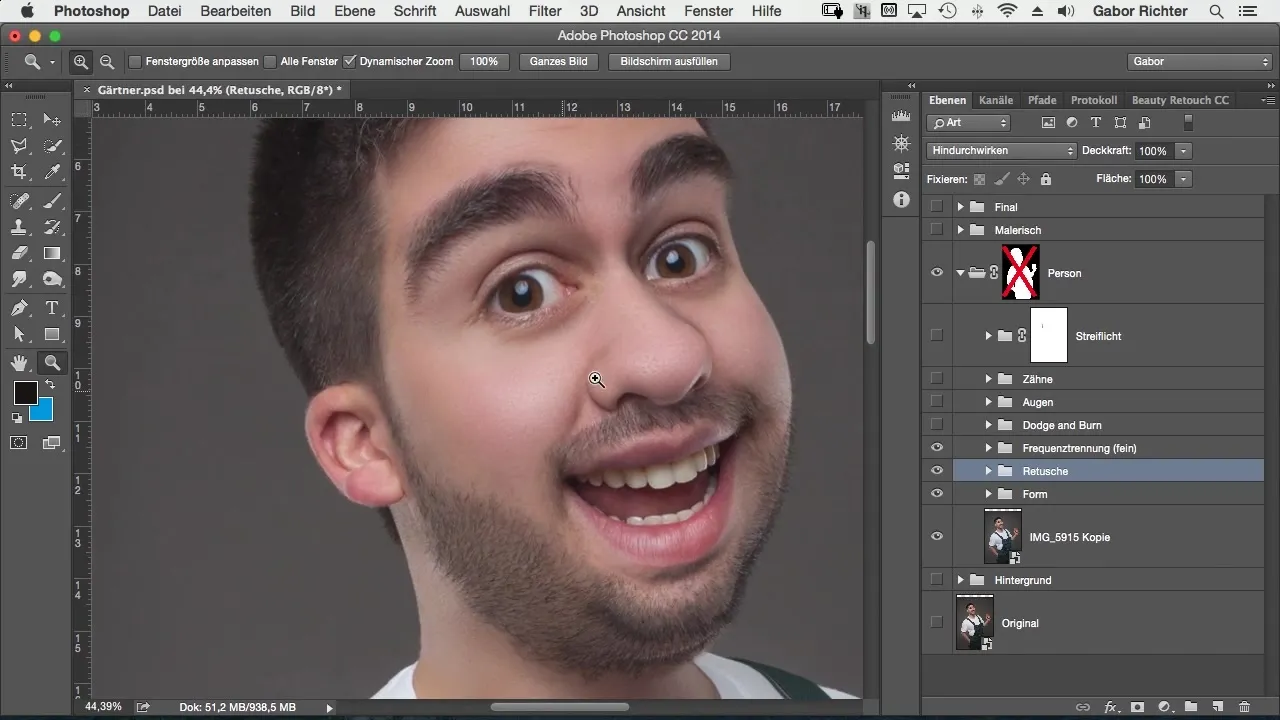
An associated process was the application of Dodge & Burn. With this technique, I enhanced the depth and contrast of the image to make it look more vibrant. The time invested in this process paid off significantly in visual impact.
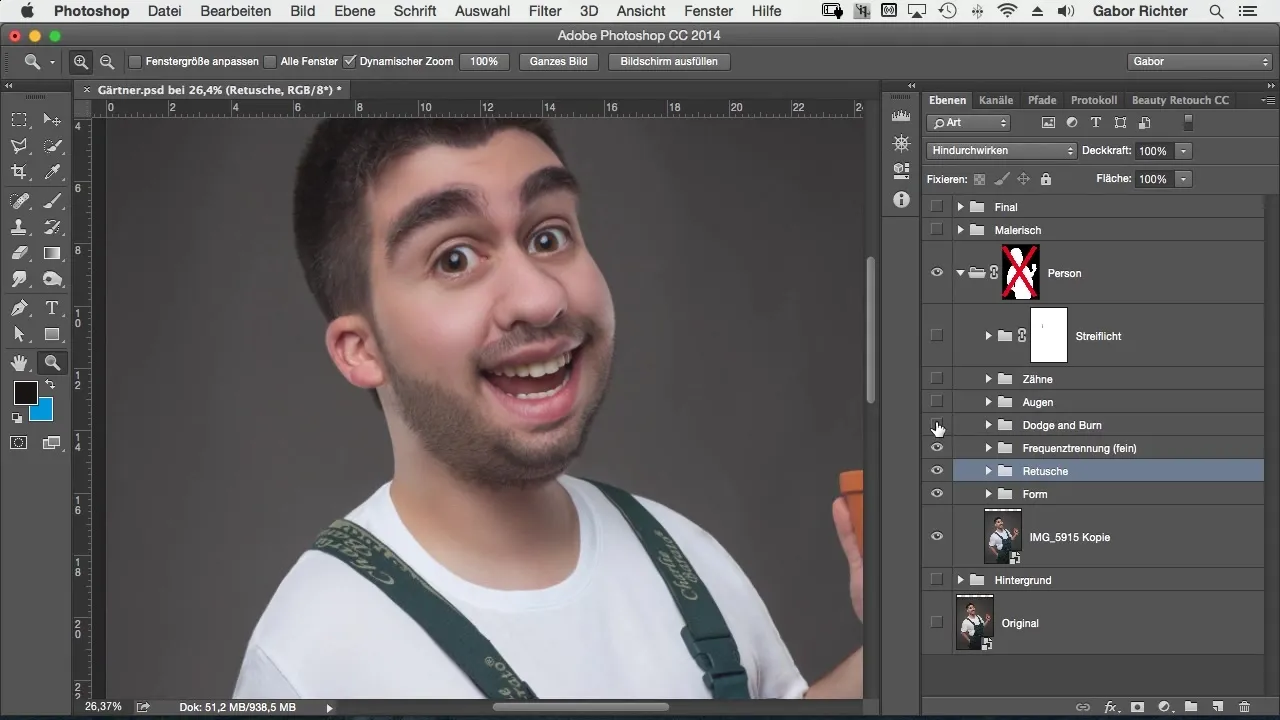
Additionally, I also edited the eyes and teeth to give the images more character and expression. I colored the eyes blue and whitened the teeth. These are crucial details that positively influence the overall image.
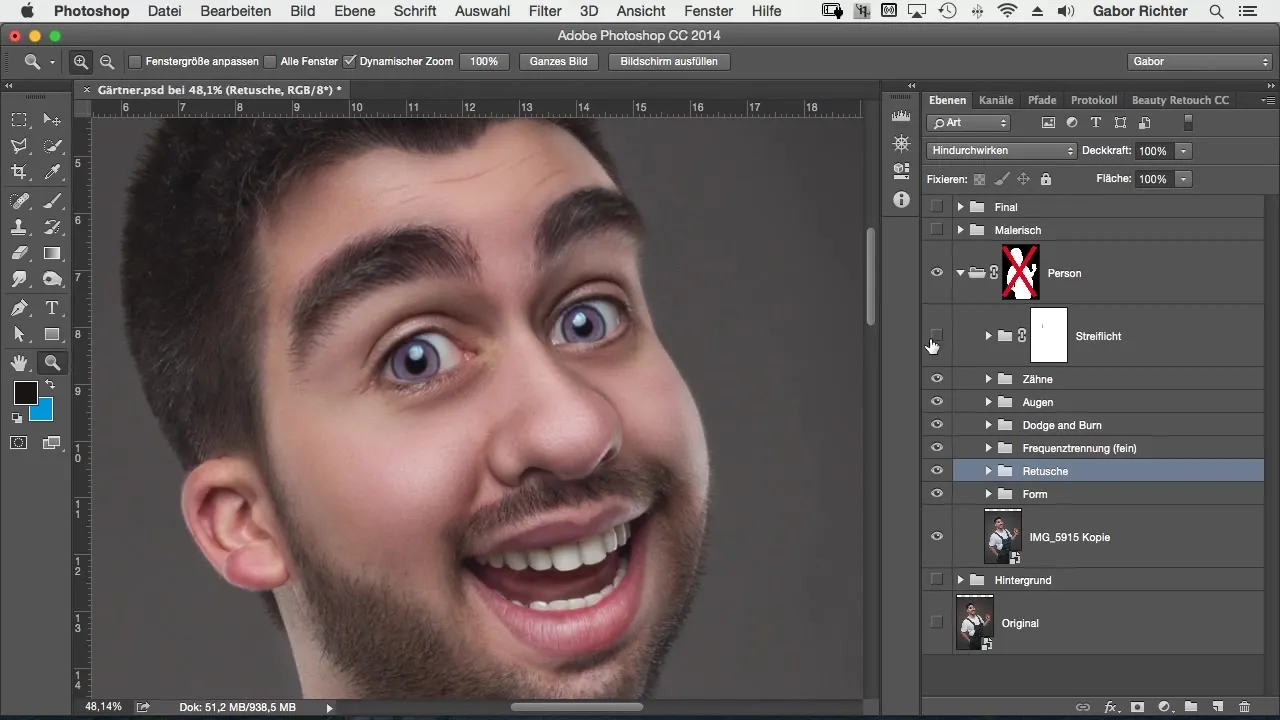
To optimally round off the final look of the image, I then added a rim light. This made the image even more photorealistic and at the same time more artistic. The additional light brings more dynamics and life to the image.
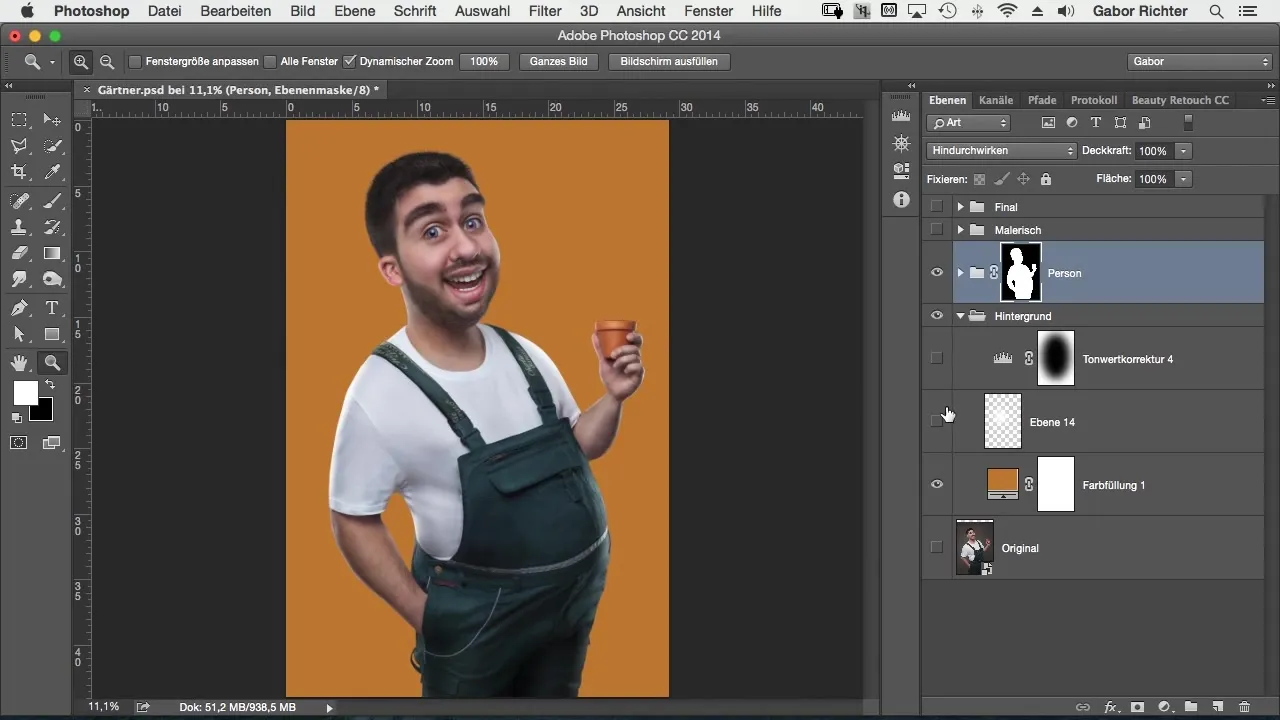
As for the color overlay, it is important to choose a simple yet effective method. By using color overlays, you can give the image more depth and vibrancy. I will also show you how to set this up correctly in Photoshop.
Finally, I made some final adjustments. Often I let the image rest, and later adjustments are necessary to perfect the final image. In this case, for example, I added a flower and increased the dynamics to enhance the colors.
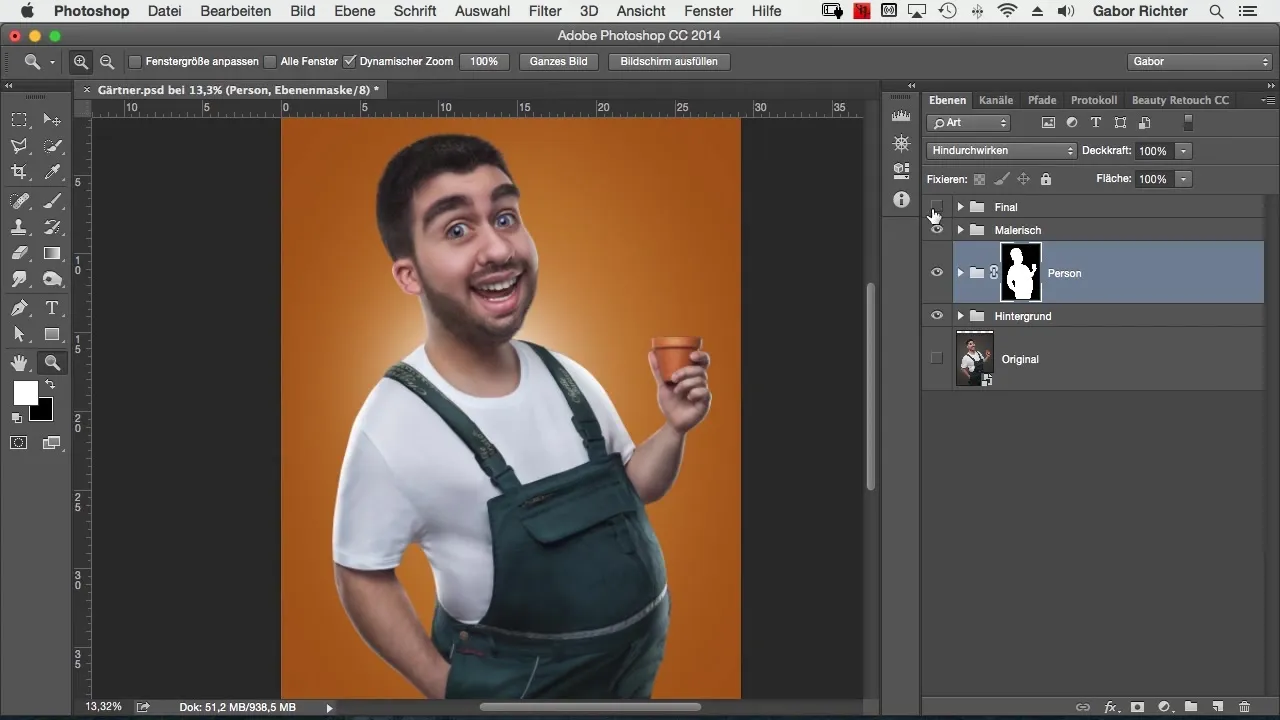
As you can see, most of the work is in the folders dedicated to the person and the main objects. That’s why it’s extremely important for you to maintain a tidy folder structure. Naming your layers simplifies your editing and provides a clear overview.
In conclusion, I will show you the before-and-after image once again. Note the improvements that were achieved through the application of these techniques.
Summary – Comic-Style Photoshop: A Guide to Creating an Impressive Image
In this guide, you have learned how to go from the first photography to the final comic image using various techniques. Through effective retouching, frequency separation, and intentional color design, you can achieve impressive results.
Frequently Asked Questions
How important is cutting out in comic style?Cutting out is crucial, as the background is often no longer usable when the main subject is heavily edited.
What is frequency separation?Frequency separation is a technique for editing image textures and colors that helps to retain details while improving colors.
How do I keep my layers organized?Create groups and name your layers accordingly to maintain a clear overview of your edits.
